You cannot make any changes to External Platform Integrations without having either an Administrator or an Editor with PII access in InOne. Refer to User Roles for further information.
This guide explains how to set up the Salesforce Marketing Cloud (SFMC) integration in InOne. Once configured, InOne regularly pulls rows from an SFMC Data Extension and syncs them as user profiles in Insider One.
The table below outlines the key integration details and capabilities.
Capability | Details |
Auth method | OAuth 2.0 Authorization Code (SFMC native) |
Data flow | One-way: SFMC Data Extension to Insider One |
Sync behavior | Incremental (new and updated records) or full fetch |
Supported data | User identifiers and profile attributes |
Scheduling | Configurable cron schedule (UTC) |
Requirements
Information | Details |
SFMC Client ID | From SFMC Setup under Platform Tools > Apps > Installed Packages. |
SFMC Client Secret | From the same Installed Package entry as the Client ID. |
SFMC Subdomain | The unique subdomain of your SFMC instance (also called MID/tenant subdomain). Find it in your SFMC login URL: |
Data Extension Key (CustomerKey) | The external key of the Data Extension to sync. Find it in SFMC under Email Studio > Subscribers > Data Extensions > your DE > Properties. |
Your SFMC Installed Package must have the following permissions: Data Extensions (Read), Contacts (Read, Write).
Step 1: Create a new integration
Navigate to InOne > Components > Integrations > External Integrations.
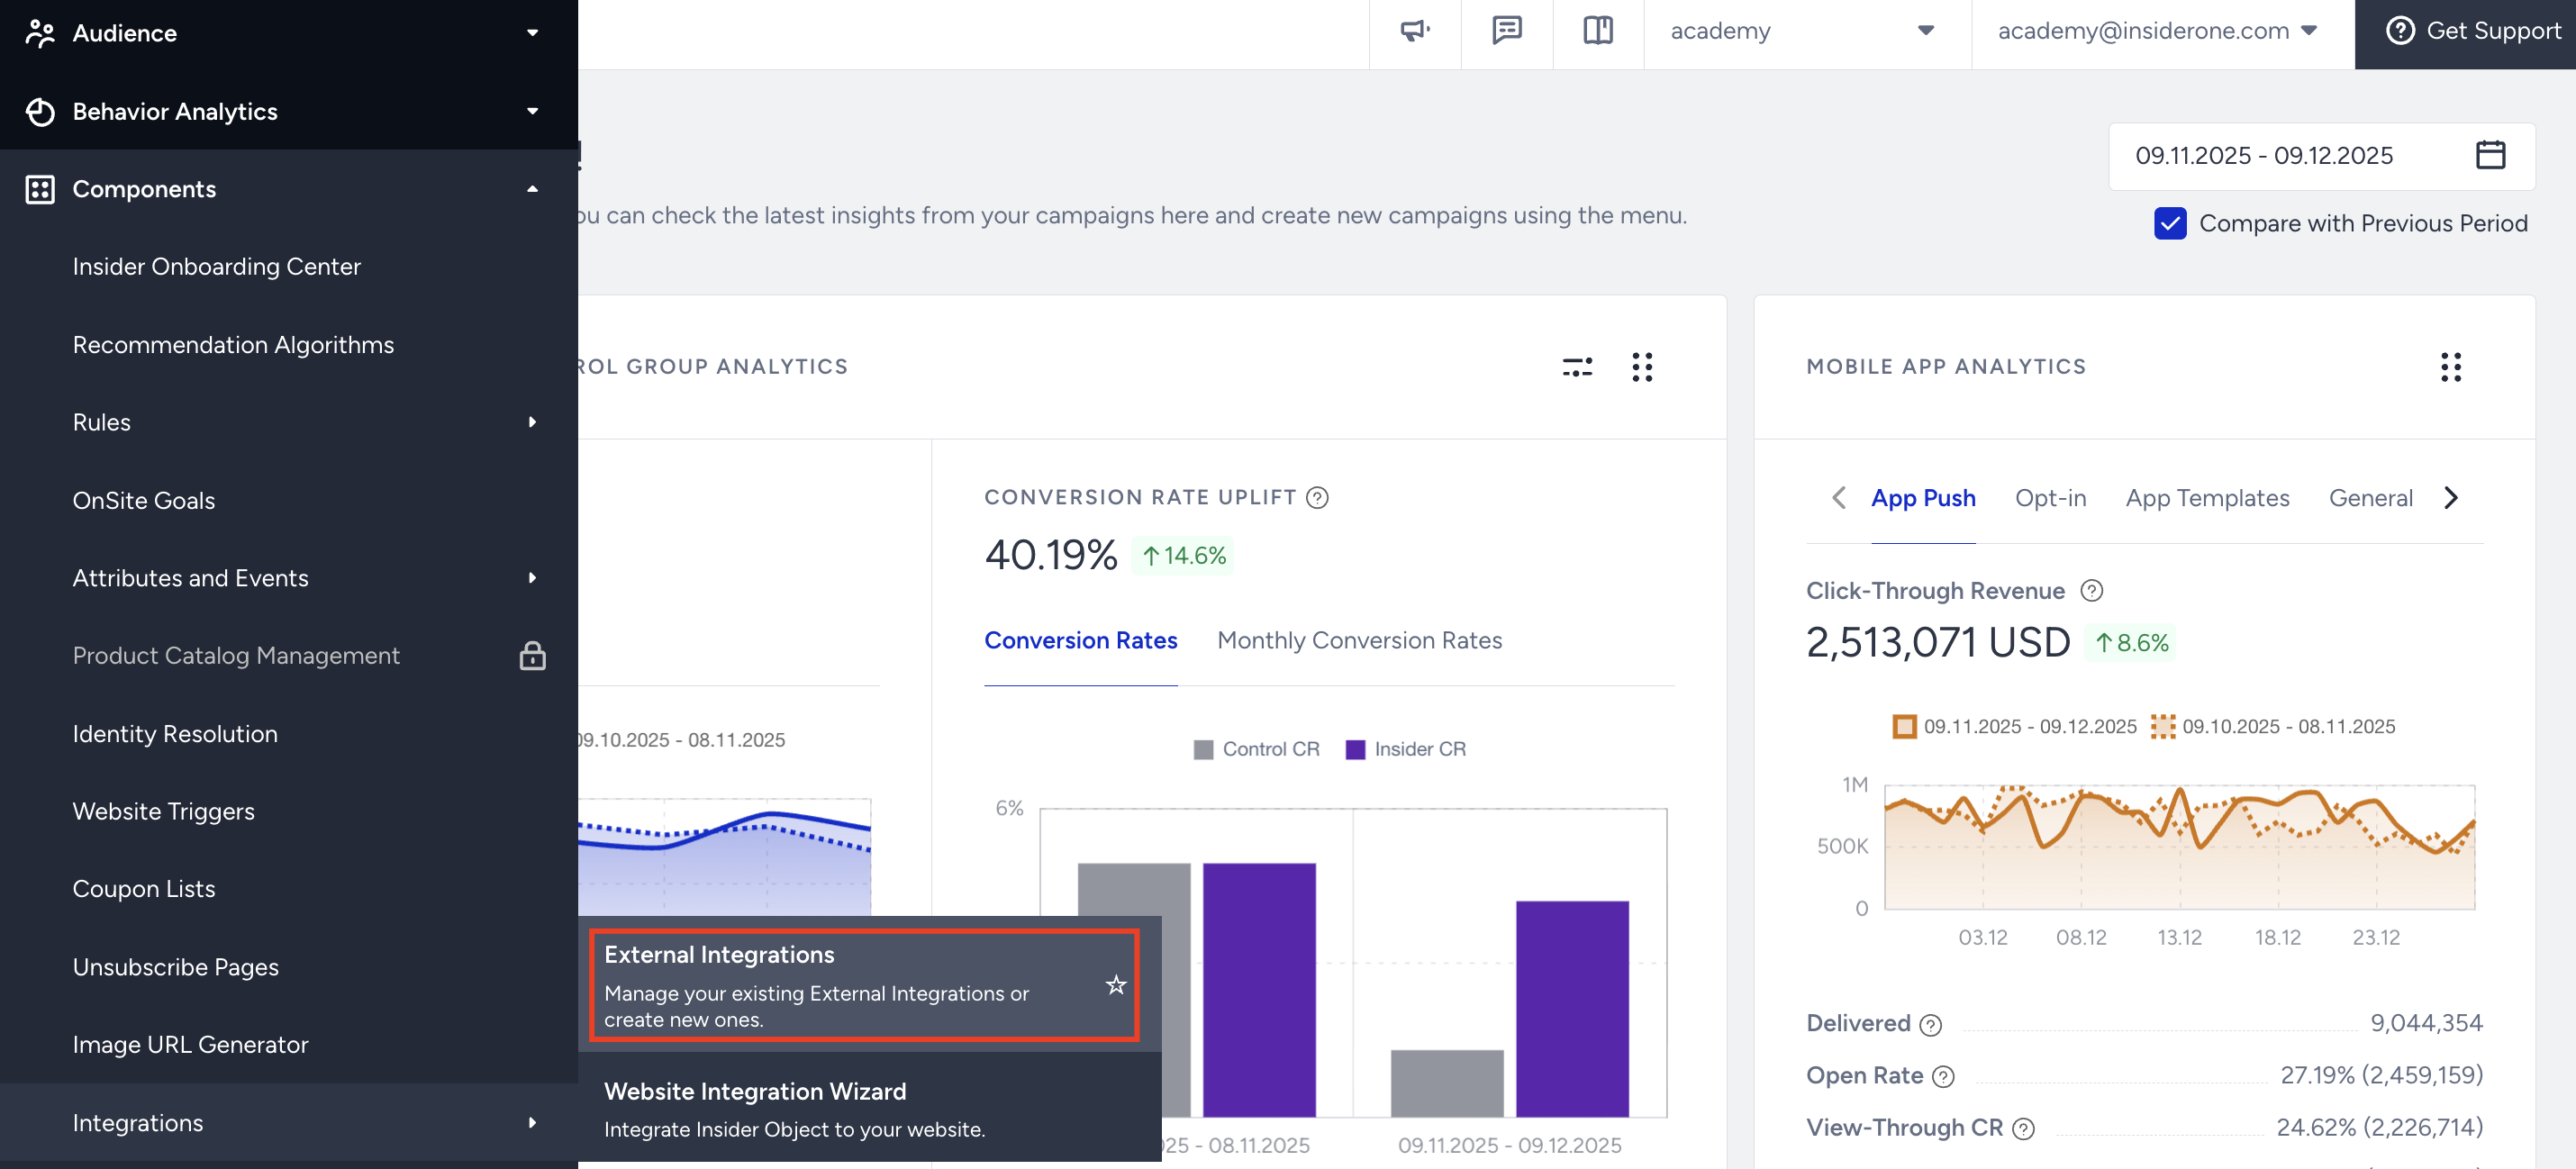
Search for "SFMC" or "Salesforce Marketing Cloud" and select it.
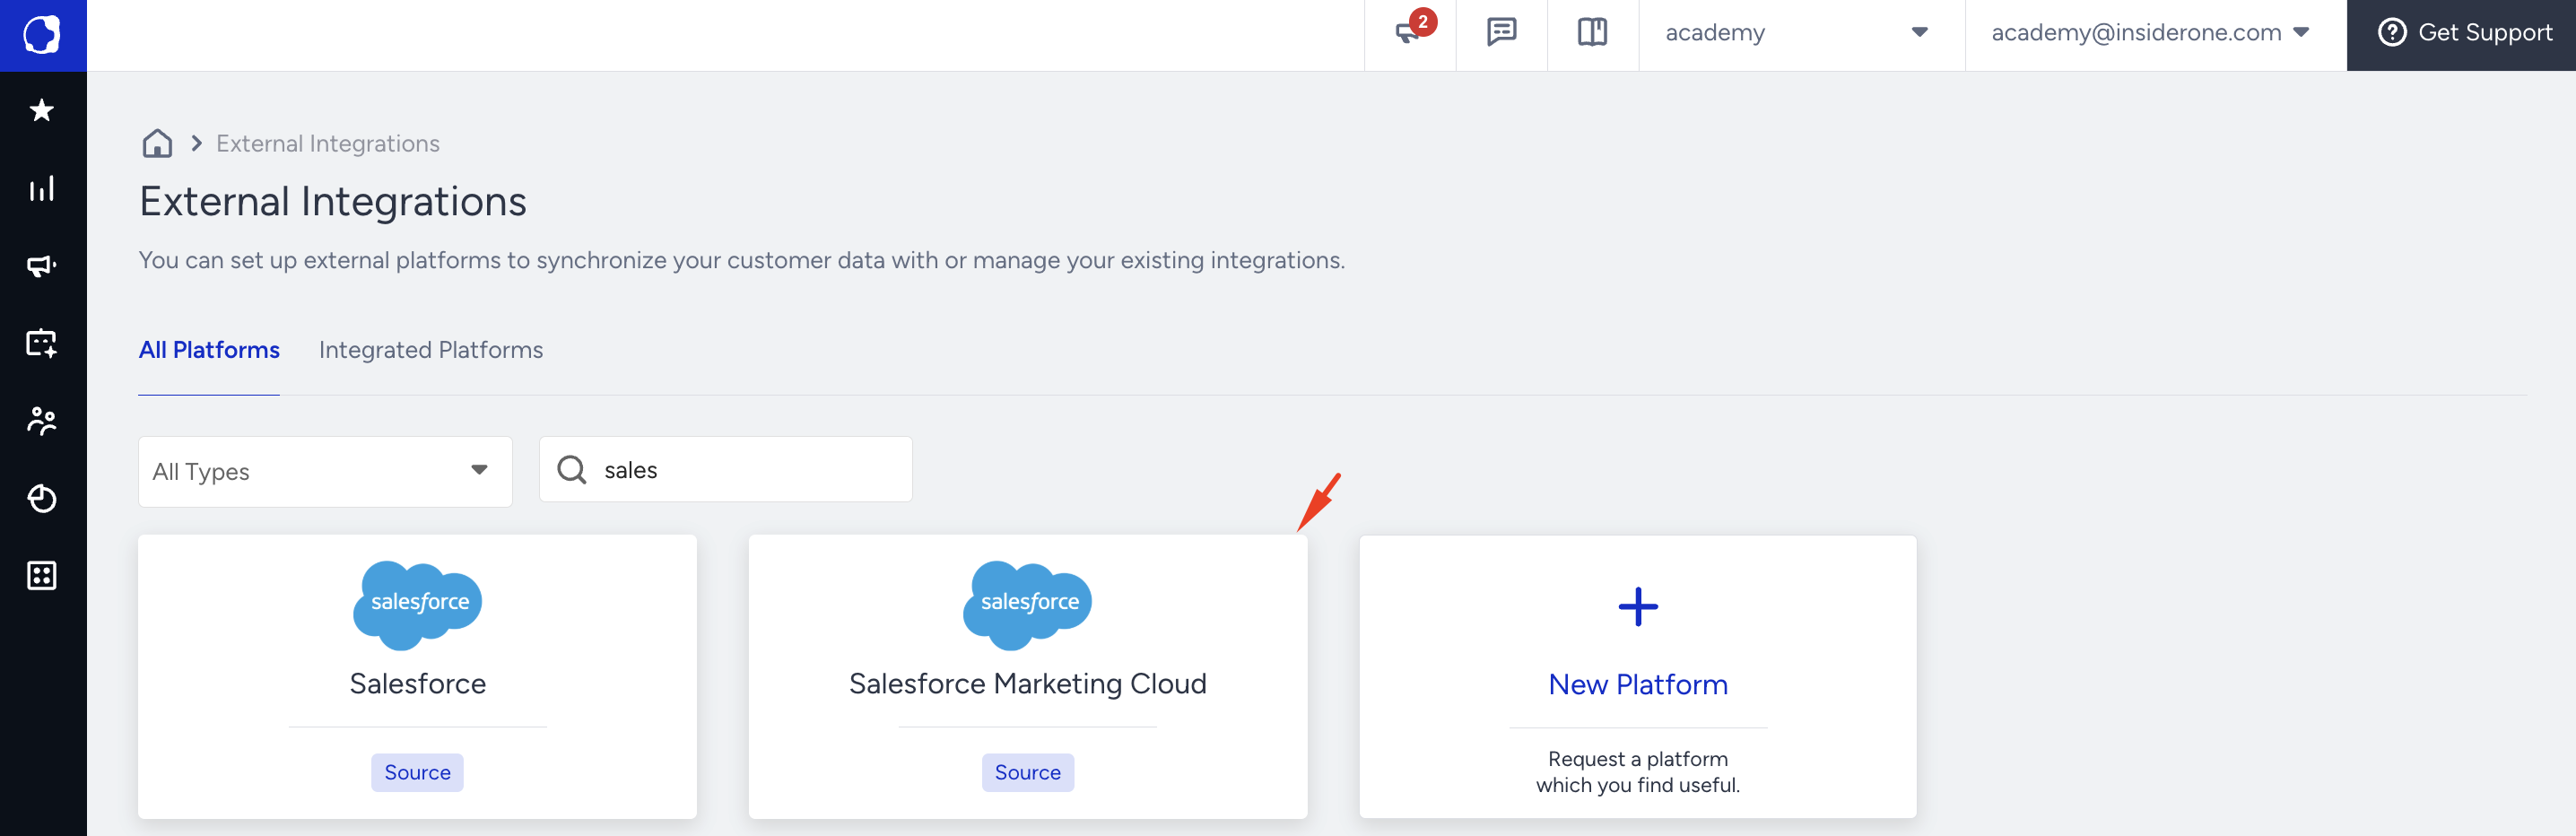
Give the integration a unique name and click Save.
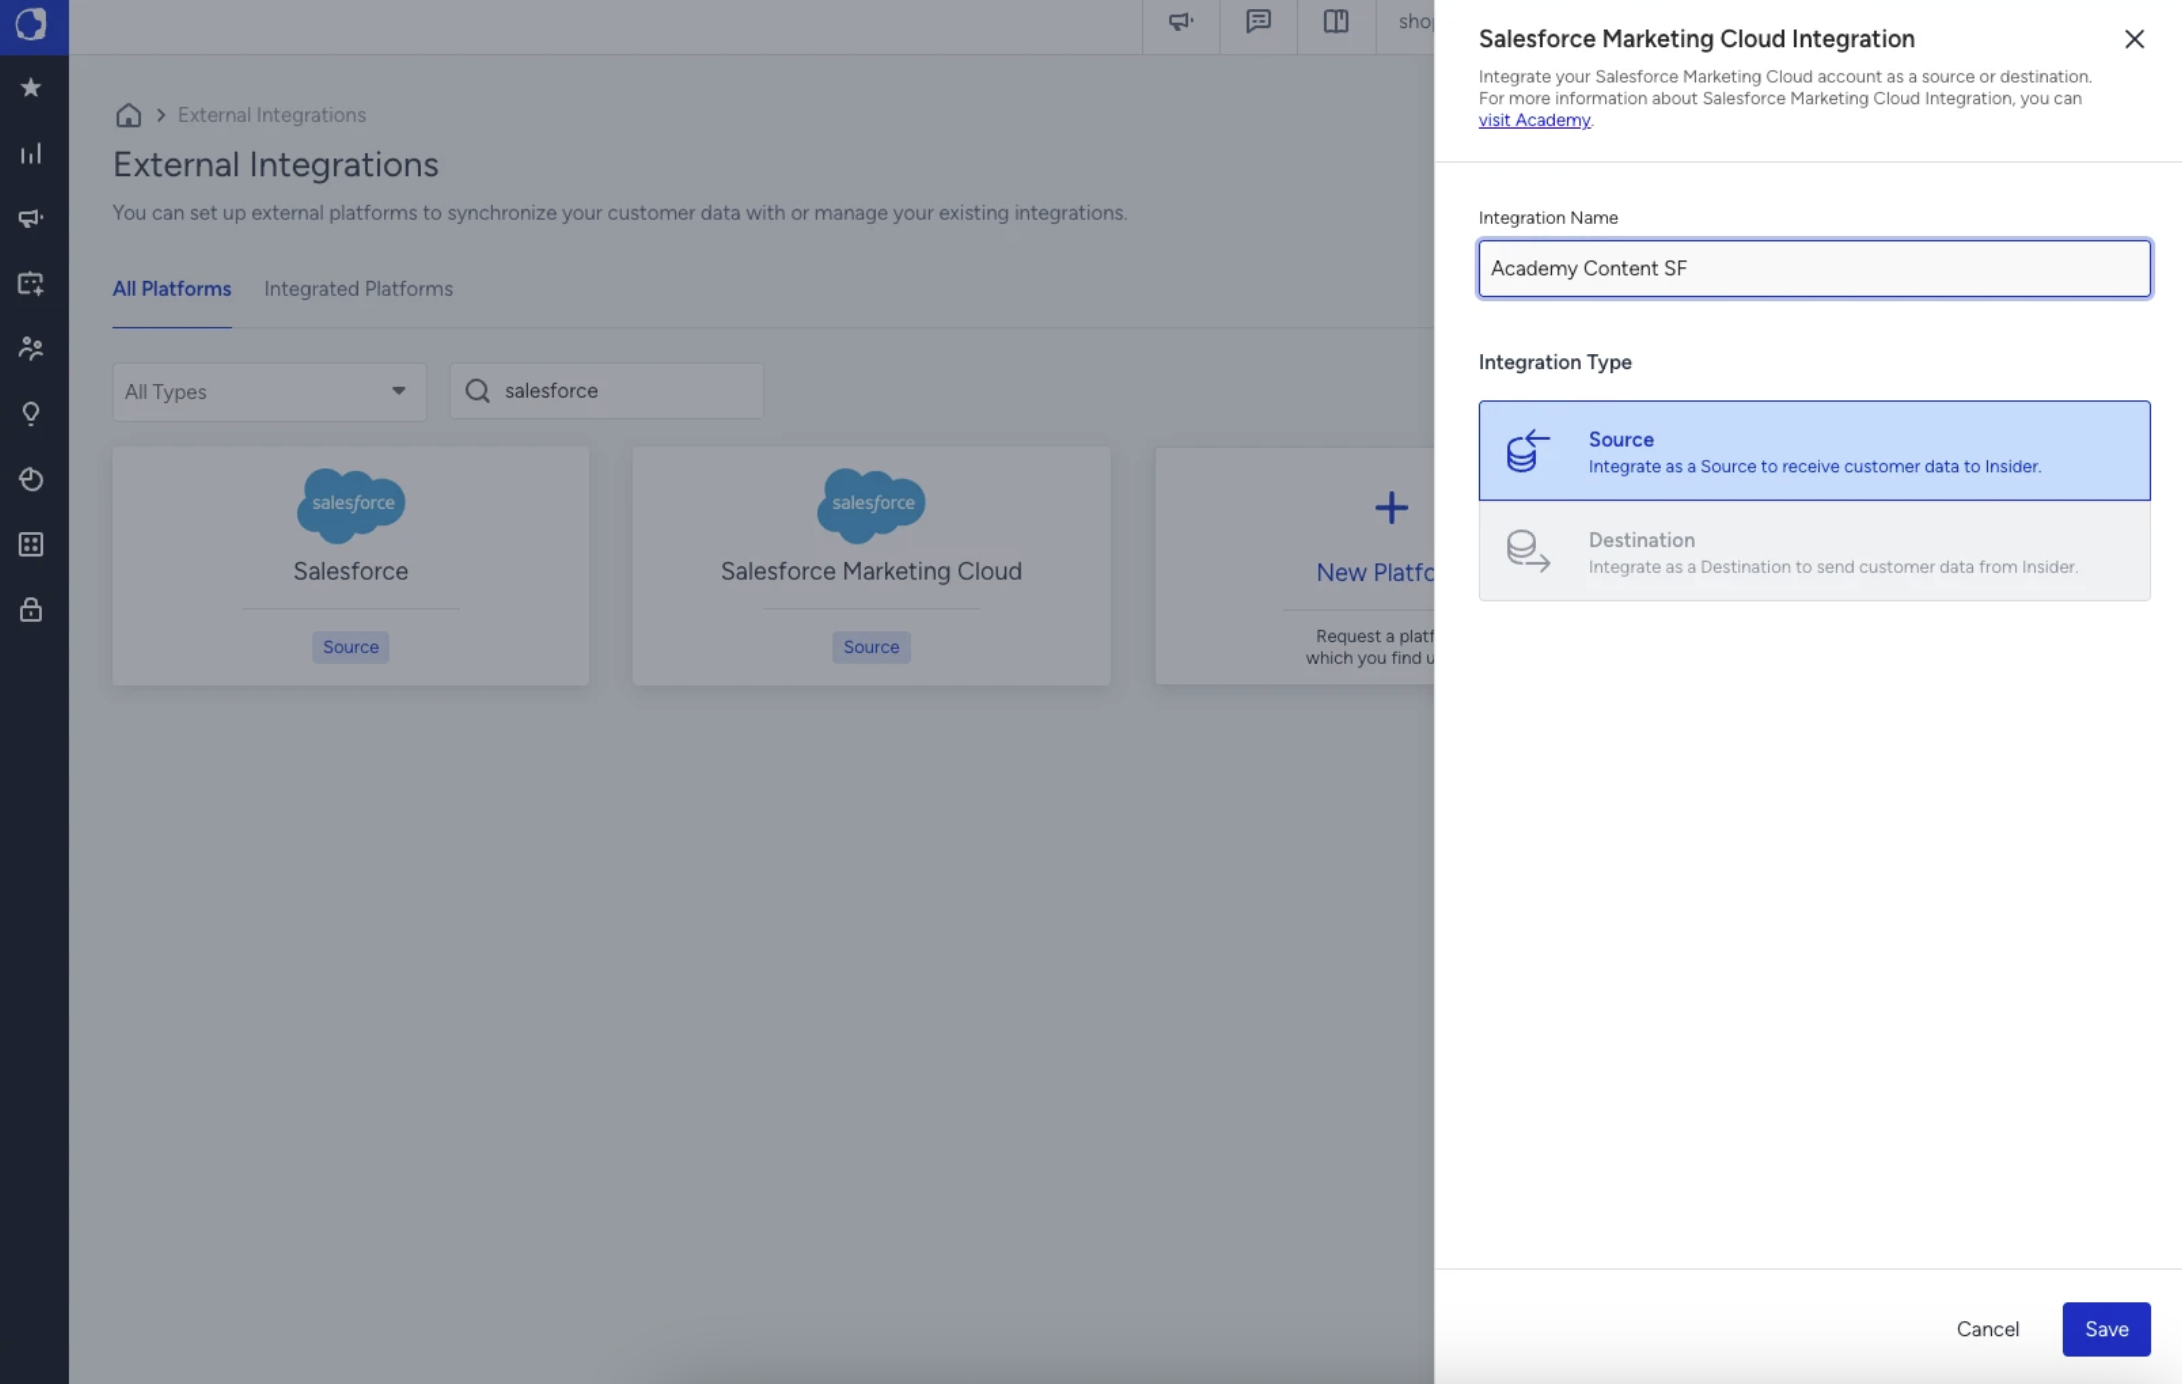
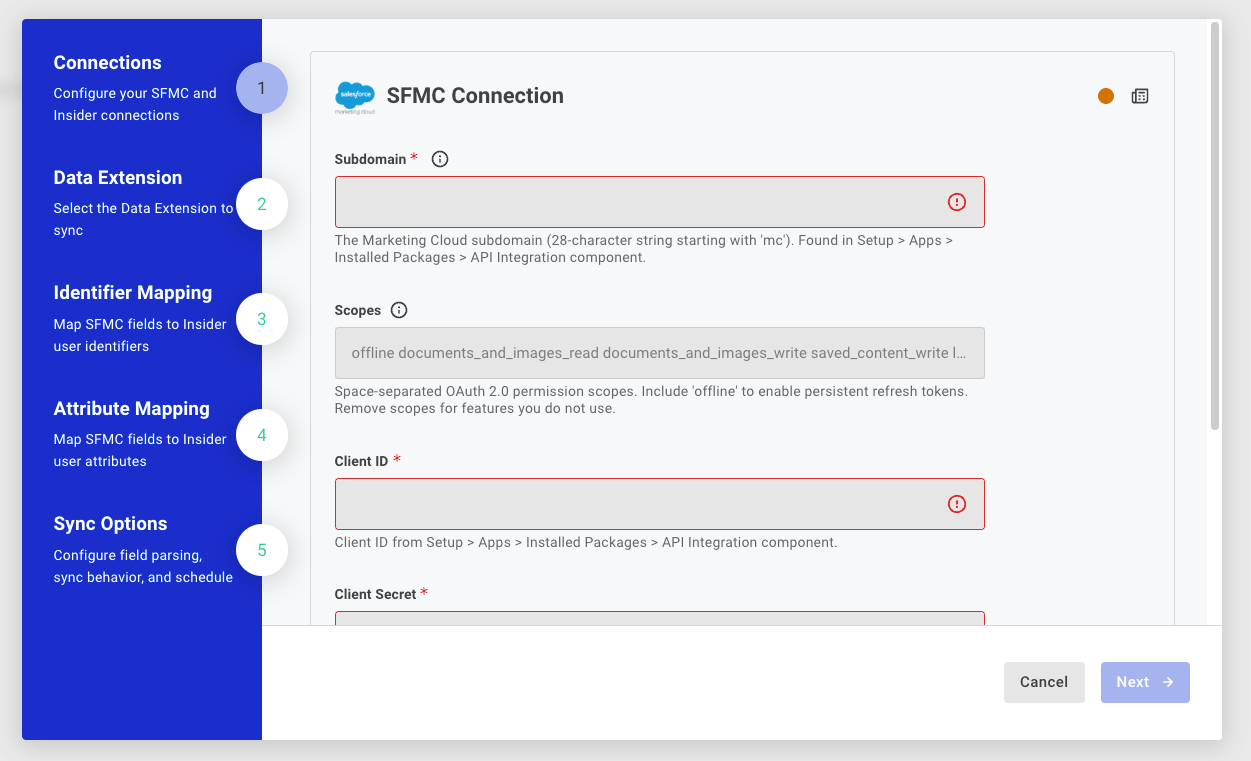
Step 2: Connect your SFMC account
Enter your SFMC credentials to establish the connection between Insider One and your SFMC account. You can find these values in your SFMC Installed Package.
Field | Description |
Client ID | Application Client ID from your SFMC Installed Package. |
Scopes | The required scopes for this integration are |
Client Secret | Application Client Secret from your SFMC Installed Package. |
Subdomain | Your SFMC tenant subdomain, used to construct API endpoints. |
To connect your SFMC account, you must first create an Installed Package in SFMC and configure the required permissions.
Step 2.1.: Navigate to Installed Packages
Log in to your Salesforce Marketing Cloud account.
Go to Setup (gear icon in the top-right corner).
Under Platform Tools, expand Apps.
Click Installed Packages.
Step 2.2: Create a New Package
Click the New button.
Enter a name for your package (e.g., "Insider Integration").
Optionally add a description.
Click Save.
Step 2.3.: Add an API Integration Component
In your newly created package, click Add Component.
Select API Integration.
Choose the integration type: Web App (this is required for the OAuth 2.0 Authorization Code flow used by the Insider One connector).
Click Next.
Step 2.4.: Configure the Redirect URI
In the Redirect URI field, enter the redirect URI provided by Insider One during the connector setup.
Click Next.
Step 2.5.: Set Scopes (Permissions)
Select the scopes your integration requires. At a minimum, enable the following:
Required scopes (must-have for core sync):
offline: Enables persistent refresh tokens so the connection stays active.Under Data section: Data Extensions > Read (
data_extensions_read)
Optional scopes (only needed if using additional SFMC method flows):
Scope | When needed |
| If upserting rows back to SFMC Data Extensions |
| If reading contacts from SFMC |
| If creating or updating contacts in SFMC |
| If checking subscriptions or retrieving lists |
| If adding subscribers to lists |
| If retrieving triggered send definitions |
| If sending transactional emails via SFMC |
| If firing Journey Builder entry events |
Click Save after selecting your scopes.
Step 2.6.: Retrieve Your Credentials
After saving, your Installed Package summary page will display the credentials you need:
Client ID: Copy the Client ID value.
Client Secret: Copy the Client Secret value.
Subdomain: Locate the Authentication Base URI shown on the page. It will look like
https://mcXXXXXXXXXXXXXXXXXXXXXXXXXXXX.auth.marketingcloudapis.com/. The subdomain is themcXXXXXXXXXXXXXXXXXXXXXXXXXXXXportion (28-character string starting with "mc").
Click Connect. The connection is established server-to-server using OAuth 2.0. No browser pop-up appears. The status indicator turns green to confirm the connection succeeded.
Click Next to proceed.
Step 3: Data Extension
Configure which SFMC Data Extension to sync and how records are fetched.
The integration tracks sync state per Data Extension Key. Switching to a different key resets the incremental sync history.
Field | Description |
Data Extension Key | The CustomerKey (external key) of the SFMC Data Extension. Each integration instance syncs one Data Extension. |
Fetch Mode | Controls which records are retrieved on each run. |
Click Next when done.
Step 4: Identifier Mapping
Map SFMC Data Extension fields to Insider One identifier types. At least one mapping is required. Records with no valid identifier value are skipped.
Field | Description |
Identifier Type | The Insider One identifier type: Email Address, Phone Number, UUID, or any custom identifier configured for your account. |
Source Field | The SFMC Data Extension field providing the identifier value. |
Click + Add to Identifier Mappings to add rows. Click Next when done.
Step 5: Attribute Mapping
Map SFMC Data Extension fields to Insider One user profile attributes.
Column Mappings: Each row maps an SFMC field to an Insider One attribute. The field value from each record is written to the matched user profile.
Fixed Value Mappings: Sets a static value for an attribute on every synced record. Common use: set
data_sourcetosfmcto tag all records by origin.
Click Next when done.
Step 6: Sync Options
Field | Default | Description |
Skip Hook | Off | Suppresses Architect journey triggers for all users upserted in this run. Enable for large historical imports. |
Fast Fail on Upsert Error | Off | Stops the sync immediately on the first failed upsert batch. Leave off unless strict all-or-nothing behavior is needed. |
Schedule | Required | Cron expression (UTC) for how often the integration runs. Example: |
Phone Number Settings | - | Normalizes phone values to E.164 format and optionally adds a country code. |
Identifier Settings | - | Controls behavior when an identifier value fails validation (skip the identifier or skip the entire record). |
Click Finish to save and activate the integration.
Troubleshooting
Symptom | What to check |
Connection fails | Verify Client ID, Client Secret, and Subdomain. Confirm the Installed Package is active and not expired. |
Data Extension Key not accepted | Confirm you are using the CustomerKey (external key), not the Data Extension name. Find it under DE Properties in SFMC. |
No records synced | Check Fetch Mode. If set to "New and Updated Since Last Sync" and no records have changed, the run correctly returns zero records. Switch to "Always Fetch All Records" to force a full pull. |
Records are missing in Insider One | Verify at least one Identifier Mapping is configured and the mapped SFMC field contains valid, non-empty values. Review execution logs on the Integrated Platforms tab for upsert errors. |
Incremental sync missing records | Confirm the SFMC Data Extension has a |
Sync is running too slowly | Reduce run frequency or narrow the Data Extension with SFMC filters. The default page size is 2,500 rows per API request. |
Frequently Asked Questions
Q: Can I sync multiple Data Extensions?
A: Each integration instance syncs one Data Extension. Create a separate integration for each DE you need to sync.
Q: Does this integration support sending behavioral events to Insider One?
A: The SFMC integration syncs user profile attributes only. Event mapping is not available in this integration. For event data, use a different source (e.g., FTP or Google Sheets with event mapping enabled).
Q: How does incremental sync work?
A: When Fetch Mode is set to "New and Updated Since Last Sync", the integration records the timestamp of the last successful run. On the next execution, it fetches only records created or modified after that timestamp.
Q: What happens if a sync run fails mid-way?
A: The integration stores the state only after a fully successful run. If the run fails, the next execution retries from the same starting point to avoid gaps.
Q: Will syncing trigger Architect journeys?
A: By default, yes. Enable Skip Hook in Sync Options to suppress journey triggers for all records in a run. Recommended for large backfills.
Q: What is the maximum number of records per run?
A: The integration fetches up to 50 pages at 2,500 rows per page (125,000 records per run) by default. Contact the Insider team if you need to increase this limit.