This guide aims to explain how you can integrate the Genesys Contact Center.
How to integrate Genesys Contact Center
To integrate the Genesys Contact Center, follow the steps below:
1. Before starting the Genesys Contact Center implementation, you should have a Genesys Cloud account. 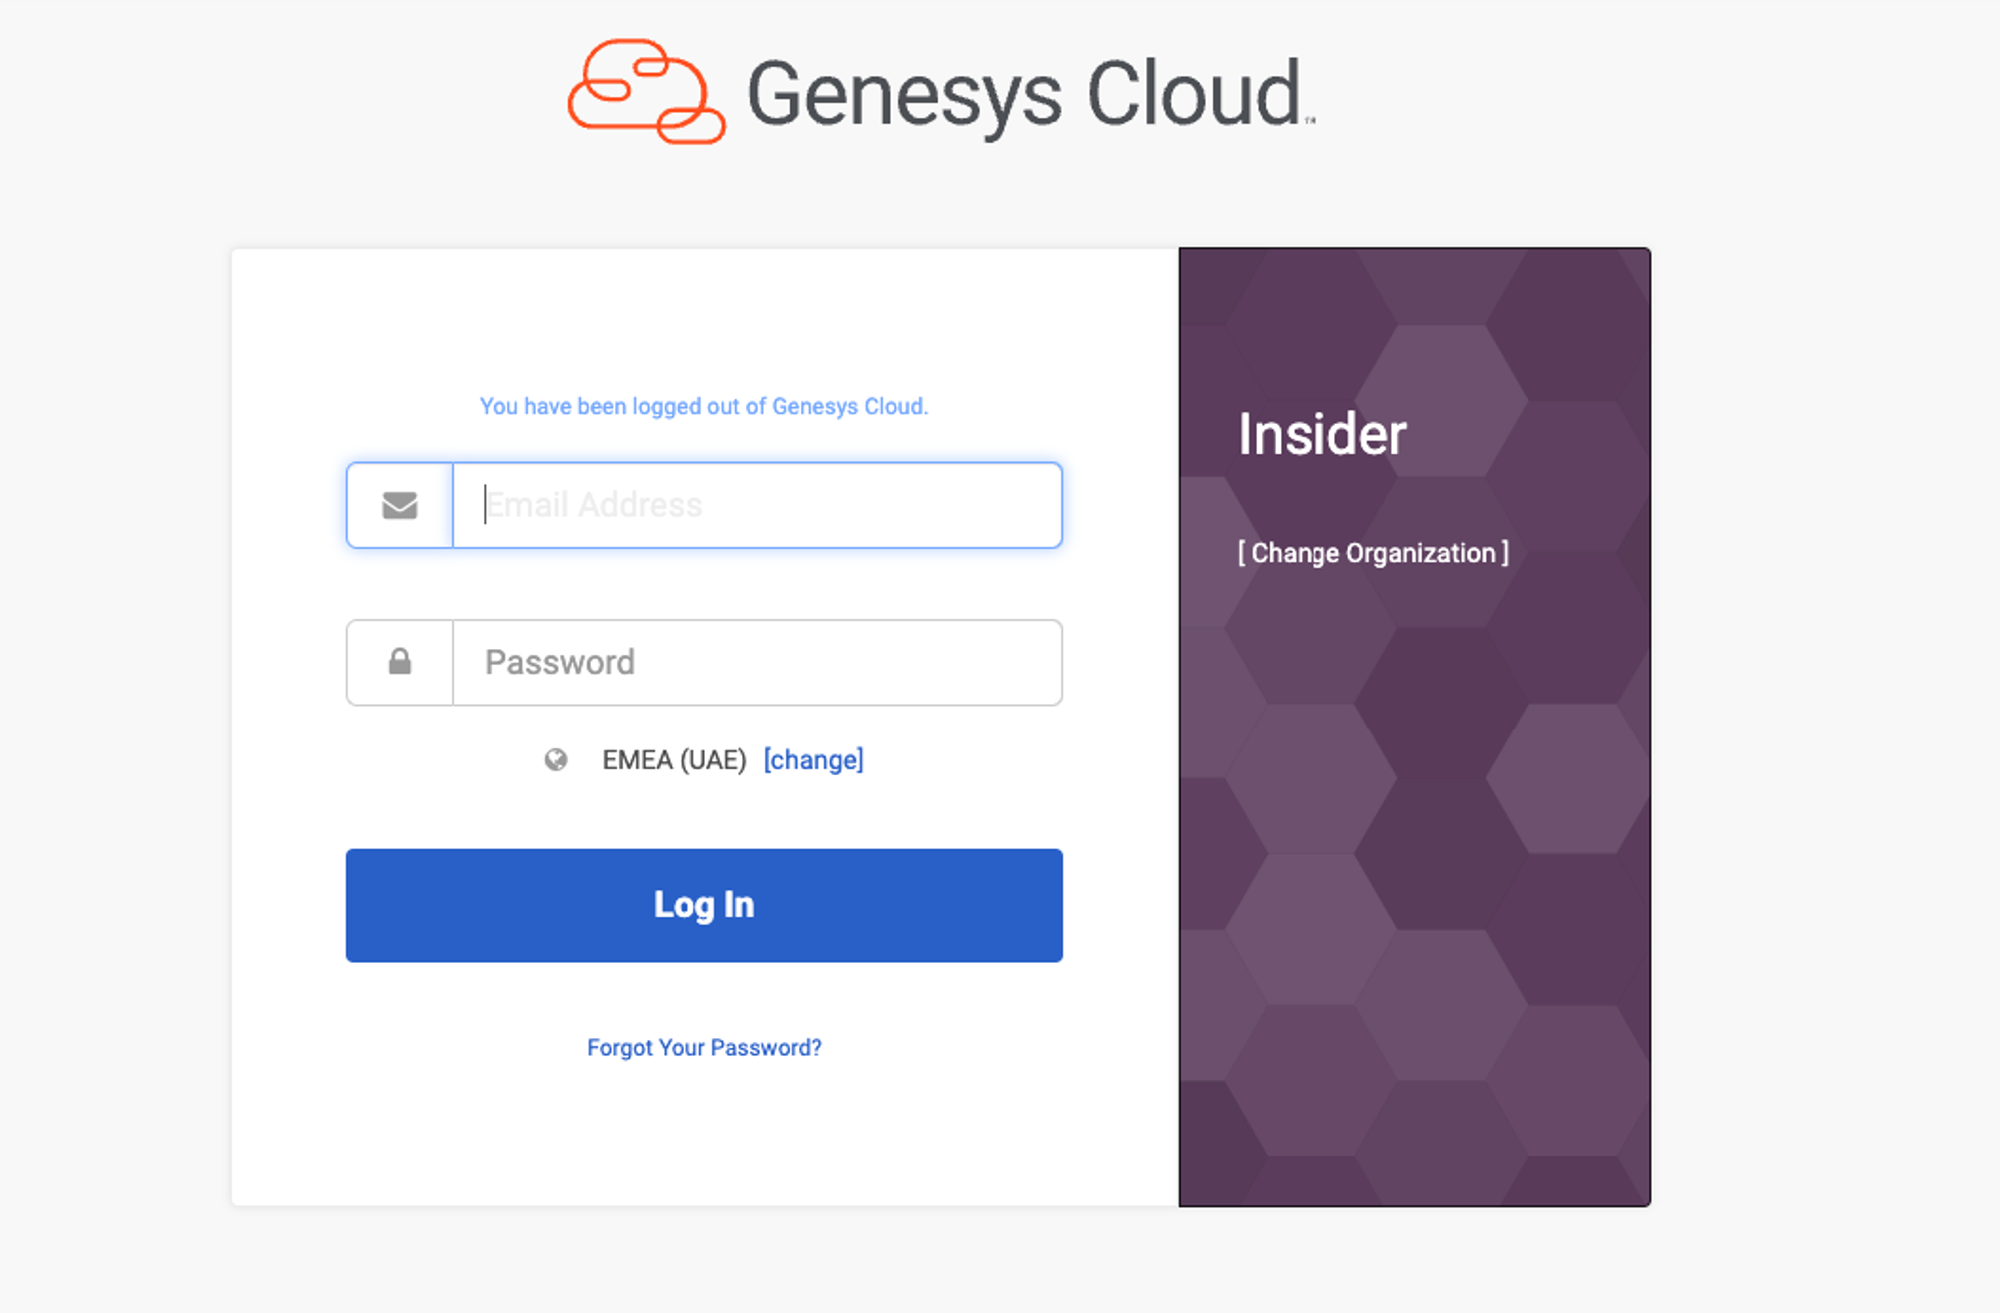
2. Add your email address and password for your Genesys account to access the admin panel.
3. Select the "Collaborate/Communicate" option. 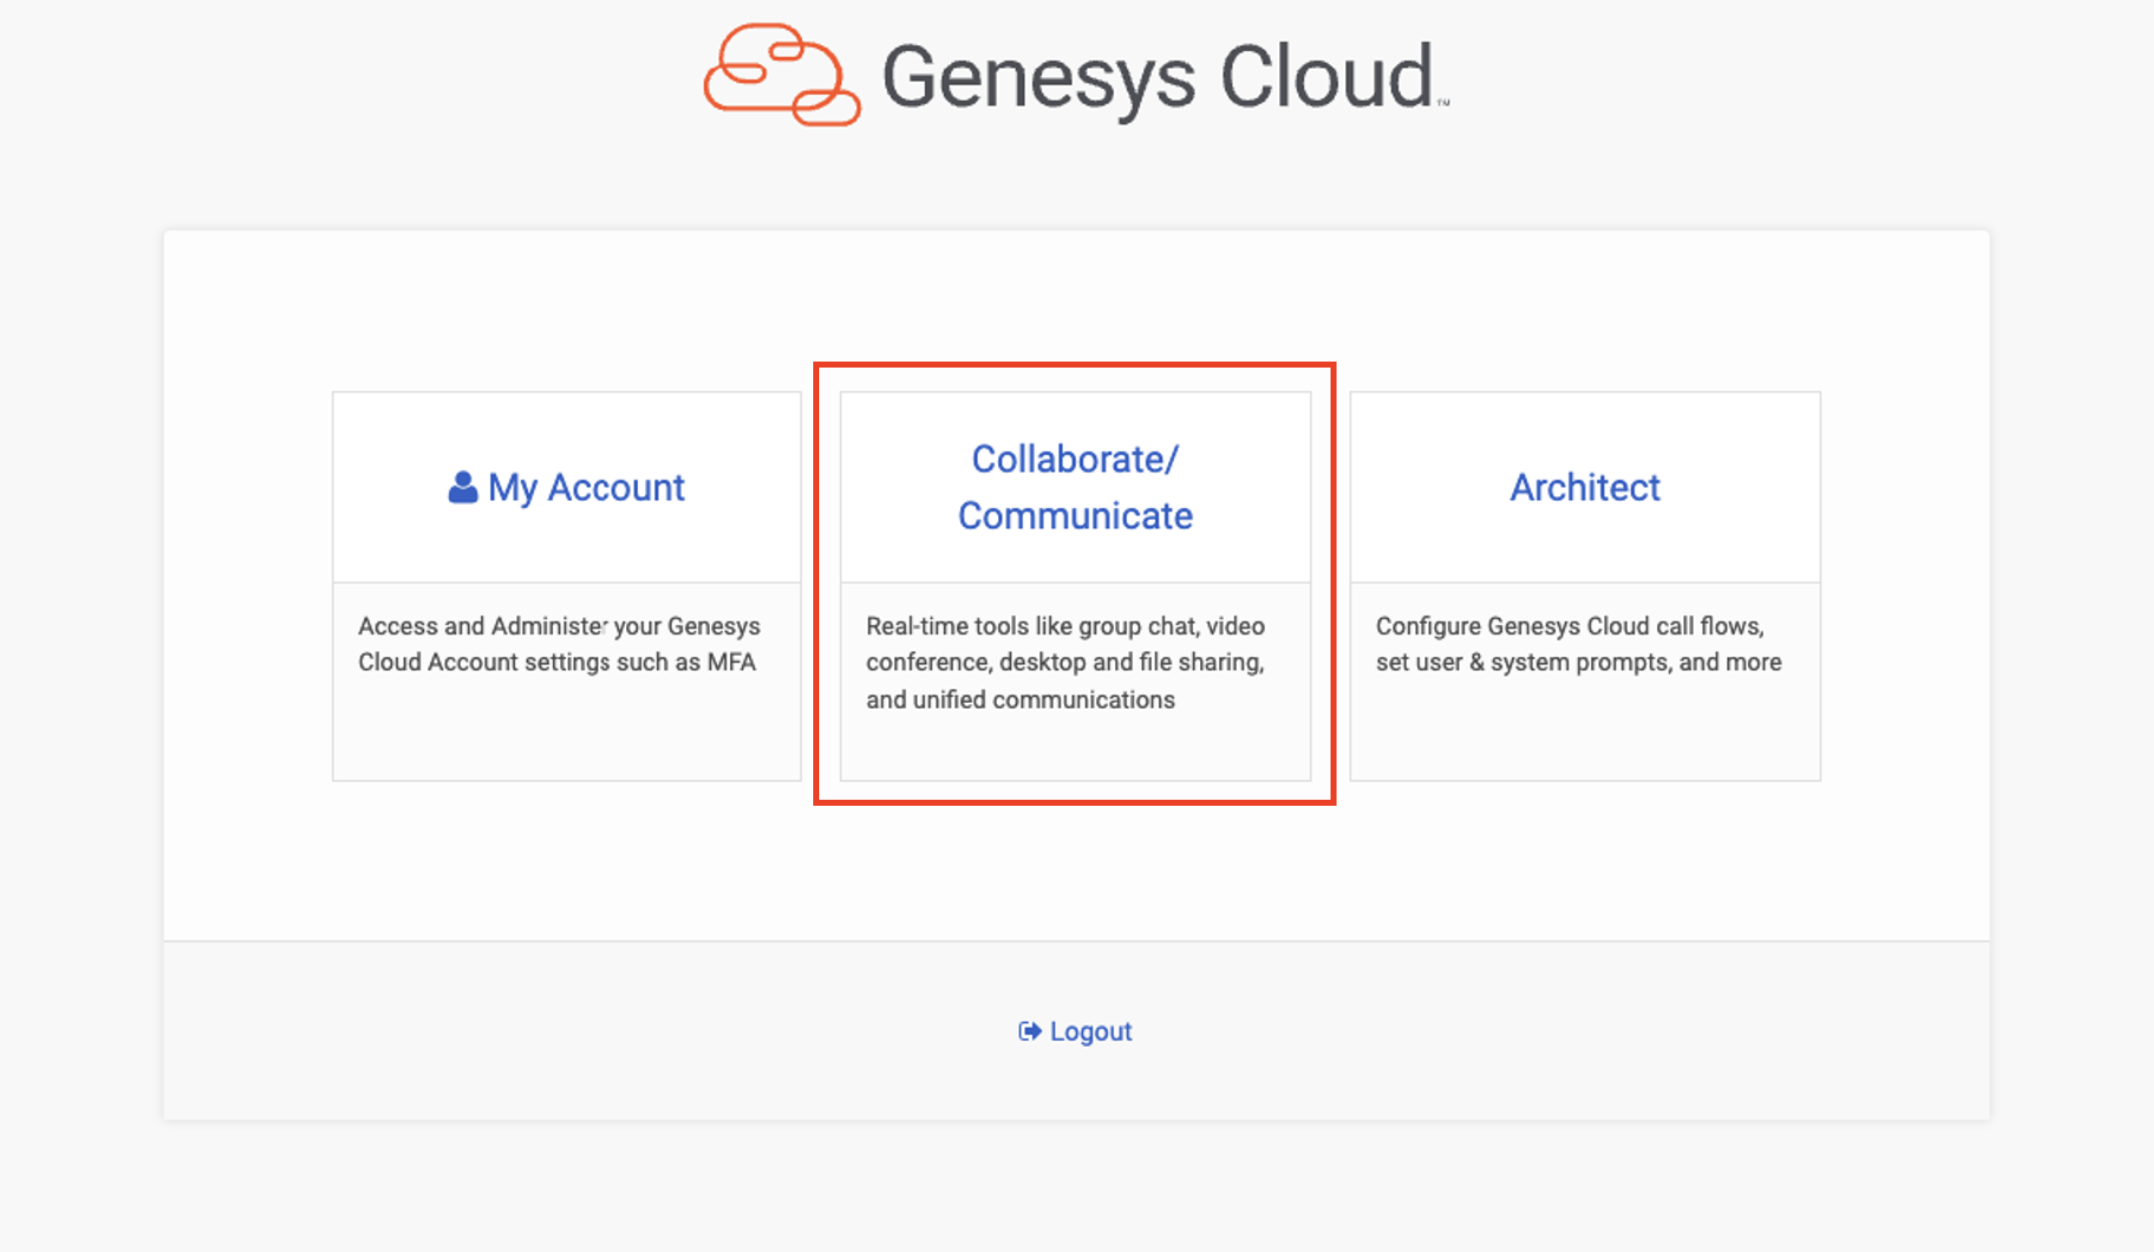
4. Note down the region and select the Admin panel.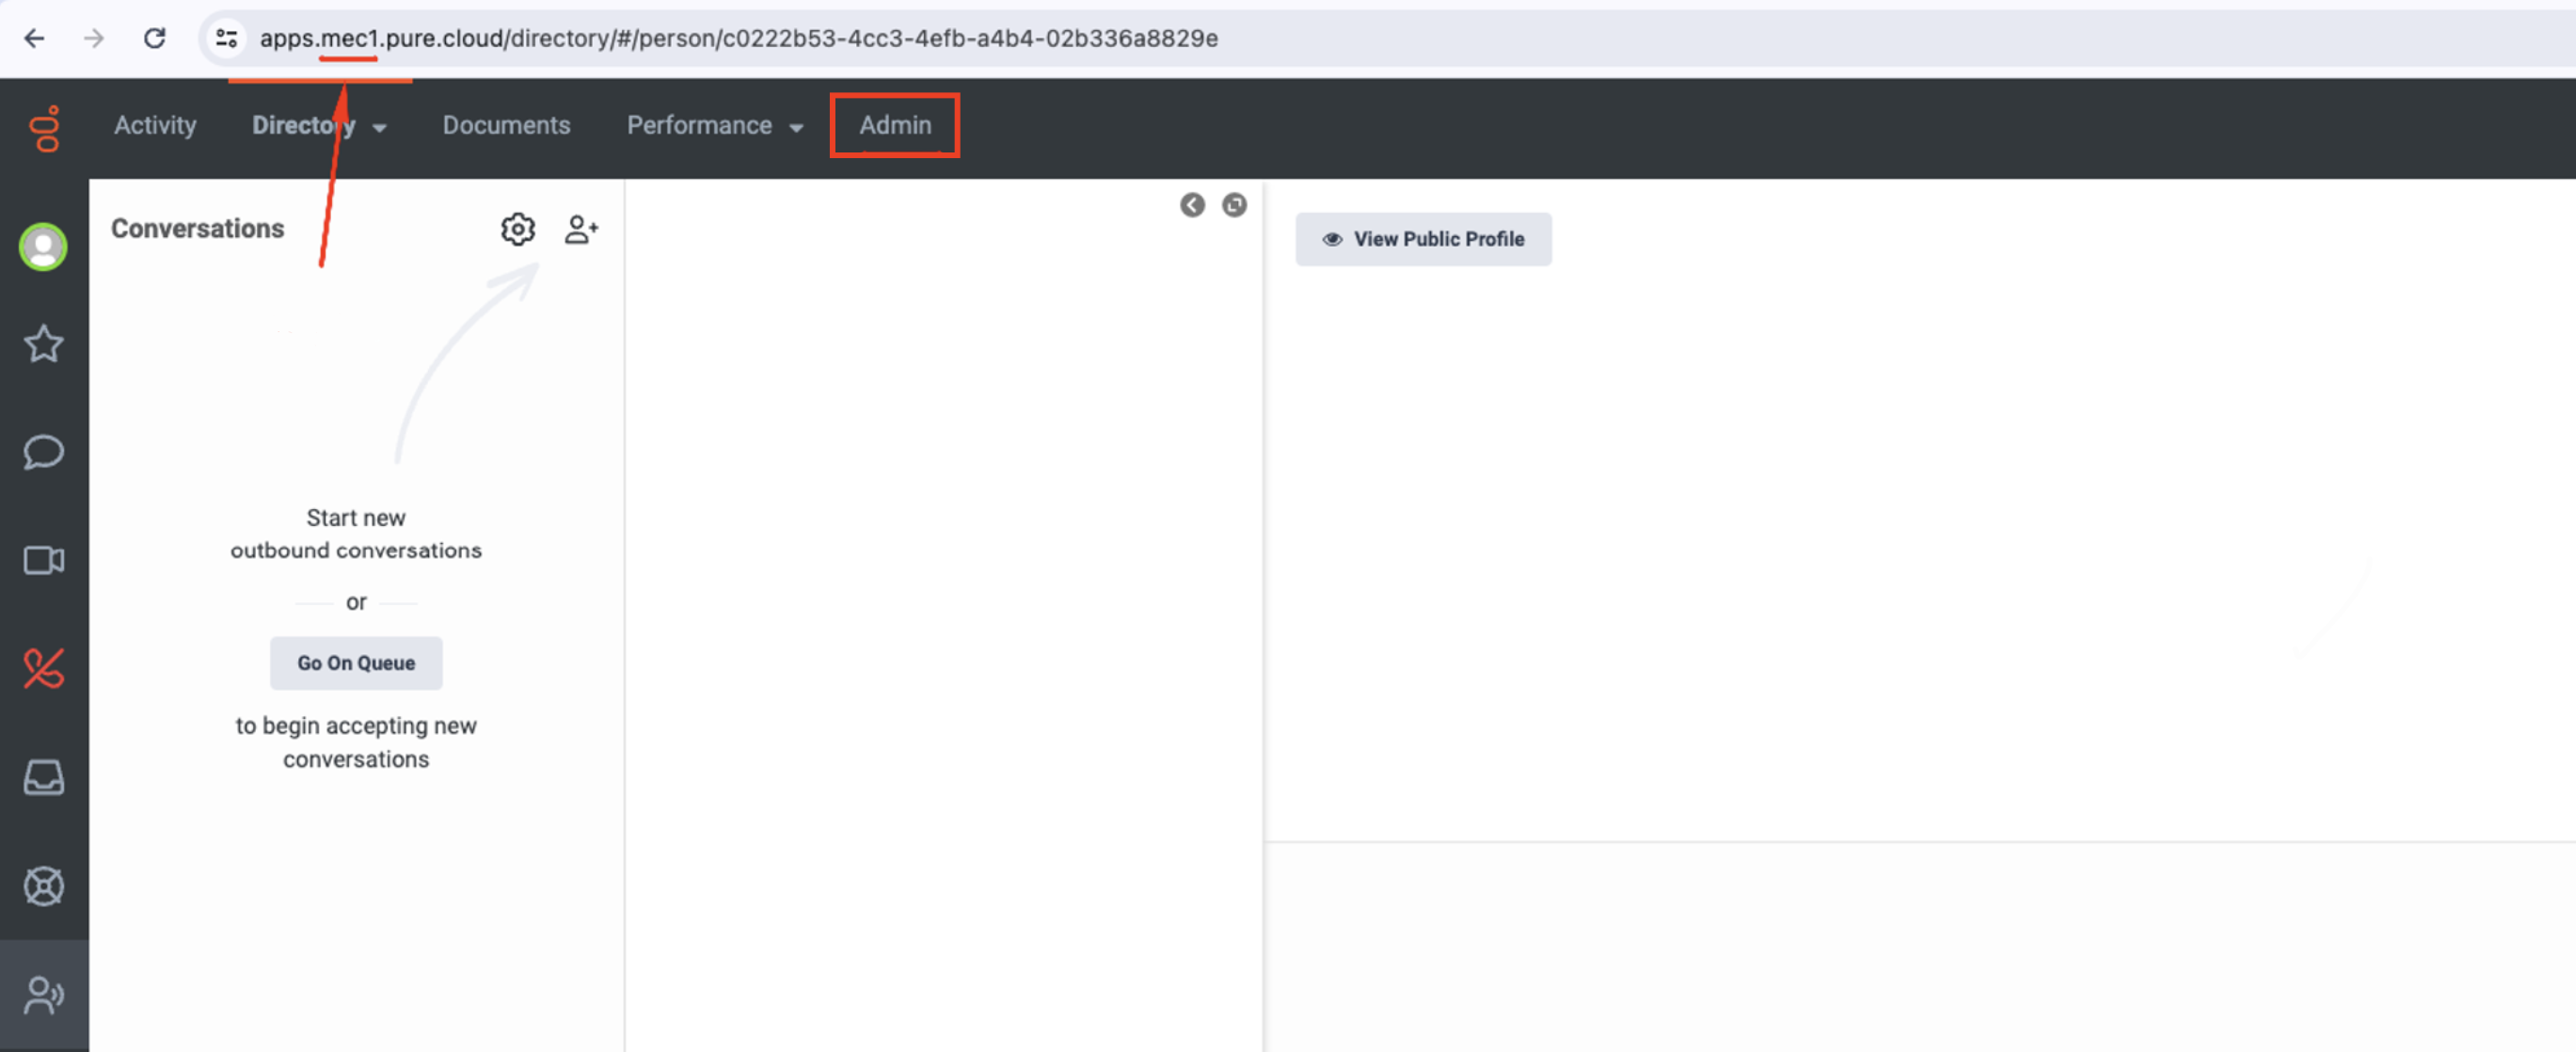
5. In the Admin Panel, select the Integrations option. 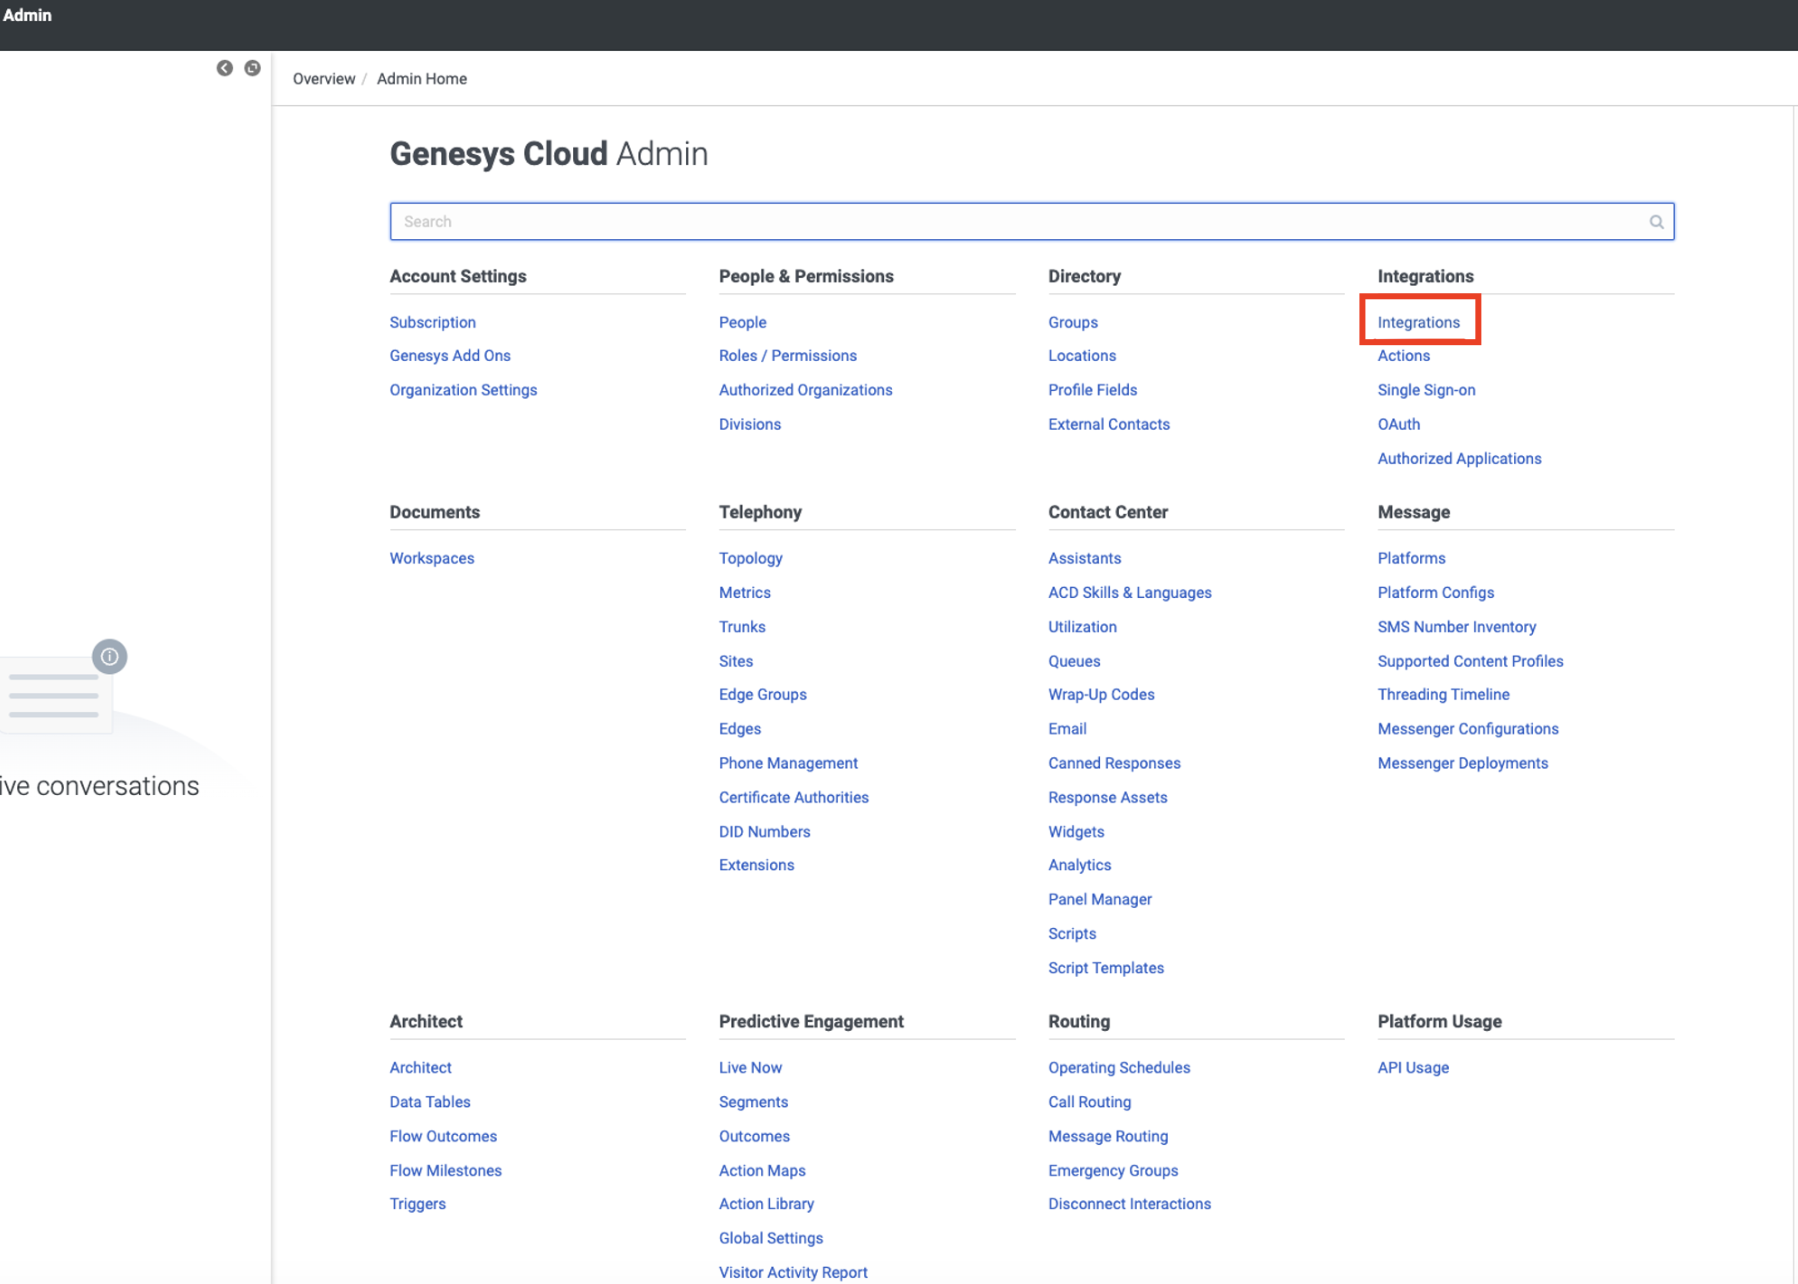
6. Click on the oAuth on the left menu and click the Add Client button. 
7. Fill in the required fields on the Client Details page. Remember to note down the Client ID and Client Secret.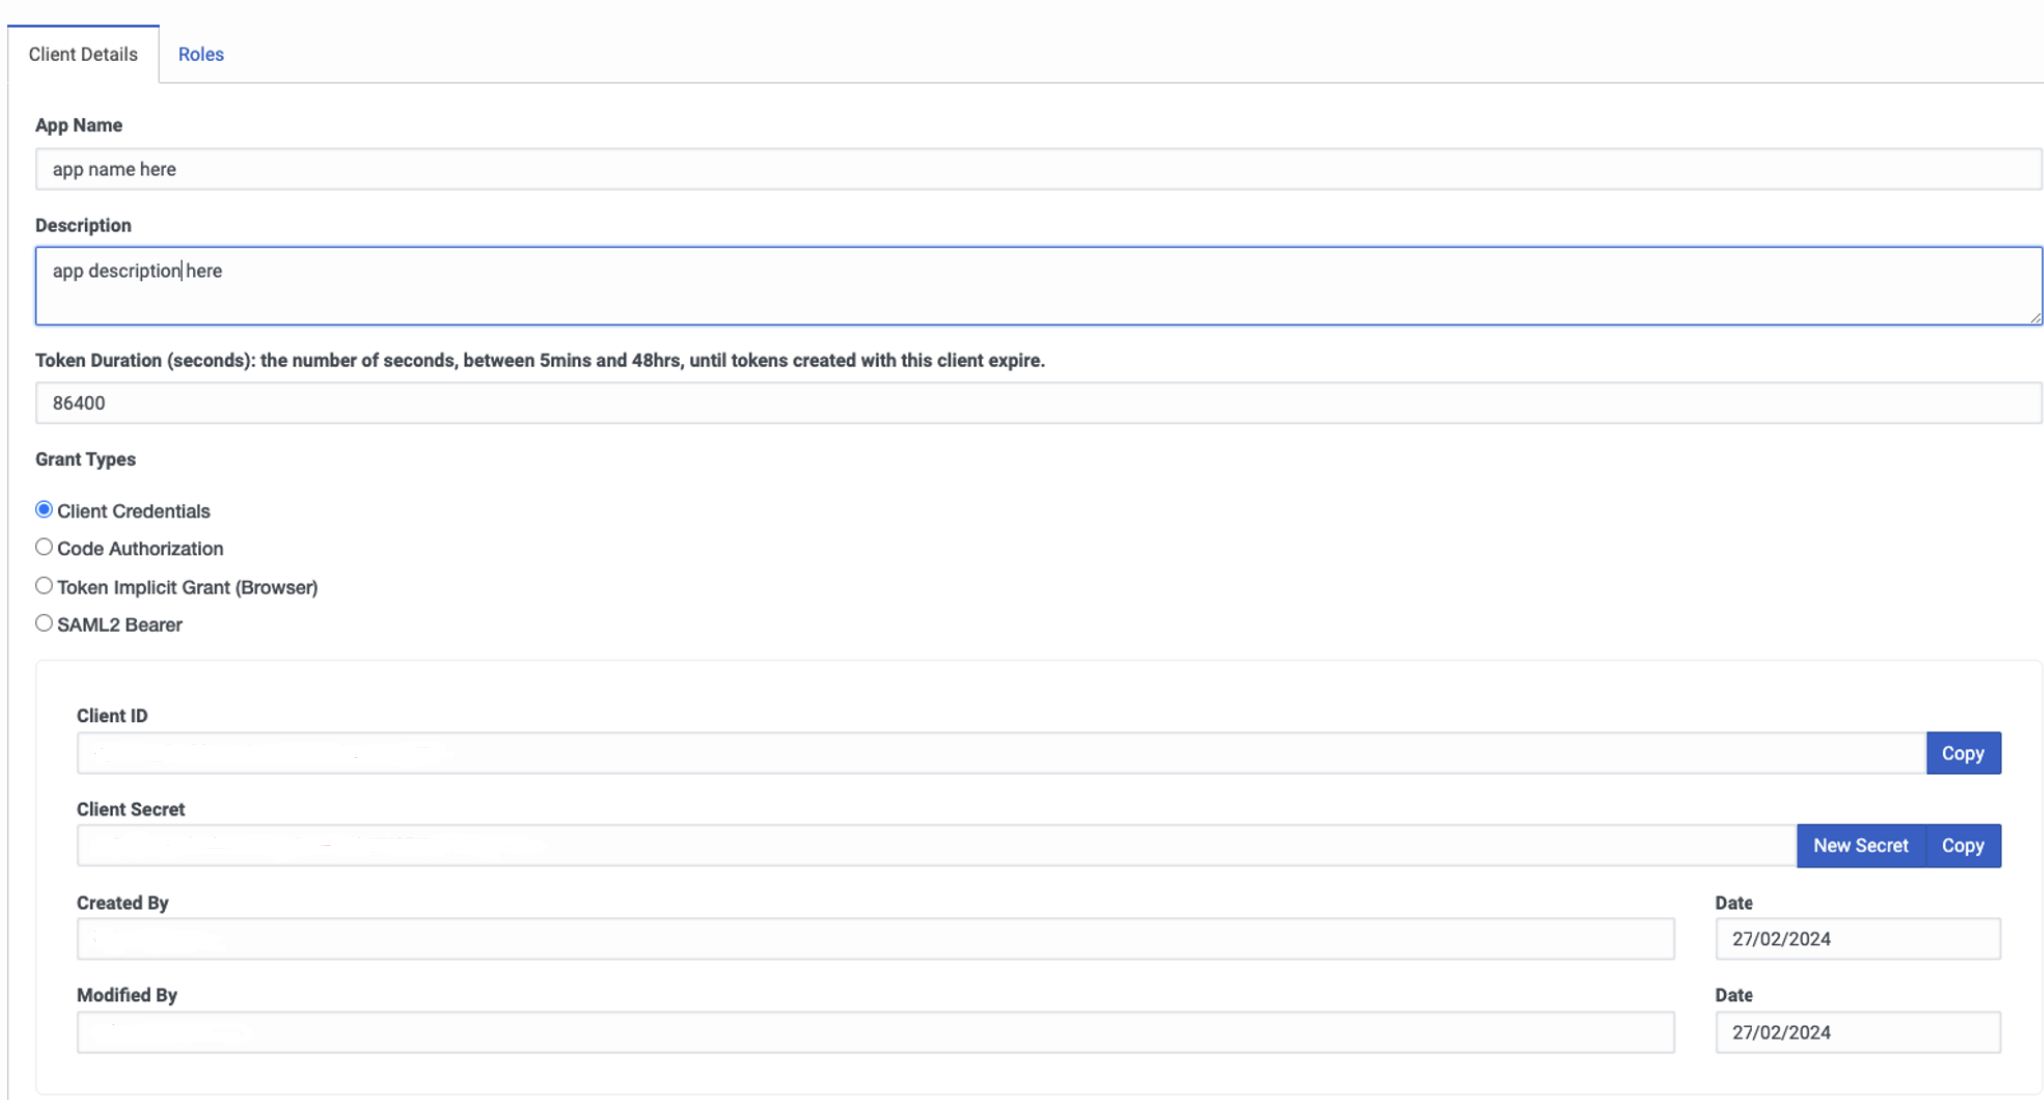
8. Go back to the Admin panel and select the Roles/ Permissions option. 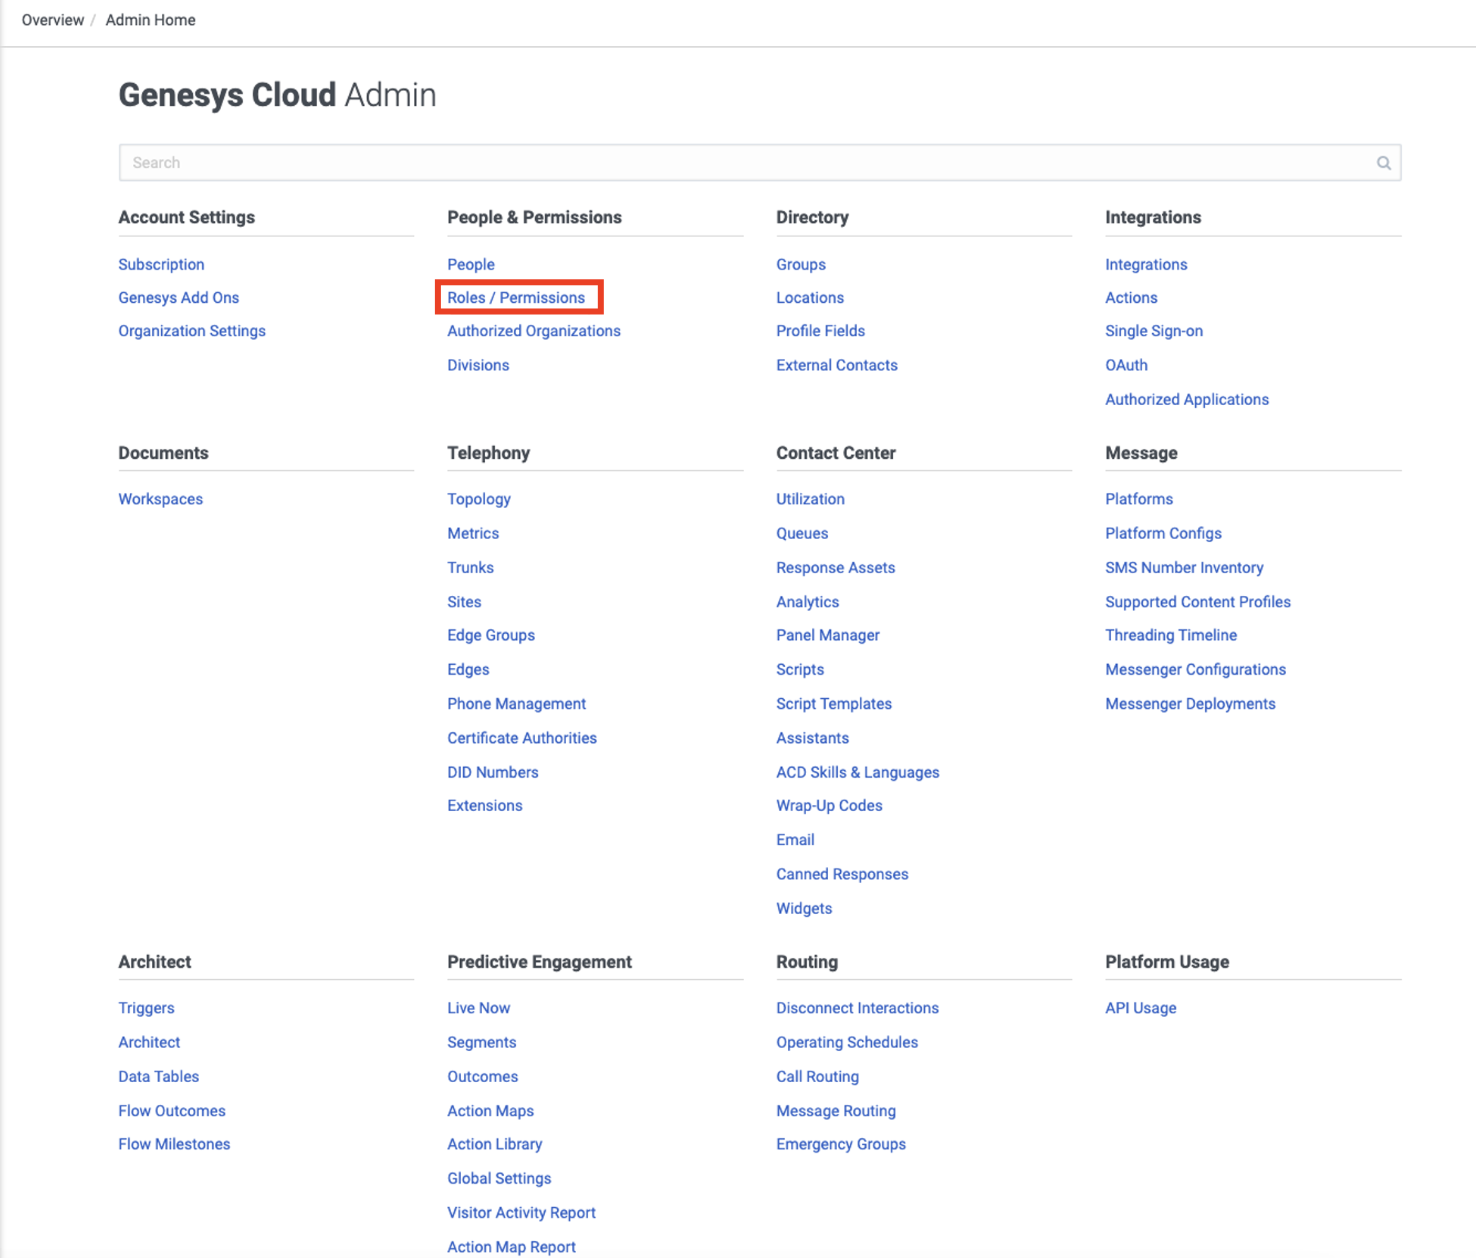
9. On the Roles/ Permissions page, select the All roles option or select a role that you have created. 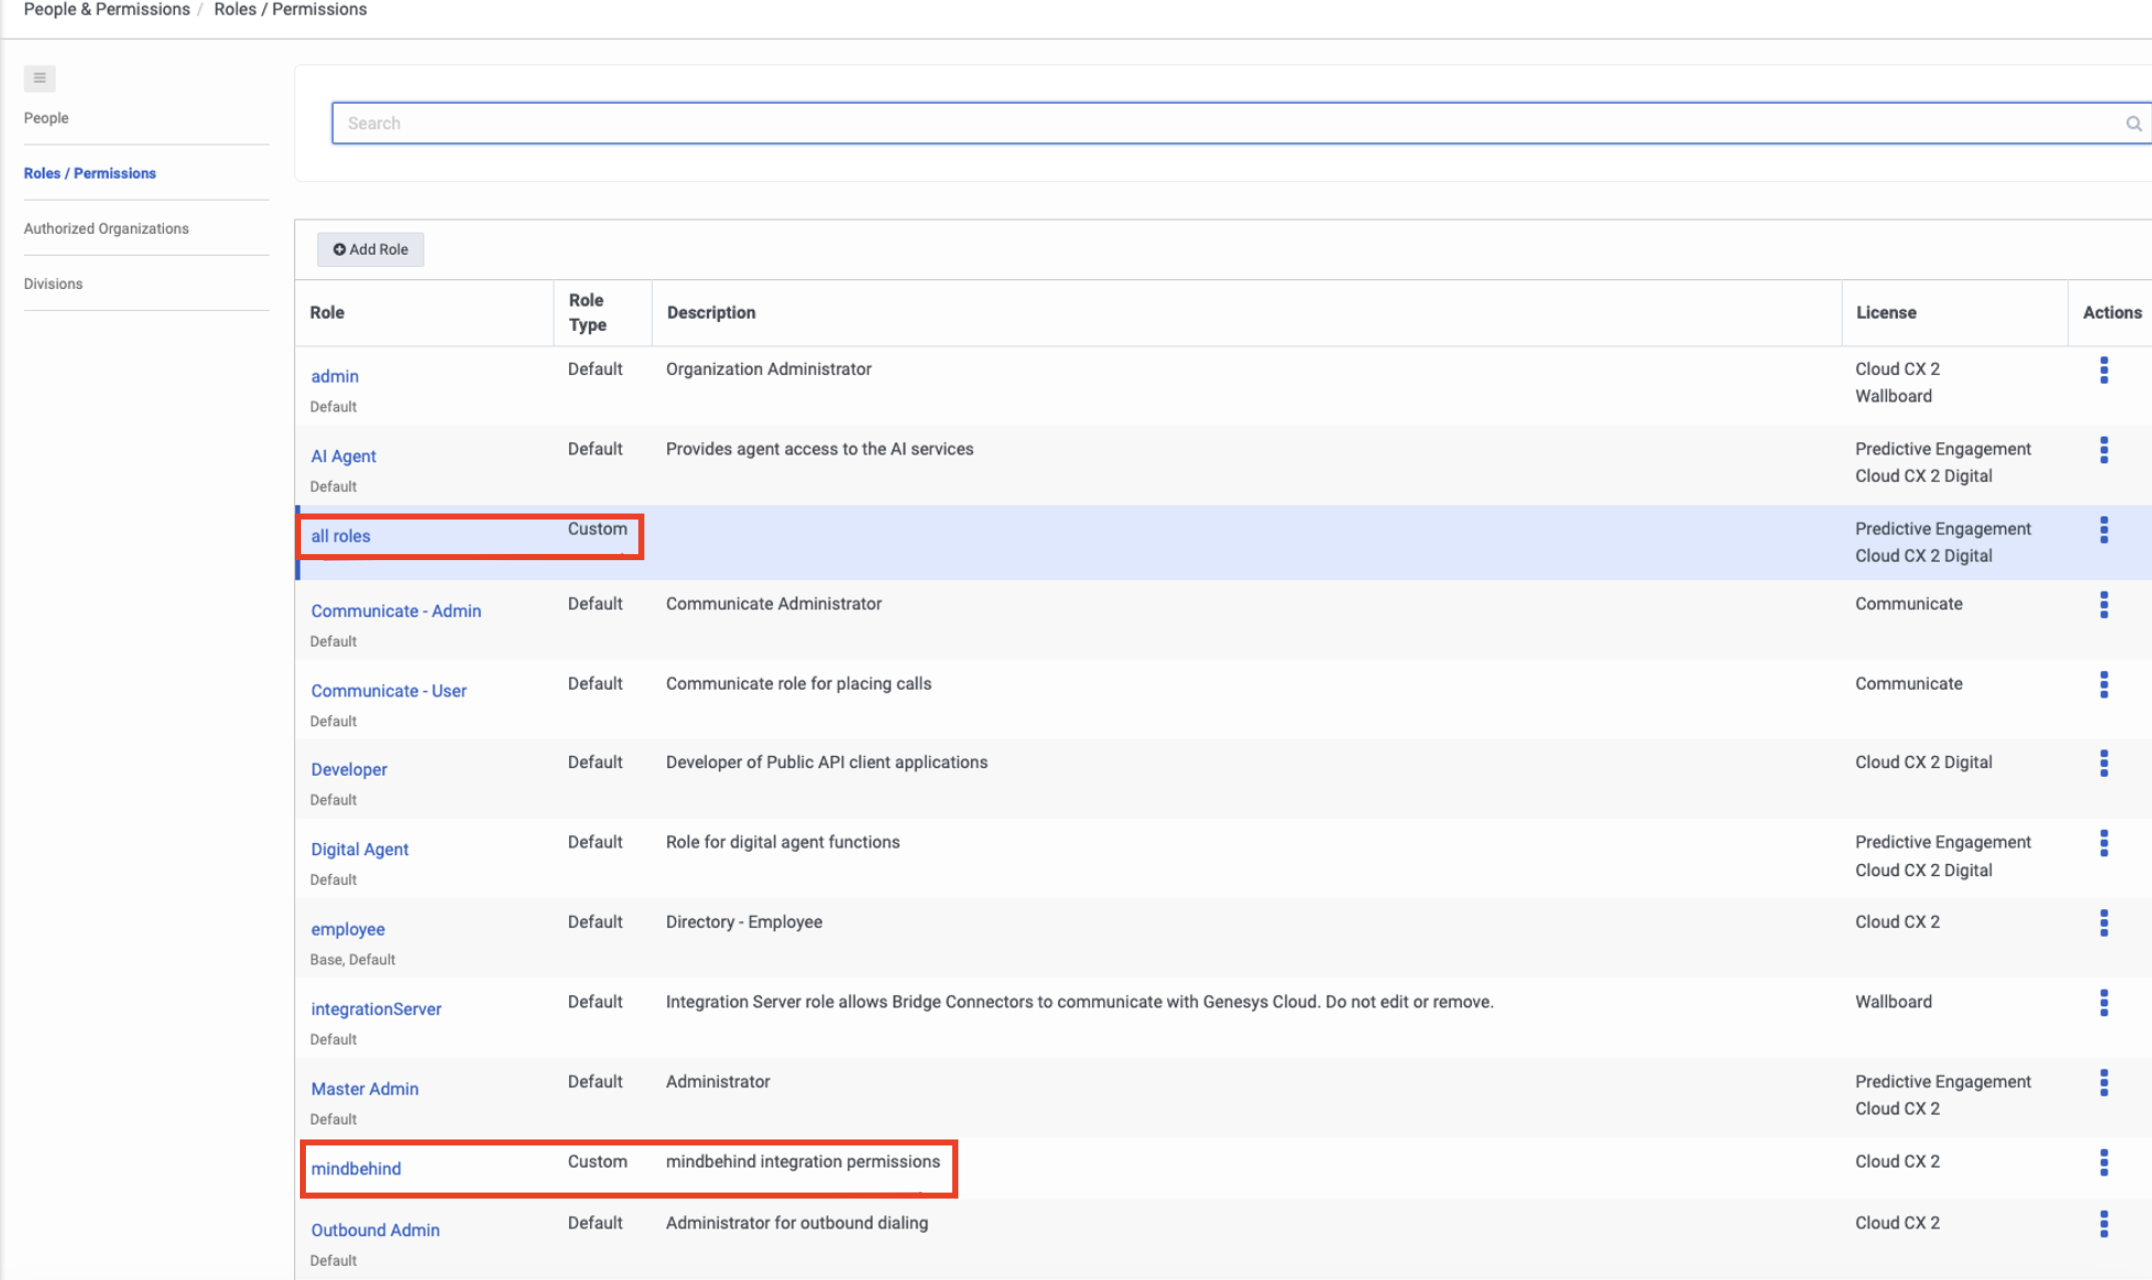
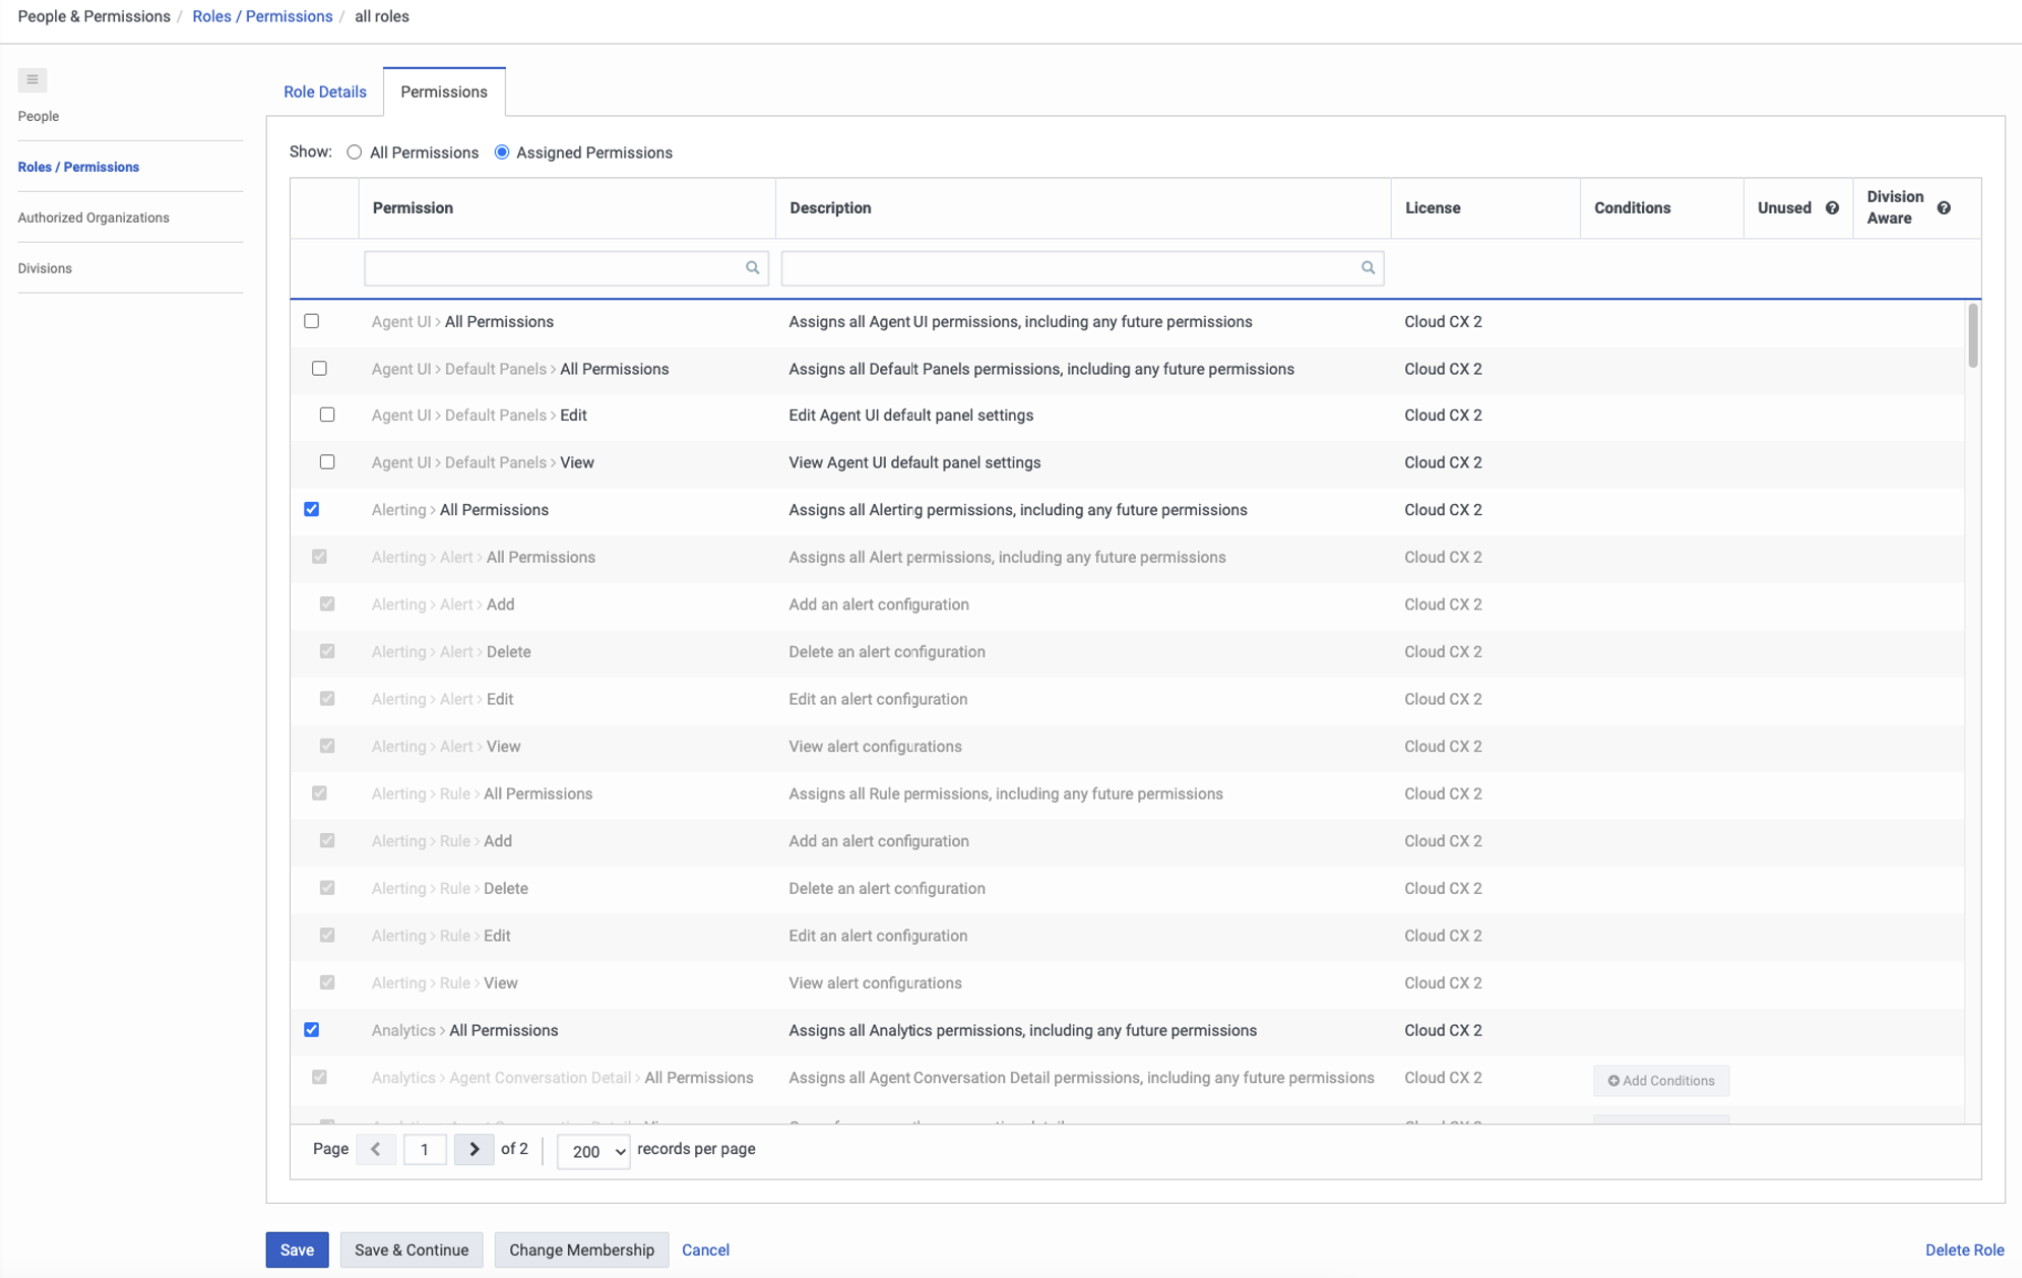
10. Assign the following permissions and click the Save button:
- Agent UI > All Permissions
- Alerting > All Permissions
- Analytics > All Permissions
- Architect > All Permissions
- Assistants > All Permissions
- Attributes > All Permissions
- Audits > All Permissions
- Authentication > All Permissions
- Authorization > All Permissions
- Conversation > Message > All Permissions
- Routing > Message > All Permissions
11. Select the Platforms under the Message column in the Admin home panel. 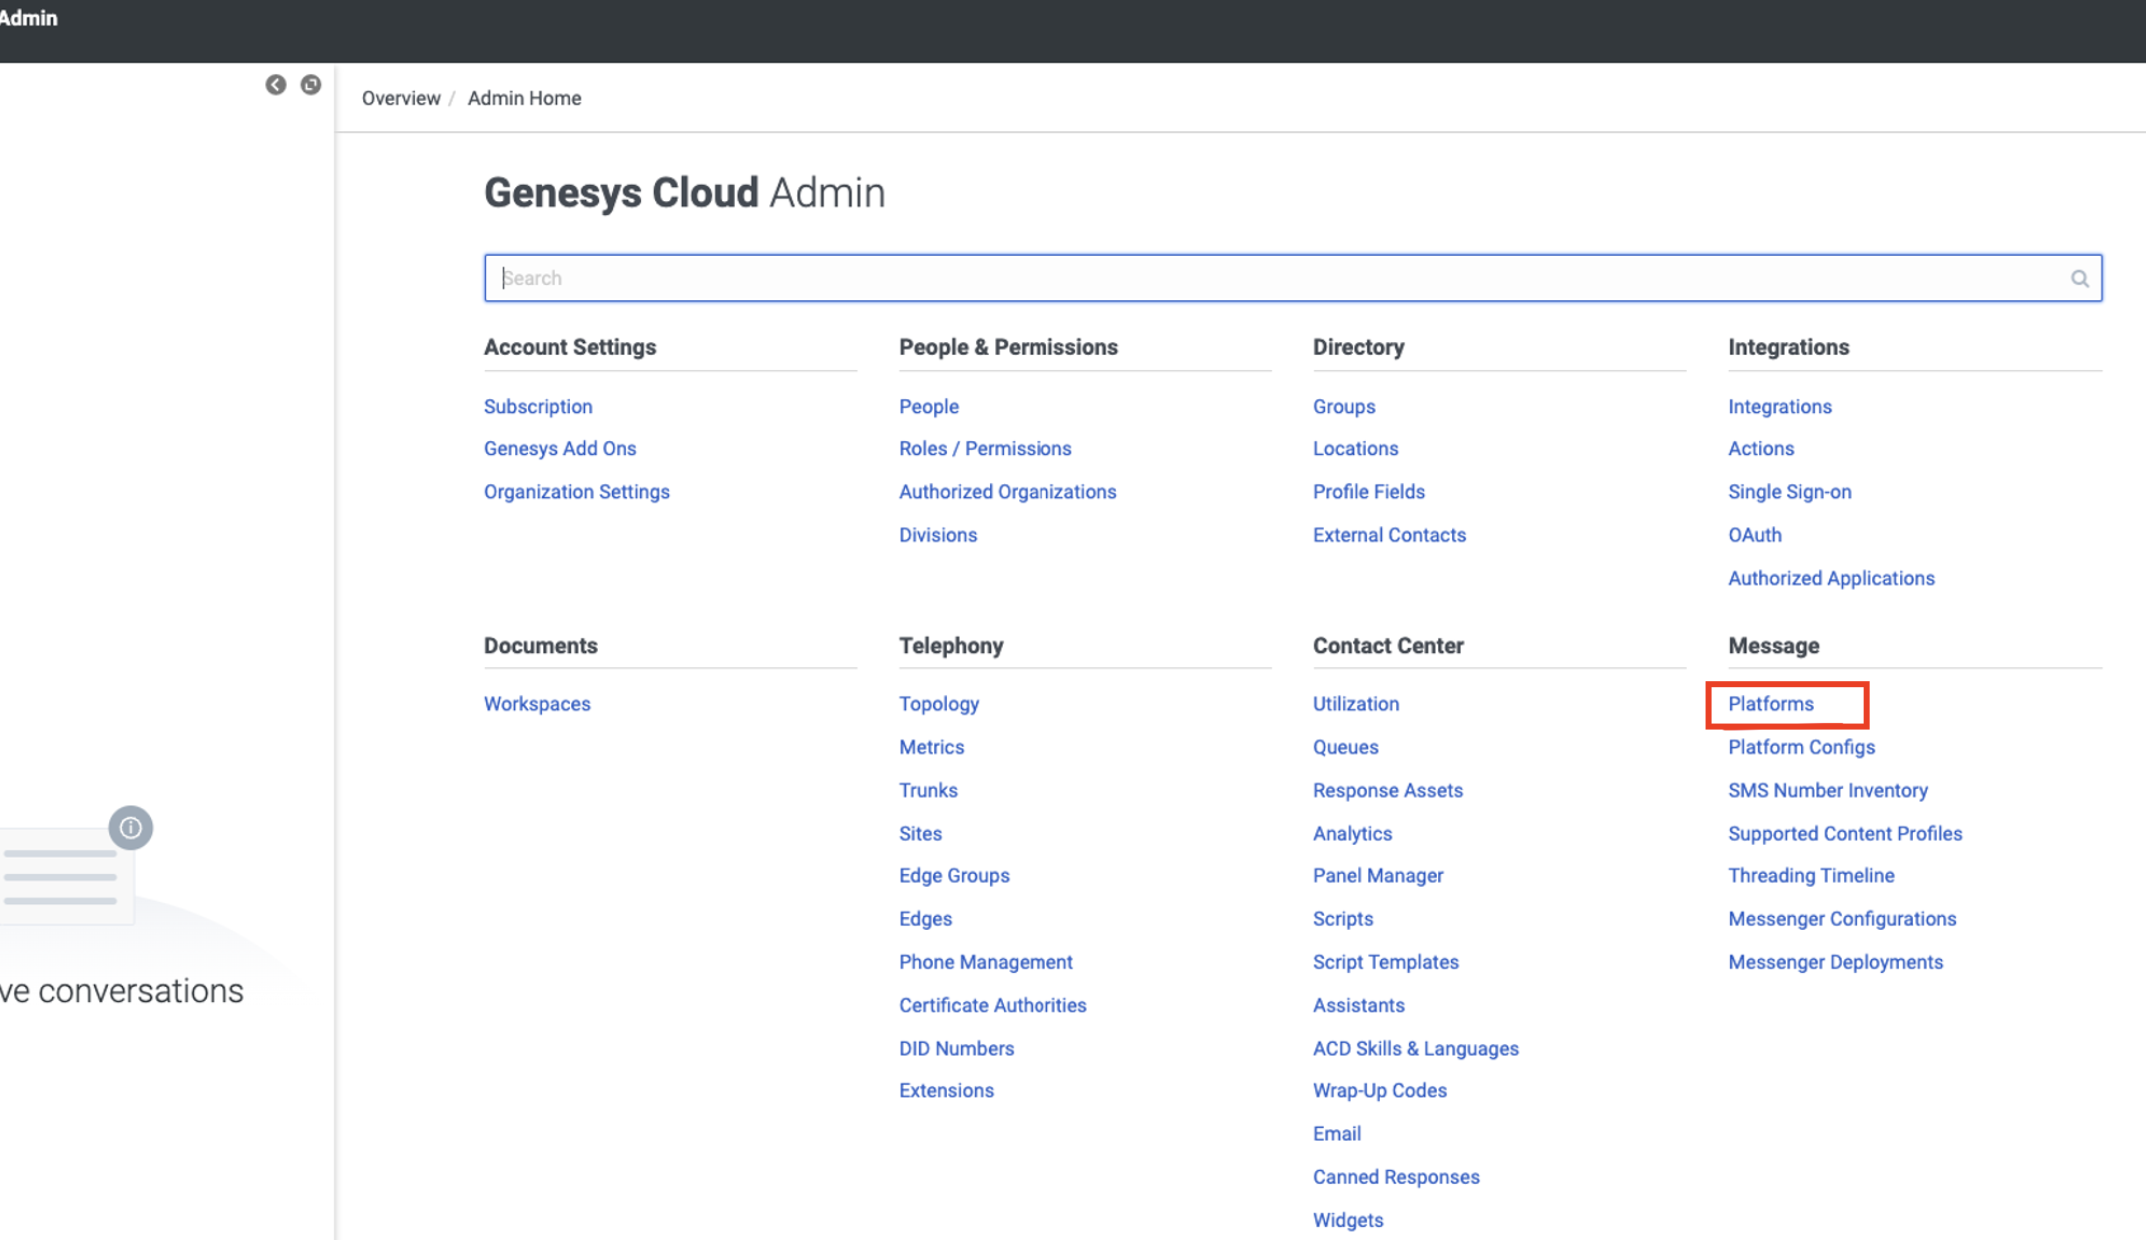
12. Click the +Create a new integration button. 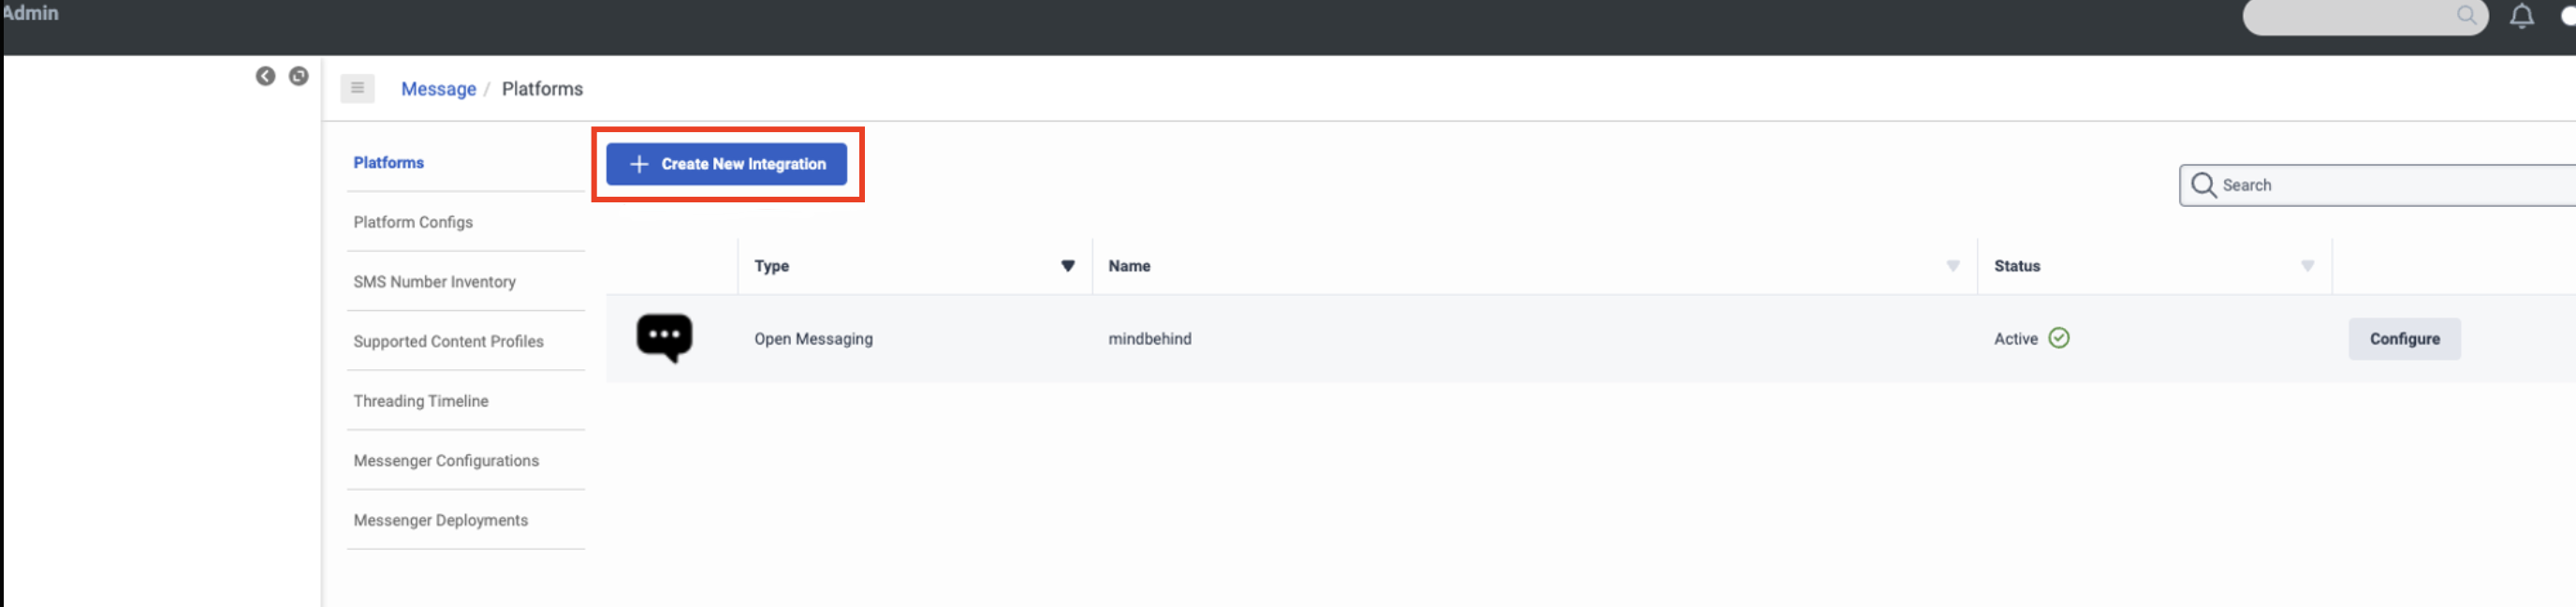
13. Click the Open Messaging option.
14. Select a name for the channel and fill in the details. 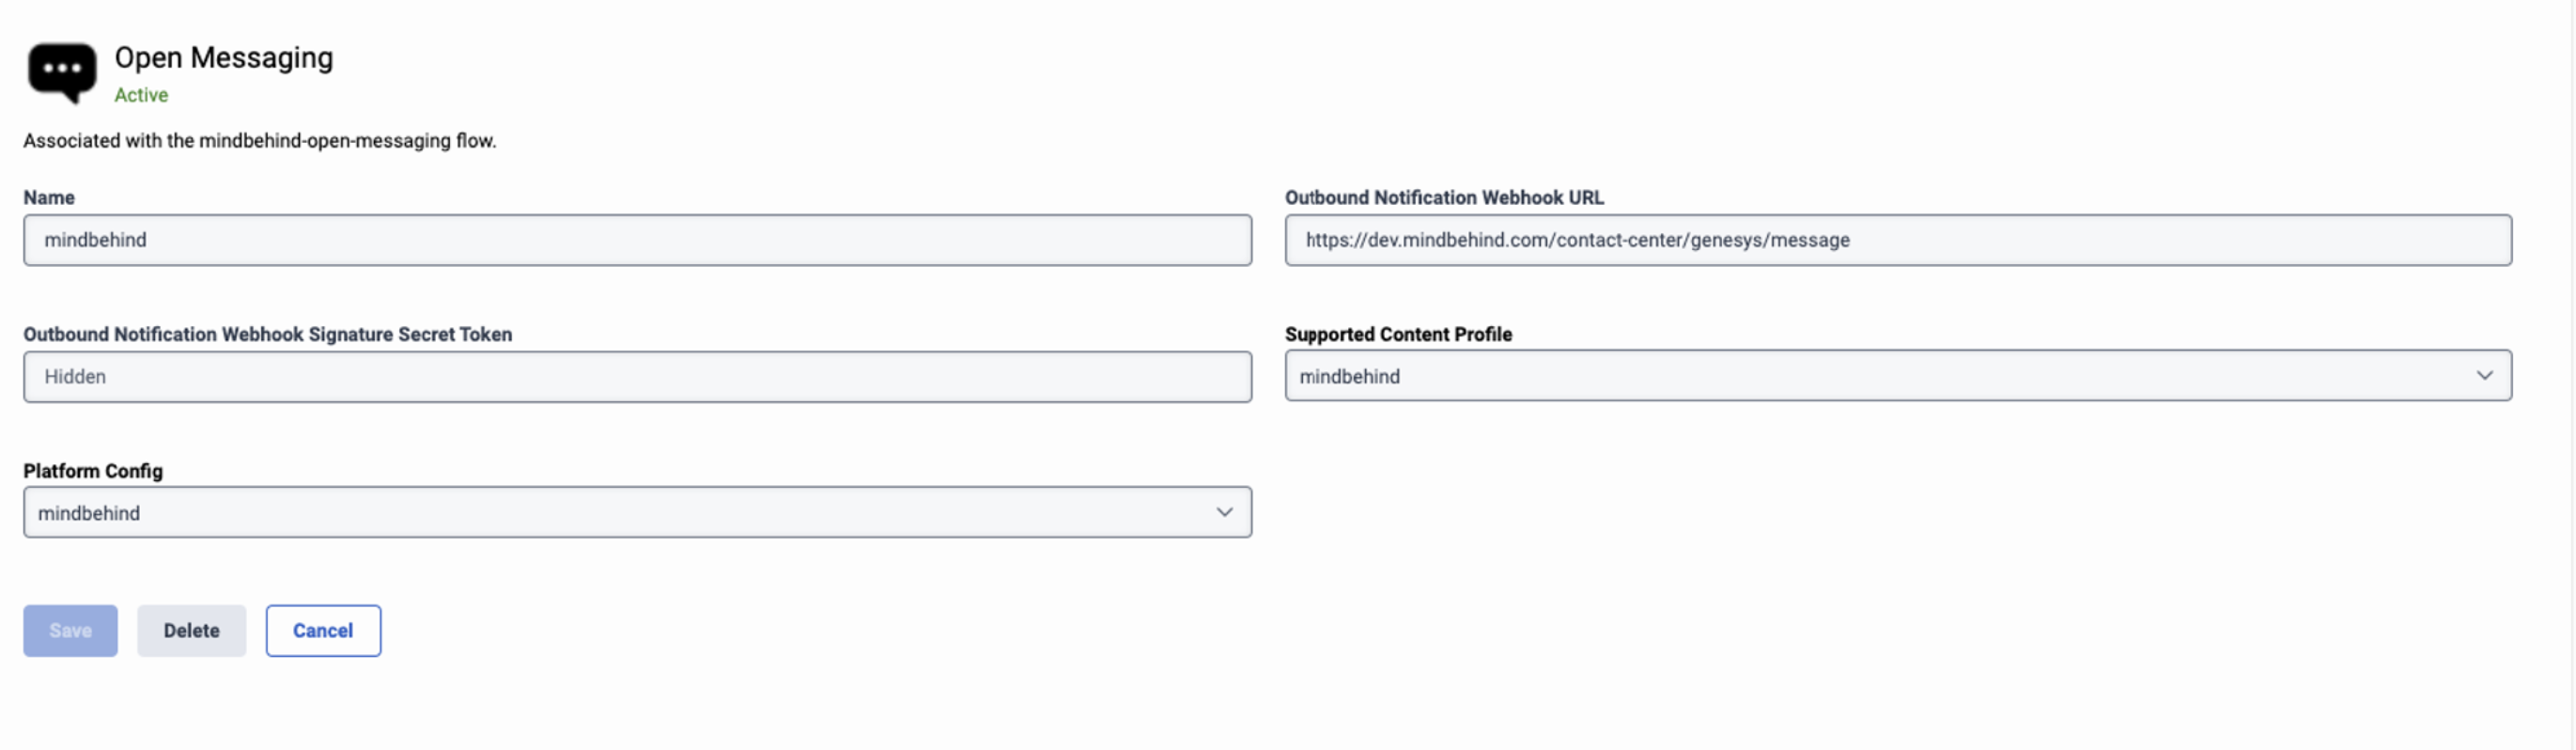
Add this URL in the Outbound Webhook URL field: https://domain/contact-center/genesys/message where the domain can be (for example) dev.mindbehind.com.
15. Go to the Admin panel and select the Queues option under the Contact Center column. 
16. Click the Create Queue button. 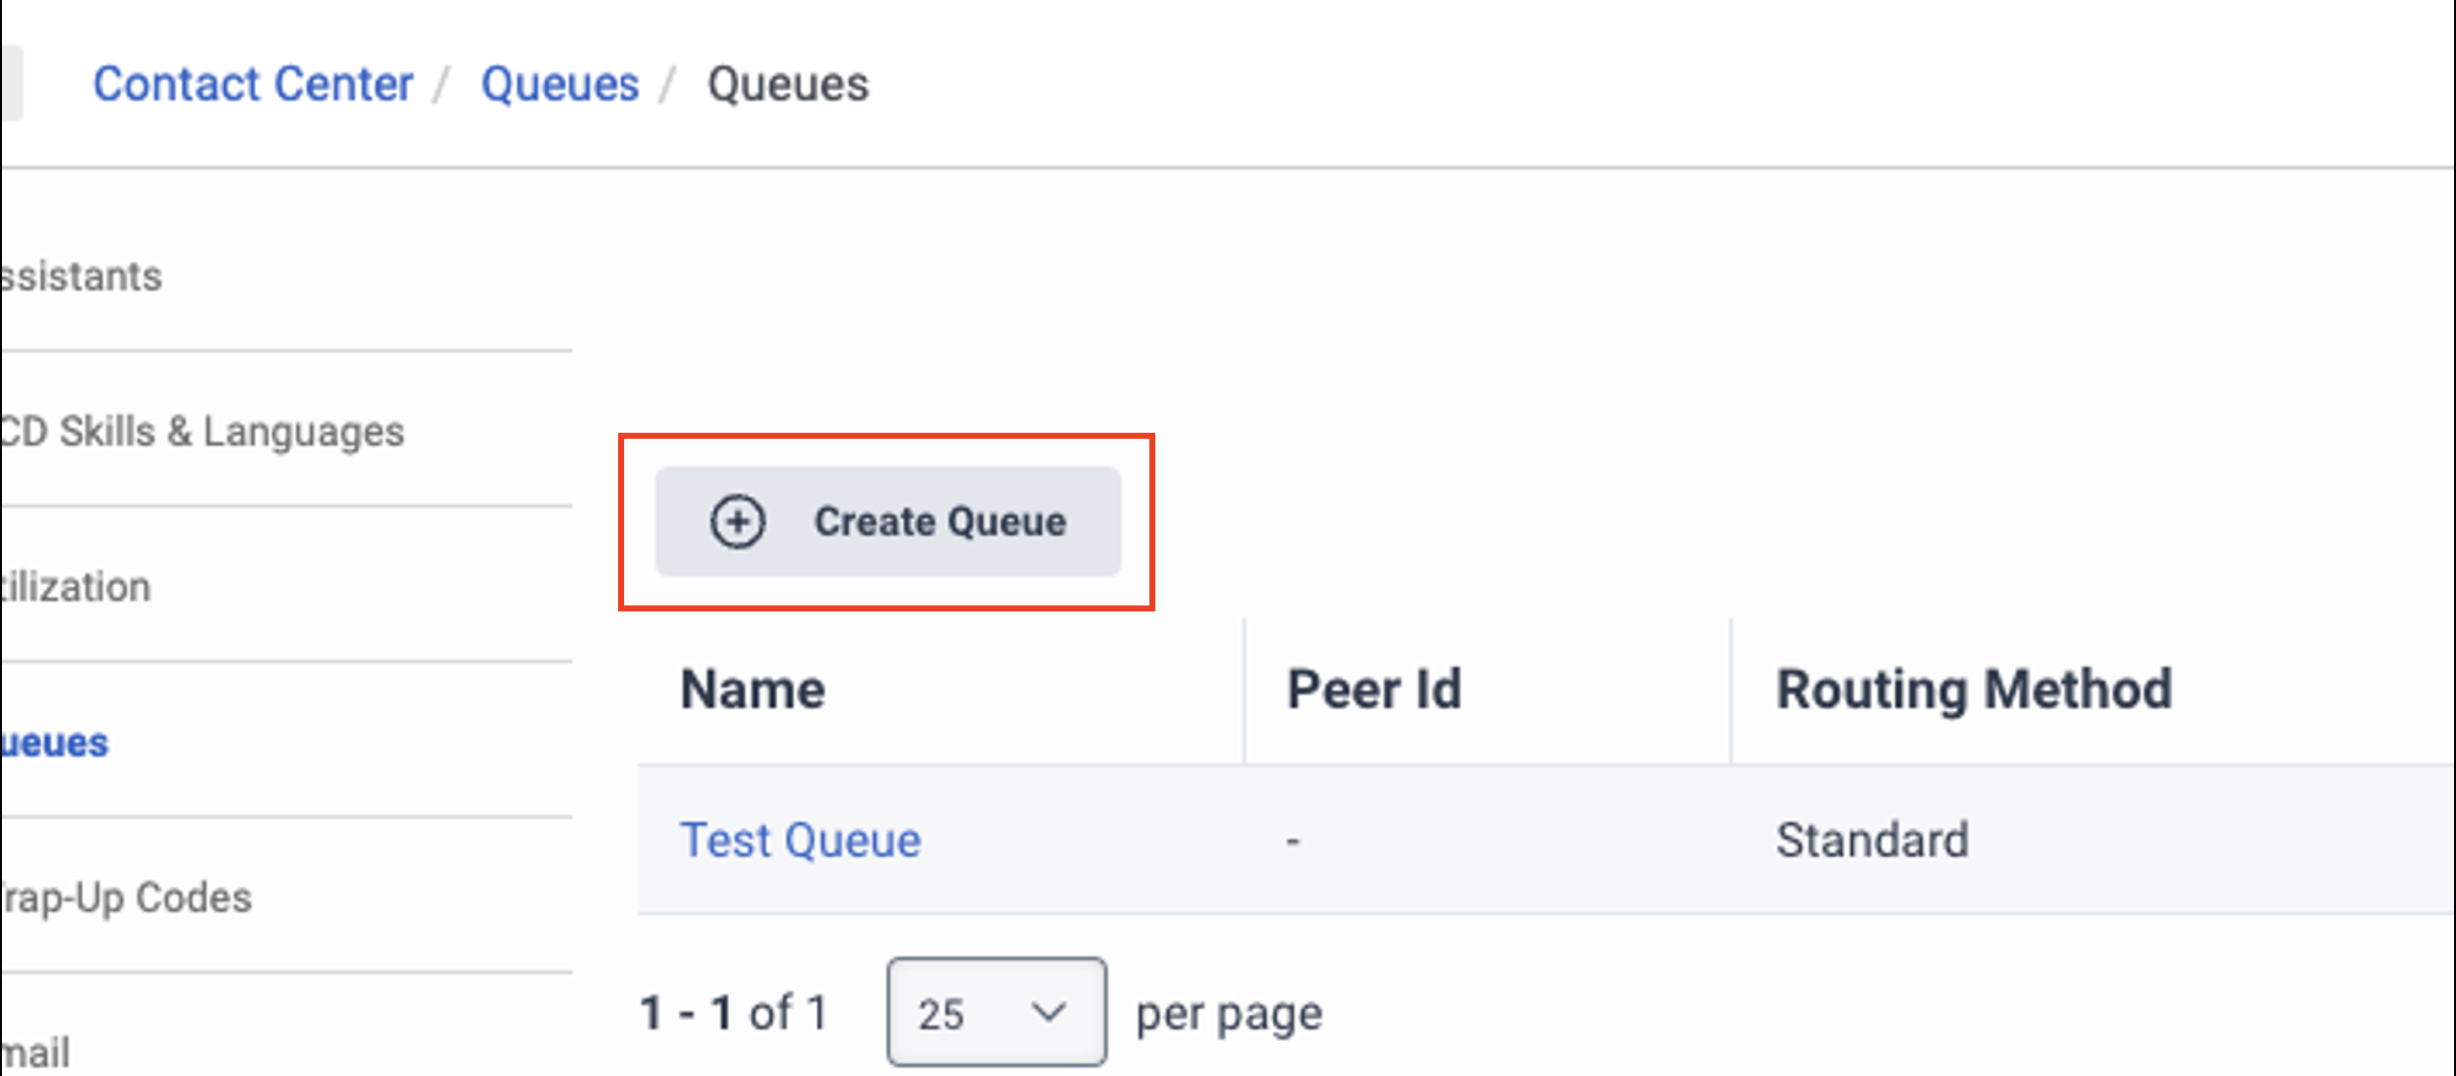
17. Go back to the Admin panel and select the Architect option under the Architect tab. 
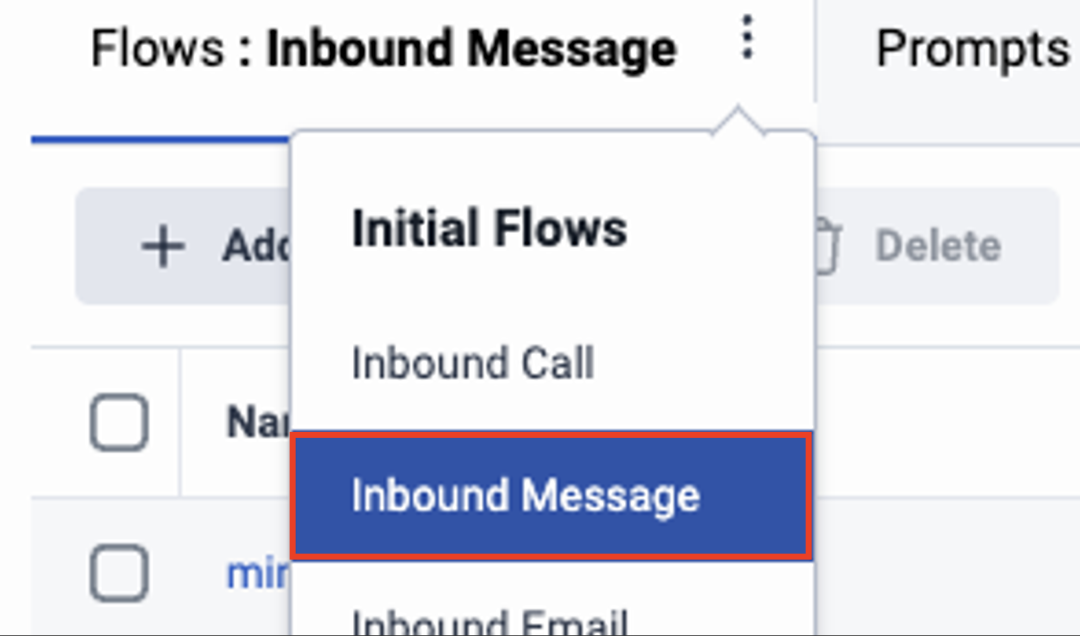
18. Click the Inbound Message option, and you will see a dropdown list. 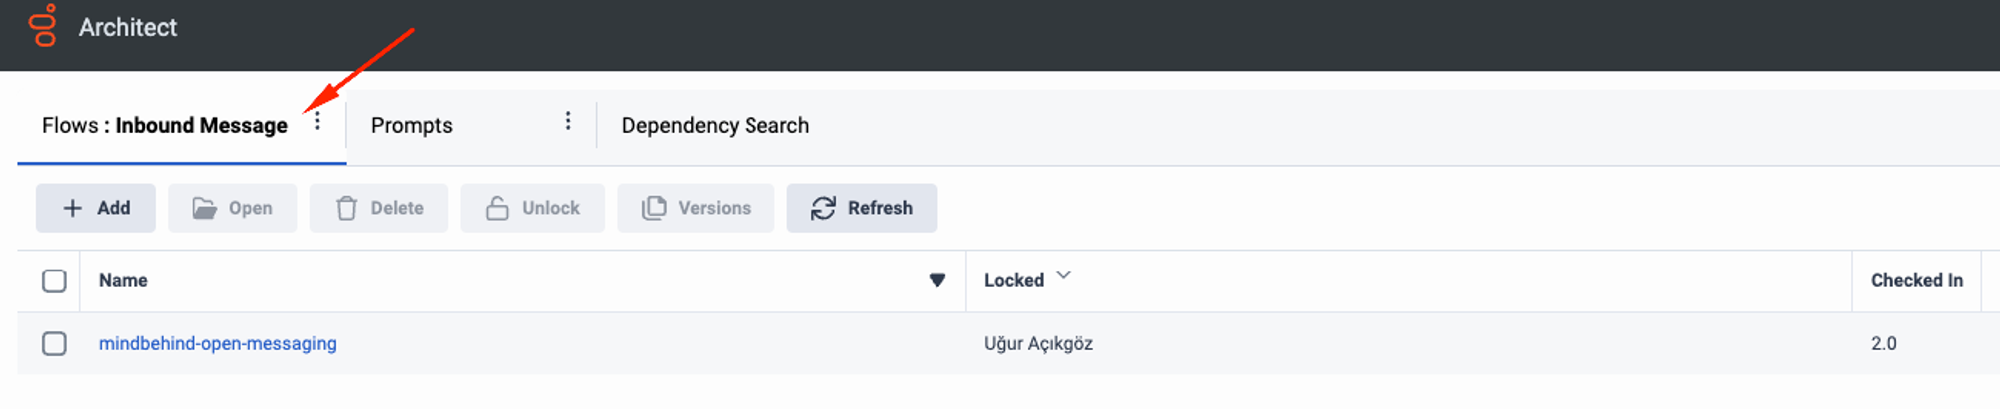
19. Select the Inbound Message option from this list.
20. Click the Add button, create a new inbound message flow, and select the queue you selected here.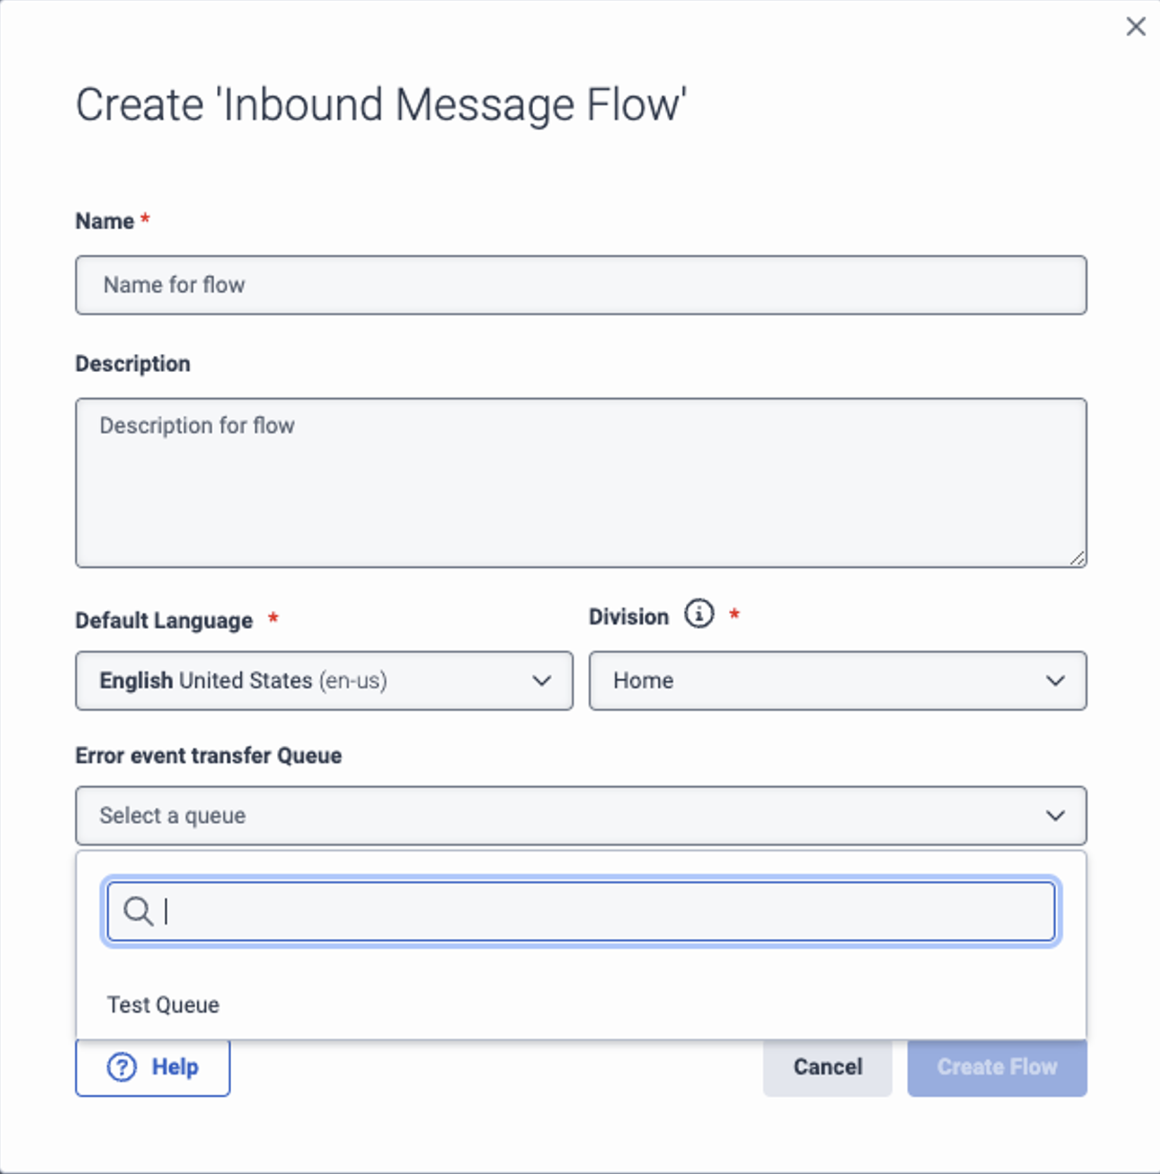
21. After creating the inbound message flow, click on the flow, and it will redirect you to a new window. As you can see in the image below, in the Architect, you have selected the queue where the inbound messages will be redirected. Do the same here.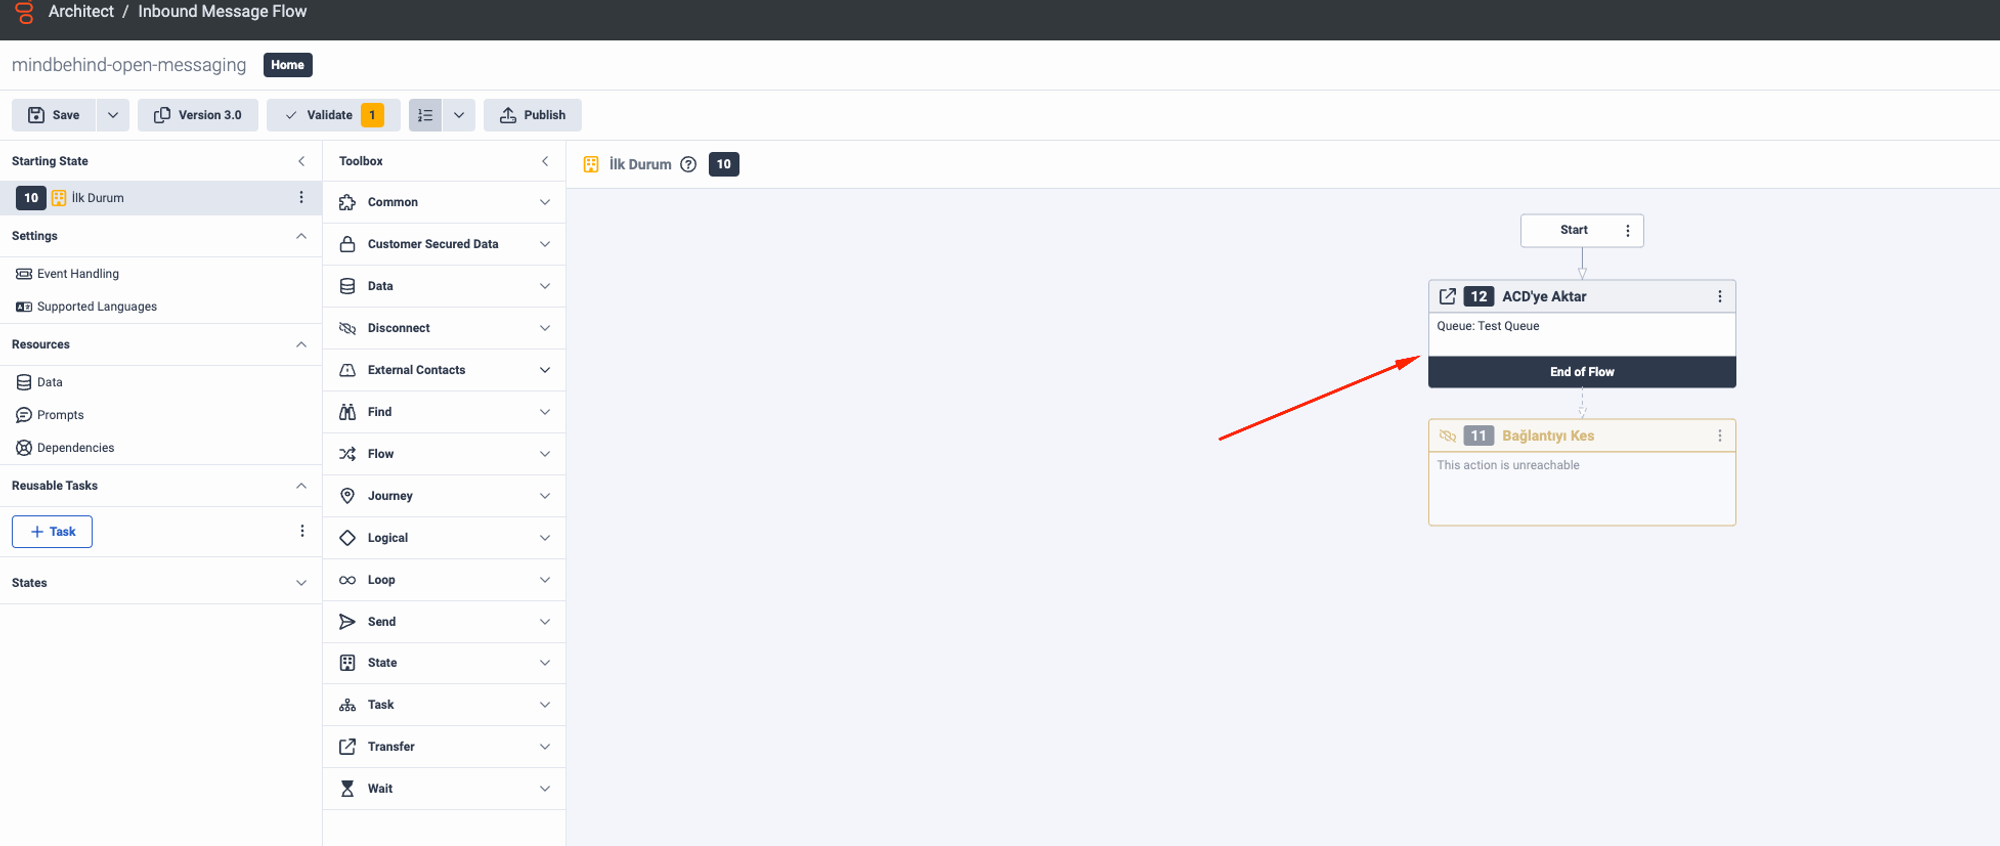
22. You need to add routing for the queue to the message routing. .png)
23. Activate the queues. 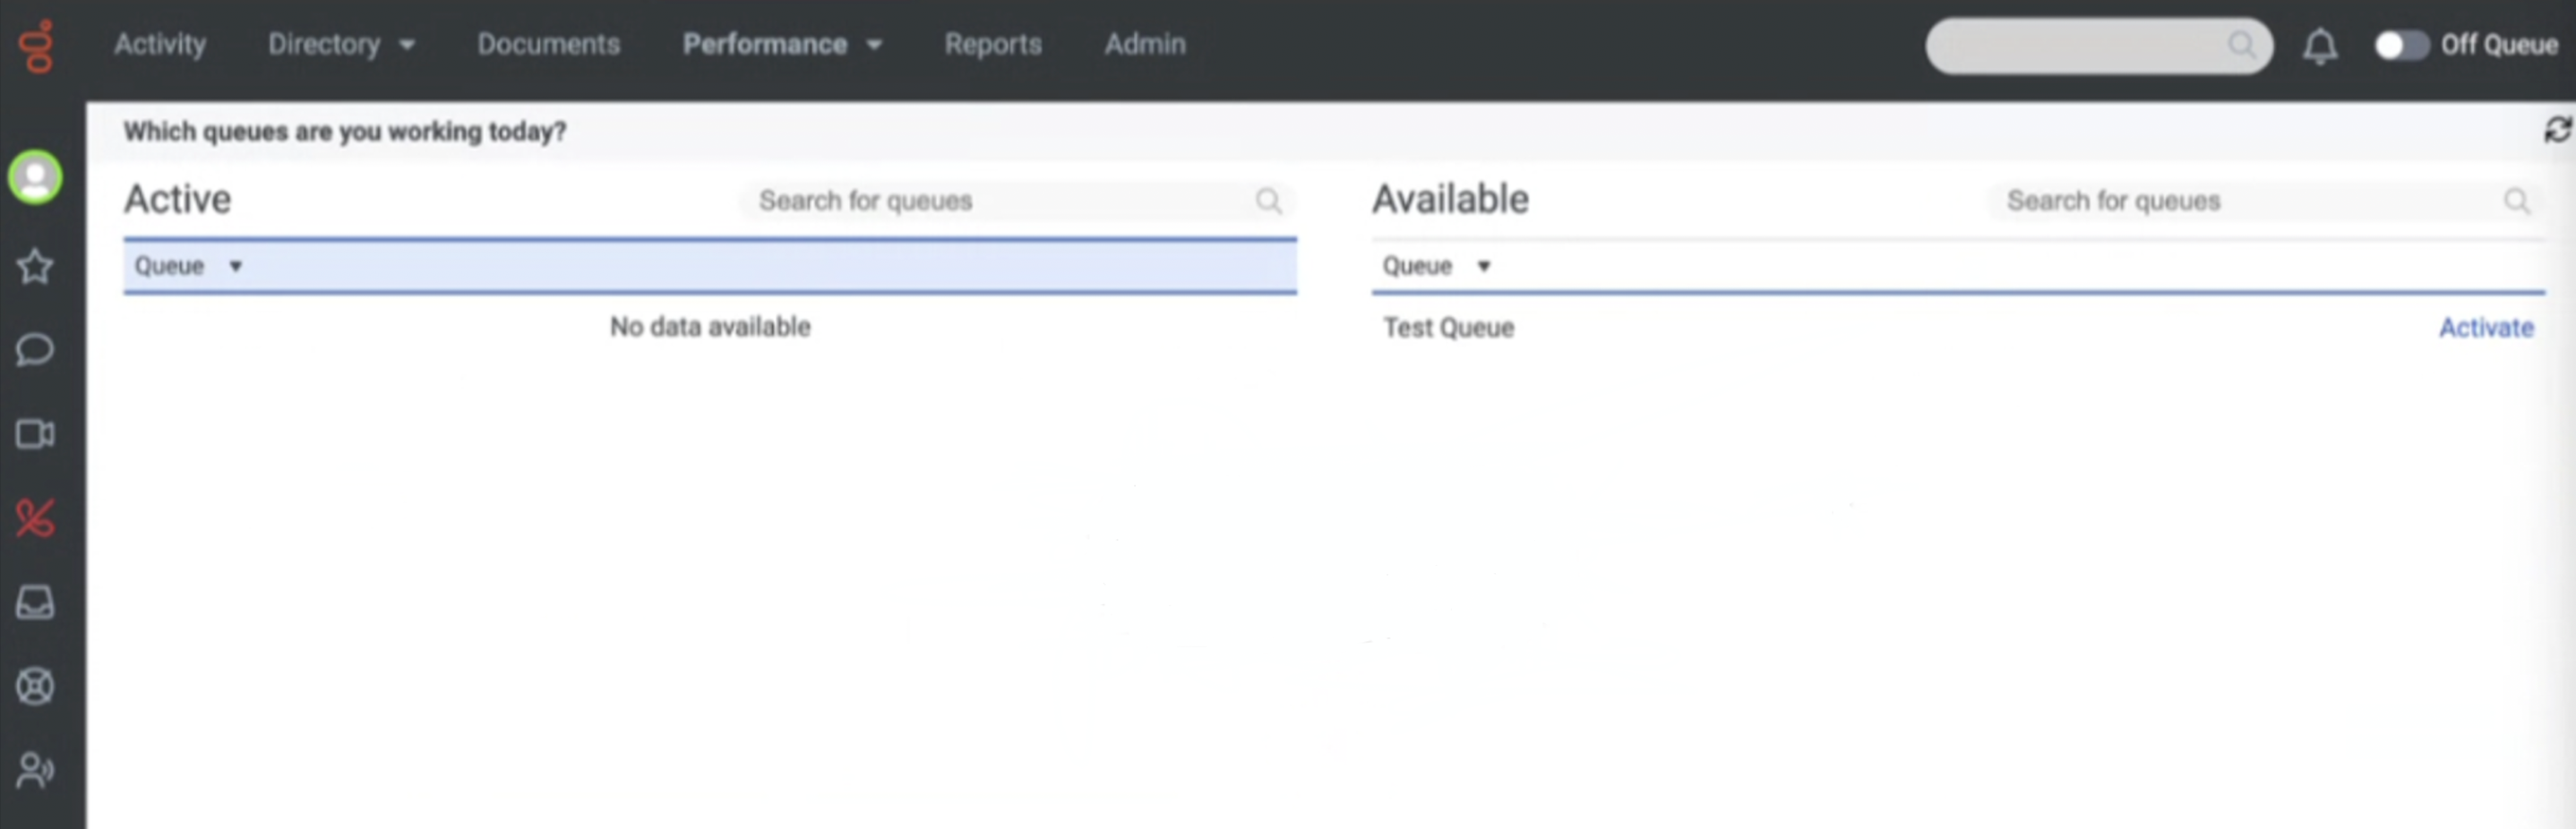
24. Set the agent to “On Queue” and open the conversation panel from the menu on the left side of the screen. On this screen, after clicking on the blue profile icon on the right, you will see the messages coming into the queue.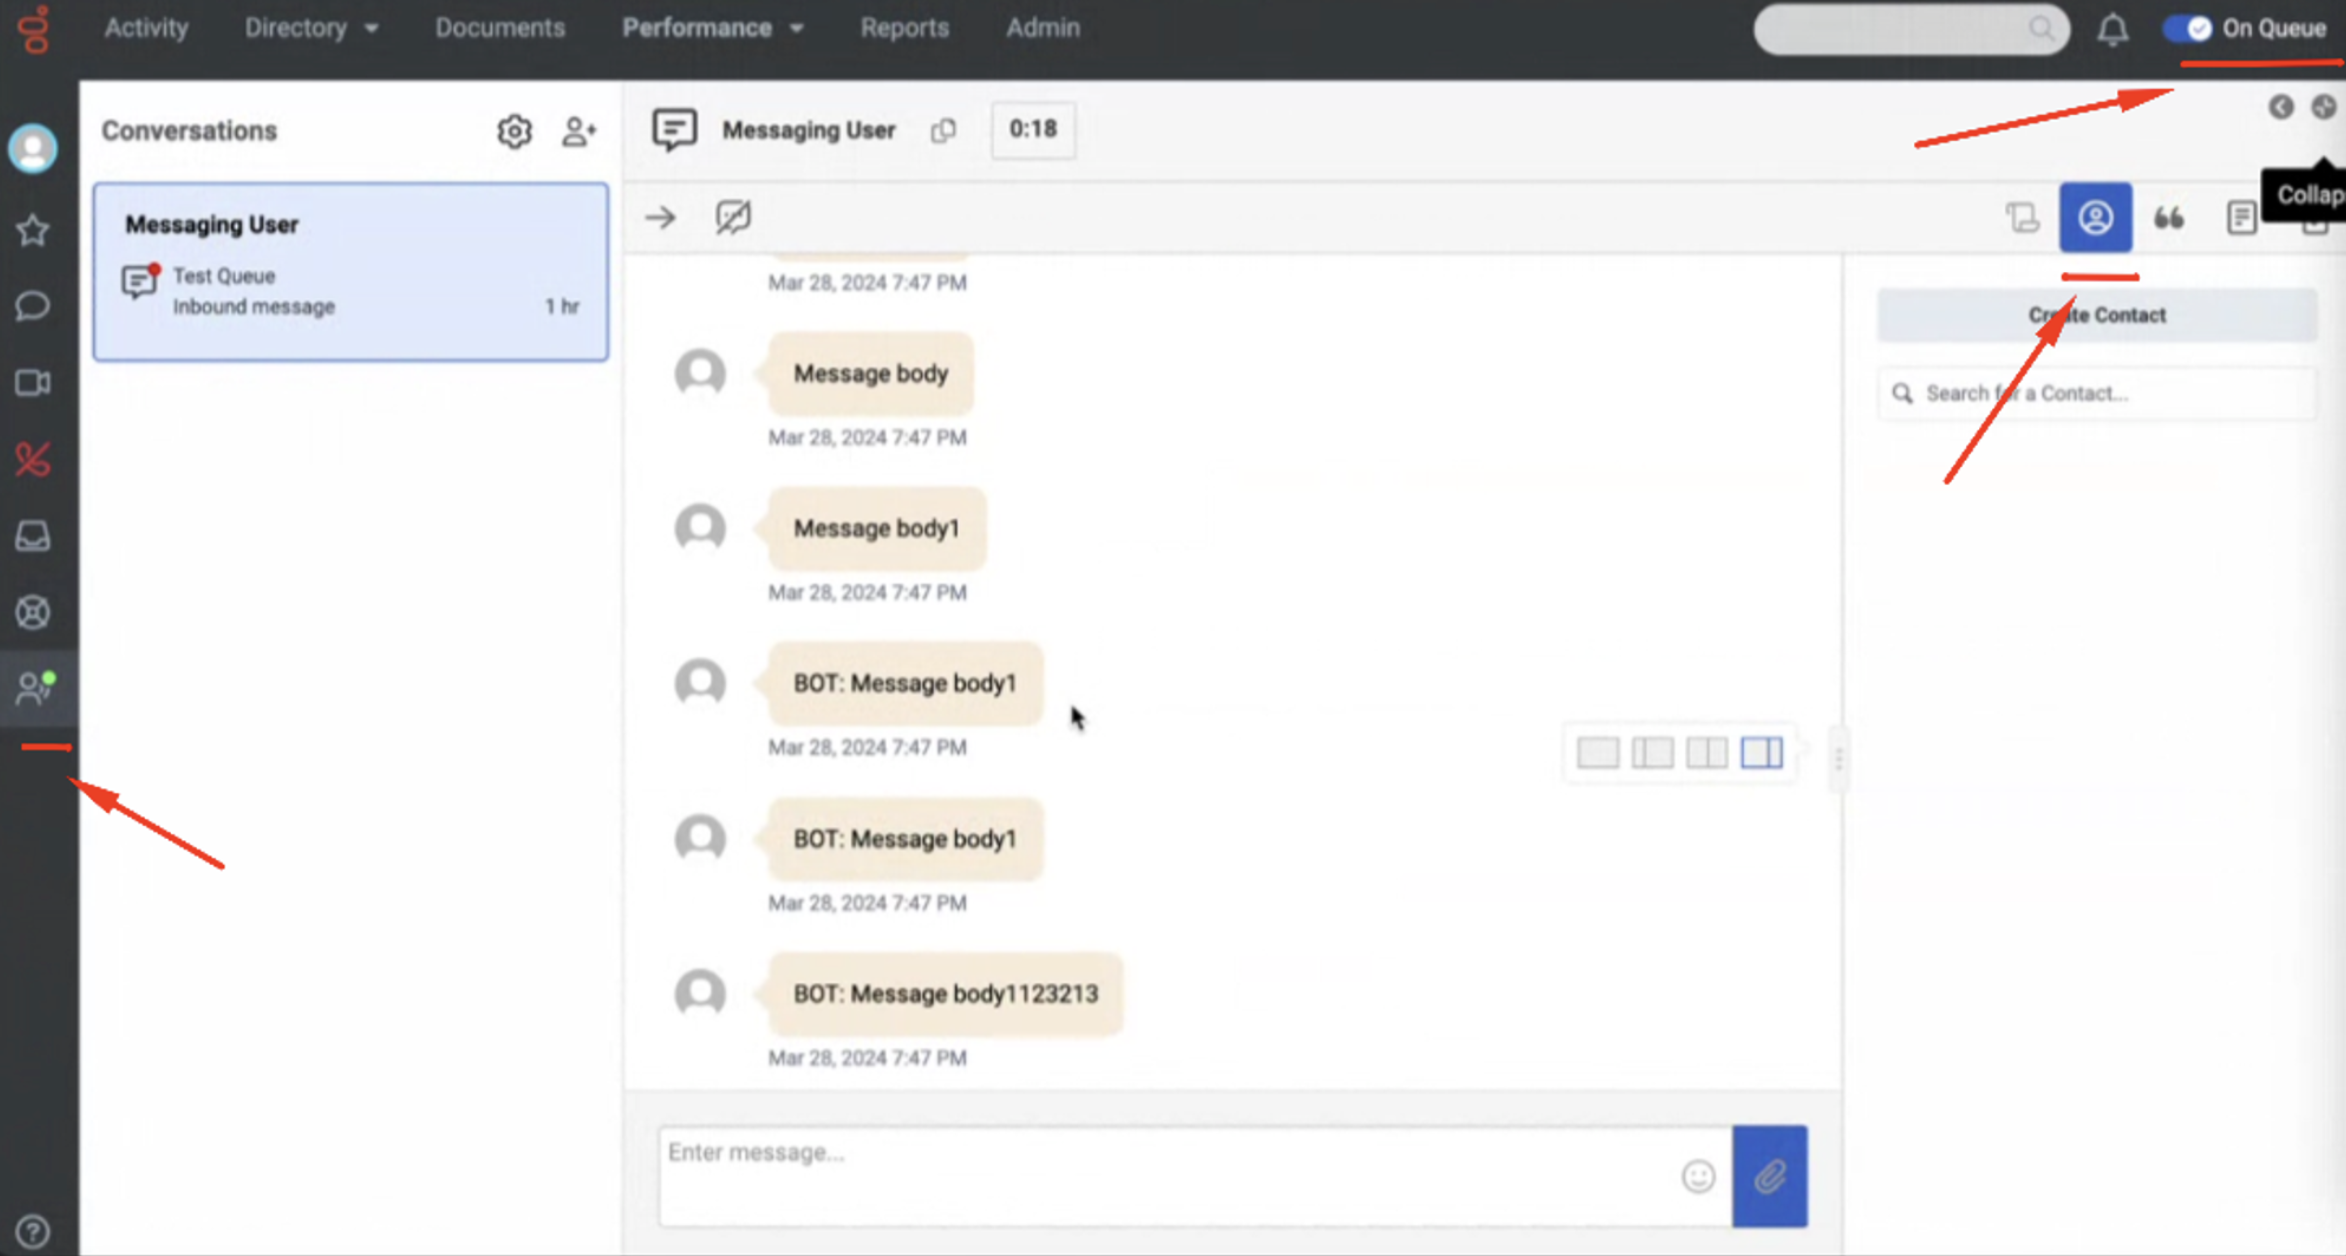
How to connect with Mindbehind
To connect the Genesys Contact Center with MindBehind, follow the steps below:
1. Log in to MindBehind and go to the Companies panel. 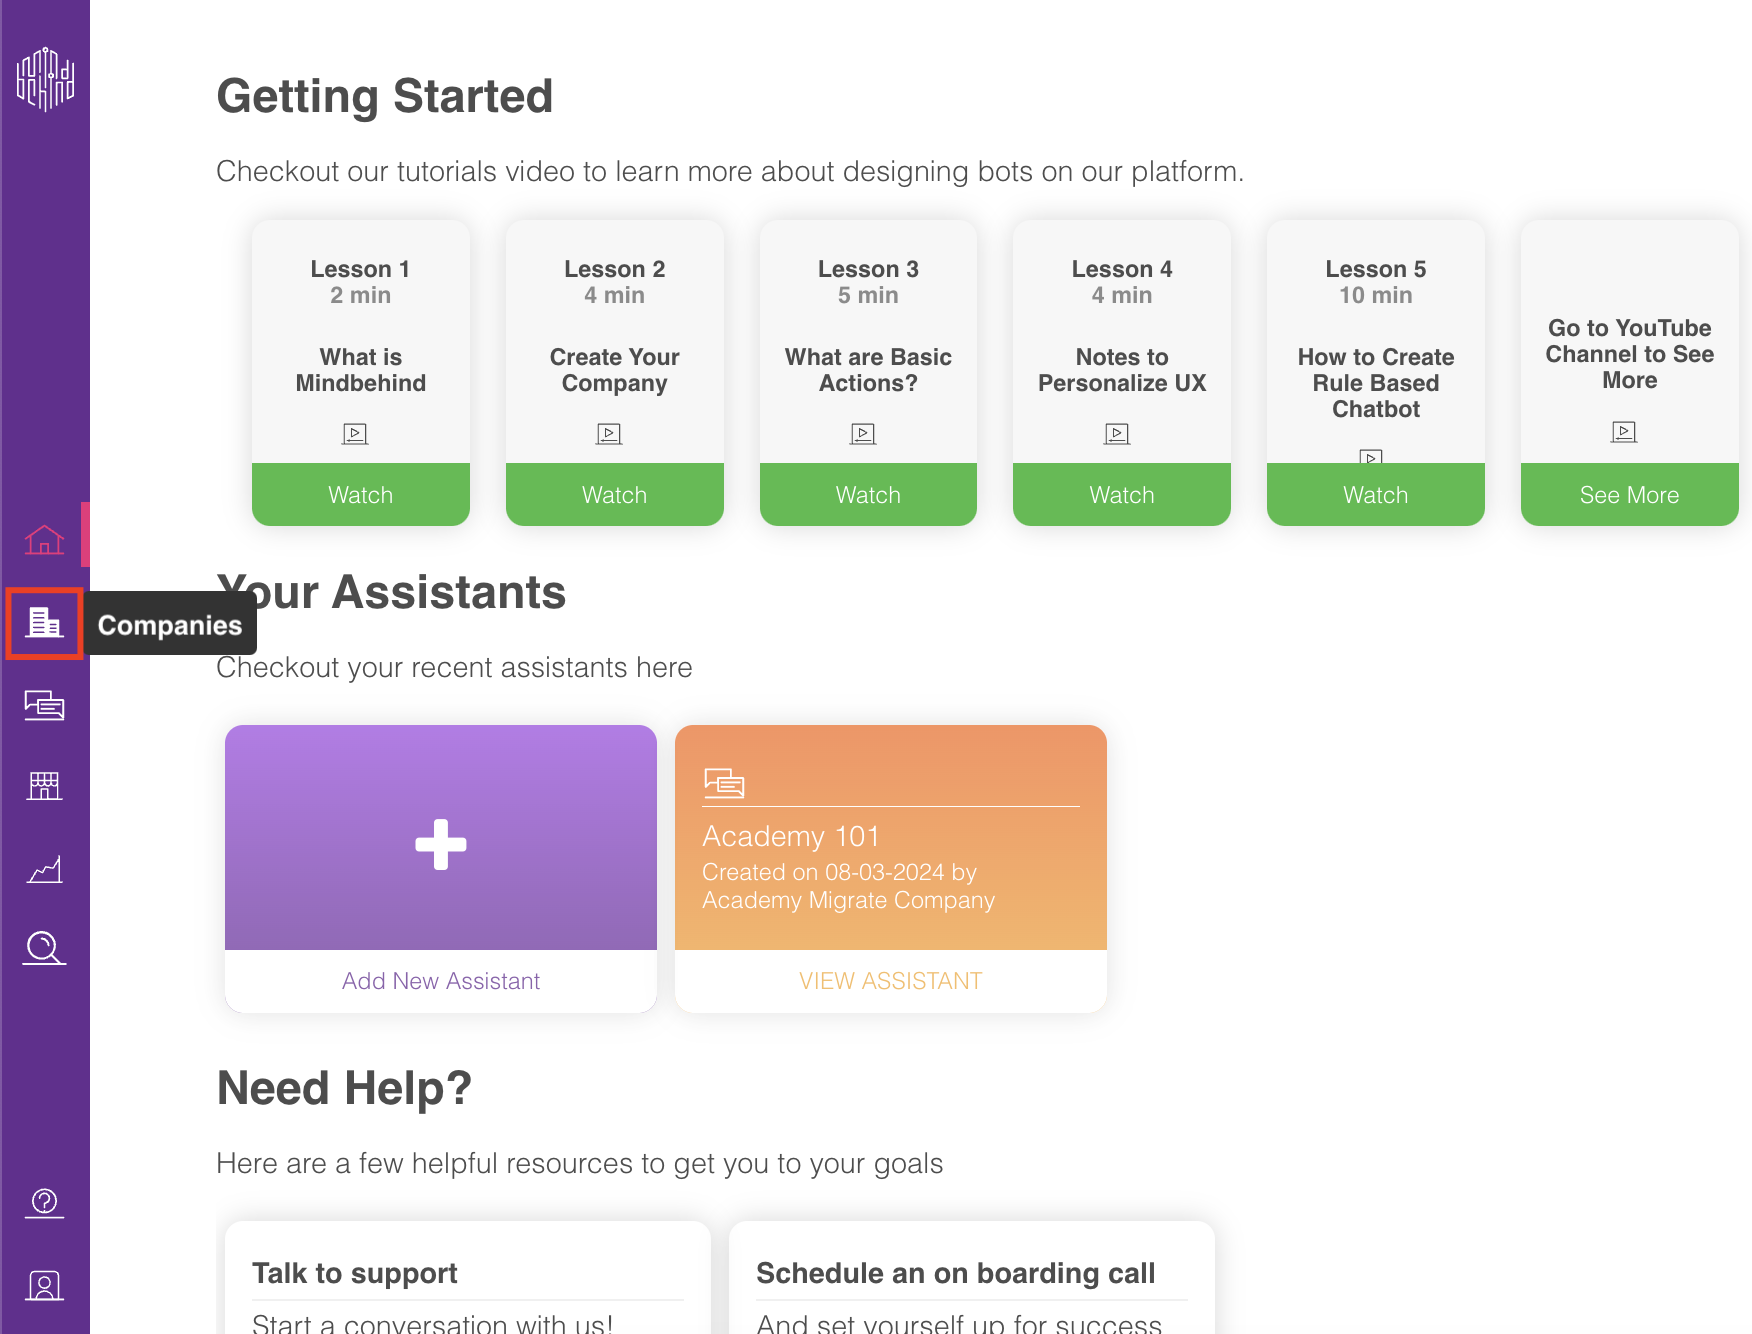
2. After entering the relevant company, click on the Integrations tab. 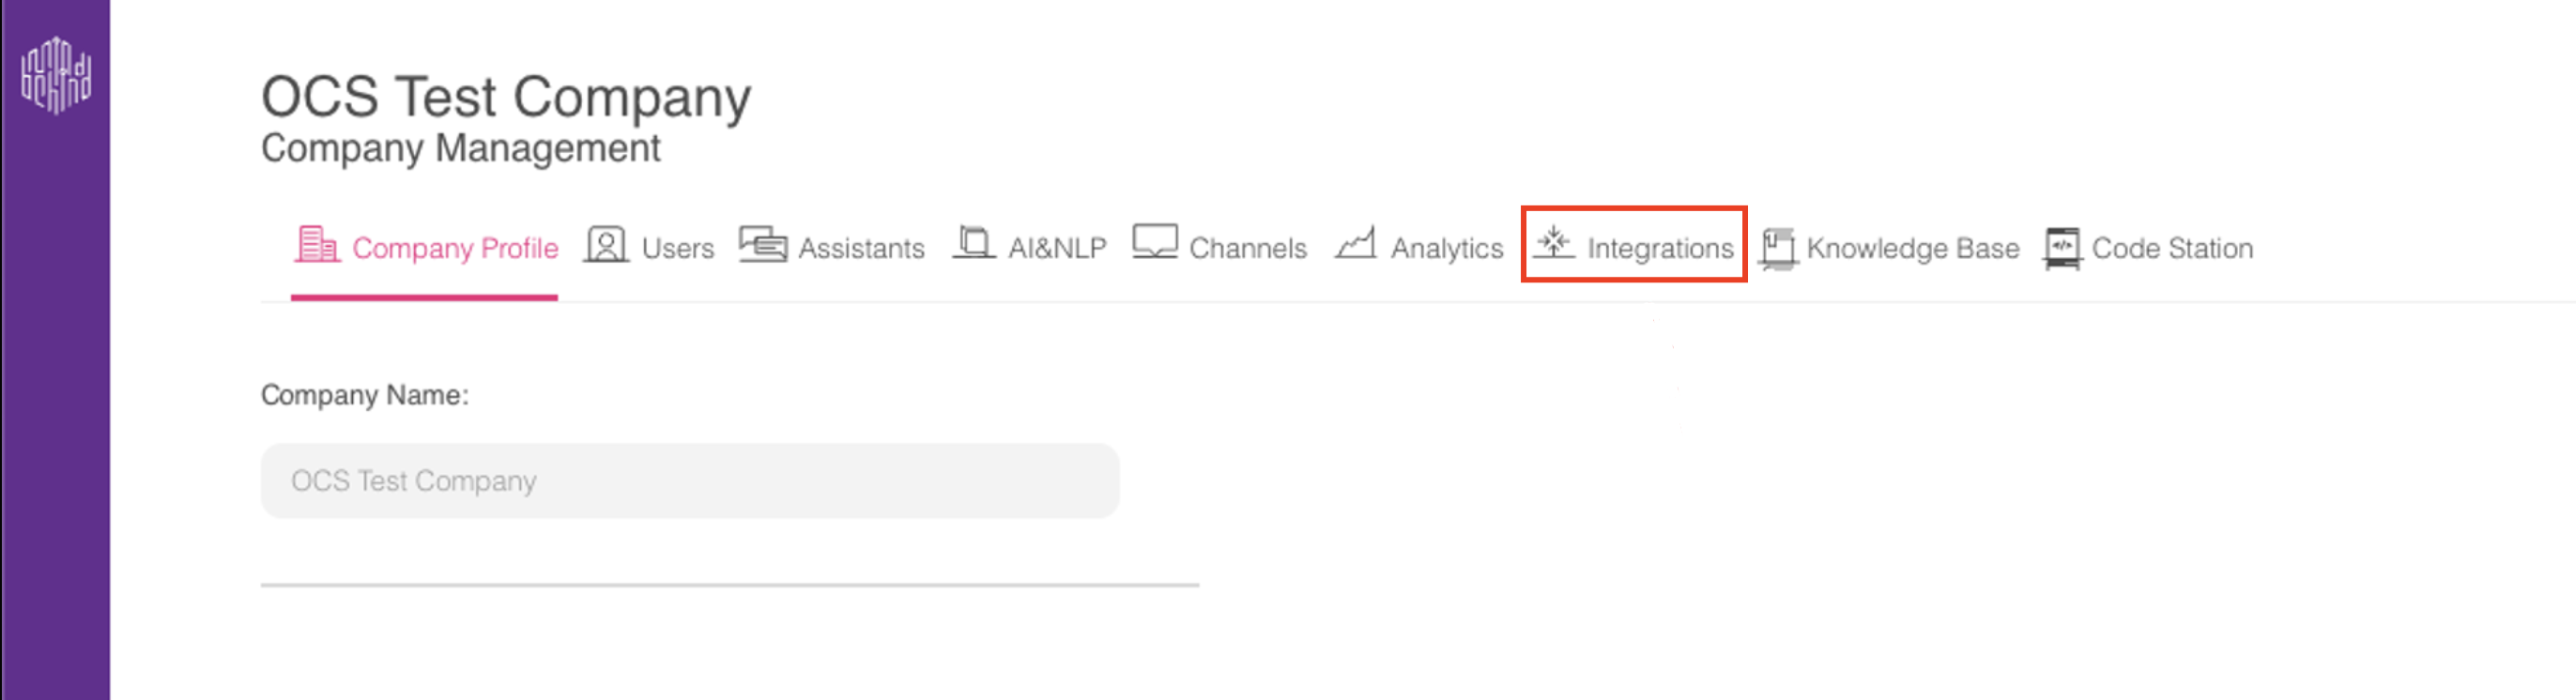
3. Click on the Add integration button and select the Contact Center. 
4. After selecting the Contact Center, click the Add integration button. 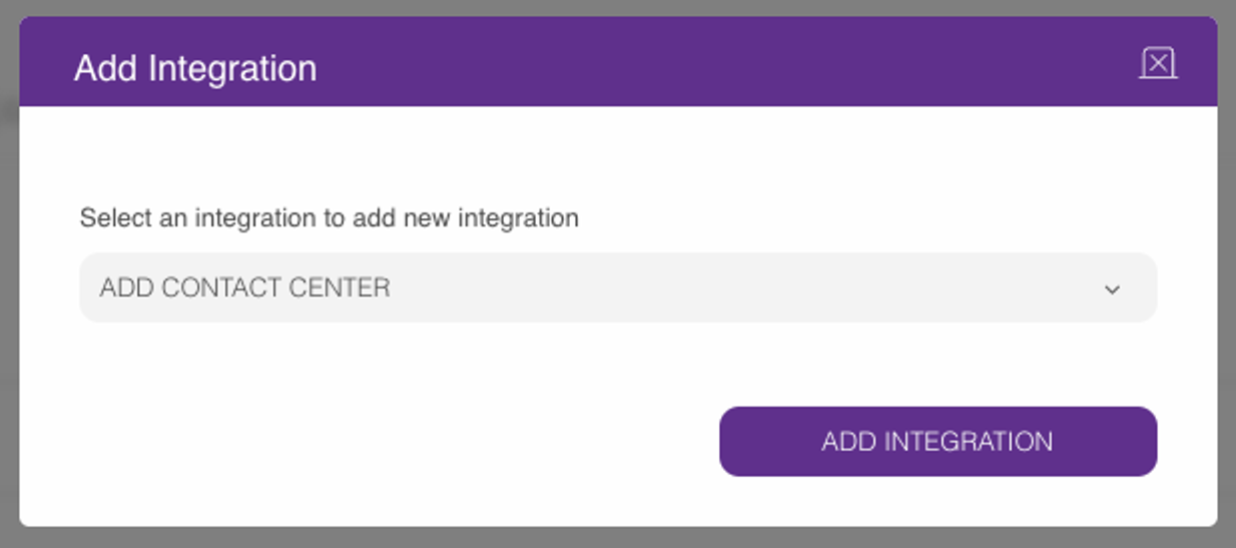
5. Add the relevant Client ID, Client Secret, and Region as mentioned above. 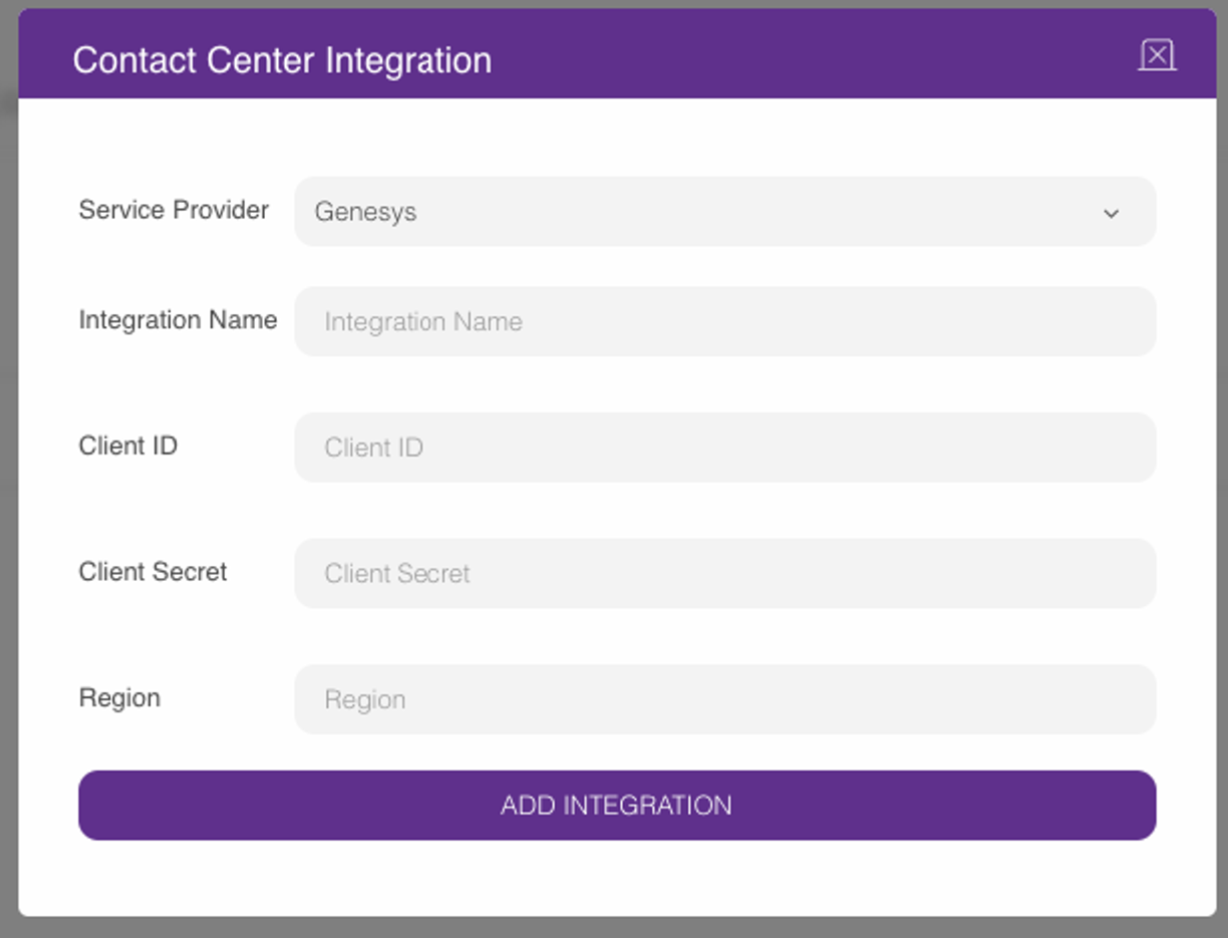
6. After clicking on the Add integration button, you will see a new Genesys integration shown in the integration window.
7. Go to an assistant belonging to this company. 
8. Open an assistant or create a new one if needed.
9. Add the Forward to Human action. 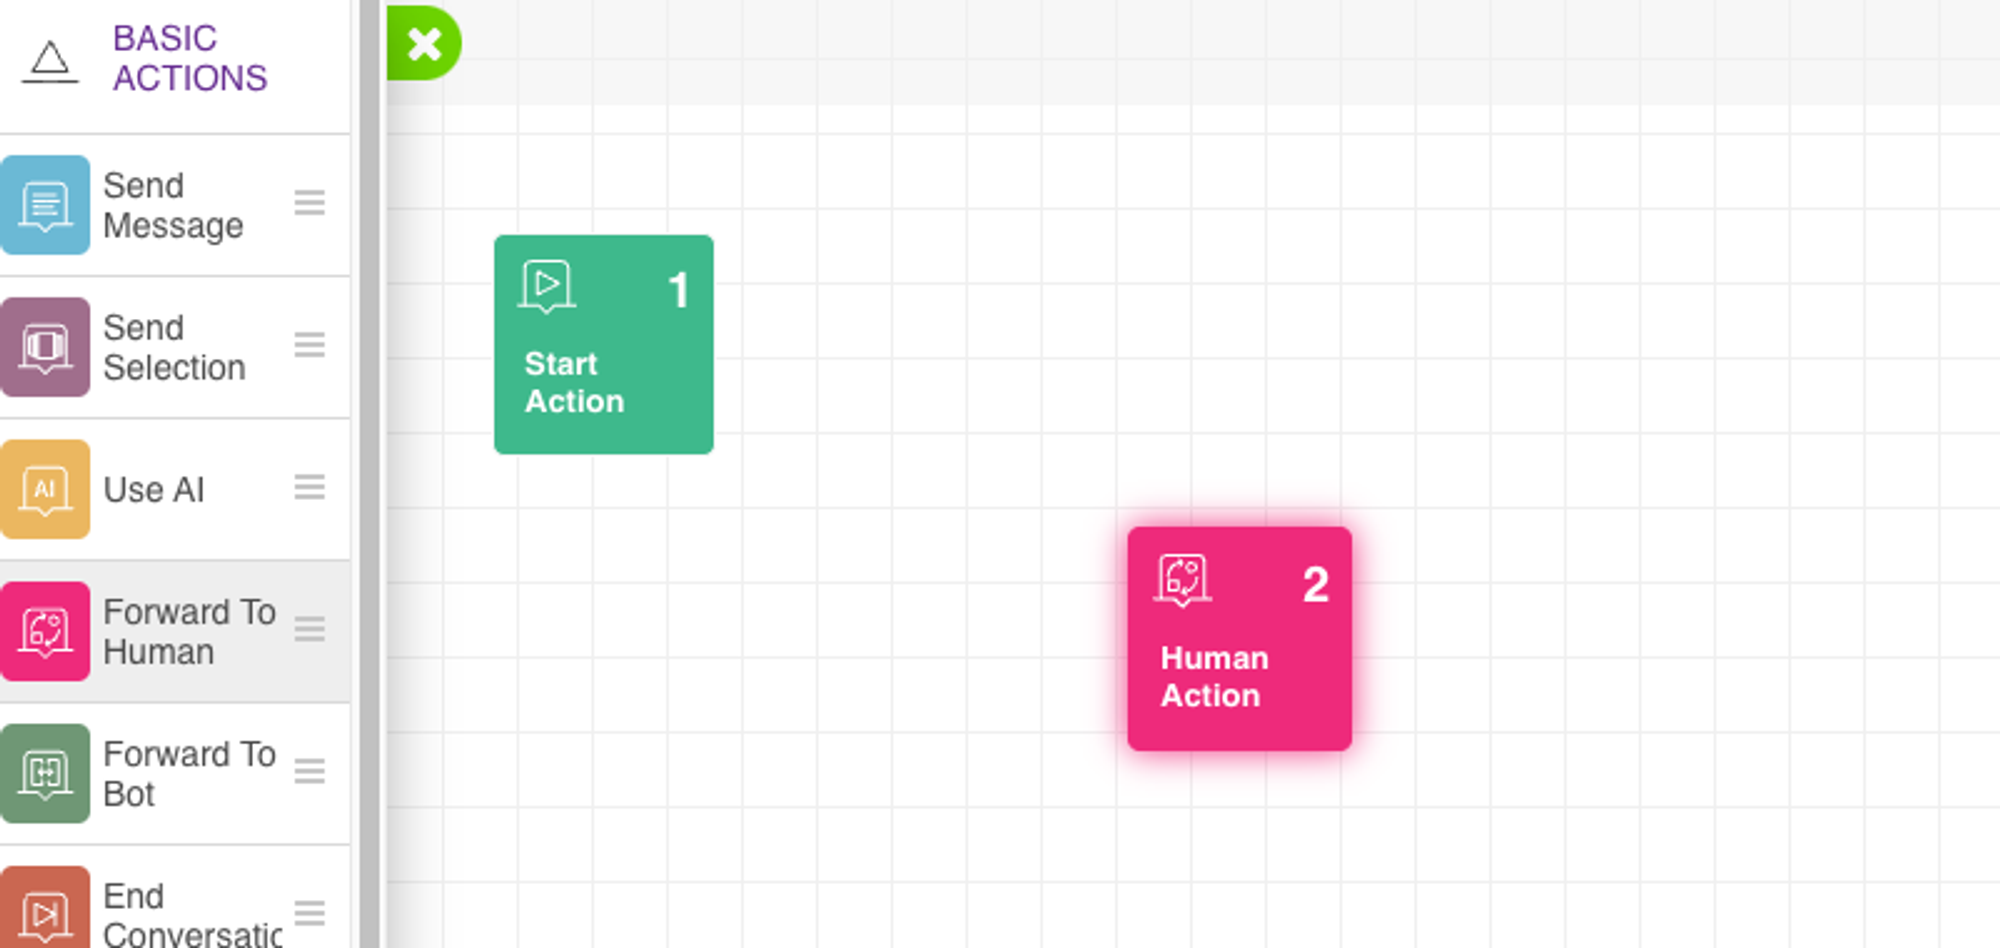
10. Select the Contact center handover option. 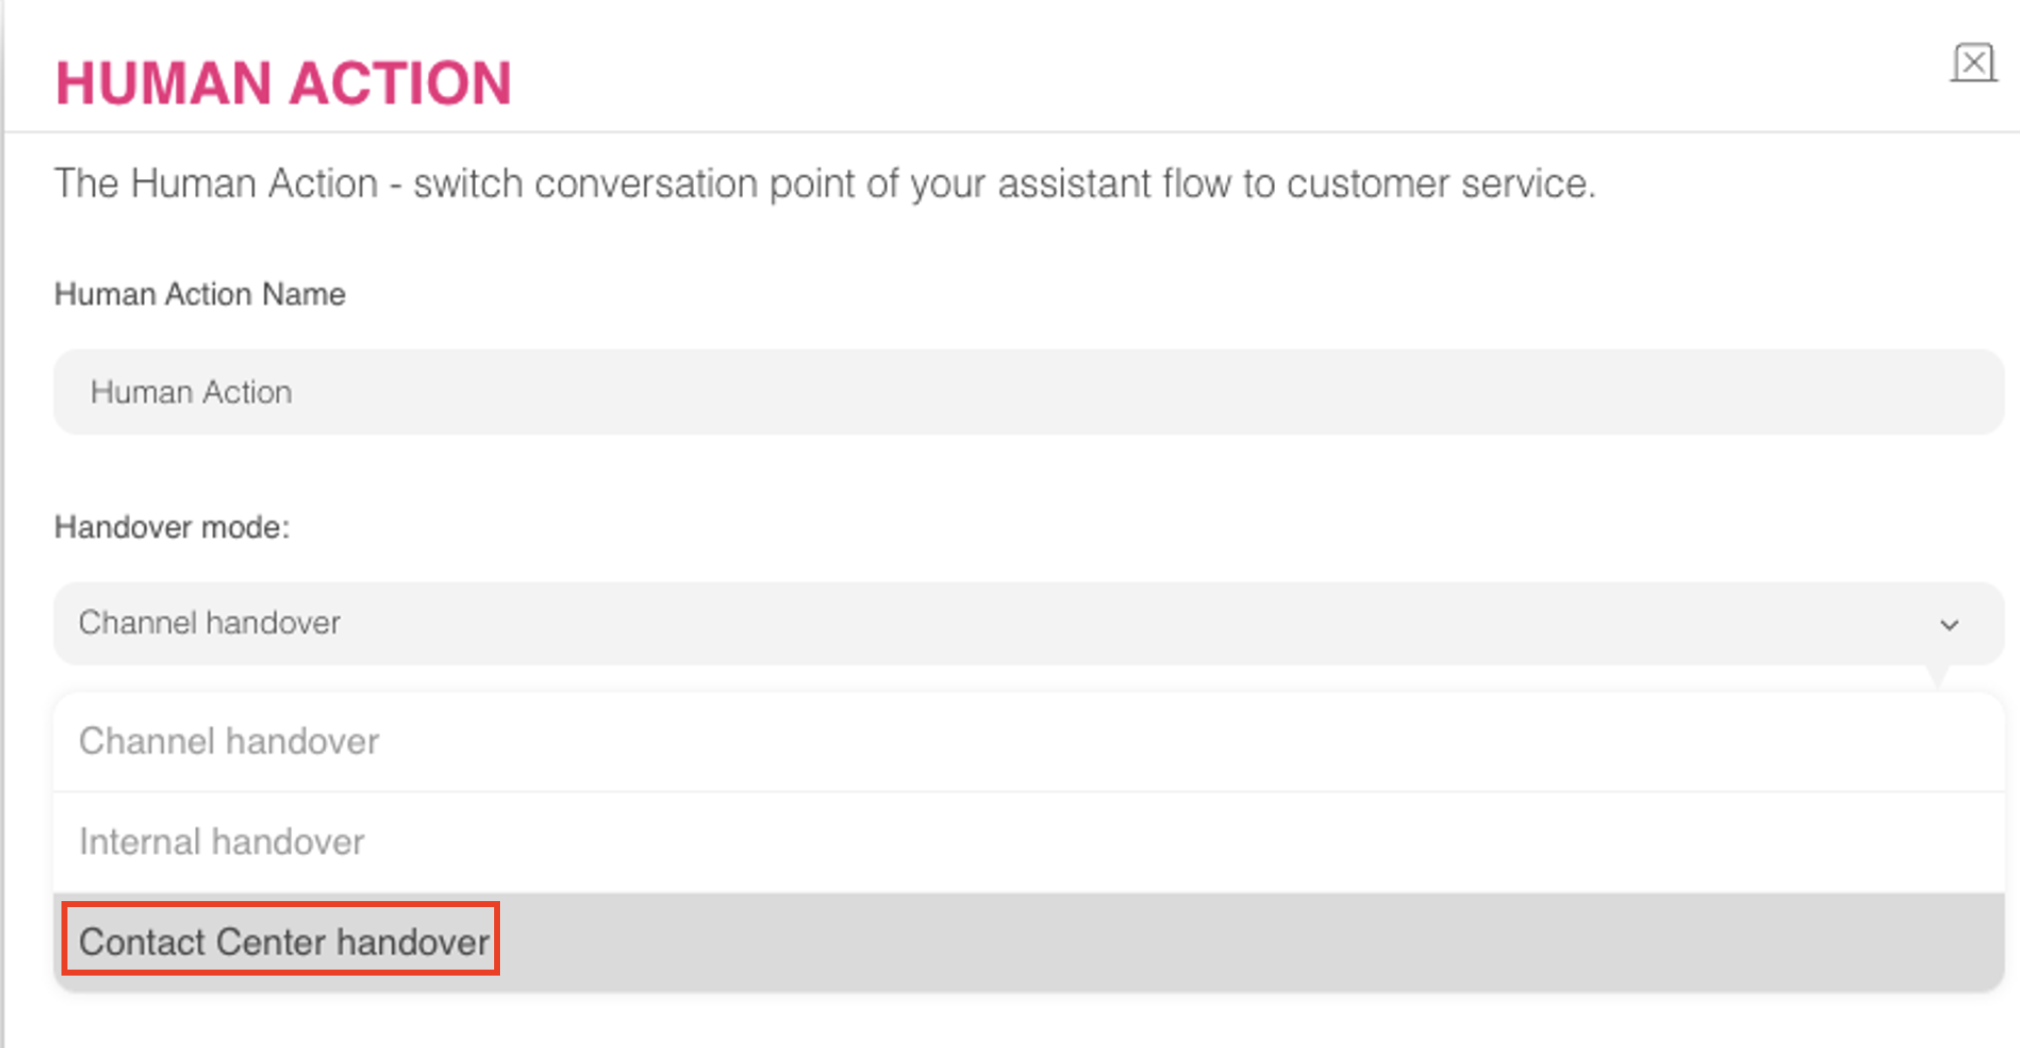
11. Select the Genesys integration you have added before. 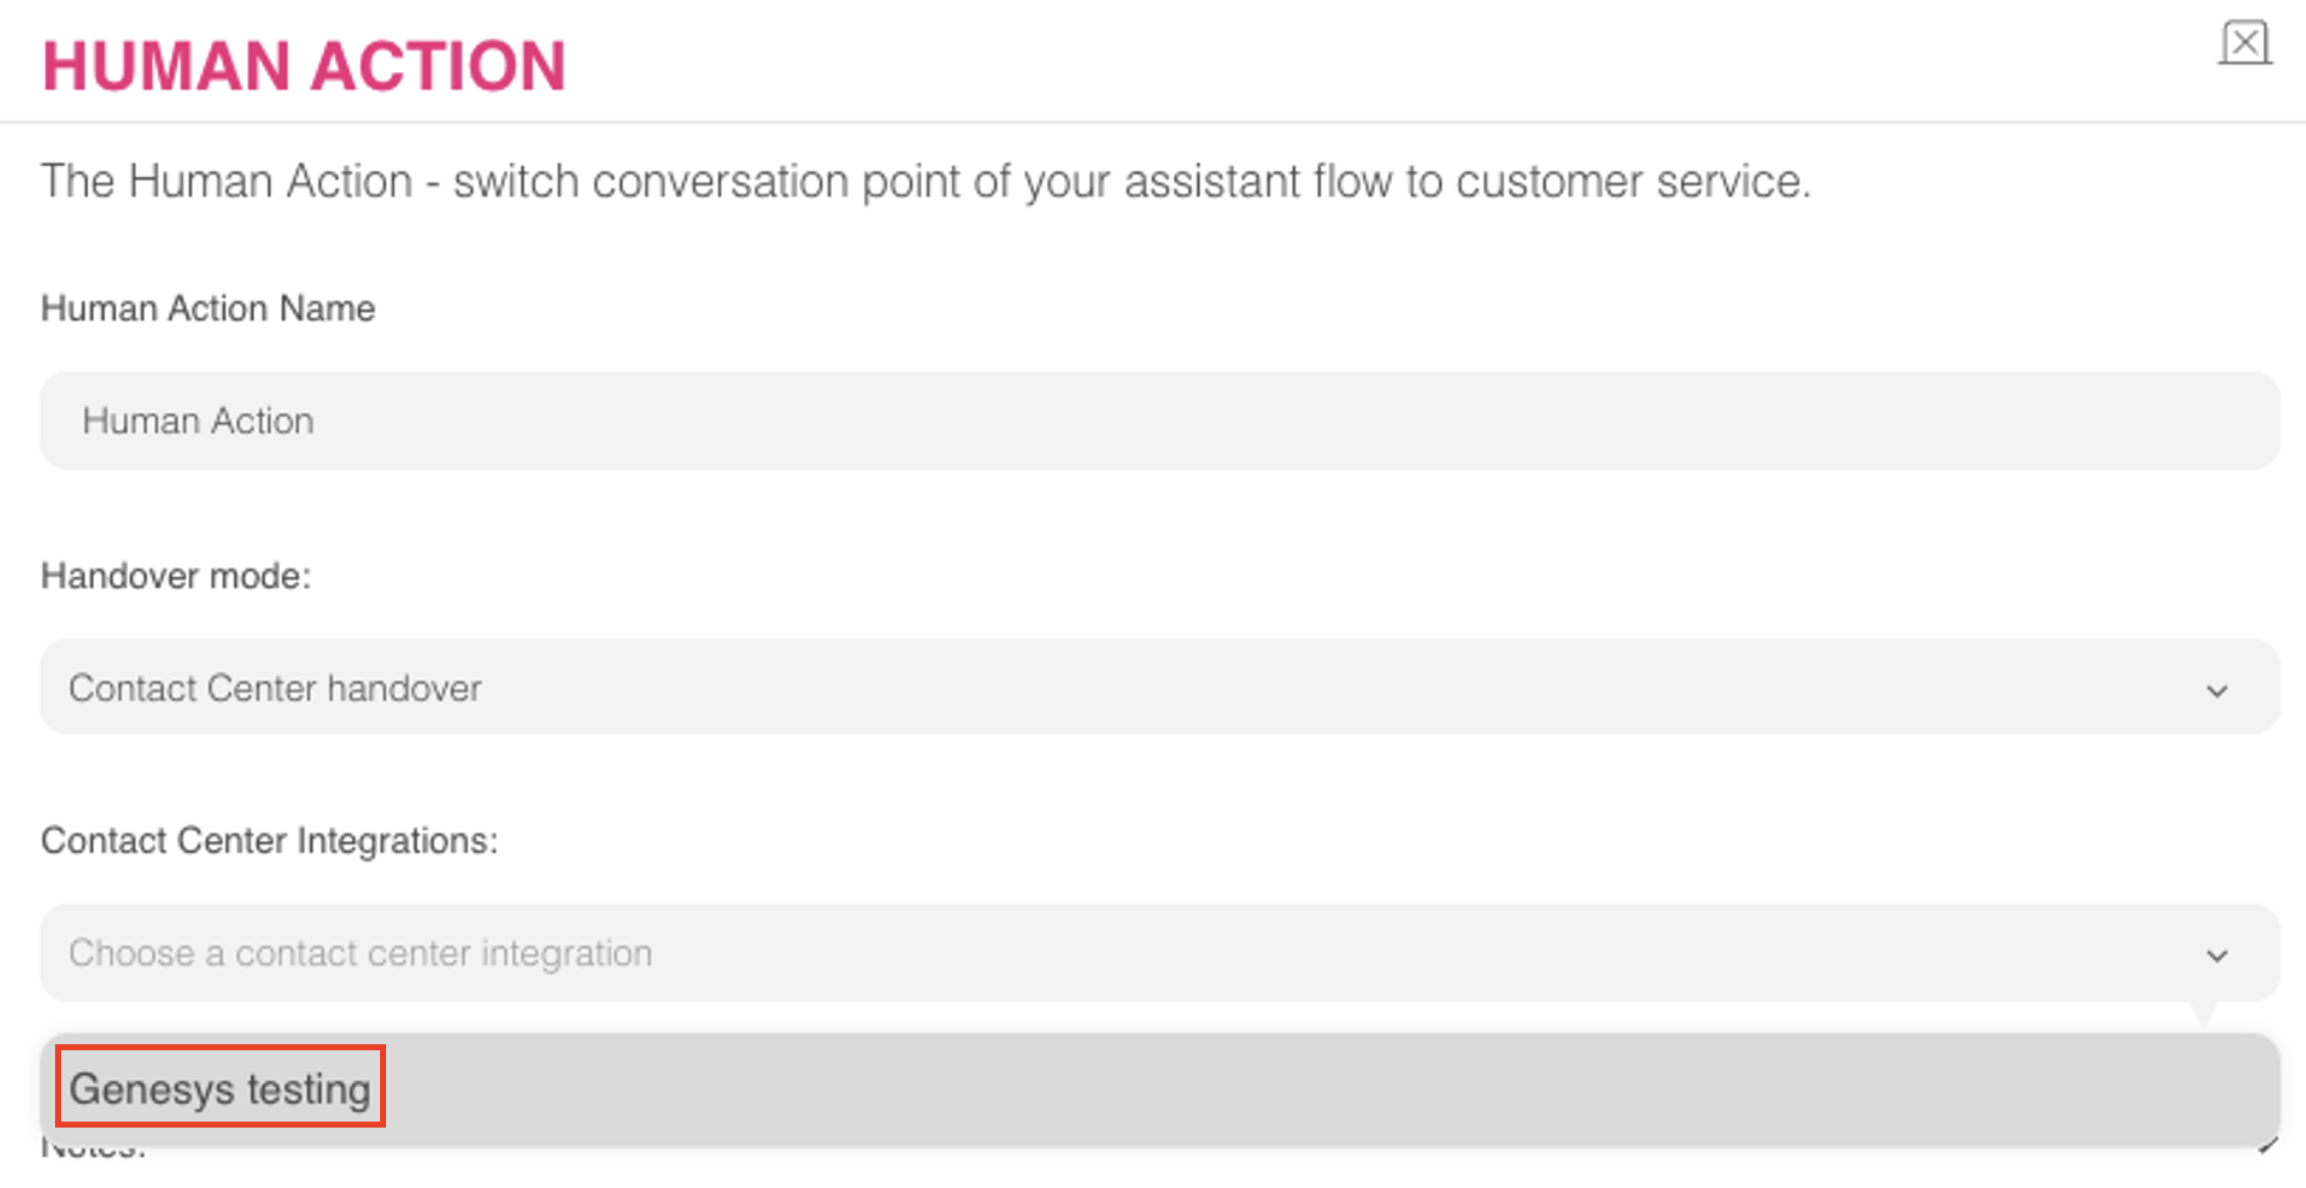
12. Choose the department (This is the queue you have created on Genesys). 
13. Click the Save button. 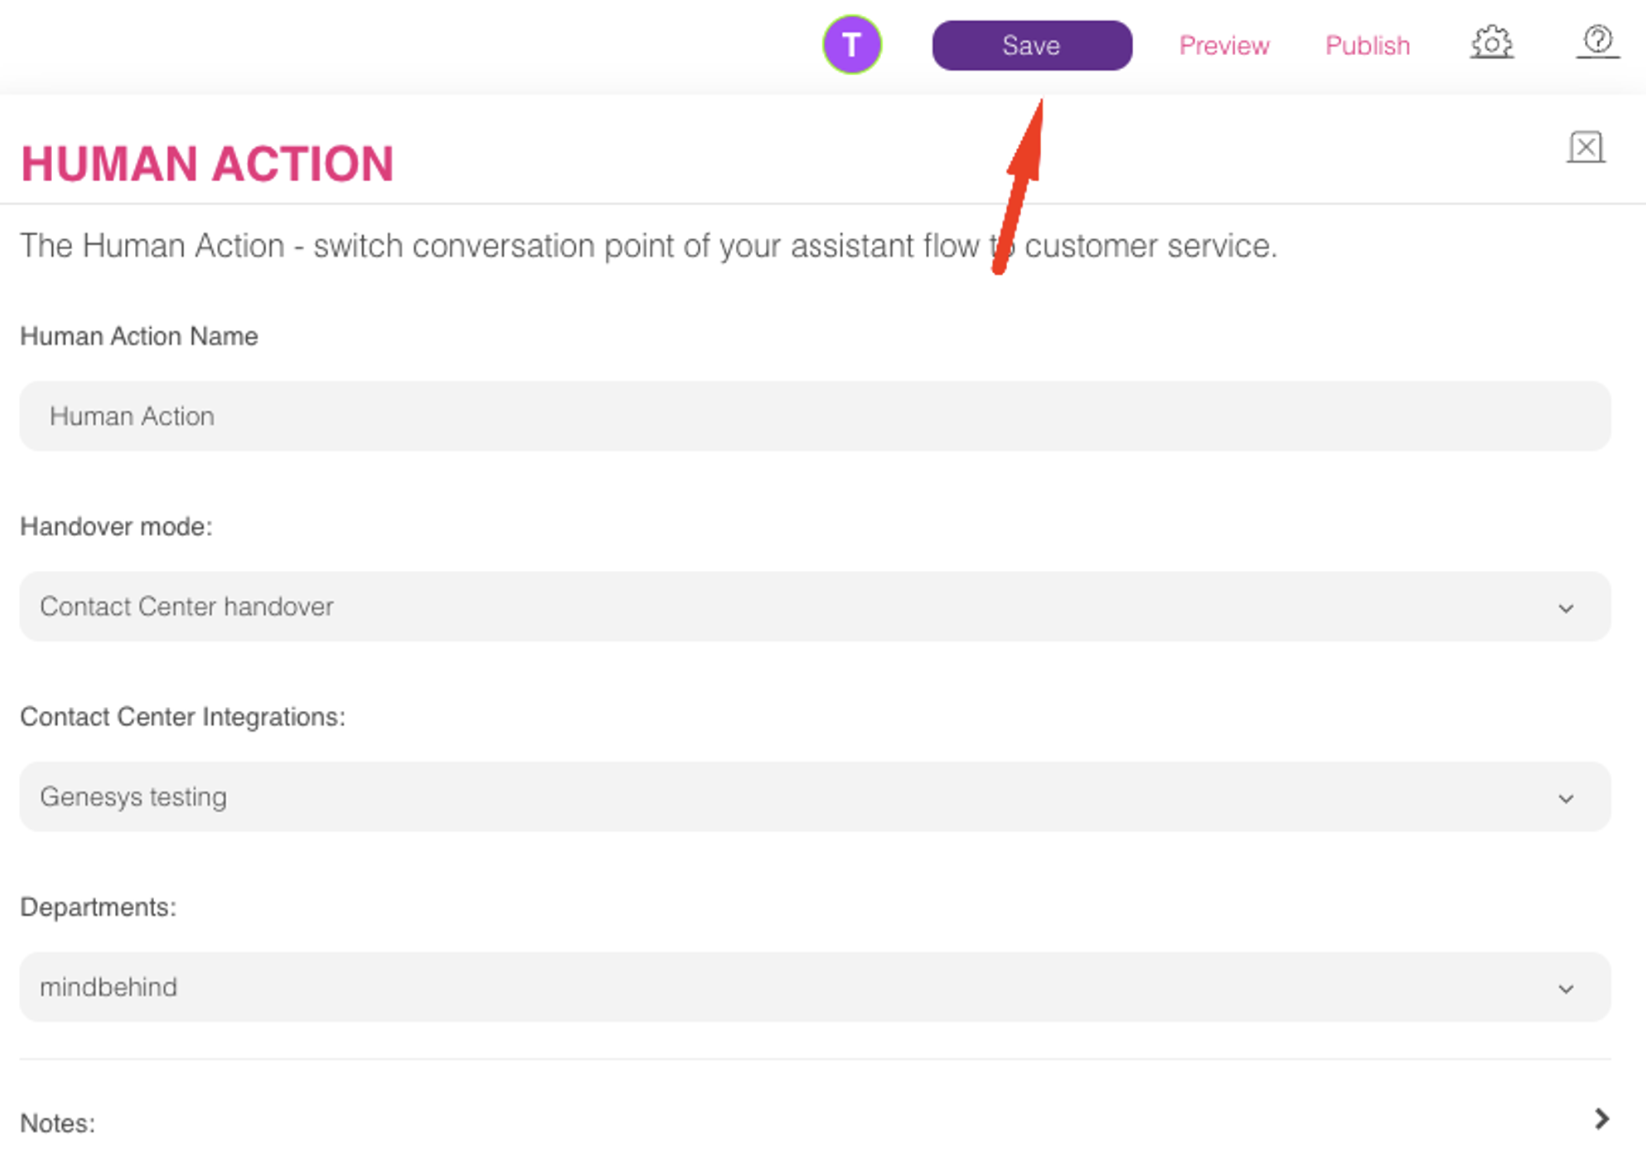
Congratulations! You have successfully added the Genesys integration to your assistant on Mindbehind.
End conversation configuration on Genesys
To implement the end conversation configuration on Genesys, follow the steps below:
1. First, you need permission to show the Trigger section. Go to Roles/ Permissions page on the Admin panel. .png)
2. Select the All Permissions option as seen below. 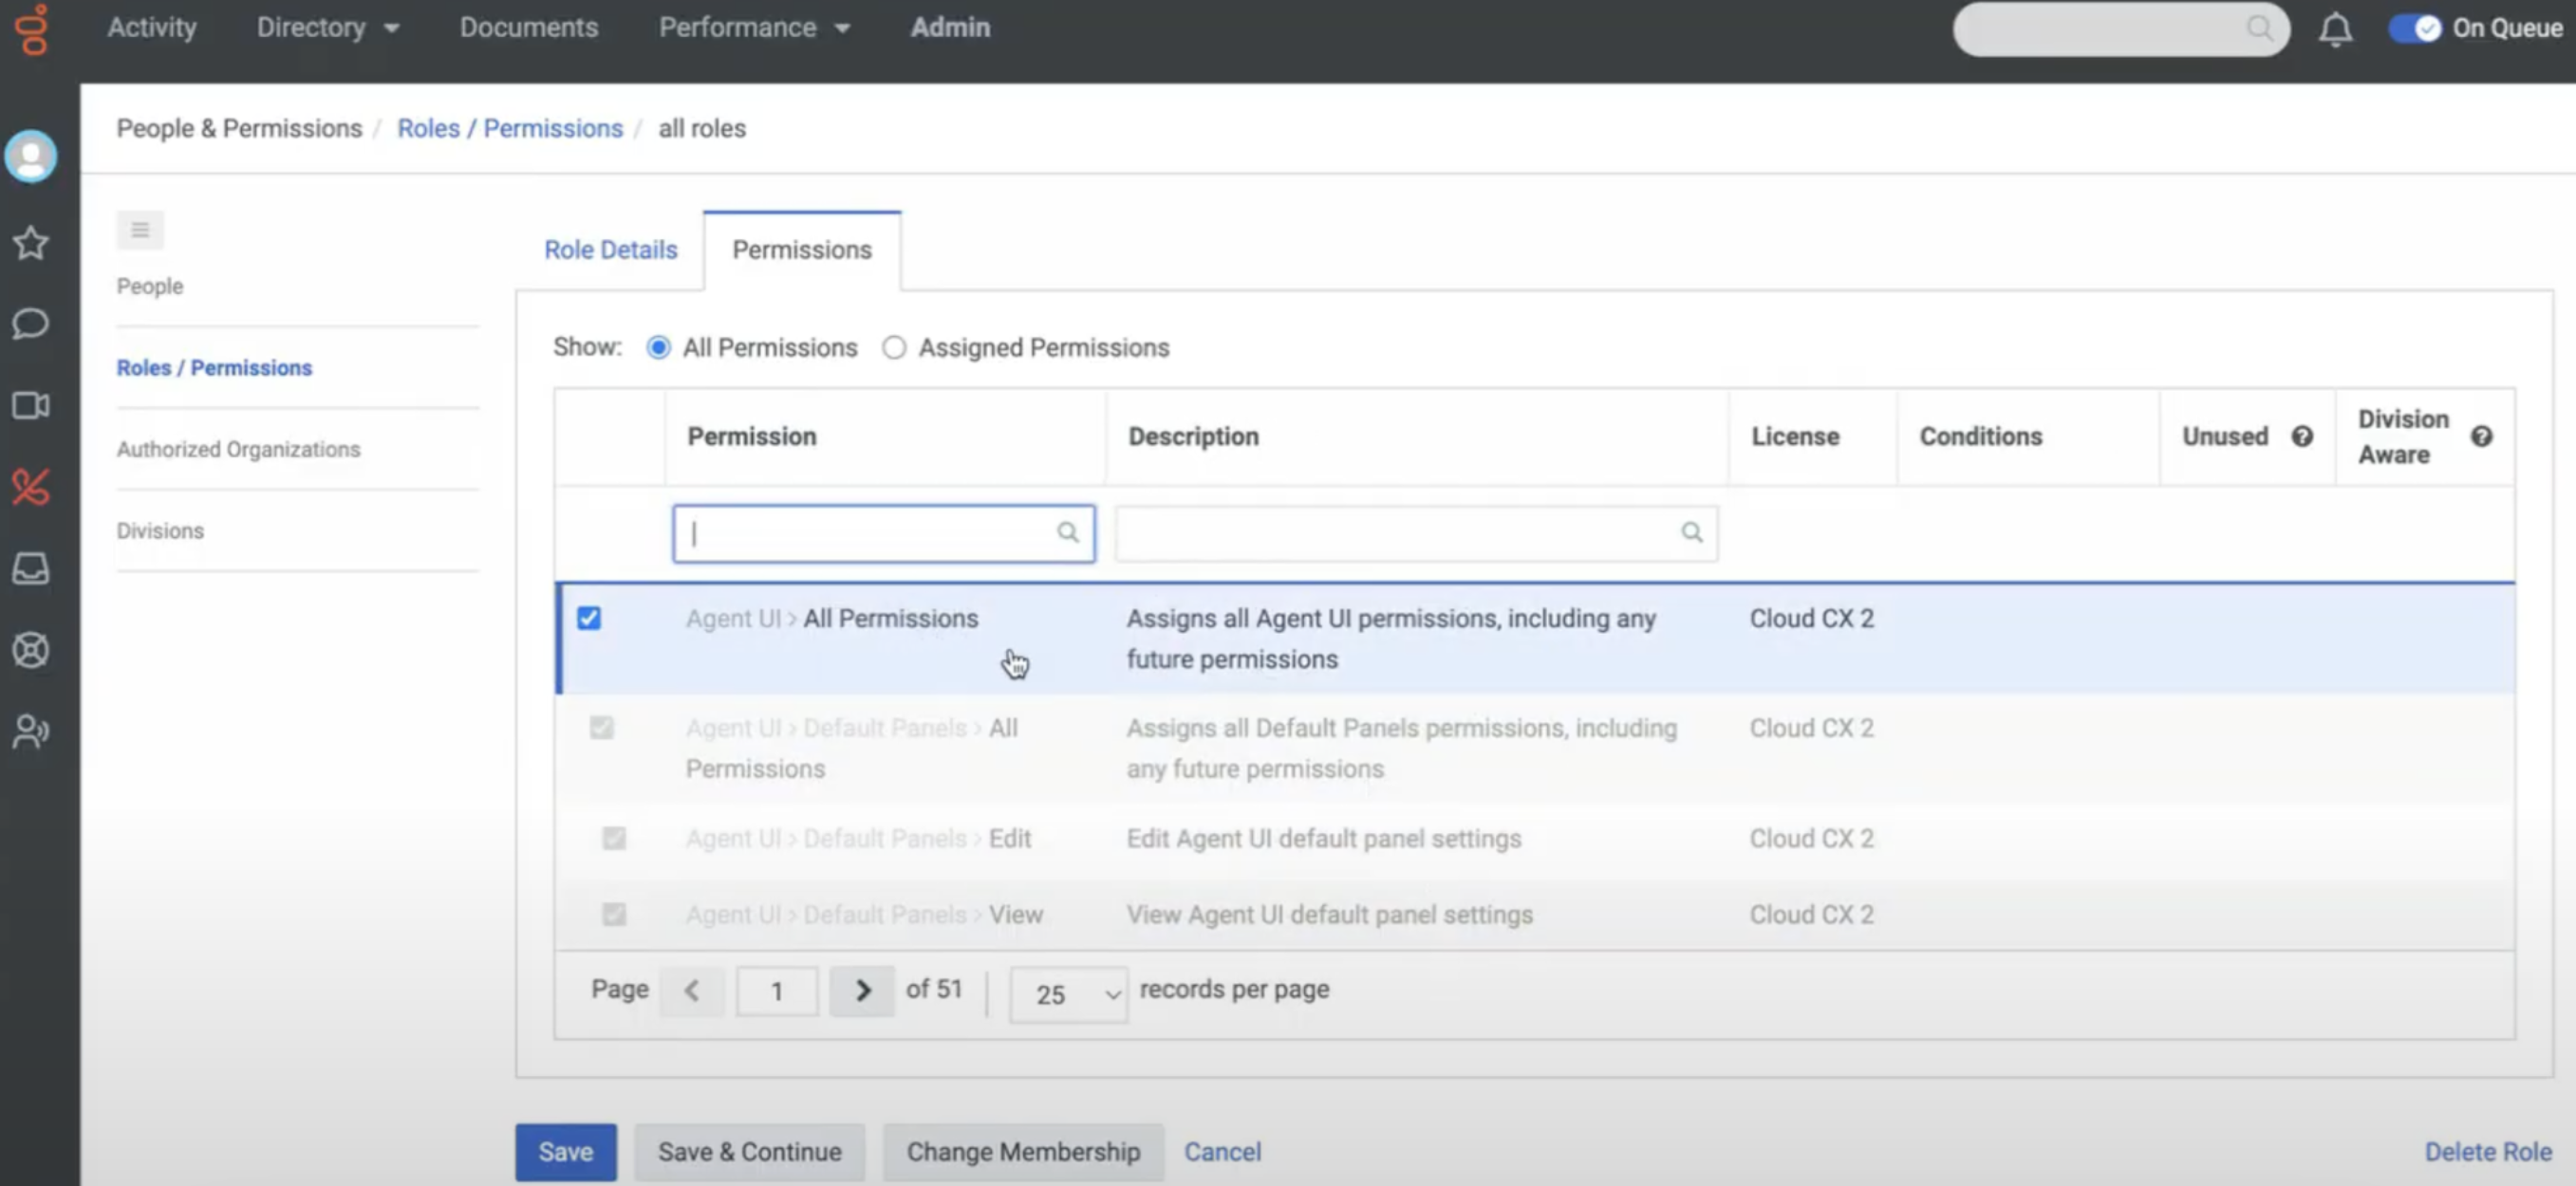
3. You can see the Triggers under Architect and add a trigger. .png)
4. For this case (close conversation by user), you need a Topic Name, Workflow Target, and Data Format. Add workflow for the "Workflow Target" section, and you can fill in the other fields as below. 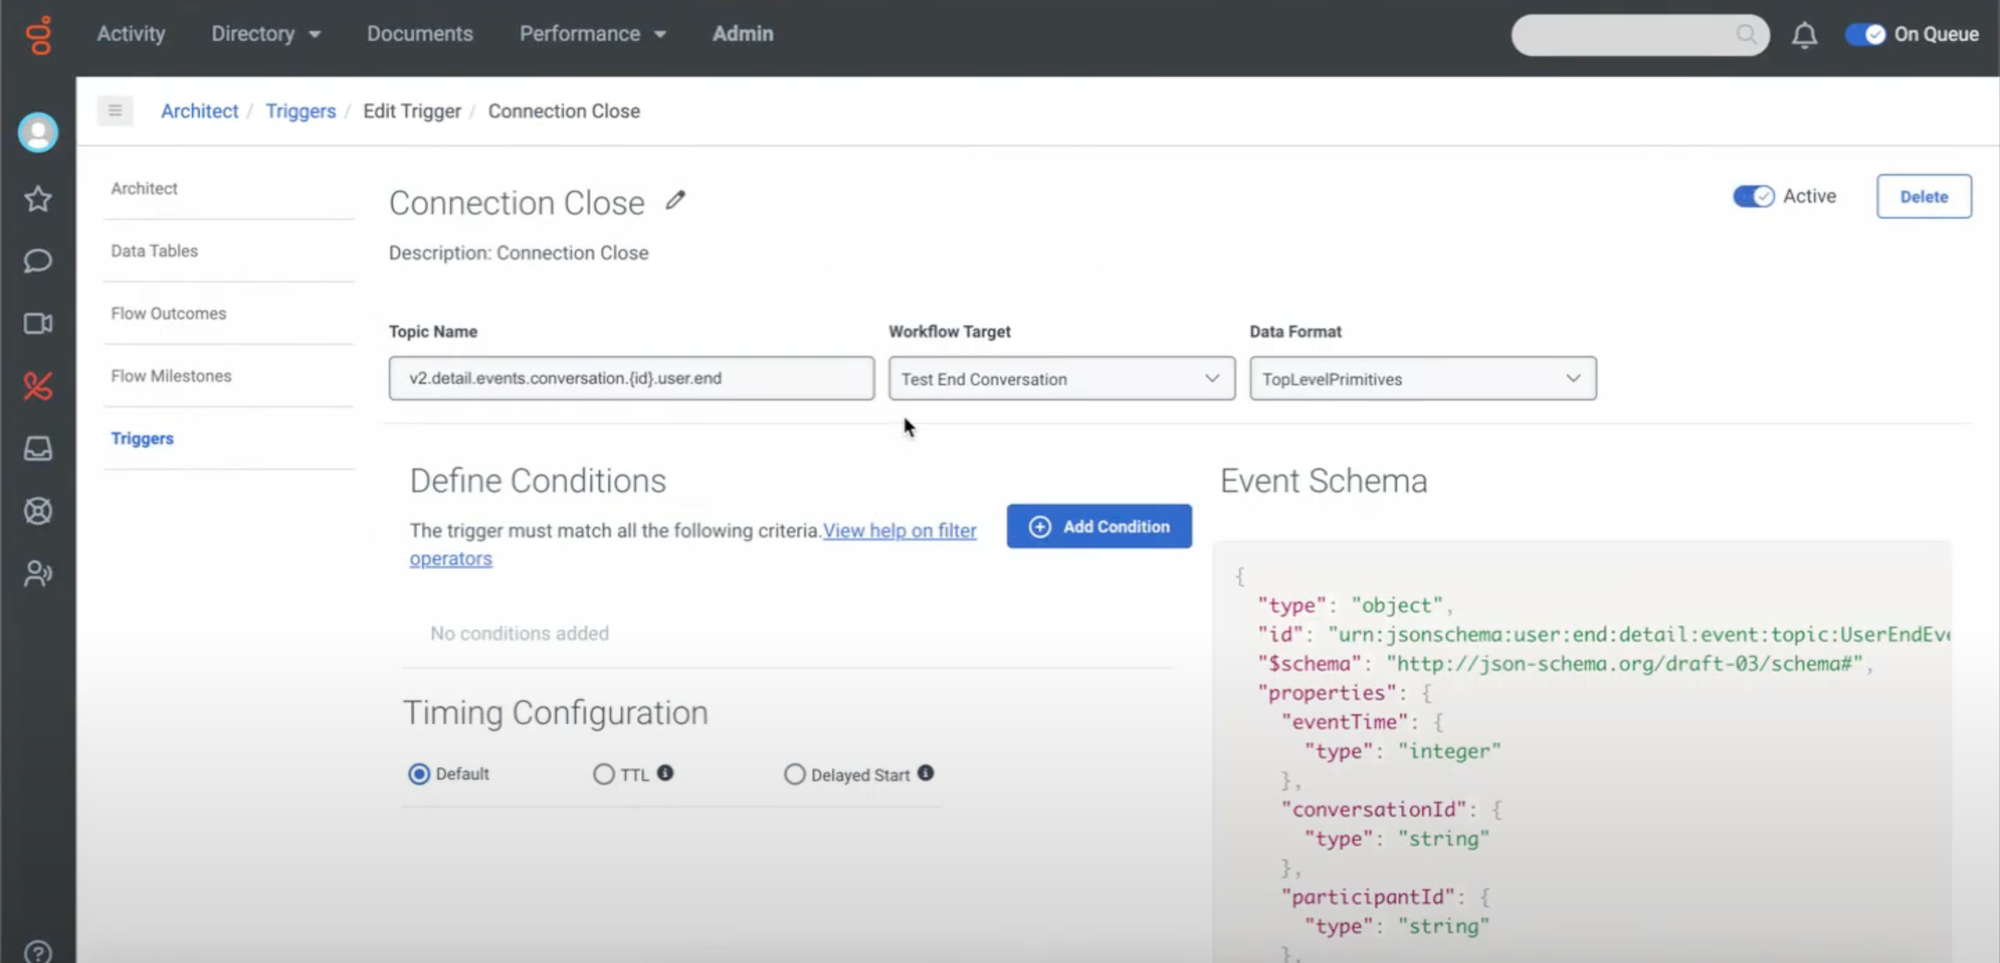
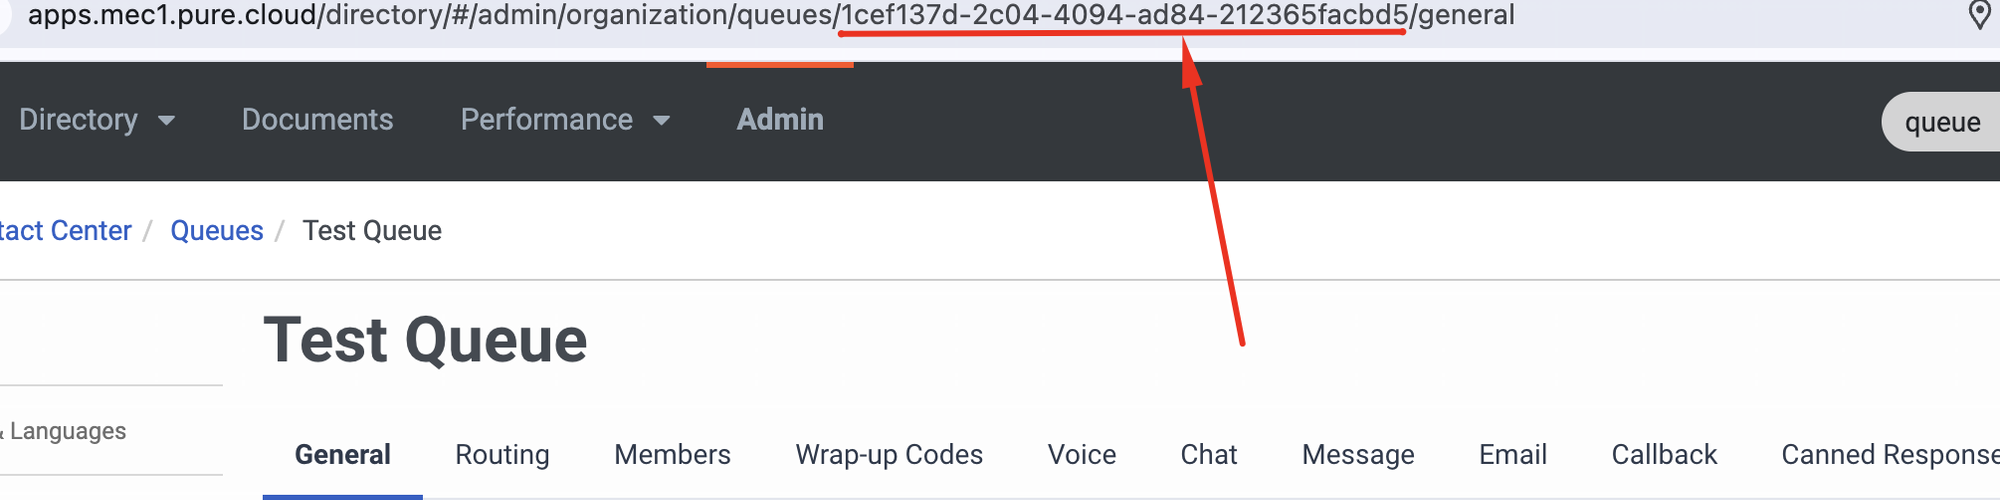
5. Add a condition to the trigger, where you will replace "QUEUE ID HERE" with the "Queue ID" you can find in step 16 of the integration field.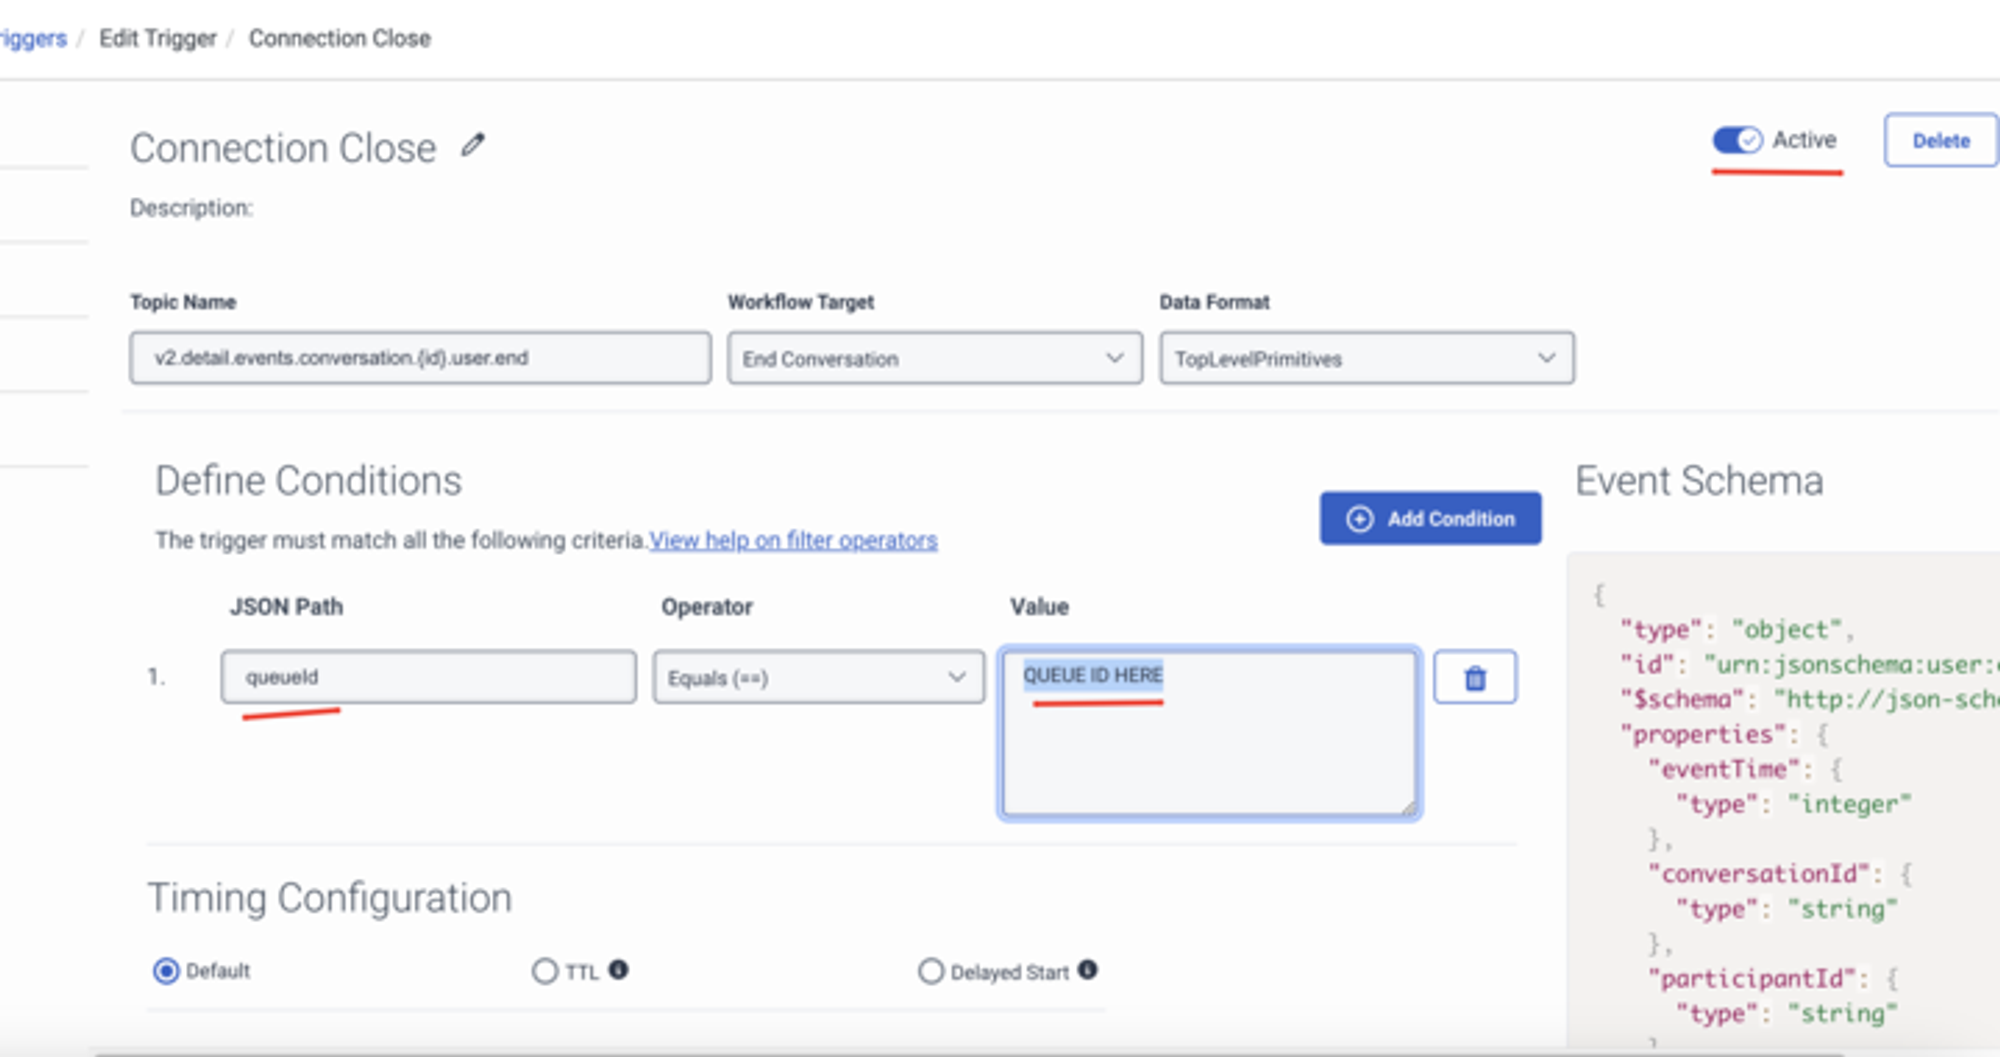
6. To add a workflow, navigate to Architect > Workflow.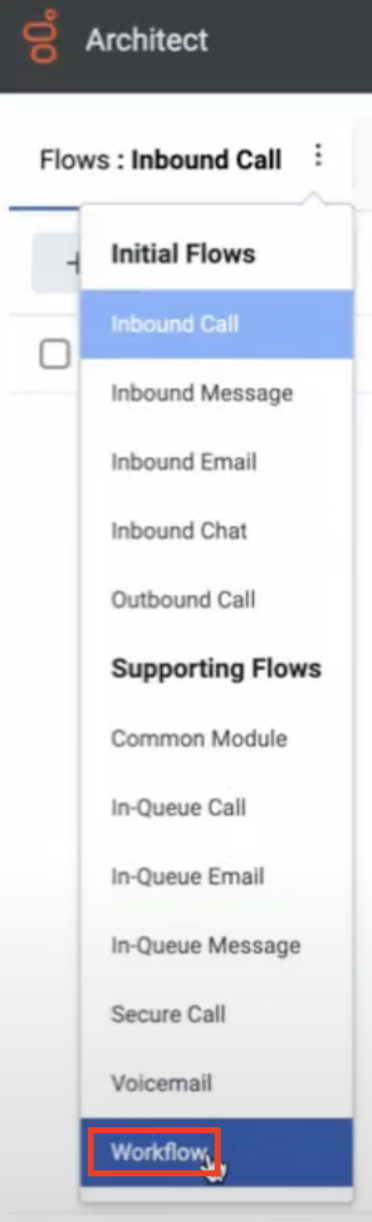
7. Drag and drop Call Data Action under Start Action and fill in the Name, Category, Data Action, and other fields. 
8. "Category" corresponds to "Integrations" and "Data Action" corresponds to "Actions".
First, you should add a new integration. Integration should be the "Web Services Data Actions". You do not need a configuration for integration. Install it, give a name to the integration, and save it. 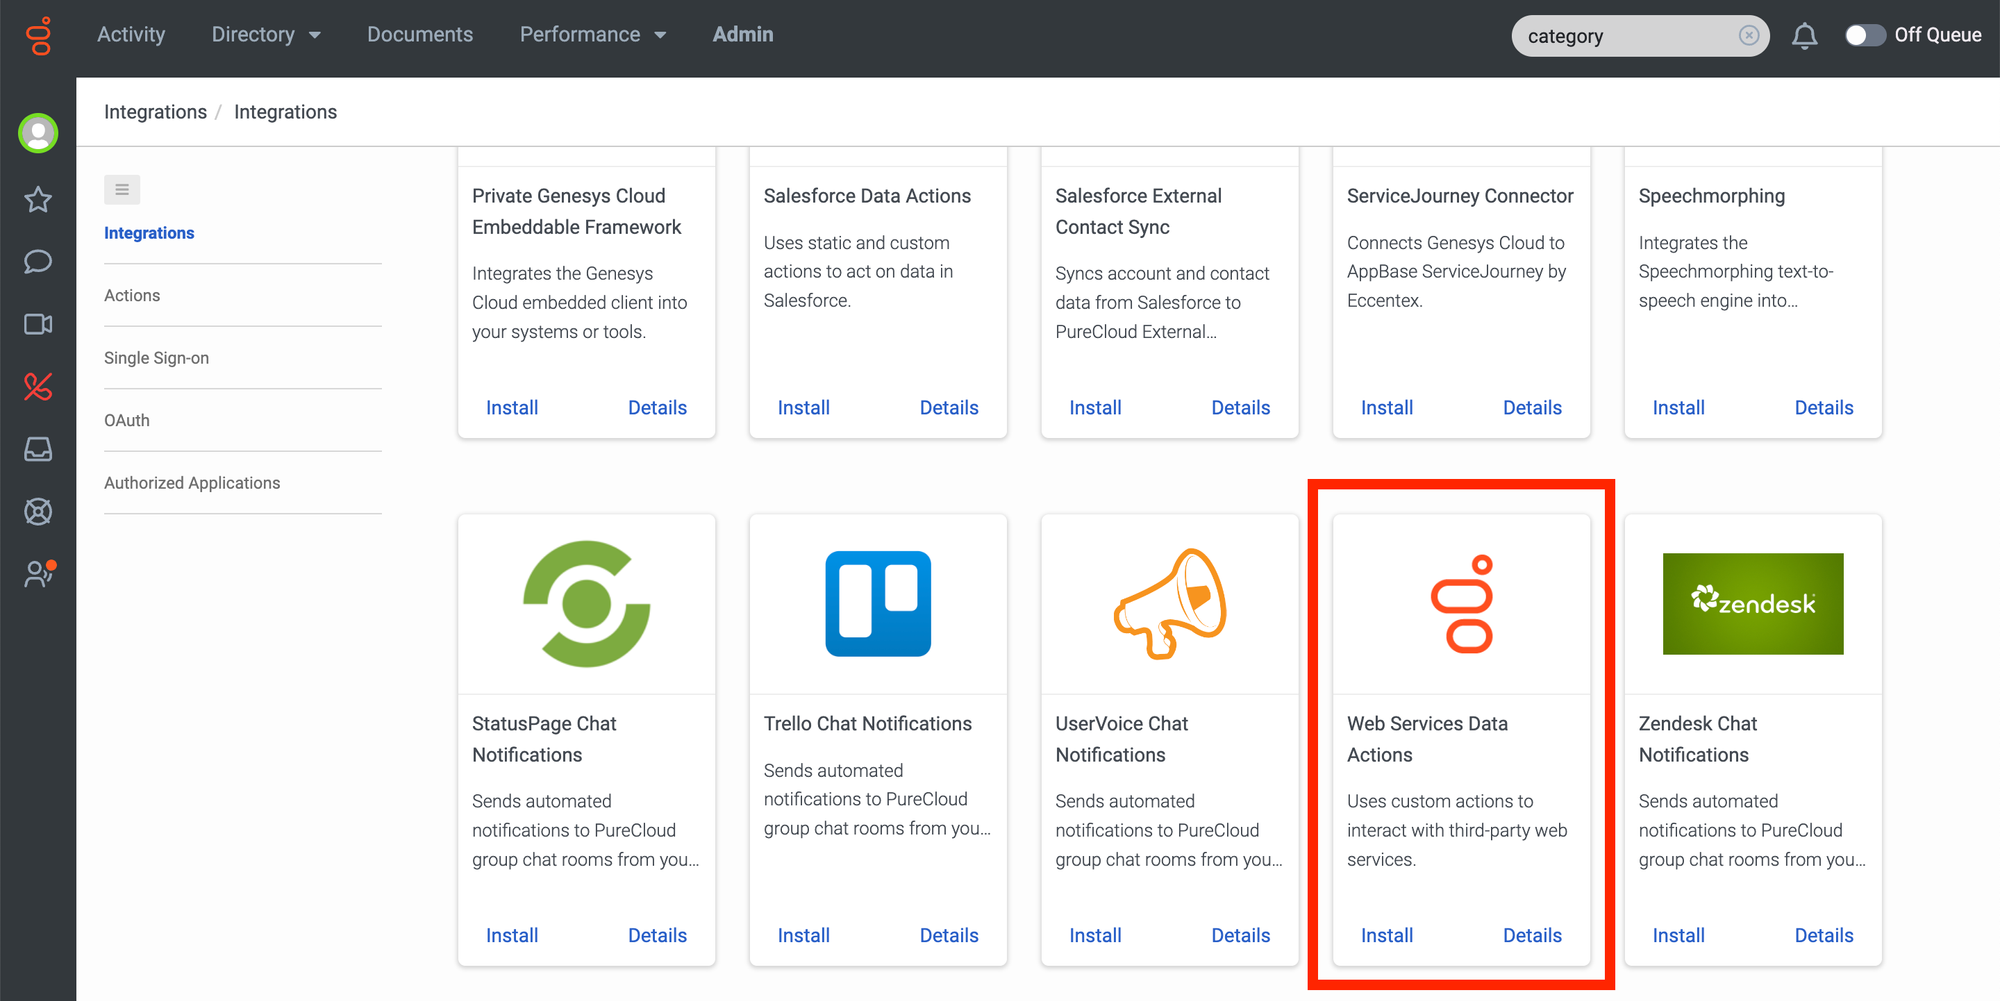
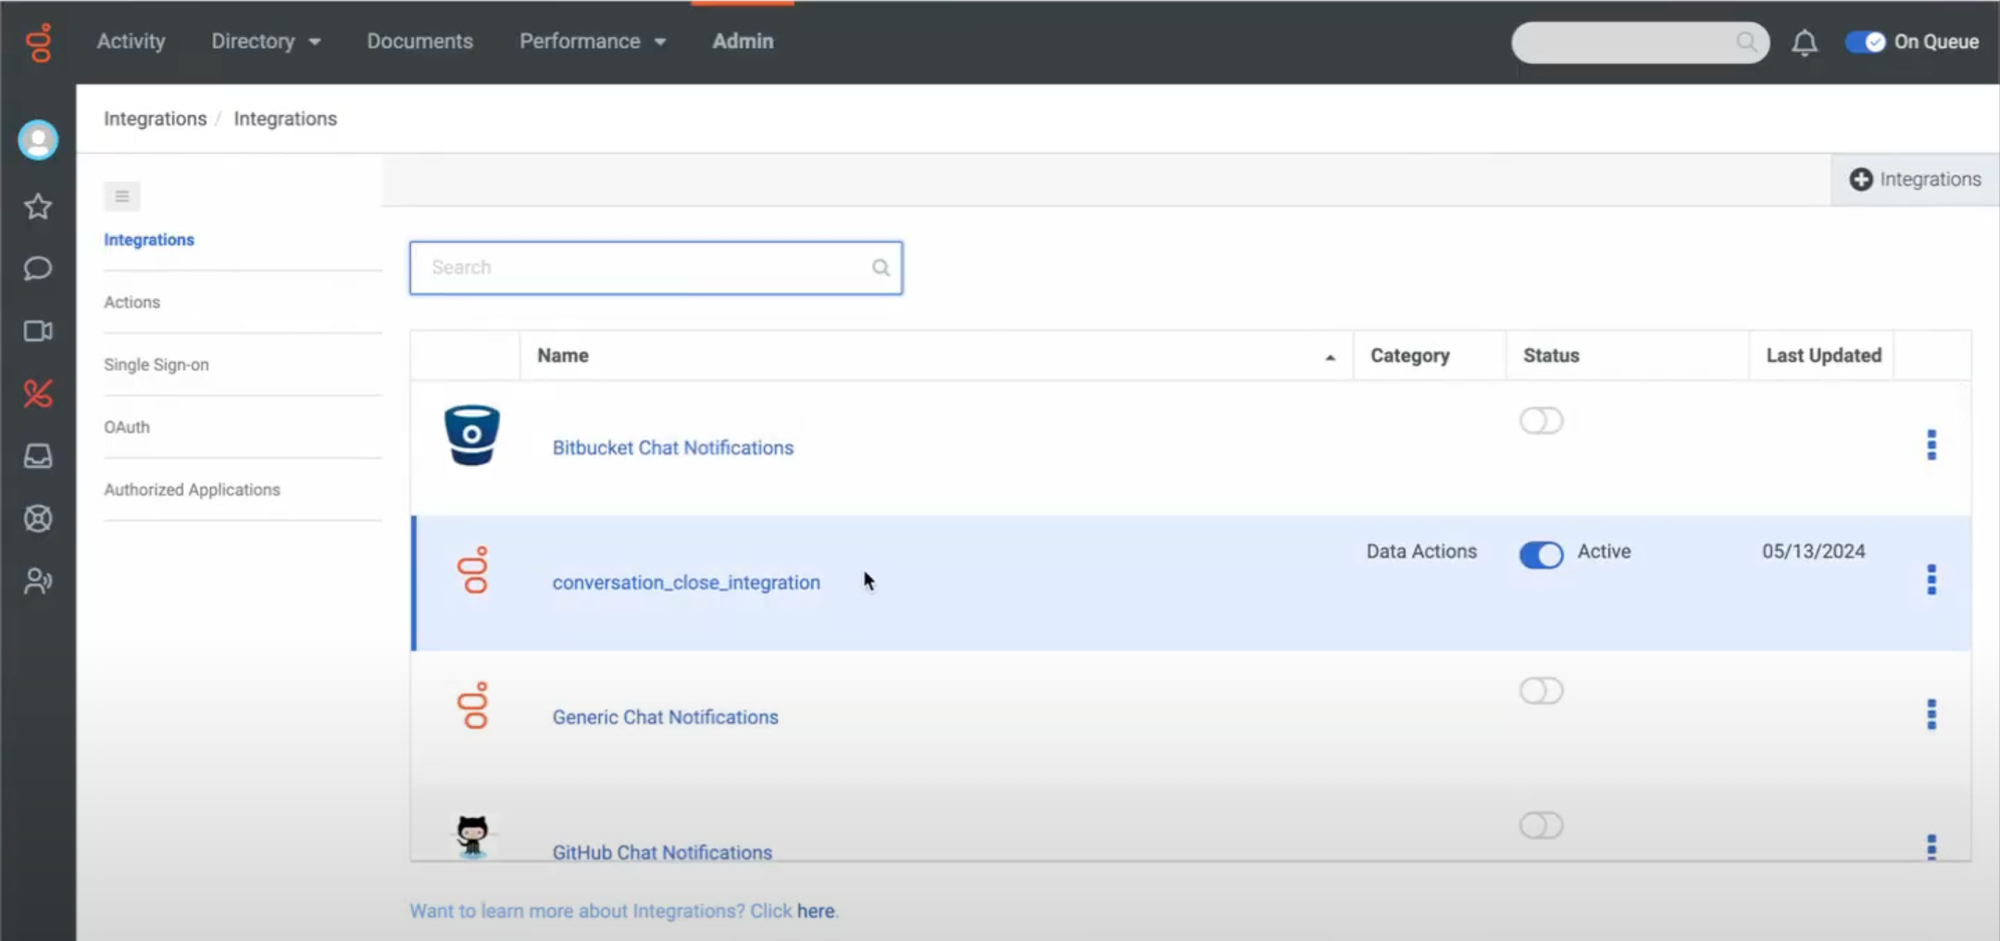
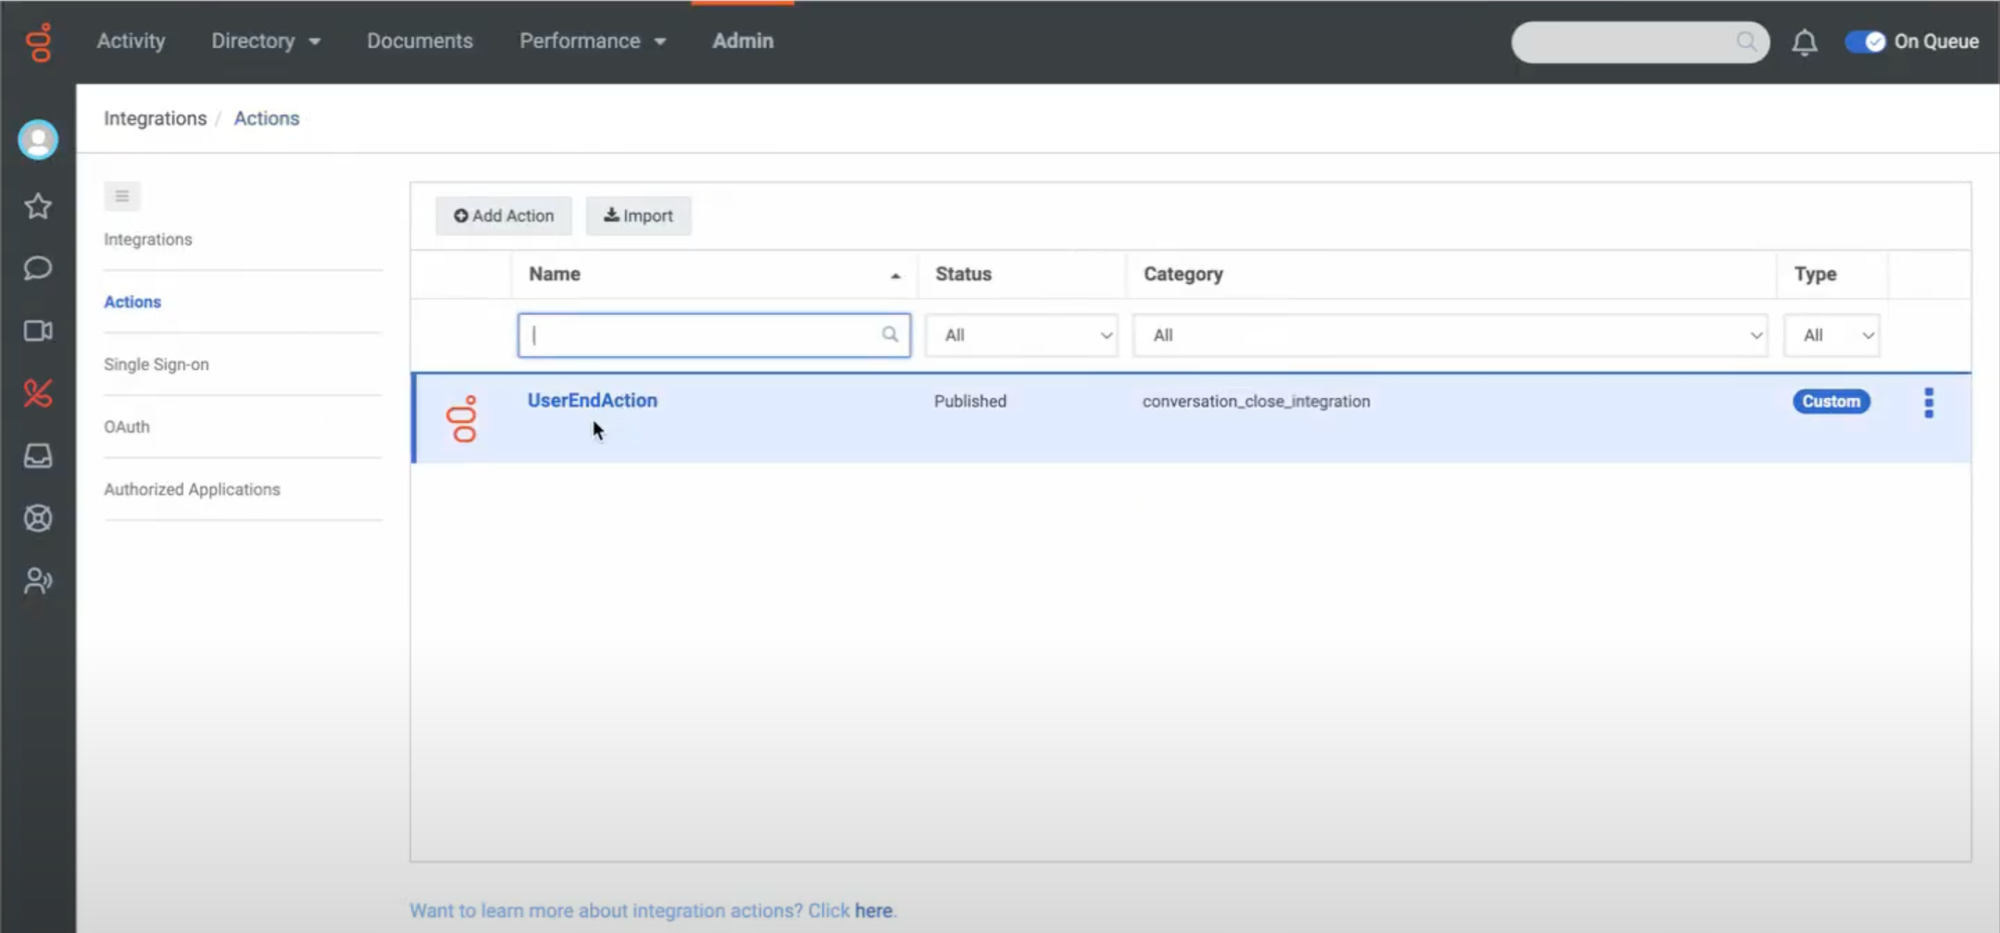
9. After adding the integration, you need to add a new action under the "Integrations" section. The new action should be related to added integration as seen below. 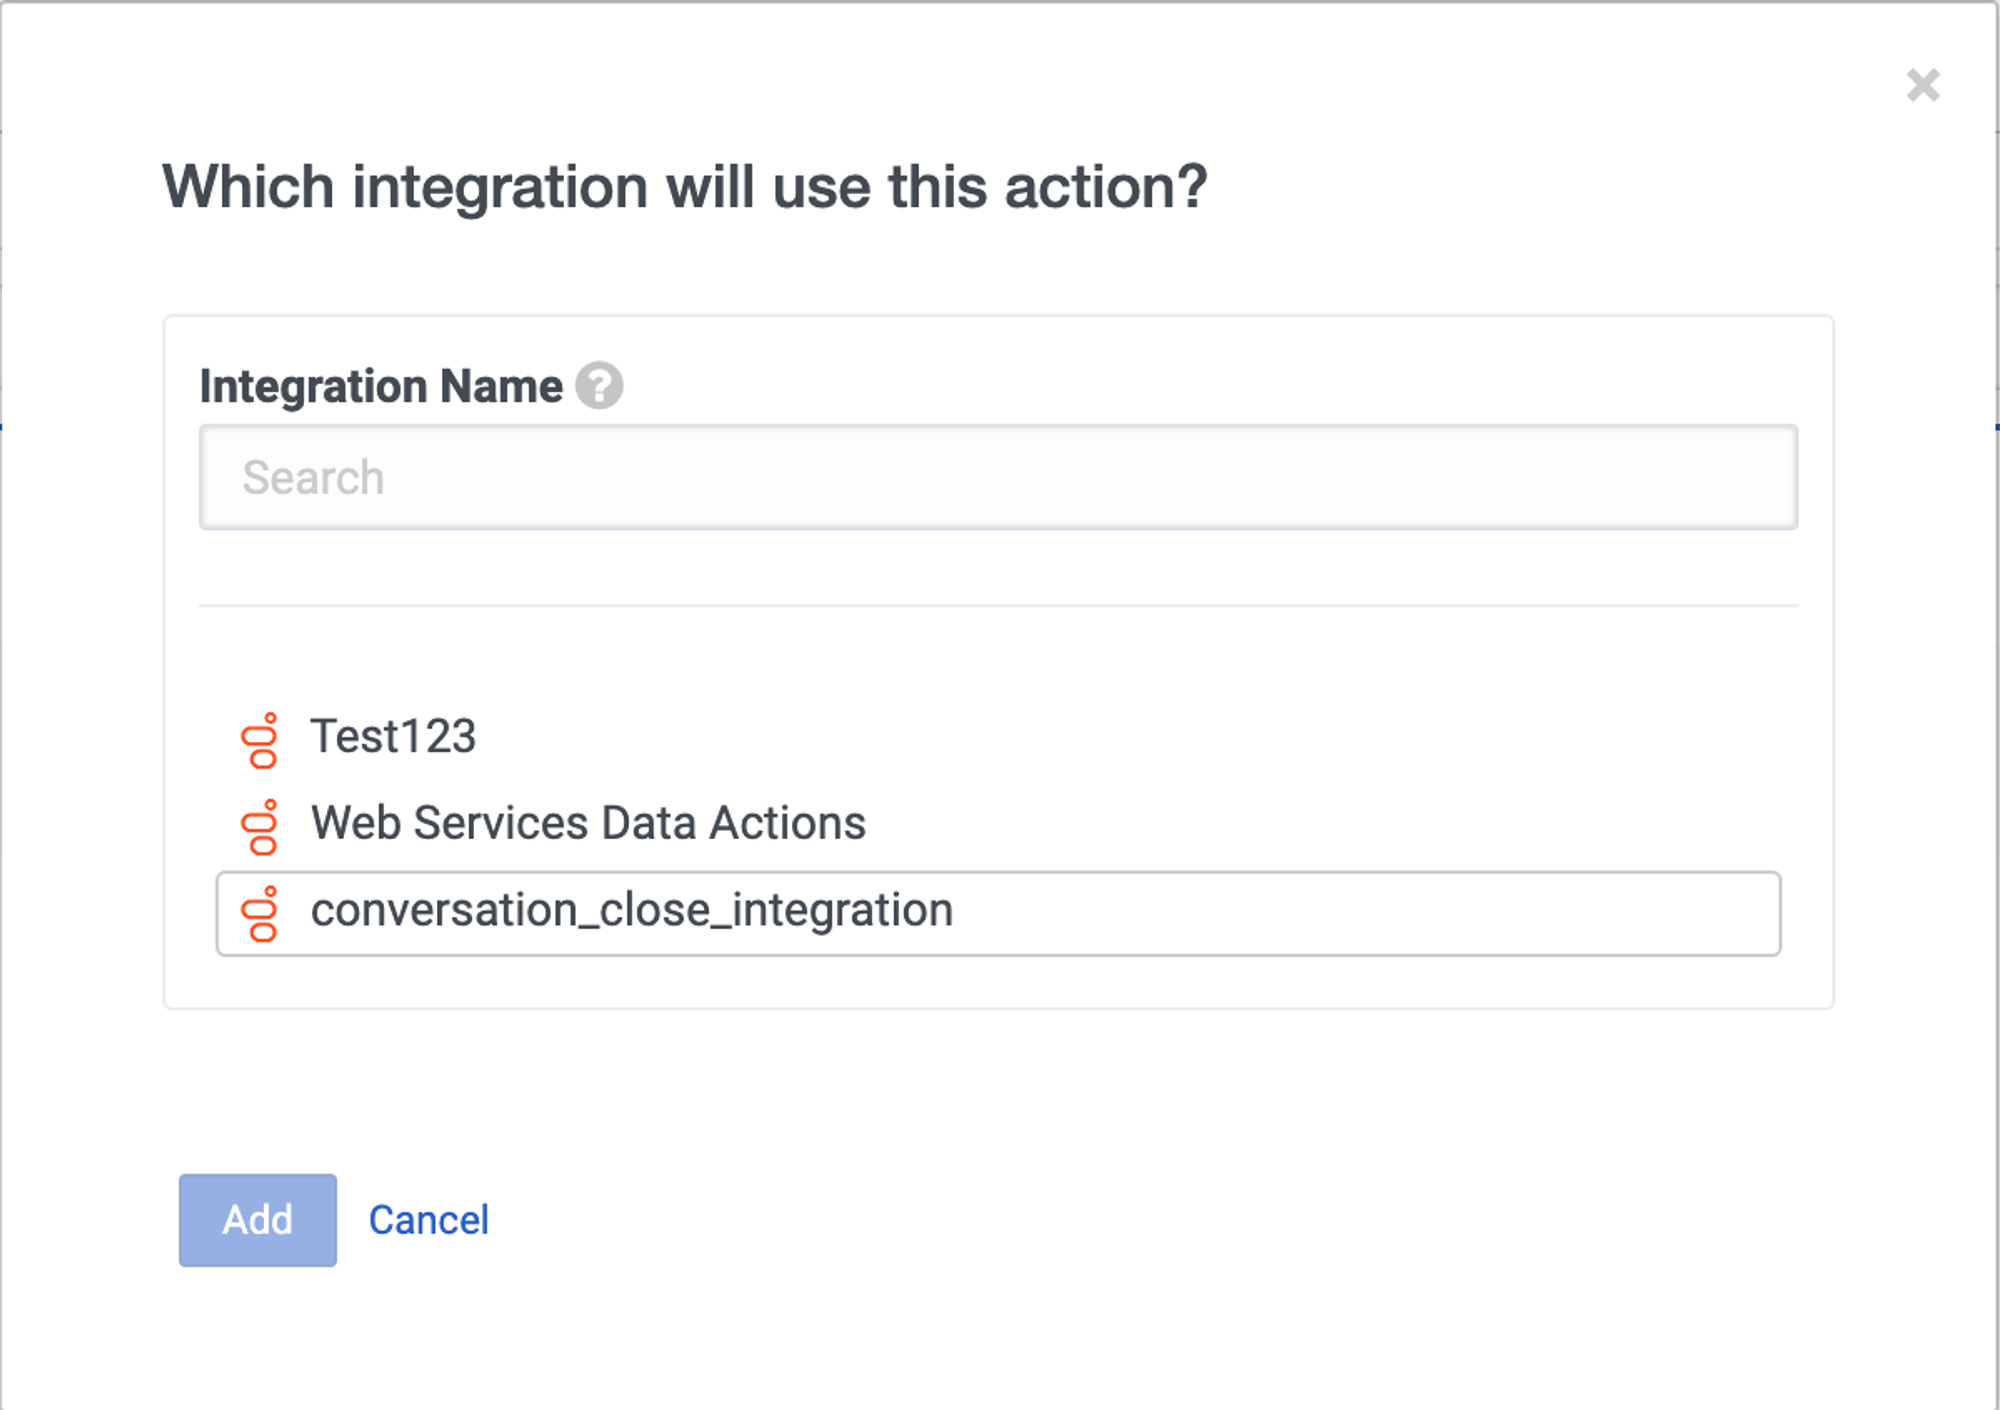
10. You should configure the Setup/Configuration section. Set the URL and the body as you want. To close a conversation, you need to fetch the "conversationId". 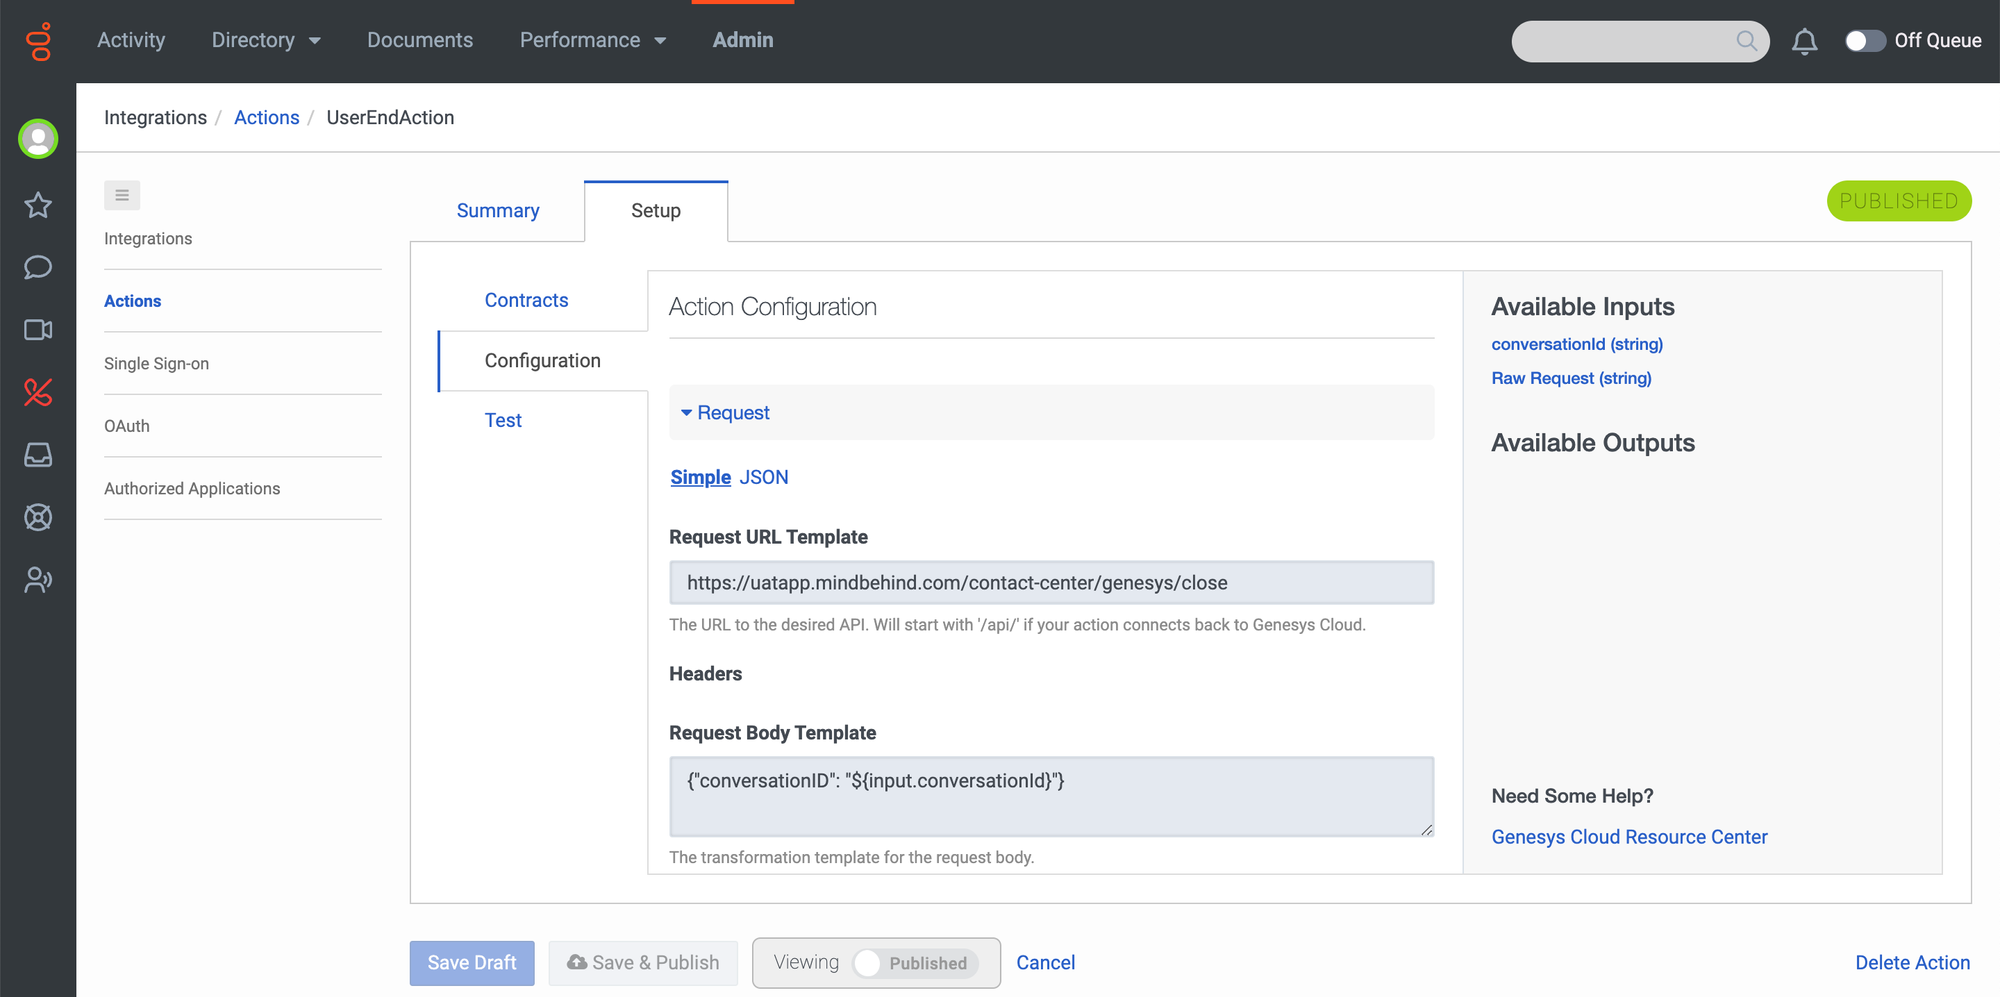
11. Add the "Input Contracts" as seen below. 
12. After setting the Name, Category, and Data Action for Workflow, you should set the Inputs. 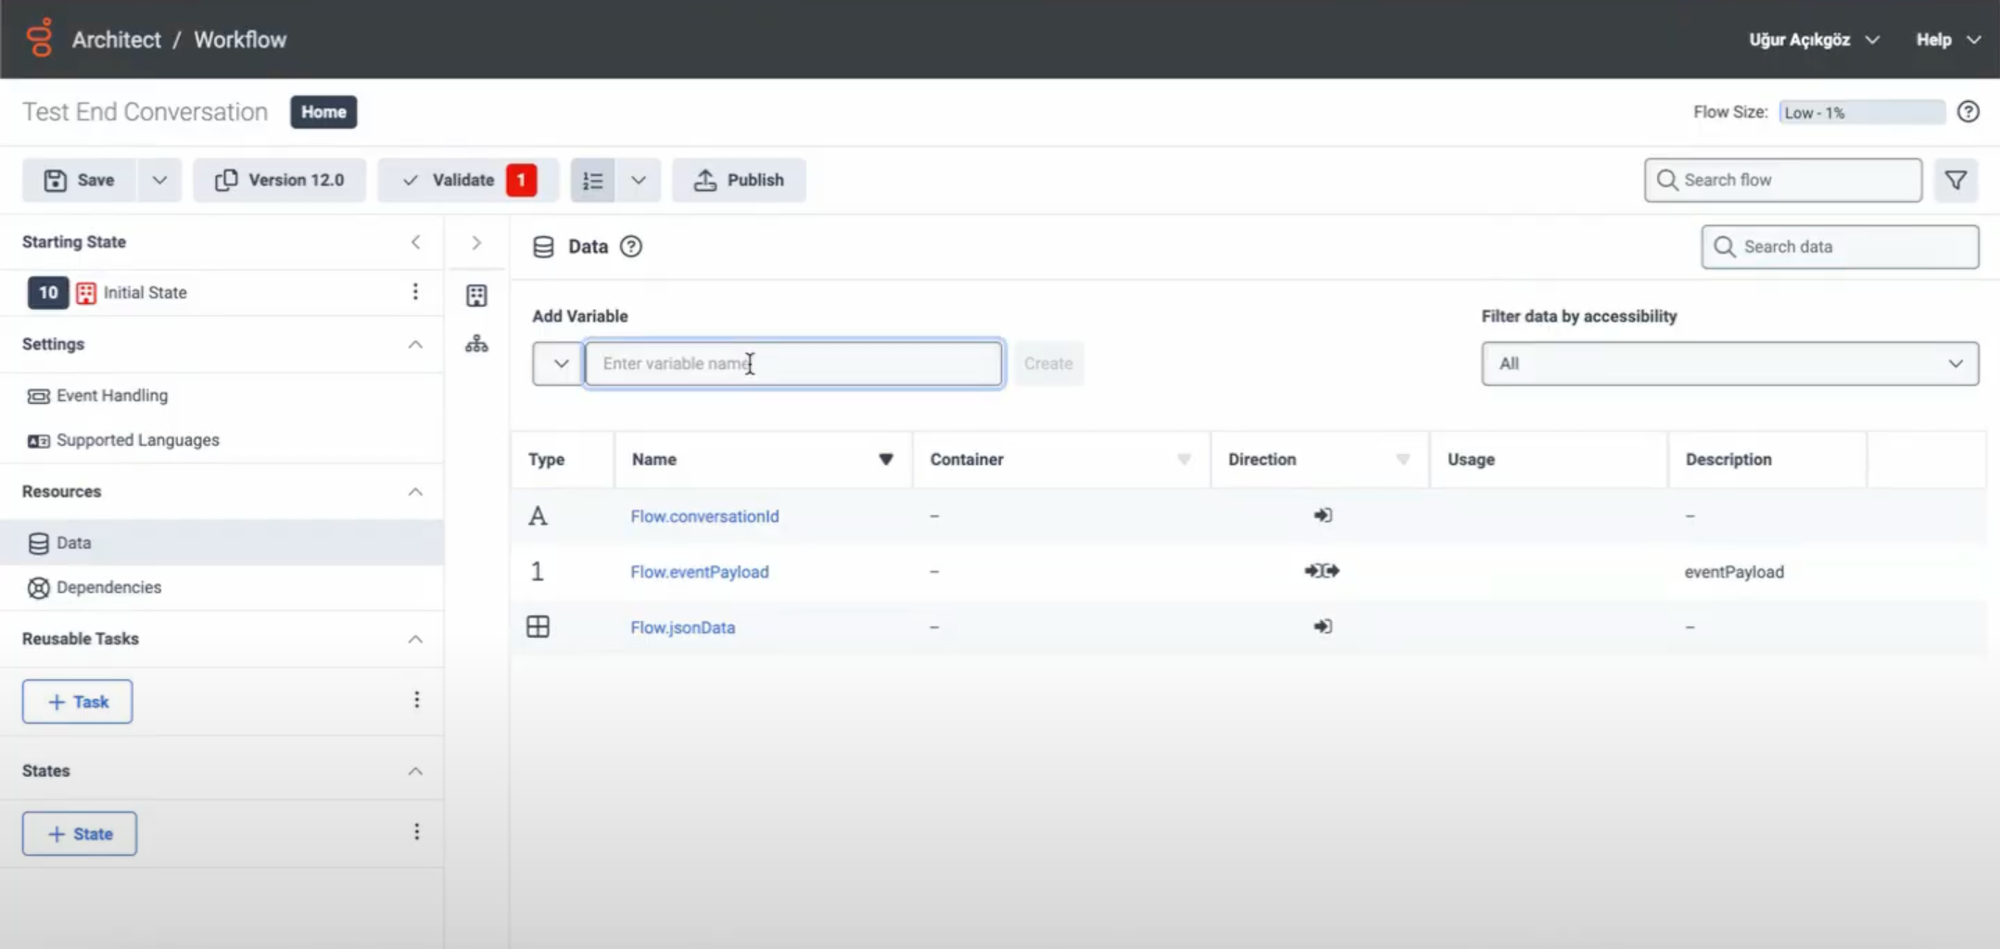
13. You can add a variable under Architect > Workflow/Data. While adding a new variable, you should choose "Input to Flow" in the variable option. You can choose your variable. It should be the same with "Contracts Input". For this use case: Flow.conversationId. 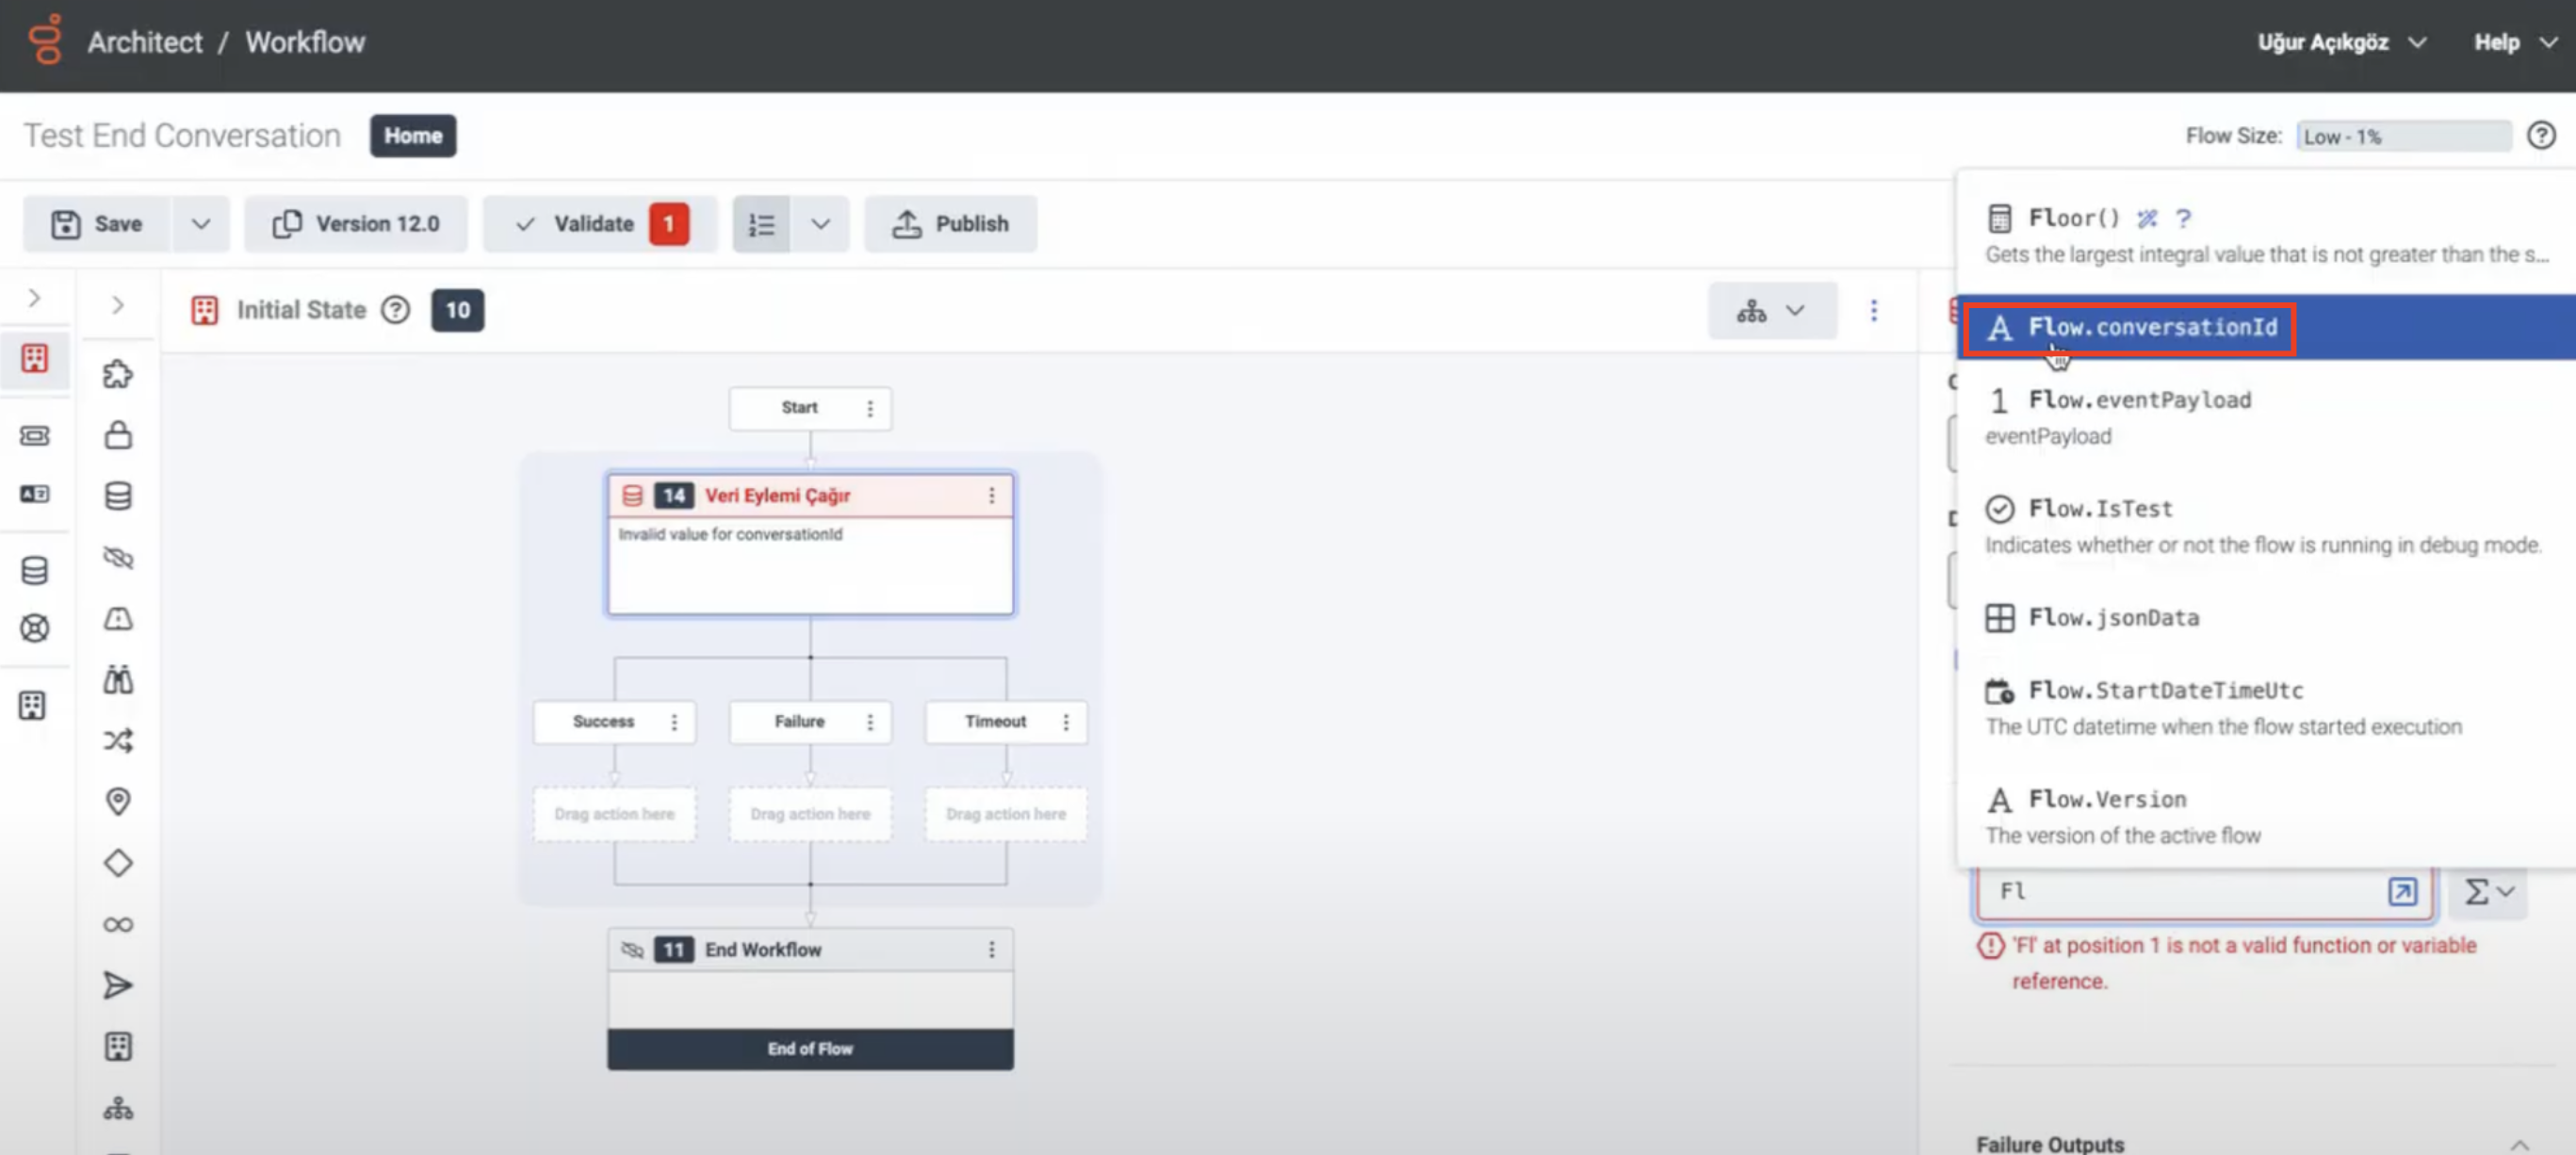
You can also find all events in the "Event Schema" when adding or editing triggers.
That's all! You have successfully set the Genesys End Conversation configurations.