This guide aims to explain how to use the E-Commerce Action. To learn how to use the E-Commerce Action in your flows, follow the steps below:
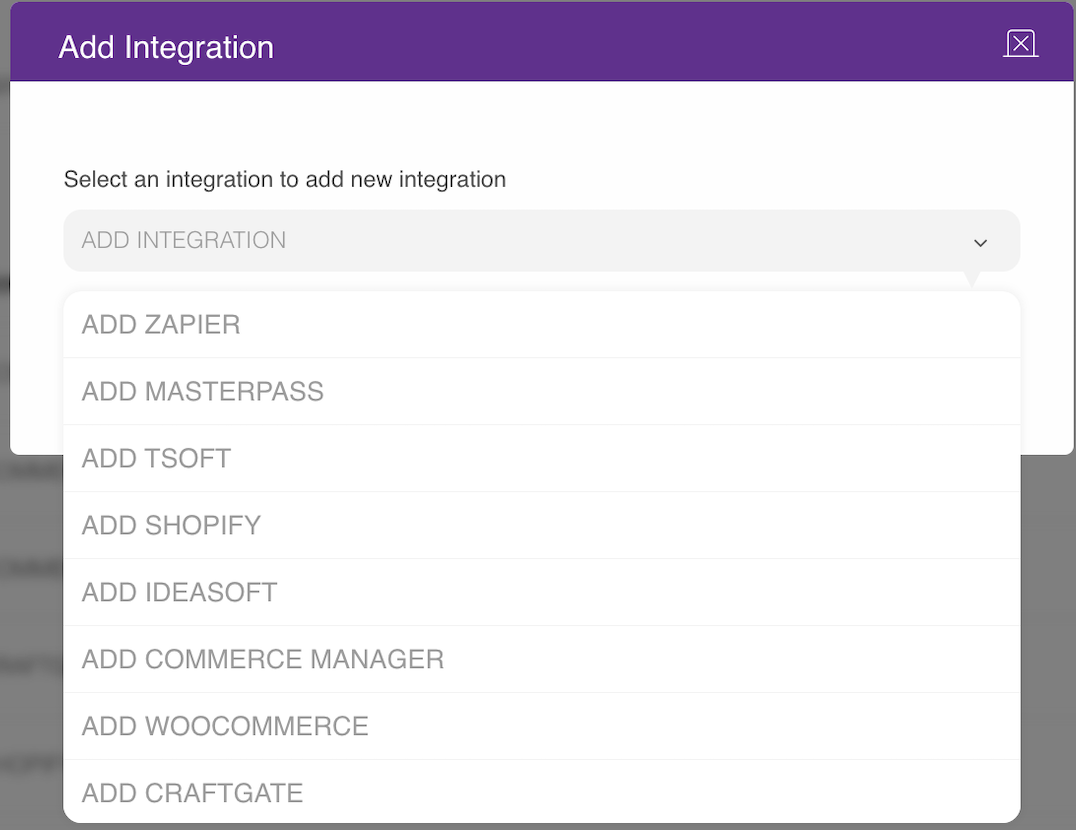
To use E-Commerce Action, you should integrate your store into MindBehind. If you have not done that yet, check the Integrations section under Company Settings.
2. After the integration, choose an E-Commerce Gateway for the action in the module. You should select a gateway each time you use this action, even when you are in the same assistant. 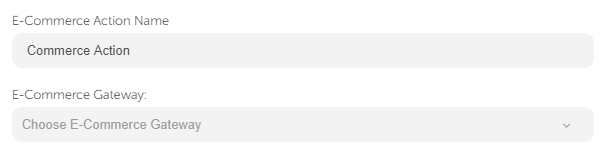
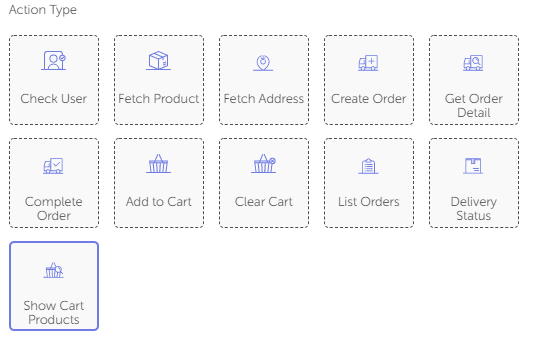
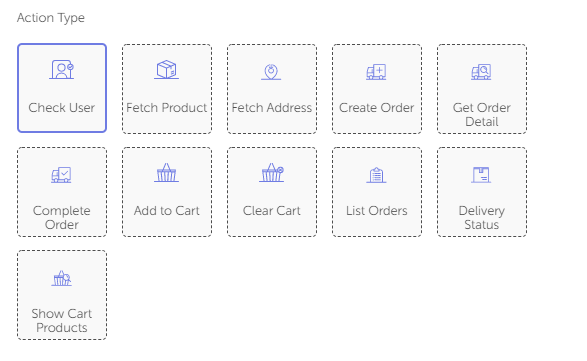
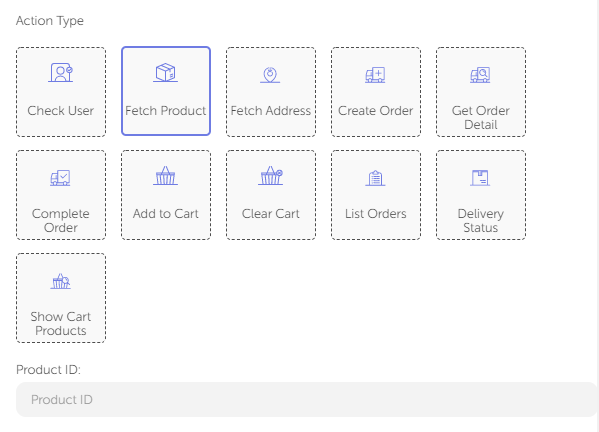
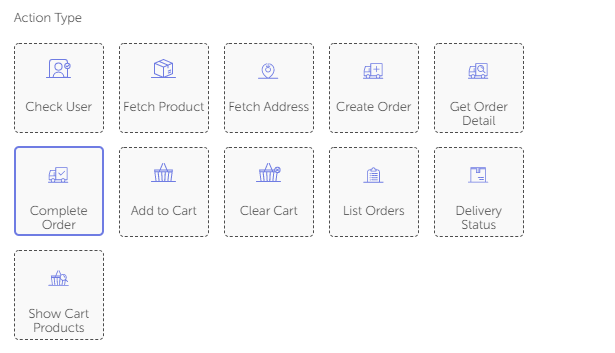
Under this module, you can use the action types below: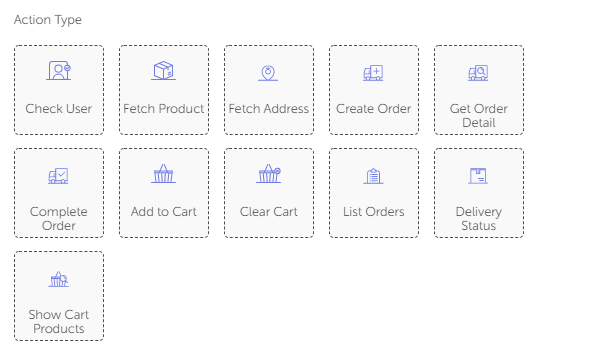
Check User: During a conversation, it is essential to check if the customer is already registered in Shopify or T-Soft. The user's telephone number is received.
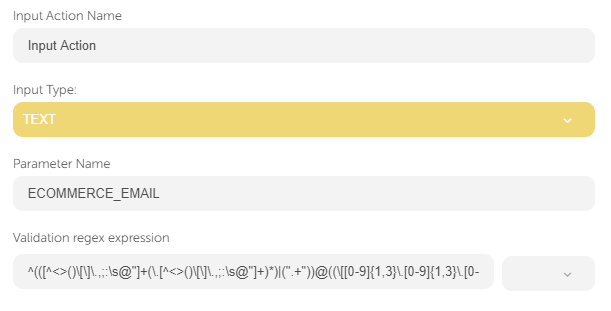
You need to ask for the user's email address with this given parameter name for T-Soft. Check User action checks if the telephone number matches the email address. If it does not match, you ask the user to update their telephone number.
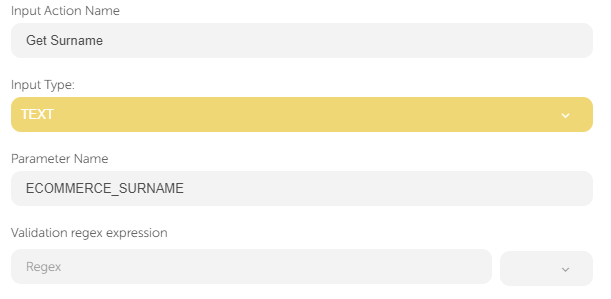
For Shopify, if the user is not registered, you should register this user to continue the flow since you have already taken their number. To do that, ask for their name and surname in input actions with the following parameter names (you should stick with these parameter names) to sign up for them.
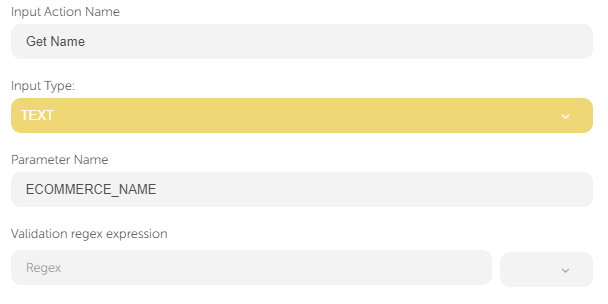
"ECOMMERCE_NAME" represents the user's name and "ECOMMERCE_SURNAME" represents the user's surname.
Fetch Product: This action will help you select the products that you wish to show your customers. To use this action, follow the steps below:
Enter the product ID of the relevant product.
You can display the product details to your user with a card message. You can see an example below:
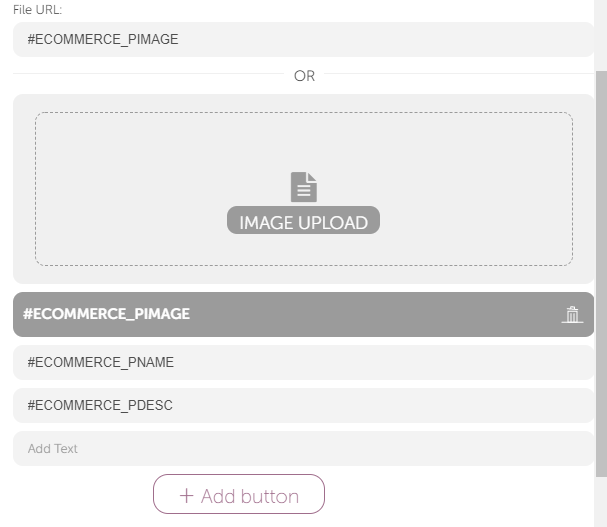
"#ECOMMERCE_PIMAGE" will get the product's image URL and make it visible on the card.
"#ECOMMERCE_PNAME" displays the product's name.
"#ECOMMERCE_PDESC" represents the user's name.
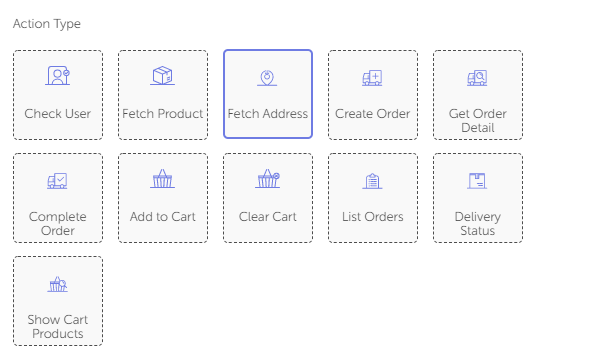
Fetch Address: This action will help you see if the user has an address registered on Shopify or T-Soft.
If they do not have an address, you can create an address.
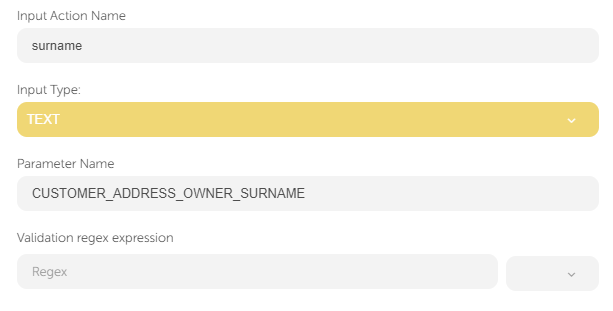
In Shopify, you can collect some information with input modules using the following parameters and create an address:
"CUSTOMER_ADDRESS_OWNER_NAME" collects the customer's name who will pick up the delivery.

"CUSTOMER_ADDRESS_OWNER_SURNAME" collects the customer's surname.

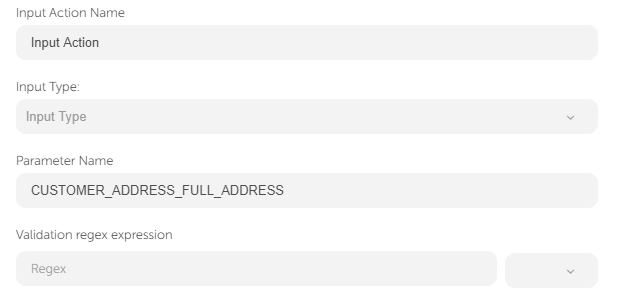
"CUSTOMER_ADDRESS_FULL_ADDRESS" requests the full address to which the delivery is being sent.
"CUSTOMER_ADDRESS_CITY" requests the city information.

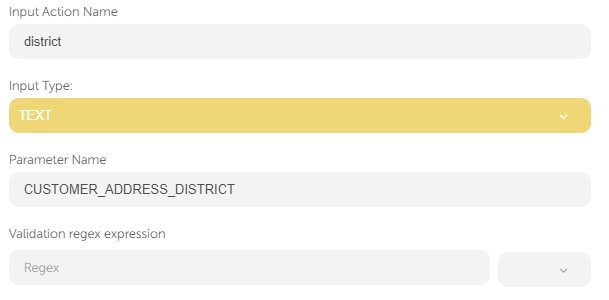
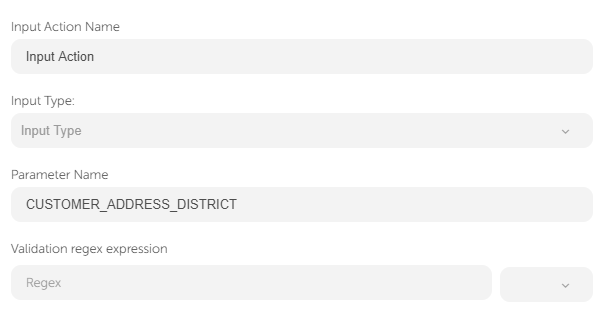
"CUSTOMER_ADDRESS_DISTRICT" adds the district information to the address.
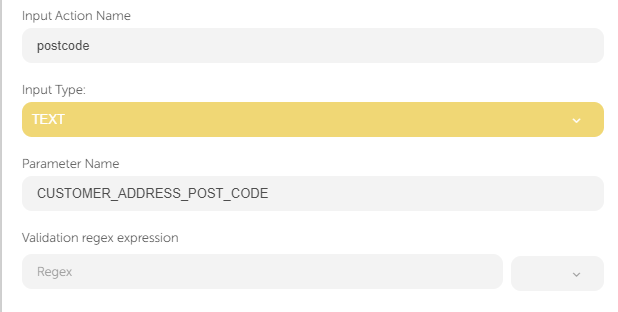
"CUSTOMER_ADDRESS_POST_CODE" collects the postcode of the city/district to which the delivery will be sent.
For T-Soft, the required fields to create an address are as follows:
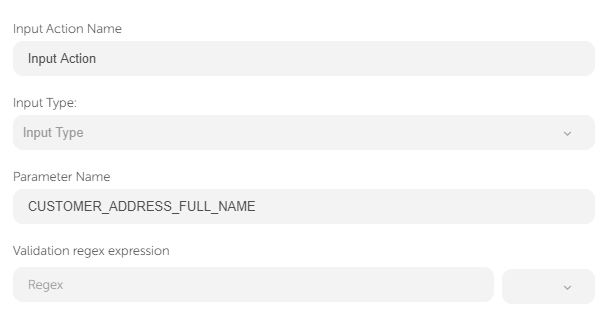
"CUSTOMER_ADDRESS_FULL_NAME" will collect the customer's name and surname who will pick up the delivery.
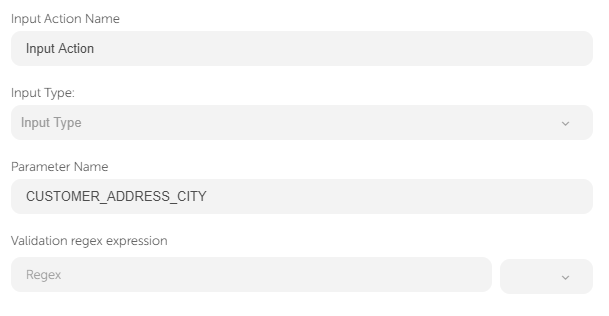
"CUSTOMER_ADDRESS_CITY" collects the city information.
"CUSTOMER_ADDRESS_DISTRICT" adds the district information to the address.
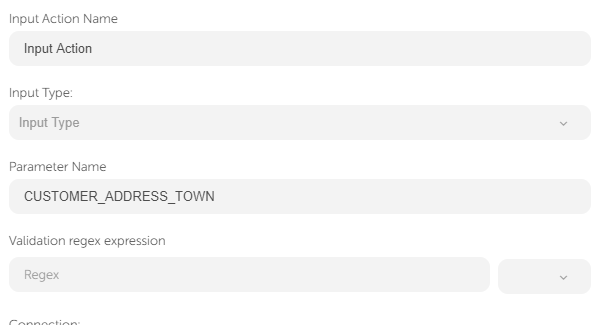
"CUSTOMER_ADDRESS_TOWN" collects the town information for the delivery address.
"CUSTOMER_ADDRESS_POST_CODE" collects the postcode of the city/district to which the delivery will be sent.
.png)
"CUSTOMER_ADDRESS_FULL_ADDRESS" requests the full address to which the delivery will be sent.
Add to Cart: This action enables the user to add the product with the given ID to the cart.
To create an order, the cart should not be empty. 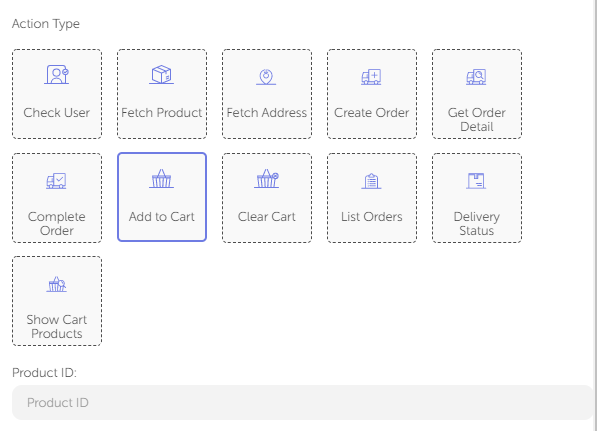
Clear Cart: Customers might change their minds and decide to clear their cart, maybe cancel the session, or just add new products. This action helps customers clear all the products they have added to their carts.

Create Order: After you check if the customers have added a product to the cart and found an address, you can create an order.
This can't be done when you have not checked the customer when the cart is empty, or if the customer does not have an address.
.png)
Complete Order: After the customer makes a payment, you can confirm the order and complete the process.
List Orders: To list the orders of your customers, use this action.
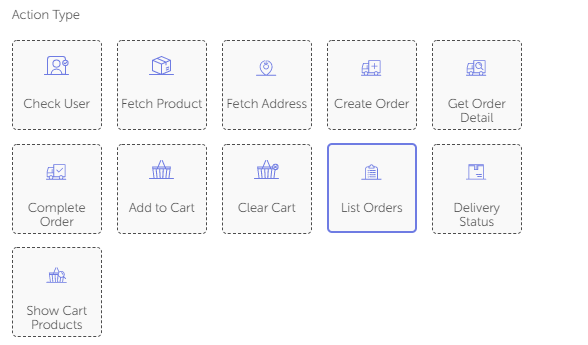
To use this action, there should be at least one order so that you can show these orders to your customer.
You should check whether there is an order or not.
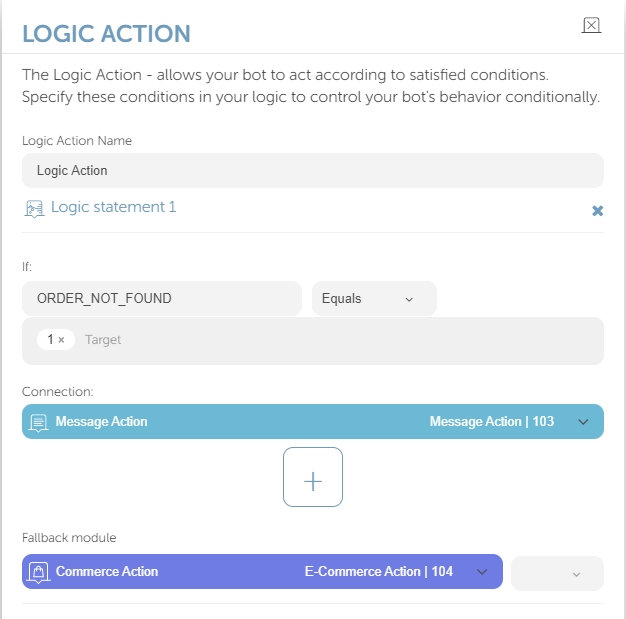
You need to use the "ORDER_NOT_FOUND" parameter to check the current orders.
You can use Logic Action to control this parameter. You can take a look at this example to use this action:
If it equals 1, this means that there is no order so you need to inform your customer "There is no order found for this account".
If it does not equal 1, you can list orders.
If the "ORDER_NOT_FOUND" parameter does not equal 1, it means that there is an order and it will be automatically listed in a card that is coming from the code in the following format:
Title: "Which order would you like to process?"
Subtitle: null
Button text: "Please write {3} for your order dated {1} with the amount of {2}."If you want to edit the text of the card, you need to send the following parameters with the desired texts from assistant parameters before you publish the bot:
To change the title, you should use the "ECOMMERCE_LIST_ORDER_TITLE_FOR_SINGLE_CARD" parameter.
To change the subtitle, you should use the "ECOMMERCE_LIST_ORDER_SUB_TITLE_FOR_SINGLE_CARD" parameter.
To change the button text, you should use the "ECOMMERCE_LIST_ORDER_BUTTON_TEXT_FOR_SINGLE_CARD" parameter.

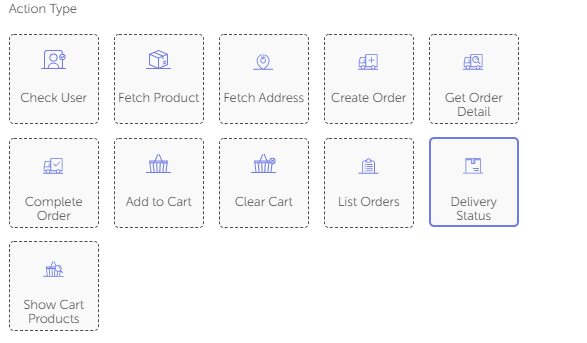
Delivery Status: Your customers usually check the delivery status of the products they have ordered. You can use the "Delivery Status" action to check the products they have ordered and notify them about the delivery status.
Show Products in Cart: Customers need to see the products they have added to their basket. This action helps users to list these products.