This guide aims to explain how to add a Google Analytics Tag in Google Tag Manager. In this guide, you can find details about:
Set up Google Tag Manager
Go to the Google Tag Manager website and sign in with your Google account.
Create a new Google Tag Manager account for your website/application if you have not already.
Follow the on-screen instructions to set up your web-container. A container is a snippet of code that needs to be added to your website/application.
Add the Google Tag Manager code to your website/application
Once you create the container, you will receive a GTM container code snippet.
Copy the entire code snippet provided.
Paste the code snippet into the "<head>" section of your website's HTML code. This should be added before closing the "</head>" tag.
Save the changes and publish your website/application.
Set up a Google Analytics Tag in Google Tag Manager
Go back to the Google Tag Manager interface.
Click on the container's name to access it.
Click on the Tags option in the left sidebar menu.
Click on the New button to create a new tag.
Give your tag a descriptive name, such as "Google Analytics - Widget Click Event."
Choose the tag type. Select the "Google Analytics: GA4 Configuration" option for Google Analytics.

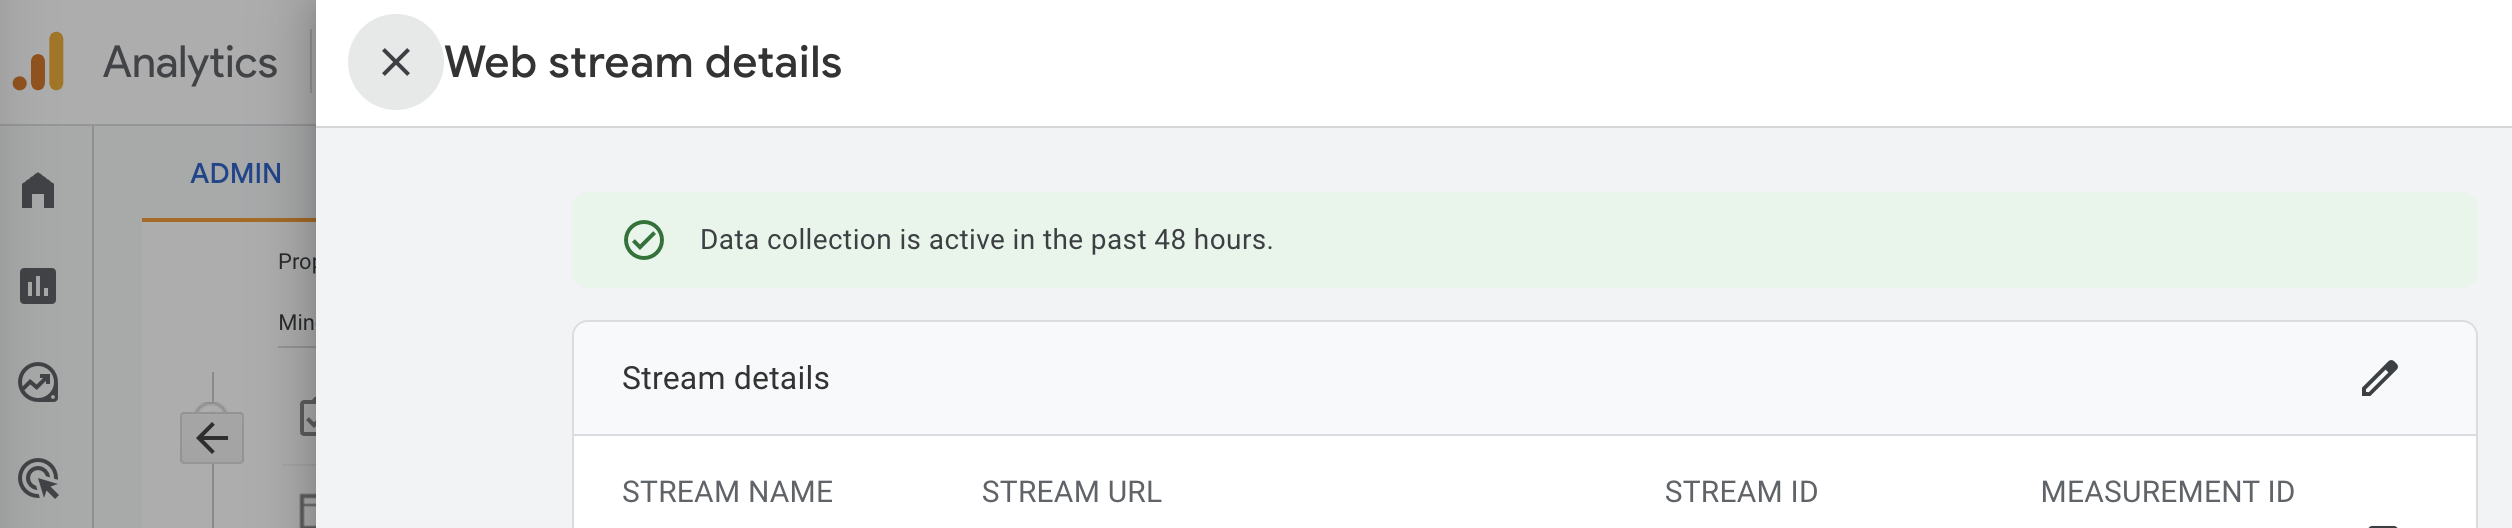
Configure the tag by specifying the Measurement ID of your Google Analytics property. You can find the Measurement ID in your Google Analytics account under Data Streams >Web Stream details.
Choose the appropriate track type based on your requirements, such as "Event" for tracking widget clicks.
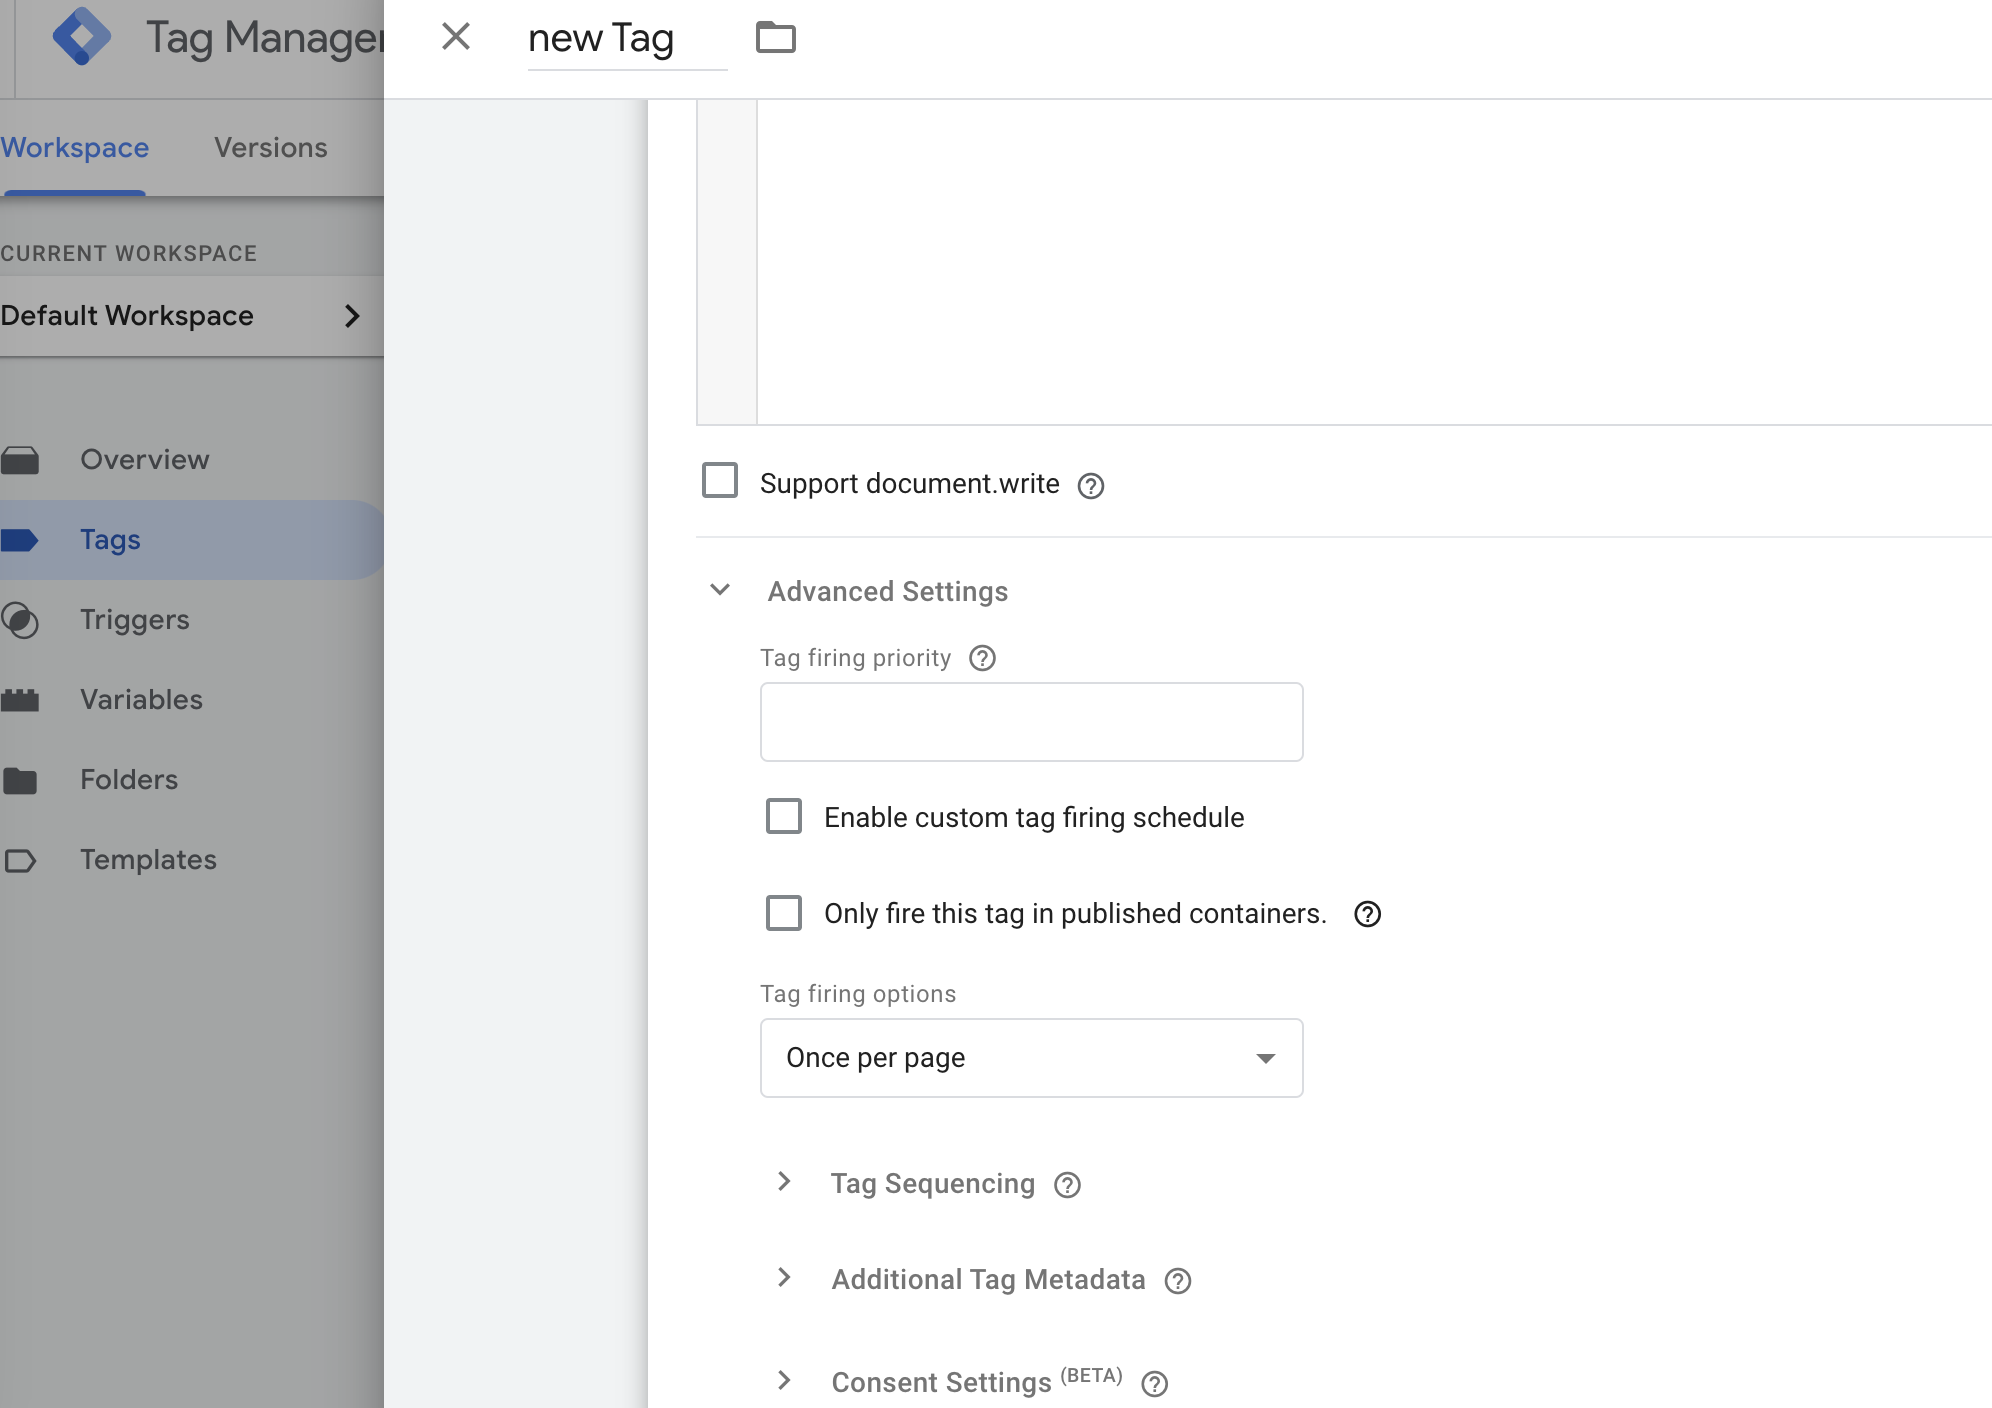
Set the tag firing option under "Advanced Settings" to once per page.
Save the tag.
Create a trigger for the Tag
Click on Triggers in the left sidebar menu.
Click on the New button to create a new trigger.
Give your trigger a descriptive name, such as "Widget Click Trigger."
Select the trigger to fire on “Some Clicks”.
Choose the Click Element trigger type, the condition “matches CSS selector,” and the value “.container__CompanyIcon-sc-qtelua-5.dmnmBT”.

Save the trigger.
Preview and debug
In the Google Tag Manager interface, click the Preview button at the top-right corner to enable preview mode.
Open your website/application in a separate browser tab or window.
With the preview mode enabled, any changes you make in Google Tag Manager will be visible in the preview pane.
Navigate to the page where the widget is located and interact with the widget to trigger the event you want to track.
In the preview pane, you will see the tags and triggers firing and the associated data being sent to Google Analytics.
Use the debug information provided to ensure the tag is firing correctly and capturing the desired data. If any issues are identified, you can return to Google Tag Manager to make the necessary tag or trigger configuration adjustments.
Repeat the preview and debug process until you are satisfied with the tracking implementation.
Publish changes in Google Tag Manager
Once you create the tag and trigger, click the Submit button in the top-right corner of the Google Tag Manager interface.
Provide a version name and description for the changes you made.
Click the Publish button to publish the changes.