Clickstream integration allows you to automatically collect product information based on users’ interactions with your website or mobile app. Product data is captured from product pages using predefined system rules and sent to Insider through the Insider Tag or Web SDK. The collected data is processed continuously to keep your Product Catalog updated.
How product information is collected
When a user visits a product page, product data is sent to Insider One through the Insider Web SDK integration.
The specific fields that must be collected depend on your selected Product Catalog Feed type. You can review the required and optional attributes in the Product Attributes.
Clickstream integration relies on the following components:
Insider Web SDK integration
System rules such as getCurrentProduct
Product attributes defined in your Product Catalog
User interaction data is evaluated hourly. If the collected product information meets the required criteria, the Product Catalog is automatically updated.
The speed at which product updates appear in your catalog depends on product popularity and website traffic:
Popular products: Items with multiple daily visits will be updated faster.
Less popular products: Items with few visits per week may take longer to reflect changes such as price updates, stock status, or name edits.
Requirements before starting
Before integrating Clickstream, ensure the following prerequisites are met:
Plan product attributes in advance
Identify all product attributes that will be collected through Clickstream. Create any required custom product attributes in the Product Attributes section before starting the integration.
Verify website HTML structure
All planned product attributes must be present and accessible within your website’s HTML structure. If an attribute is not rendered on the page, Clickstream cannot collect it, which may result in incomplete or failed catalog updates.
Confirm Insider SDK integration
Ensure that the Insider Web SDK is correctly implemented on your website. Clickstream integration depends on these components to capture and send product data to Insider.
Meeting these requirements helps ensure accurate data collection and reliable Product Catalog updates through Clickstream integration.
Step-by-step integration
Follow these steps to integrate Clickstream with your product catalog:
1. Plan your Product Attributes
Review the default product attributes and decide which ones you will use.
Check the required product attributes for your selected product catalog feed type. You can find the list in the Product Attributes.
Identify and list any custom product attributes you will need in addition to the default ones.
2. Check your website’s HTML structure
To allow Clickstream to collect product data, each attribute in your plan must exist in your website’s HTML structure. Make sure your website includes all the attributes you plan to use.
If the required product attributes for your selected catalog feed type are missing from your website, your Clickstream integration will fail.
3. Create the Custom Product Attributes
Navigate to Components > Product Catalog Management > Product Attributes page.
Create the custom product attributes you listed in the previous step.
4. Verify System Rules
Once your Insider Web SDK integration is complete, confirm that your system rules are working correctly.
Visit a product page on your website.
Run the getCurrentProduct rule.
Make sure the rules match your website’s HTML structure and attribute naming.
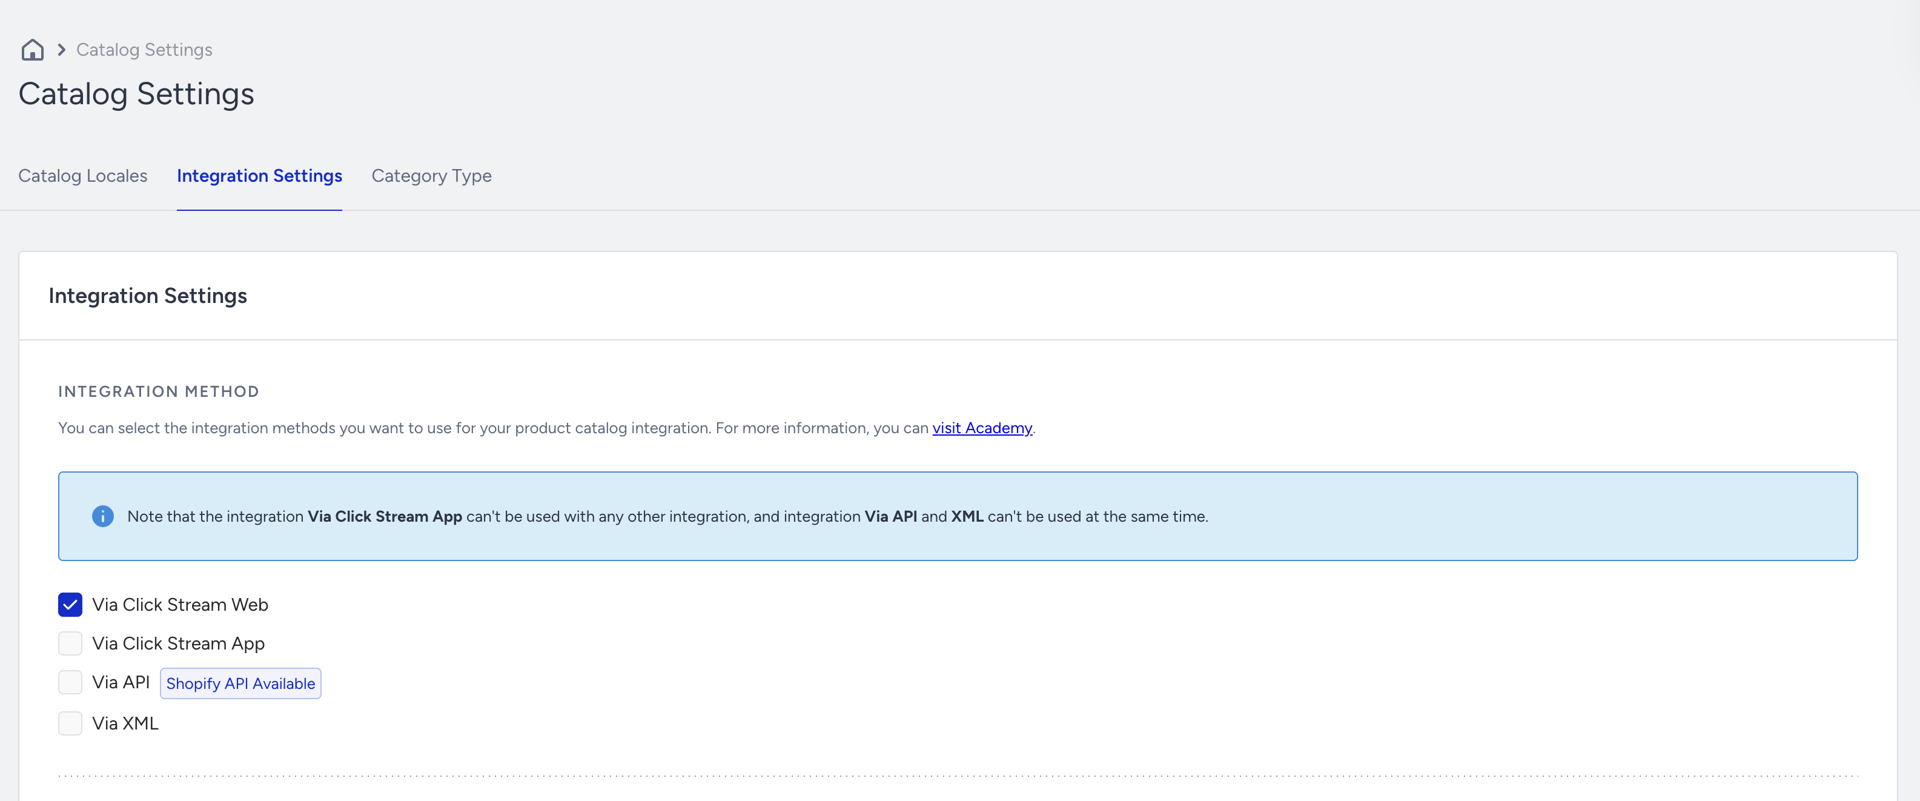
5. Enable Clickstream integration
Navigate to Components > Product Catalog Management > Catalog Settings page.
Select the Clickstream option on the Integration Settings tab, then click the Save button.
Out-of-stock management
Because Clickstream integration relies on user activity, it may not immediately detect when a product goes out of stock. To address this, Clickstream uses Product Hit Check.
Product Hit Check monitors product page views within a defined time window and helps identify inactive or unavailable items. If a product receives no views during the selected period (ranging from 1 to 72 hours), the system automatically marks the product as out of stock in the Product Catalog.
This mechanism helps keep your catalog accurate and ensures campaigns reflect current product availability and user interest.
How to enable Product Hit Check
Navigate to Components > Product Catalog Management > Catalog Settings.
Open the Integration Settings tab.
Enable Hit Check.
Select the desired time range.

You can also refer to the video below to learn how to enable the Clickstream integration, and its key points:
Key considerations and limitations
While Clickstream integration provides a low-effort way to collect product data, the following limitations should be considered:
Website structure changes
Changes to HTML structure, attribute classes, or element IDs may prevent product data from being collected.
Modifying the data type of a product attribute may cause update failures.
Traffic dependency
Low website traffic can delay catalog updates and limit product coverage.
Stock detection
Out-of-stock status is inferred based on the absence of product views.
In some cases, this approach may result in inaccurate stock information.
Understanding these constraints helps you decide whether Clickstream integration is suitable as a primary method or should be complemented with a more deterministic catalog integration.