This guide explains how to integrate Masterpass into MindBehind. You can follow the steps below:
1. Navigate to Company Management > Integrations to see the Masterpass integration.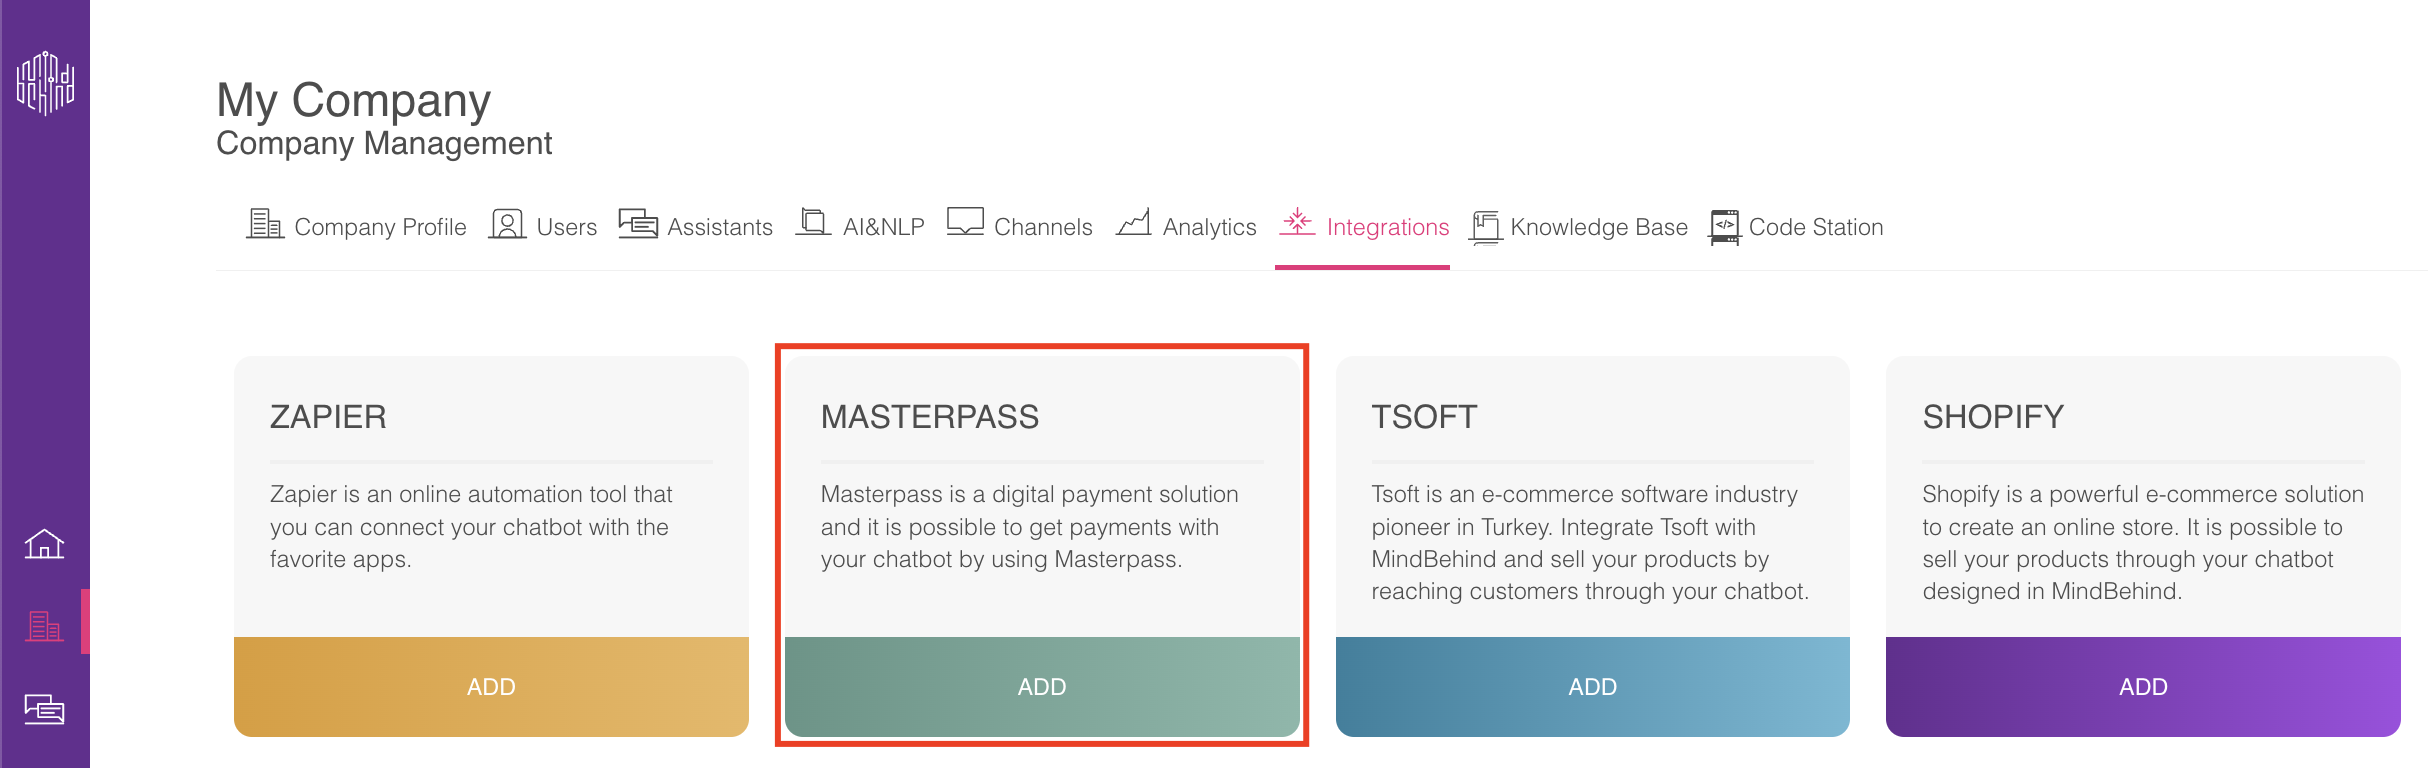
2. Click the Add button, and you will see a pop-up that you can fill in..png)
3. For Integration Name, you can choose any name for this integration. Client ID, MAC Key, and Encryption Key are provided by MasterPass for your company. Merchant Email can be any e-mail address that you want, and External Merchant ID can be whatever number you choose.
4. If you want to make changes to this form, click the Update button. 
5. To complete the configuration, click the Configure icon. You can add multiple configurations to one integration. 
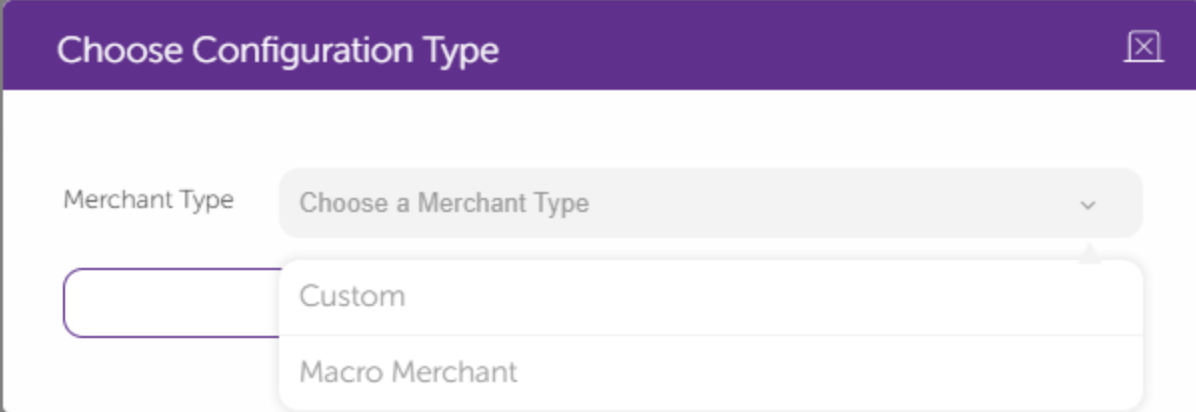
6. After clicking on the Configure icon, click the Add Configuration button. Determining the Merchant Type is up to your company and Masterpass, and it's either a "Custom" or "Macro Merchant".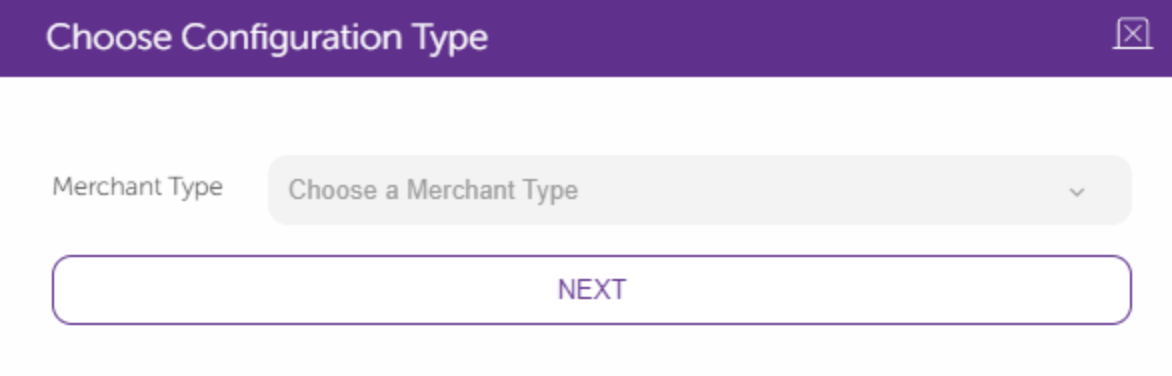
 7. If your Merchant Type is "Custom":
After you click on the Next button, you will see the form below. This form requires your Virtual POS information which will be provided by your bank. You can name the configuration as you want. Bank ICA information is unique for all banks..png)
8. If your Merchant Type is Macro Merchant, you should fill this form out with the Configuration Name you choose and the Macro Merchant ID Masterpass will provide you..png)
9. You can update the configuration in case of any changes. .png)
10. Select the Branches and click on the Add Branch button. Branches will help you to differentiate between your configurations. 
11. You can decide on the Branch Name and the External Branch ID. Since you can add multiple configurations for one integration, you will choose the configuration that matches this particular branch.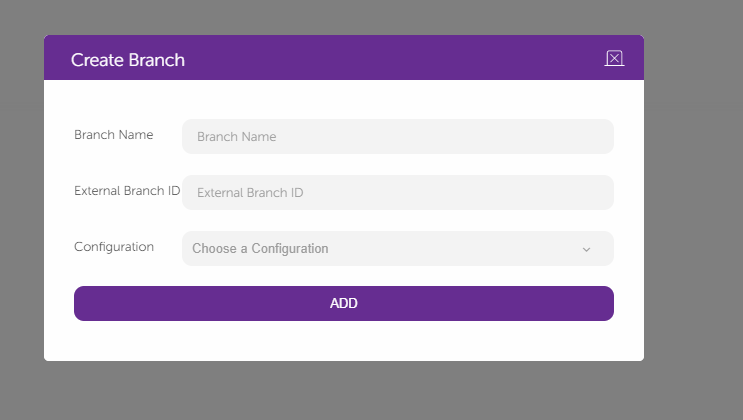
12. After adding the branch, you will see the Installments icon here. If you want to define some installments, you should add BIN Groups. 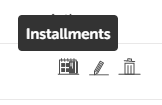 13. To create installment options, select Bin Groups and click the Add BIN Groups button.

14. BIN Group Name and BIN Group Code are the identifiers for you; you may fill those parts as you like. You may have different campaigns for several banks' cards. The POS system recognizes these banks and cards by the first six numbers of the card. In BIN Numbers, you should only use numbers and give the 6-digit card numbers by adding a comma in between. For example, 123456, 123457.
15. To add the installment, go to Branches again and select the installment icon here.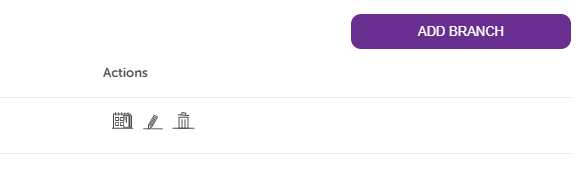
16. You should select one of the BIN Groups you provided and choose the matching bank for the installments you will give. When adding the installment options, make sure that you are only using numbers and putting a comma in between these options. 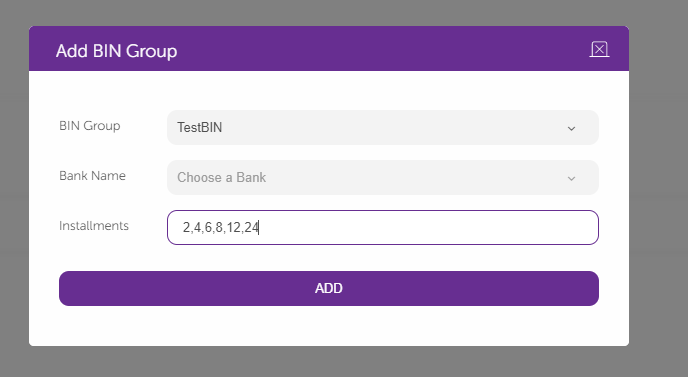
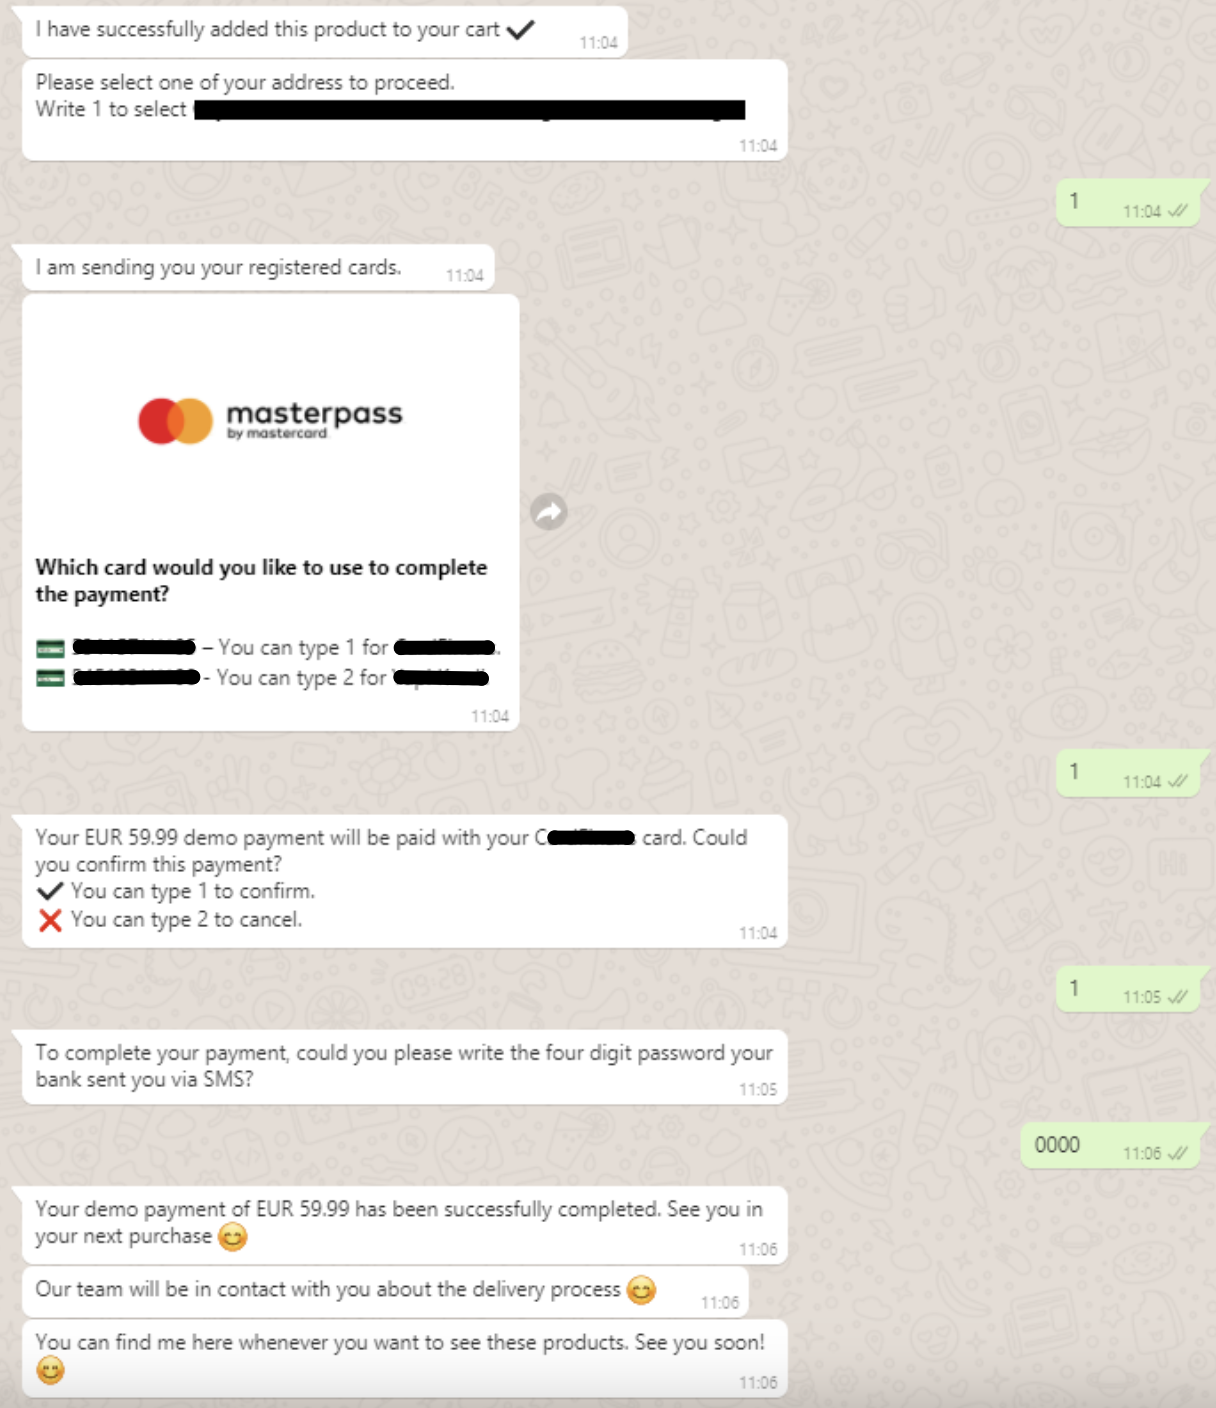
17. It is all done. Now, you are ready to take payments via Masterpass.
You can see an example of the payment process in the conversation below. Here, they select some products and register their address. After selecting their address, they select the card from their registered cards in Masterpass. After their confirmation, their bank sends a confirmation SMS. After entering their confirmation SMS, the payment process is successfully finalized.