Suggested reading: Create a WhatsApp Business Template on InOne
Event reminder helps you send reminder messages to your users before an event/appointment starts so that they don’t miss important events related to your product or service. For example, you can send an Event Reminder Message:
When a user has a doctor's appointment, you do not want them to miss it.
When a user books a flight, it is time for check-in.
When a user has a festival/theatre ticket, you want to excite them about the event.
Creating a WhatsApp Message campaign starts with template creation. After your templates are approved by WhatsApp, you can refer to the steps below to start creating your WhatsApp Event Reminder message campaign.
In this article, you can find answers to the following questions:
Create an Event Reminder WhatsApp message
1. Navigate to InOne > Campaigns > Messaging > WhatsApp.
2. On the listing page of WhatsApp, click the Create button to start.

3. Name your campaign, choose the campaign type as Event Reminder, and click the Create button.
Set your rules
In the Rules step of your campaign, choose the rule to trigger your campaign.
Under Event Reminder Settings, decide when to send the reminder message.
Under Frequency Capping, if you enable it, you can set a maximum number of messages to send in a day.

When you define the rules, click Save and Continue.
Design your Event Reminder WhatsApp message
In the Design step, you can only use pre-approved templates that you have applied for. While creating your templates, you can use media, which are images, videos and documents, variables, emojis, and action buttons.
Using variables and emojis in templates is highly recommended since they help you make your content more friendly and, therefore, more personalized.
The media are useful to draw the attention of the users. They can be personalized in line with the attributes.
Using buttons will help you engage with your users and target them more efficiently. For example, you can offer a discount coupon in the second message after the user chooses the positive reply in the first message.
1. In the Design step of your campaign, select the pre-approved template that you want to use for your campaign in the dropdown list. In this dropdown list, the most recent 10 templates are displayed by default. You can also type the name of the template and search for the template in the search field.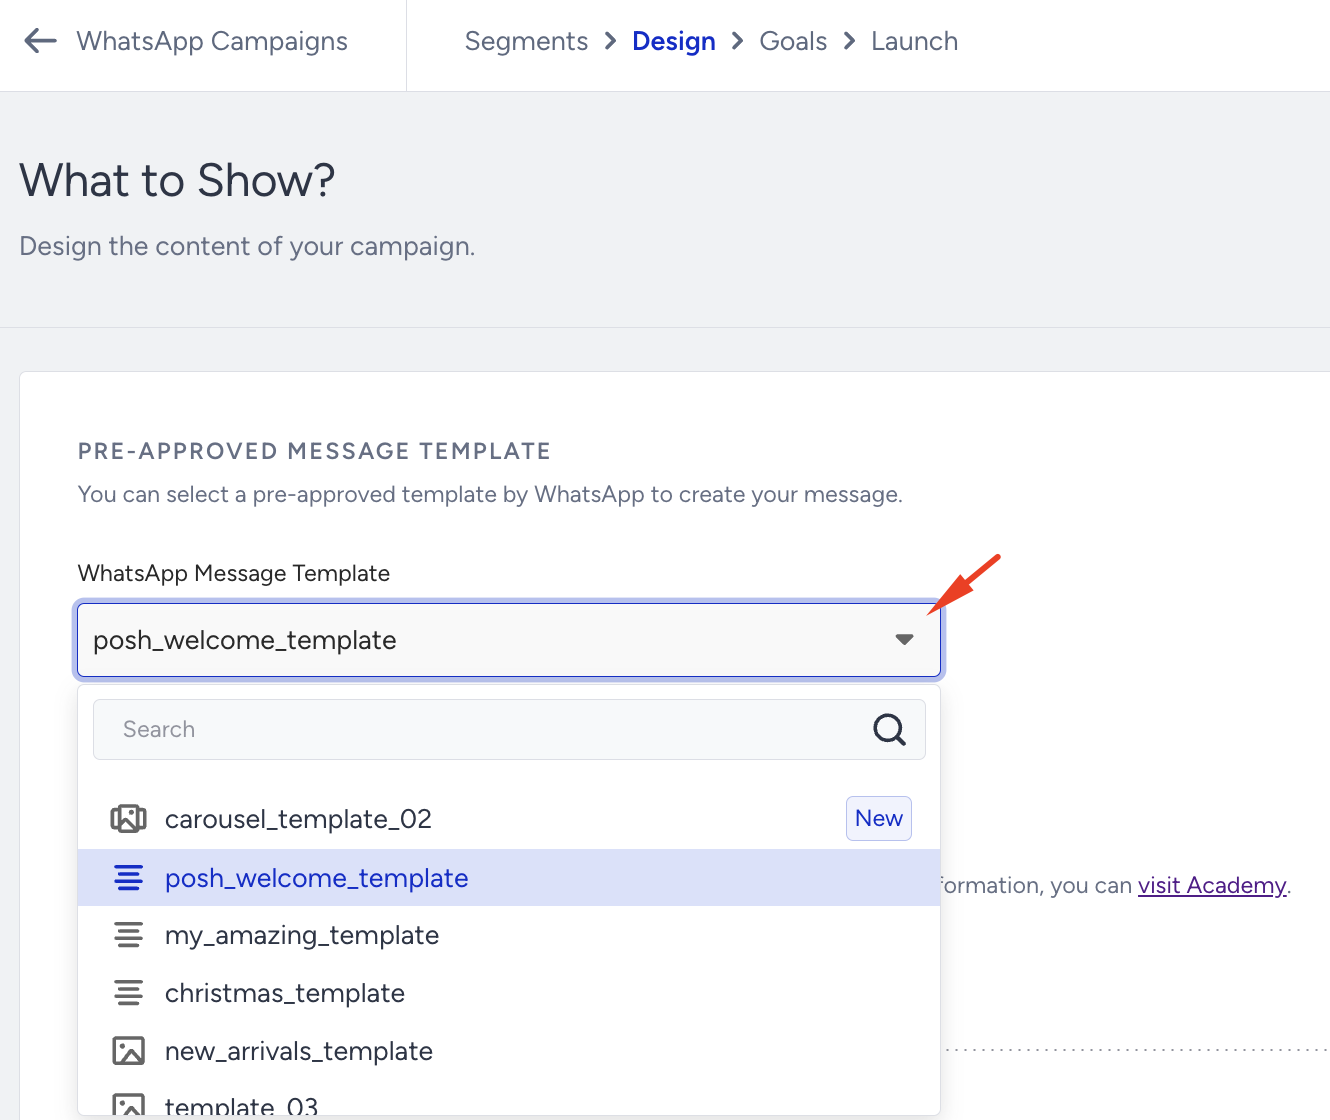
If you want to create a Carousel campaign, you should select the relevant pre-approved Carousel template.
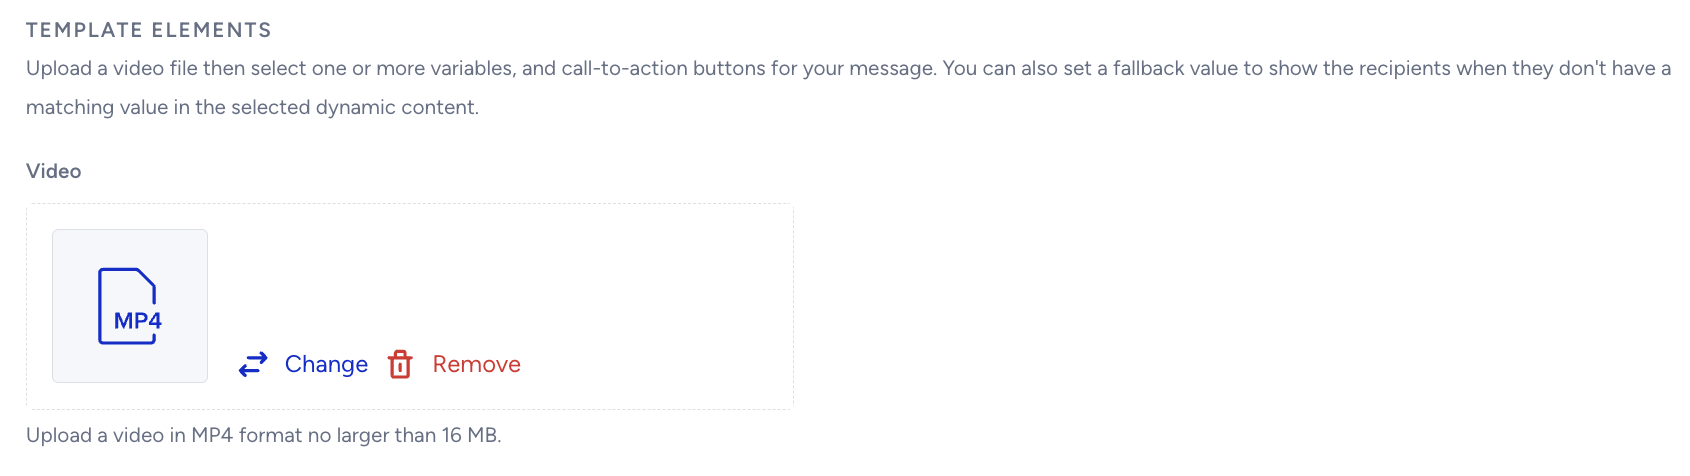
2. In the Template Elements field, you will see the video, document, or image headers if you have uploaded them when creating your template. You can click the Change button to update the media and see the changes in the preview.
If your template has a video element, you should upload a video in MP4 or 3GPP (.3gp) format and no larger than 16 MB.
Changing a file’s extension to .mp4 or .3gp does not convert it into an MP4 or 3GPP format. The video must be originally encoded in MP4 or 3GPP; otherwise, it might fail the format check and result in an error. If your video is in a different format or exceeds the size limit, you must convert or resize it before uploading.
If you encounter a media upload error related to the video codec when uploading a video URL, refer to the troubleshooting steps to resolve the issue.
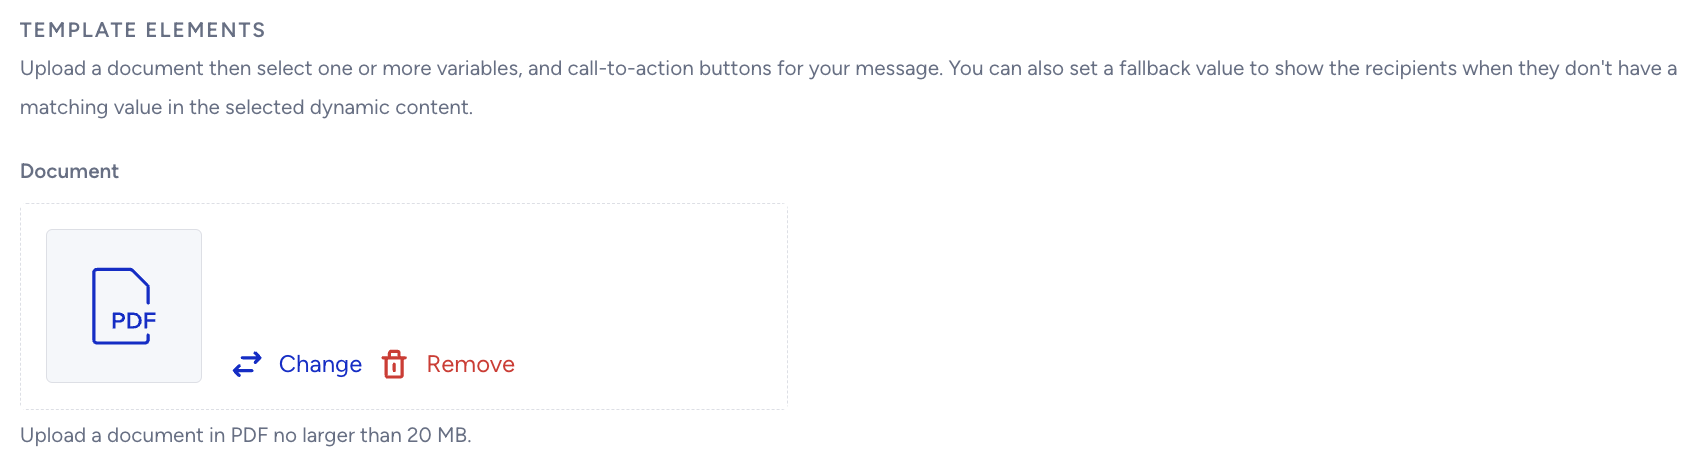
If your template has a document element, you should upload it in PDF format and no larger than 20 MB.
In the Image Type field, you can select three image options:
Custom Image enables you to upload a specific image to the message. The same image will be sent to all recipients. Upload an image file (PNG, JPG, or JPEG) up to 5 MB, with a maximum resolution of 1920×1920 pixels.
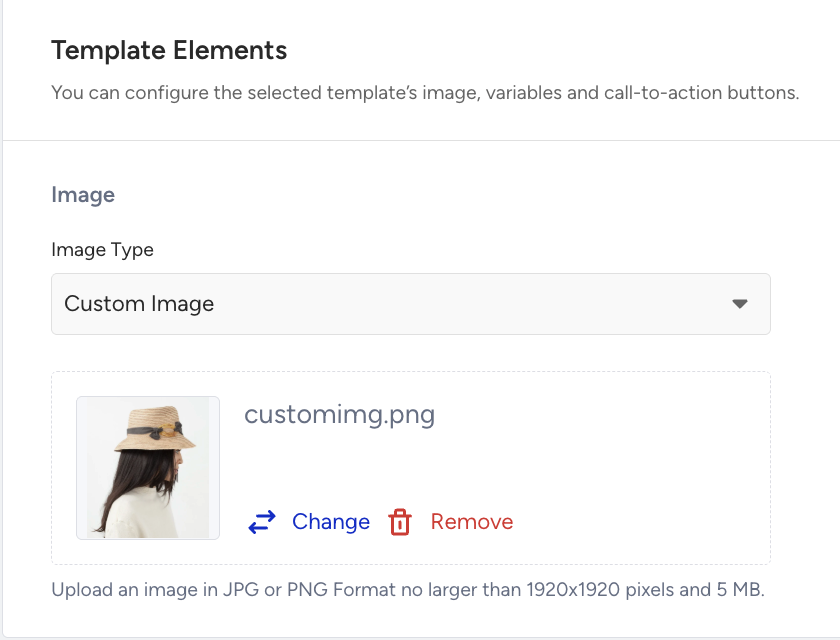
Dynamic Image enables you to add a personalized image to the message. The image will be differentiated according to the attribute chosen, such as Last Abandoned Product Image or Last Visited Product Image.
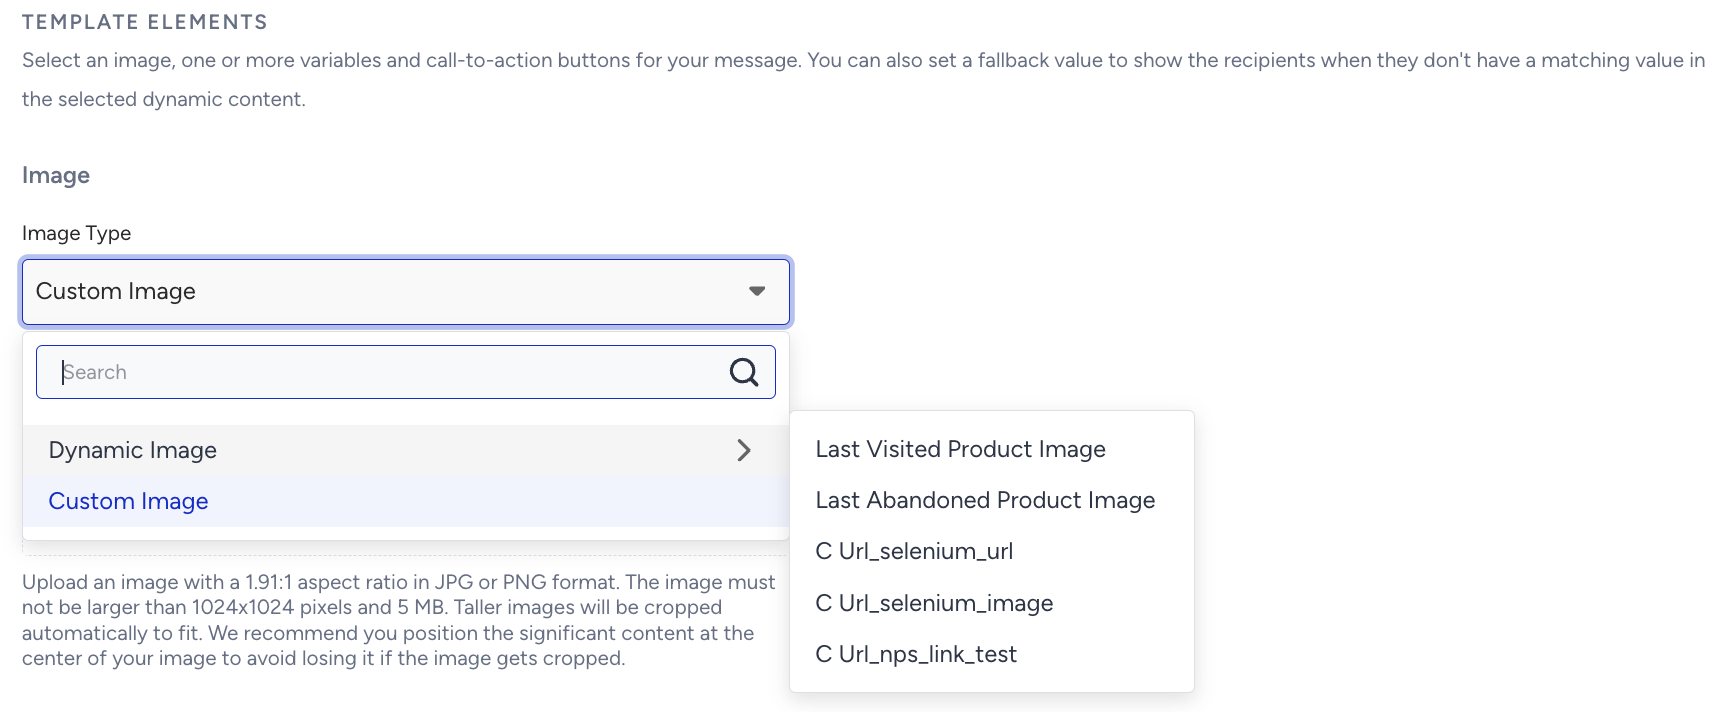
Custom Image URL allows you to add a direct image URL to display a custom image in your campaign.

When using a Custom Image URL in your WhatsApp campaign, ensure your image link meets the following requirements to avoid validation errors:
Supported formats: Only
.png,.jpeg, and.jpgfile extensions are supported. Formats such as.webpare not supported.Direct image link: The URL must point directly to the image file and end with a supported file extension.
HTTPS requirement: The URL must start with
https://.No IP-based URLs: URLs using IP addresses are not supported.
Maximum length: The URL can be up to 1024 characters long.
Unsupported links: File-sharing links (such as Google Drive viewer URLs) are not valid because they do not point directly to the image file and might be rejected by Meta.
Troubleshooting:
If your image uses an unsupported format (such as
.webp), convert it to.pngor.jpgand upload it to a hosting service.If you are using Google Drive, replace the viewer link with a direct file URL.
Alternatively, use the “Custom Image“ option to upload the image directly.
Error message: All validation issues display the same message:
Enter a valid Custom Image URL to continue.
This message does not indicate the exact reason for the error, so ensure your URL meets all the requirements above.
3. If you use Call to Action (CTA)buttons in your message, you can change the website link to dynamic ones, allowing for personalized buttons. 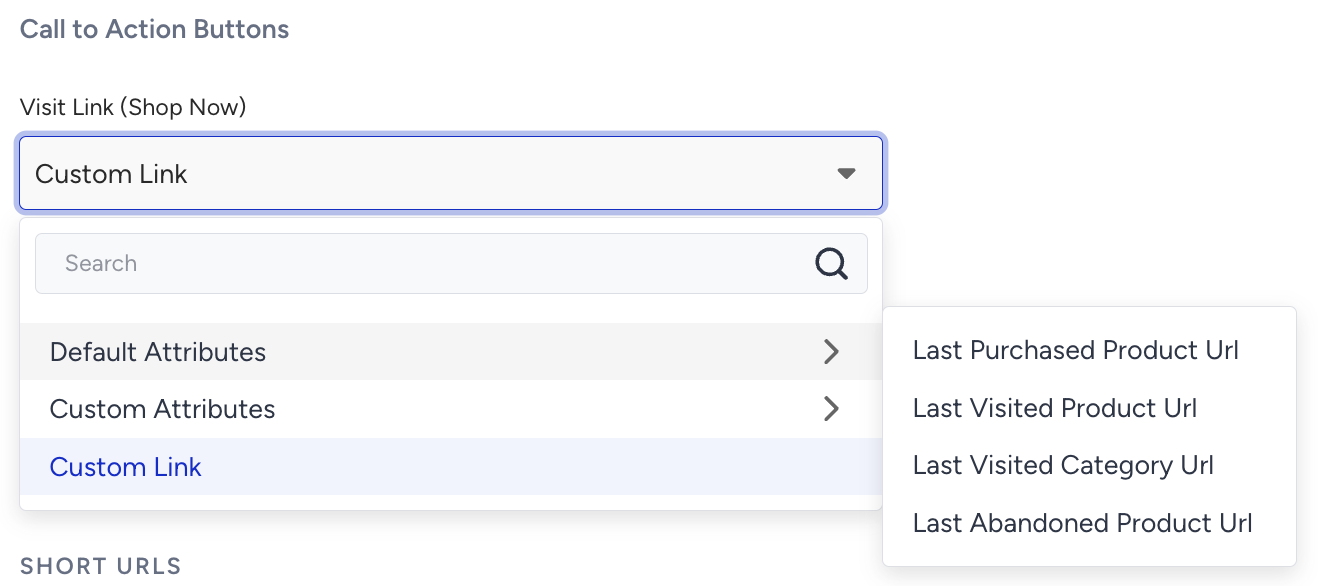
You can also use deep links in your Visit Website CTA buttons when creating a WhatsApp campaign. To use a deep link, replace the existing CTA URL with your mobile app deep link. For example: myapp://product/123
Deep links work only on mobile devices and require the related mobile application to be installed on the recipient’s device.
It is not possible to change the phone number in the CTA buttons after template approval. For additional information about the CTA template, refer to Track Links in WhatsApp Campaigns.
To structure your URL correctly, avoid using invalid characters like commas (,) or exclamation marks (!). If included, they must be encoded to prevent errors.
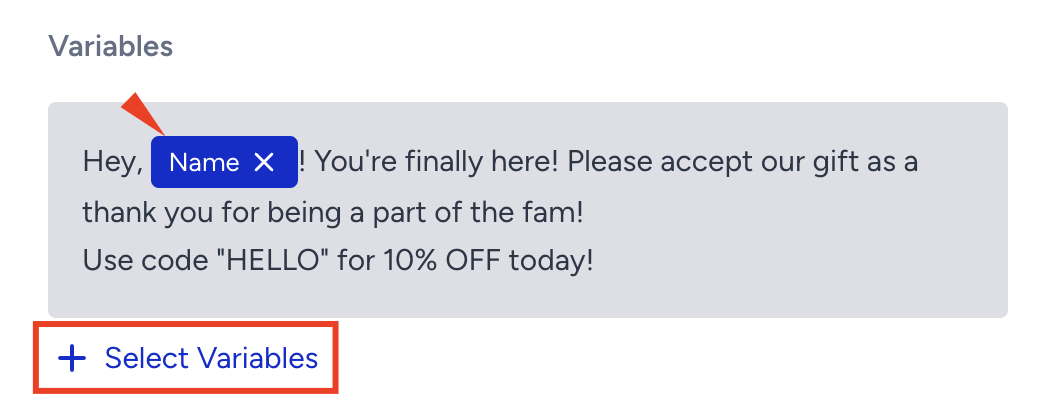
4. Select the attributes you want to use as the variables to make the message more personalized if the template has them.
Using dynamic attributes helps you personalize the message content, which can increase the click-through rate (CTR).
5. If your template has quick reply buttons, you can create response messages. 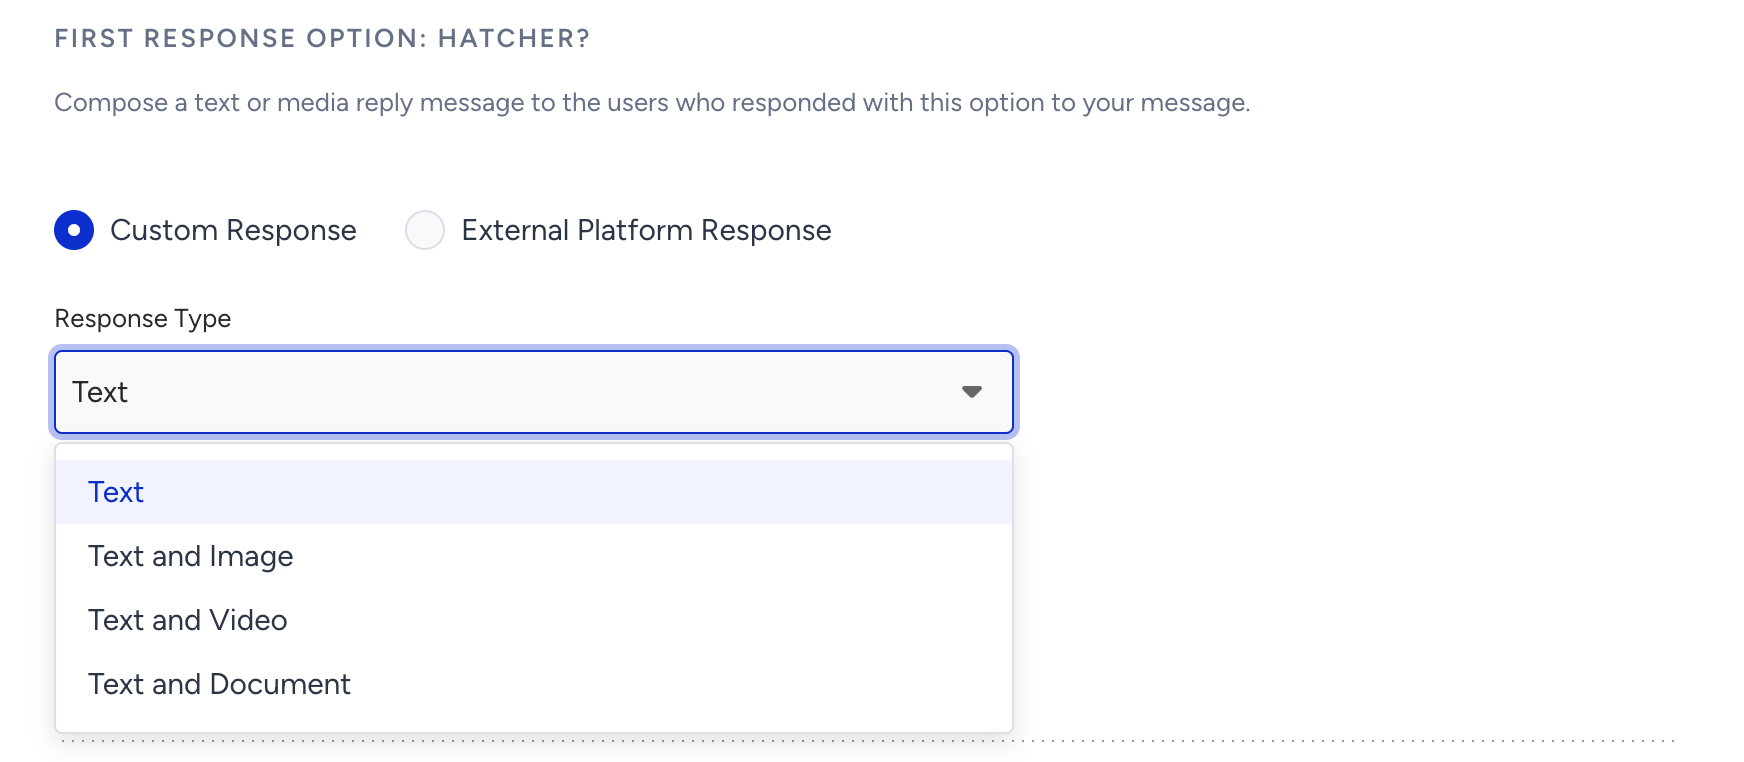
Response messages don't need to be pre-approved, since end users already engage with the brand when they click the quick reply button.
6. Under the Response Option, create an auto-reply message for users who select this option in your message. Your auto-reply can include text, an image (dynamic or custom), a video, a document, a link, emojis, and dynamic content to deliver a more personalized experience.
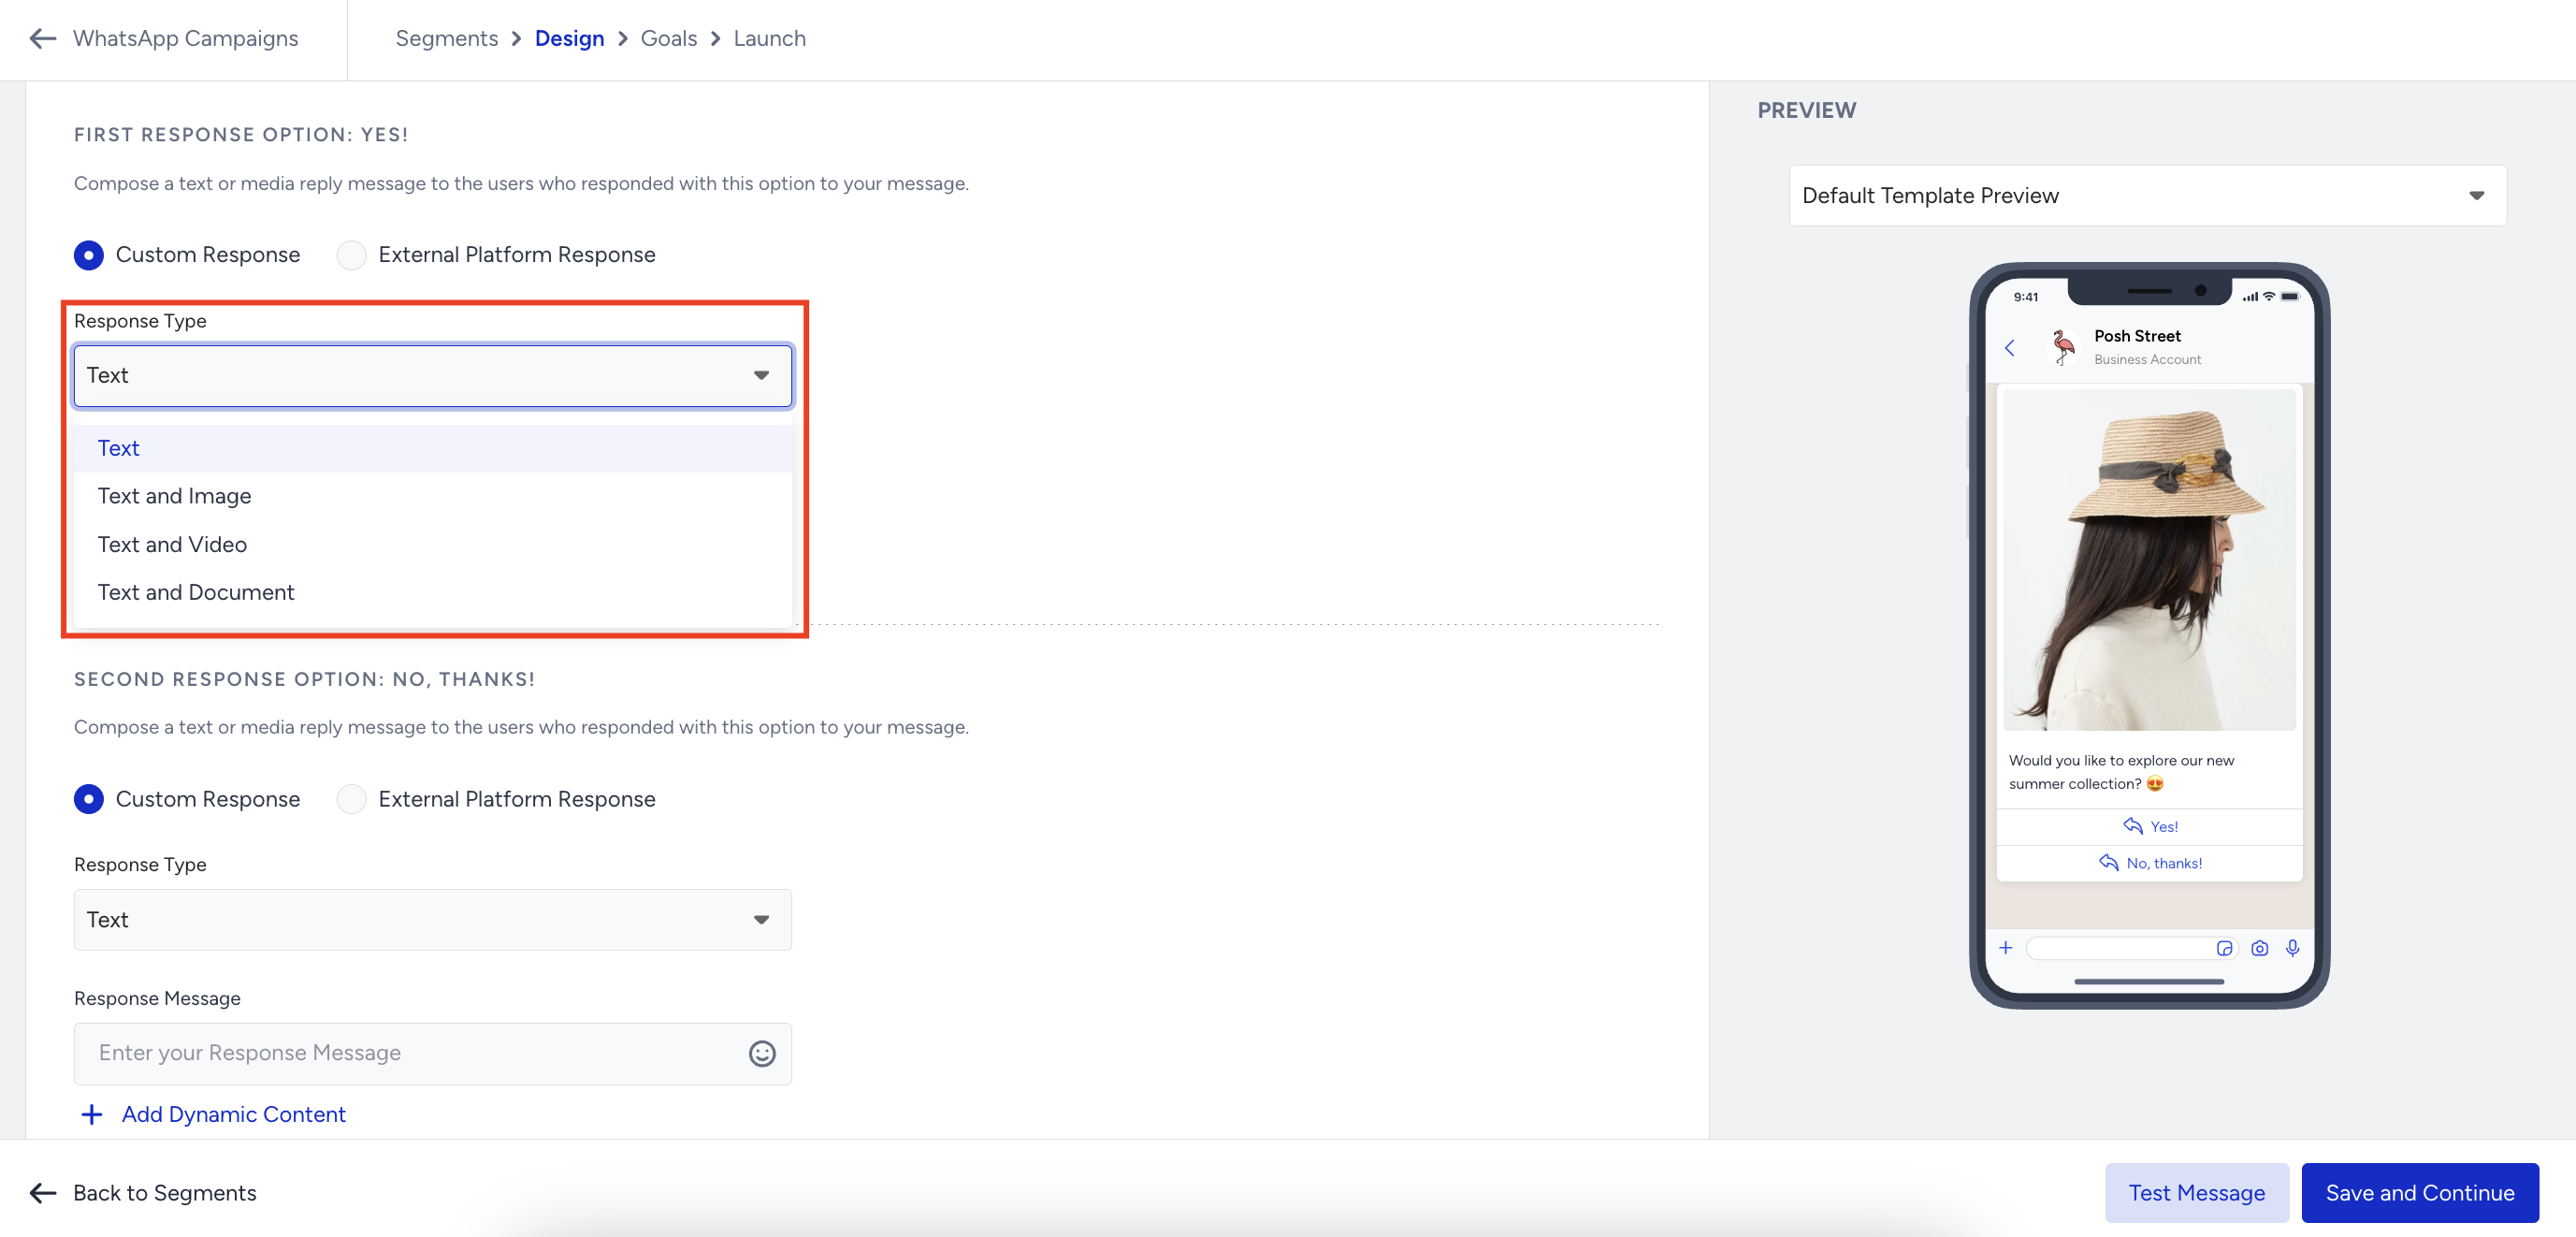
If you want the response to be handled by a third-party chatbot when the user clicks the button, select the External Platform Response option. You can configure the response directly on the third-party chatbot platform that you use. Refer to the Third-party Chatbot Connection to WhatsApp guide for setup instructions.
The Unexpected Messages (auto-reply) option is managed at the phone number level. Even if the Conversational API is enabled for your account, this option remains available unless a Conversational webhook URL has been configured for the selected phone number. If the Conversational API is active and a Conversational webhook URL has been added for that number, this option will appear disabled and cannot be turned on. If it was already enabled when a Conversational webhook is added, it will be automatically turned off.
You can configure the Unexpected Messages (auto-reply) at WhatsApp Settings.
You can also shorten URLs in your messages to avoid long links.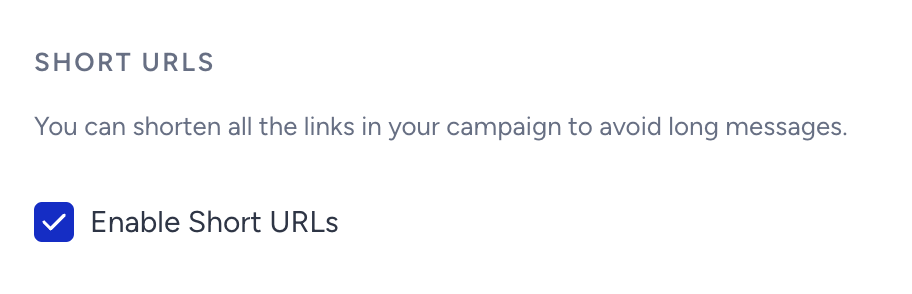
You can enable UTM Parameters to track your campaign's performance on Google Analytics by assigning tags to your message links.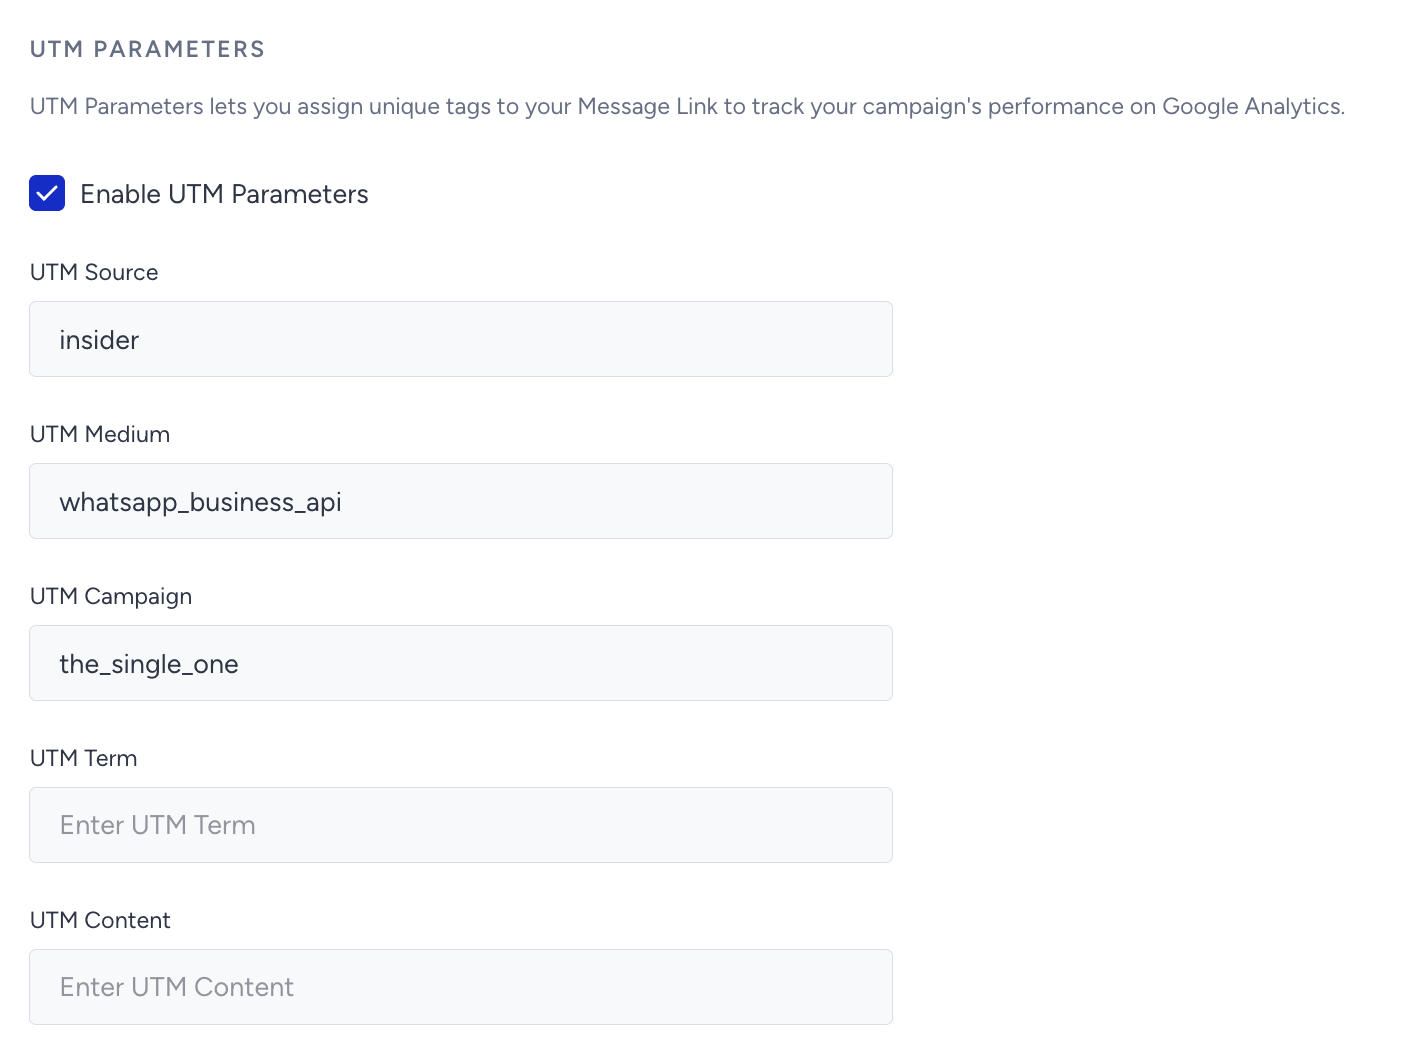
You can also check what your message looks like under the Preview area. You can see it with responses as well for the templates with quick reply buttons.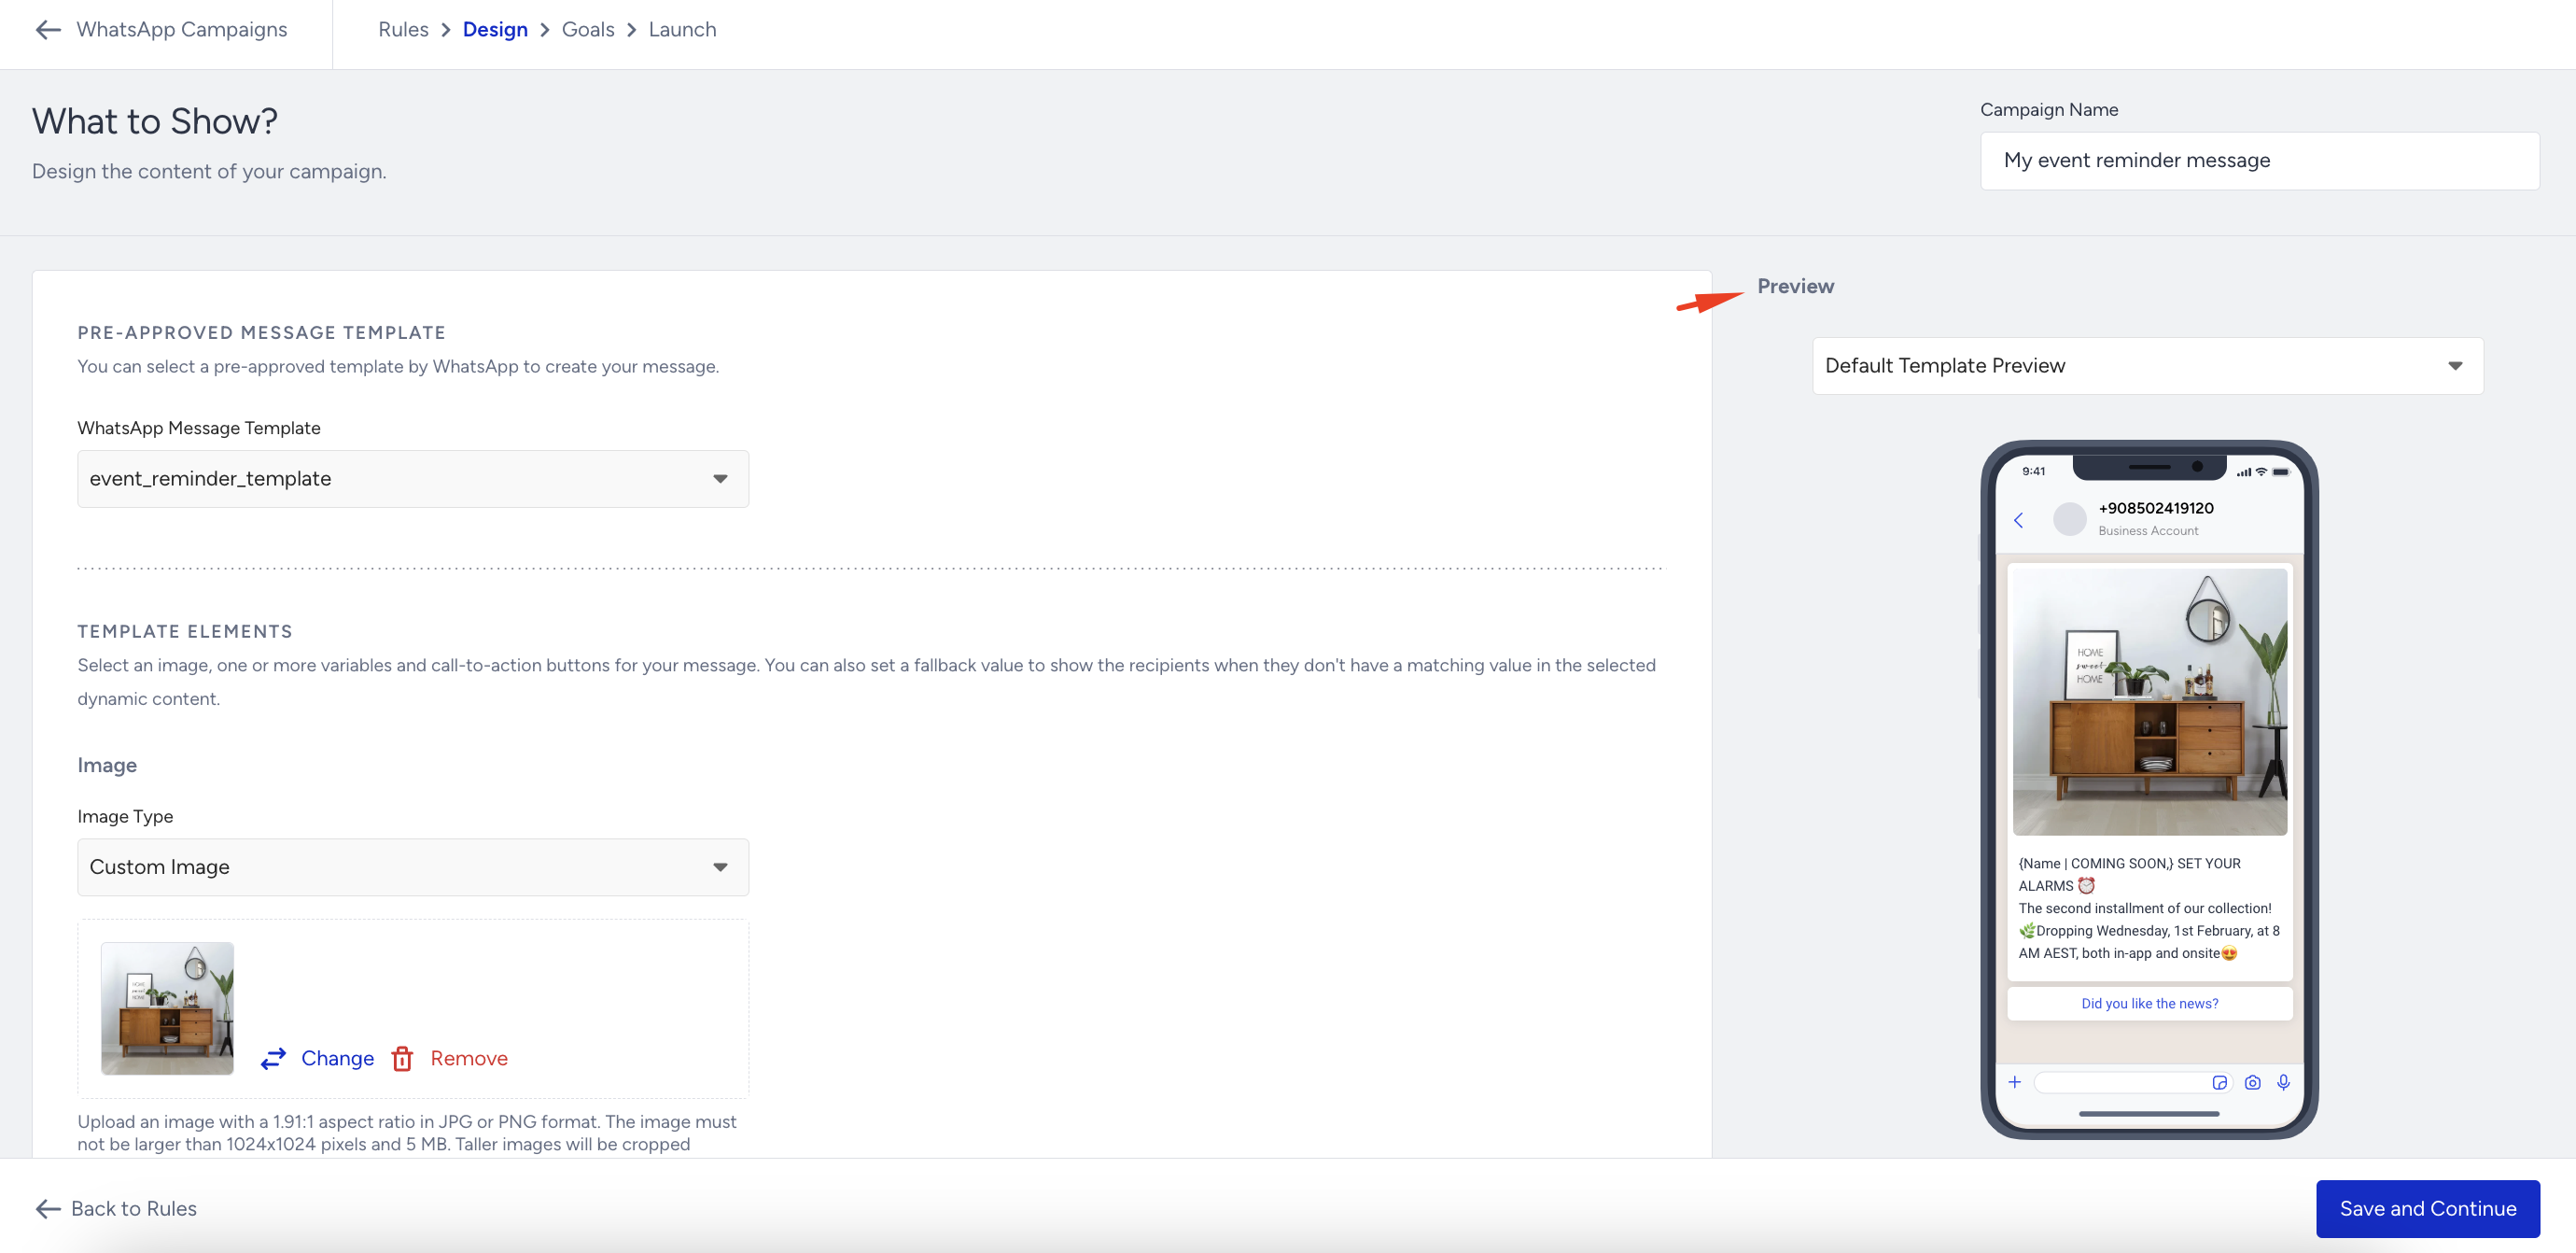
When you finish designing your message, click the Save and Continue button.
Set your goals
In the Goals step, you can set goals to track the performance of your campaign and strategize it accordingly. Purchases come as the primary goal by default. You can change it based on your needs.
You can also set the Goal Conversion Duration. It is the time interval that starts after a user clicks a campaign for the first time. During that time interval you set, when your goal is achieved, the campaign will be logged as a conversion. Click Save and Continue to proceed.
Refer to Attribution Methods Across Inone for more details on WhatsApp attribution.
Launch your Event Reminder WhatsApp message
When you finalize the configuration of your campaign, you can make it ready to go in the Launch step.
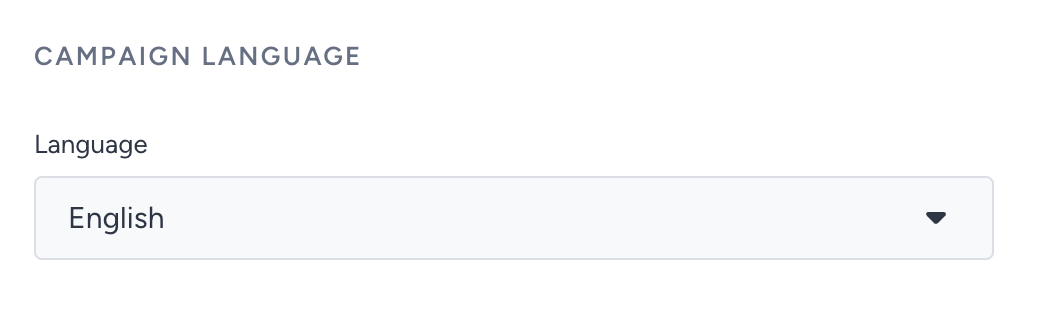
You set the language of your campaign here. You can change it based on the language on your website or mobile application. Ensure that it is consistent with the language of your template.
Choose the activation status.
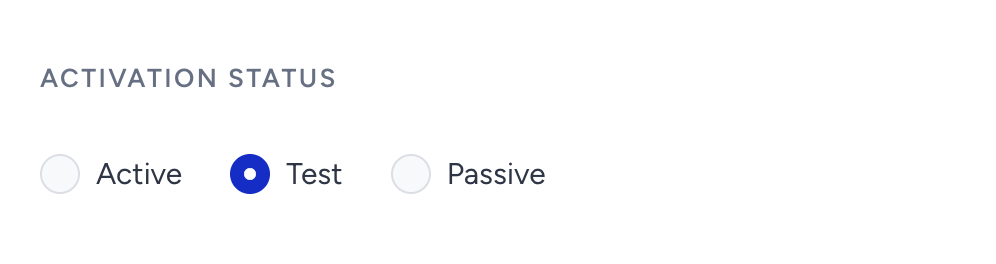
Active means that your campaign is live, and eligible users can receive your message. The campaign can track all the progress and users' actions. Also, the analytics are populated.
Test means that your campaign is in test mode. You can always change your campaign status to Test. In this case, your campaign will act as inactive, but only the users who test the function can receive the message to test it.
Passive represents two cases. Either this campaign is stopped on purpose, or it ends due to its pre-configured end date and time. No user can receive messages from this campaign anymore.
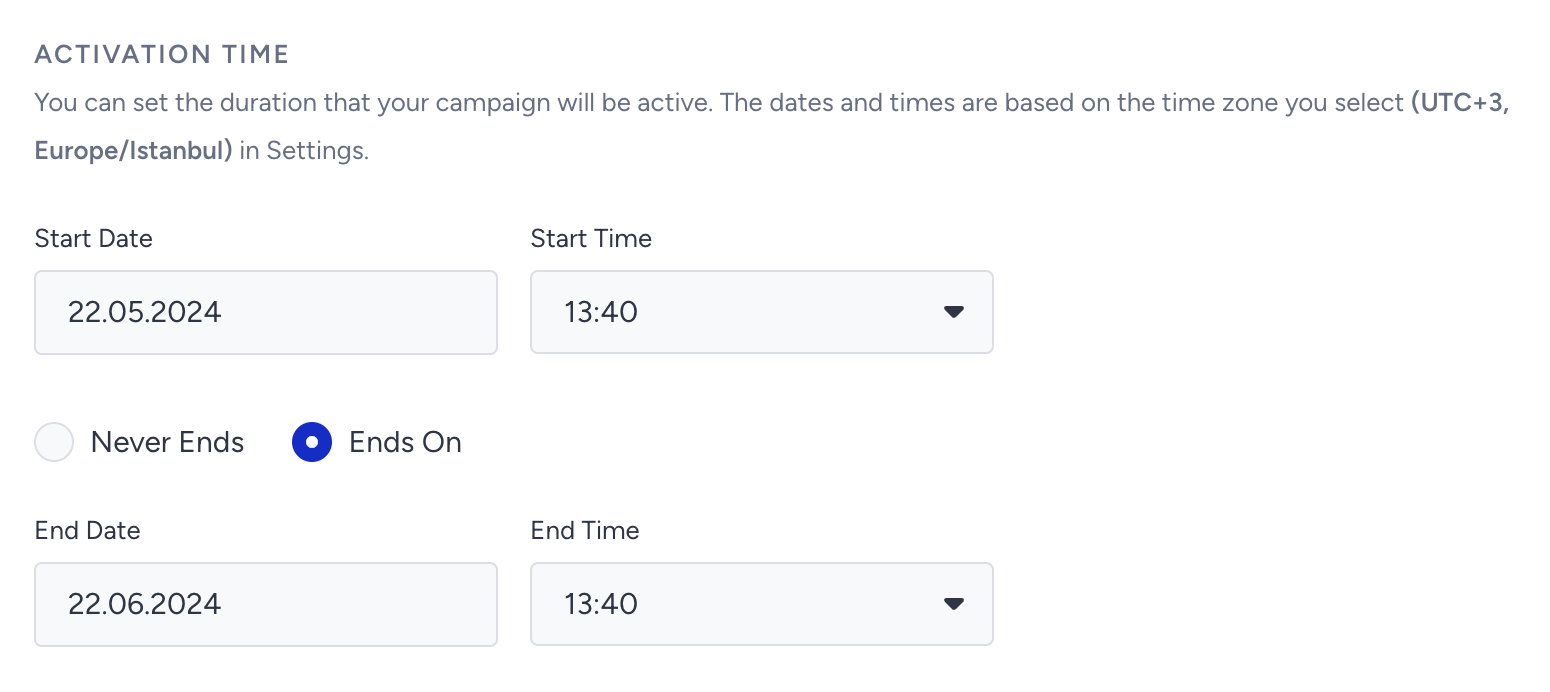
You can define what date and time your campaign starts to run and ends. If you have a campaign that you do not need to end, you can select the Never Ends option to not stop your campaign on a specific date and time.
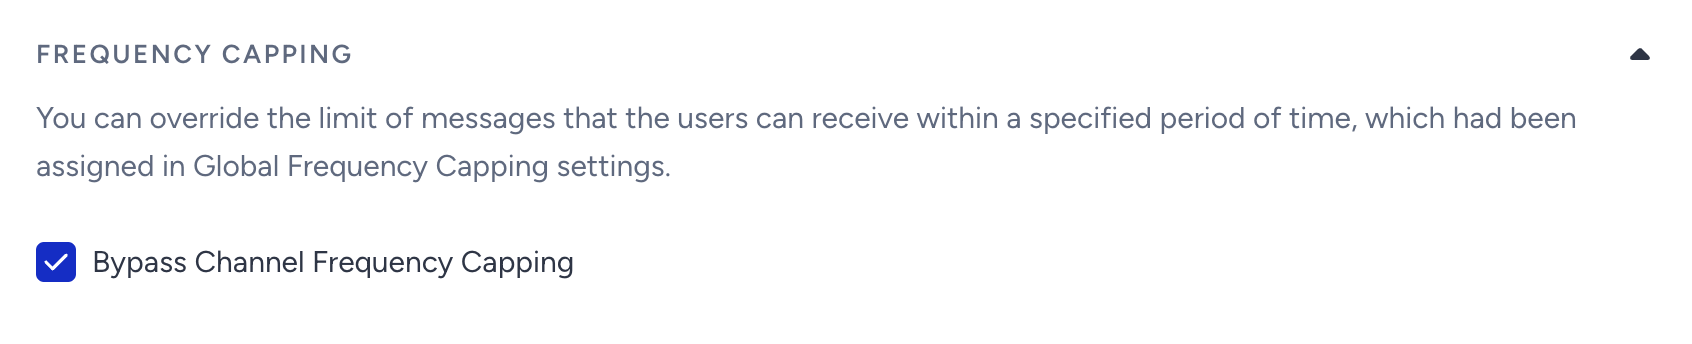
Under Frequency Capping, you can override the limit of messages that the users can receive within a specified period of time, which is assigned in Global Frequency Capping settings.
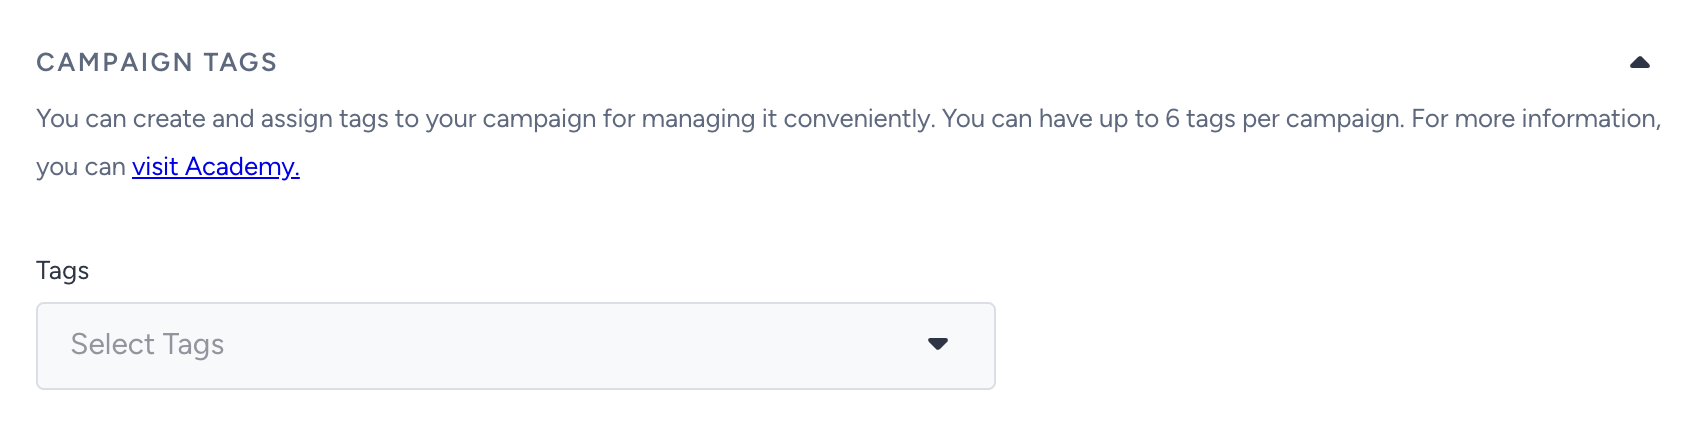
You can assign or create tags for your campaign to reach it later easily. You can add up to 6 tags to a campaign and filter them according to their tags.
You can keep your notes in the designated area as well.
On the right side of the screen, you will see an information area that displays the total number of recipients and indicates if everything is set to send your message.

When you finalize all your configurations and your campaign is ready, we highly suggest you test your campaign before launching it. After ensuring that all goes as expected, click the Launch button to start it.