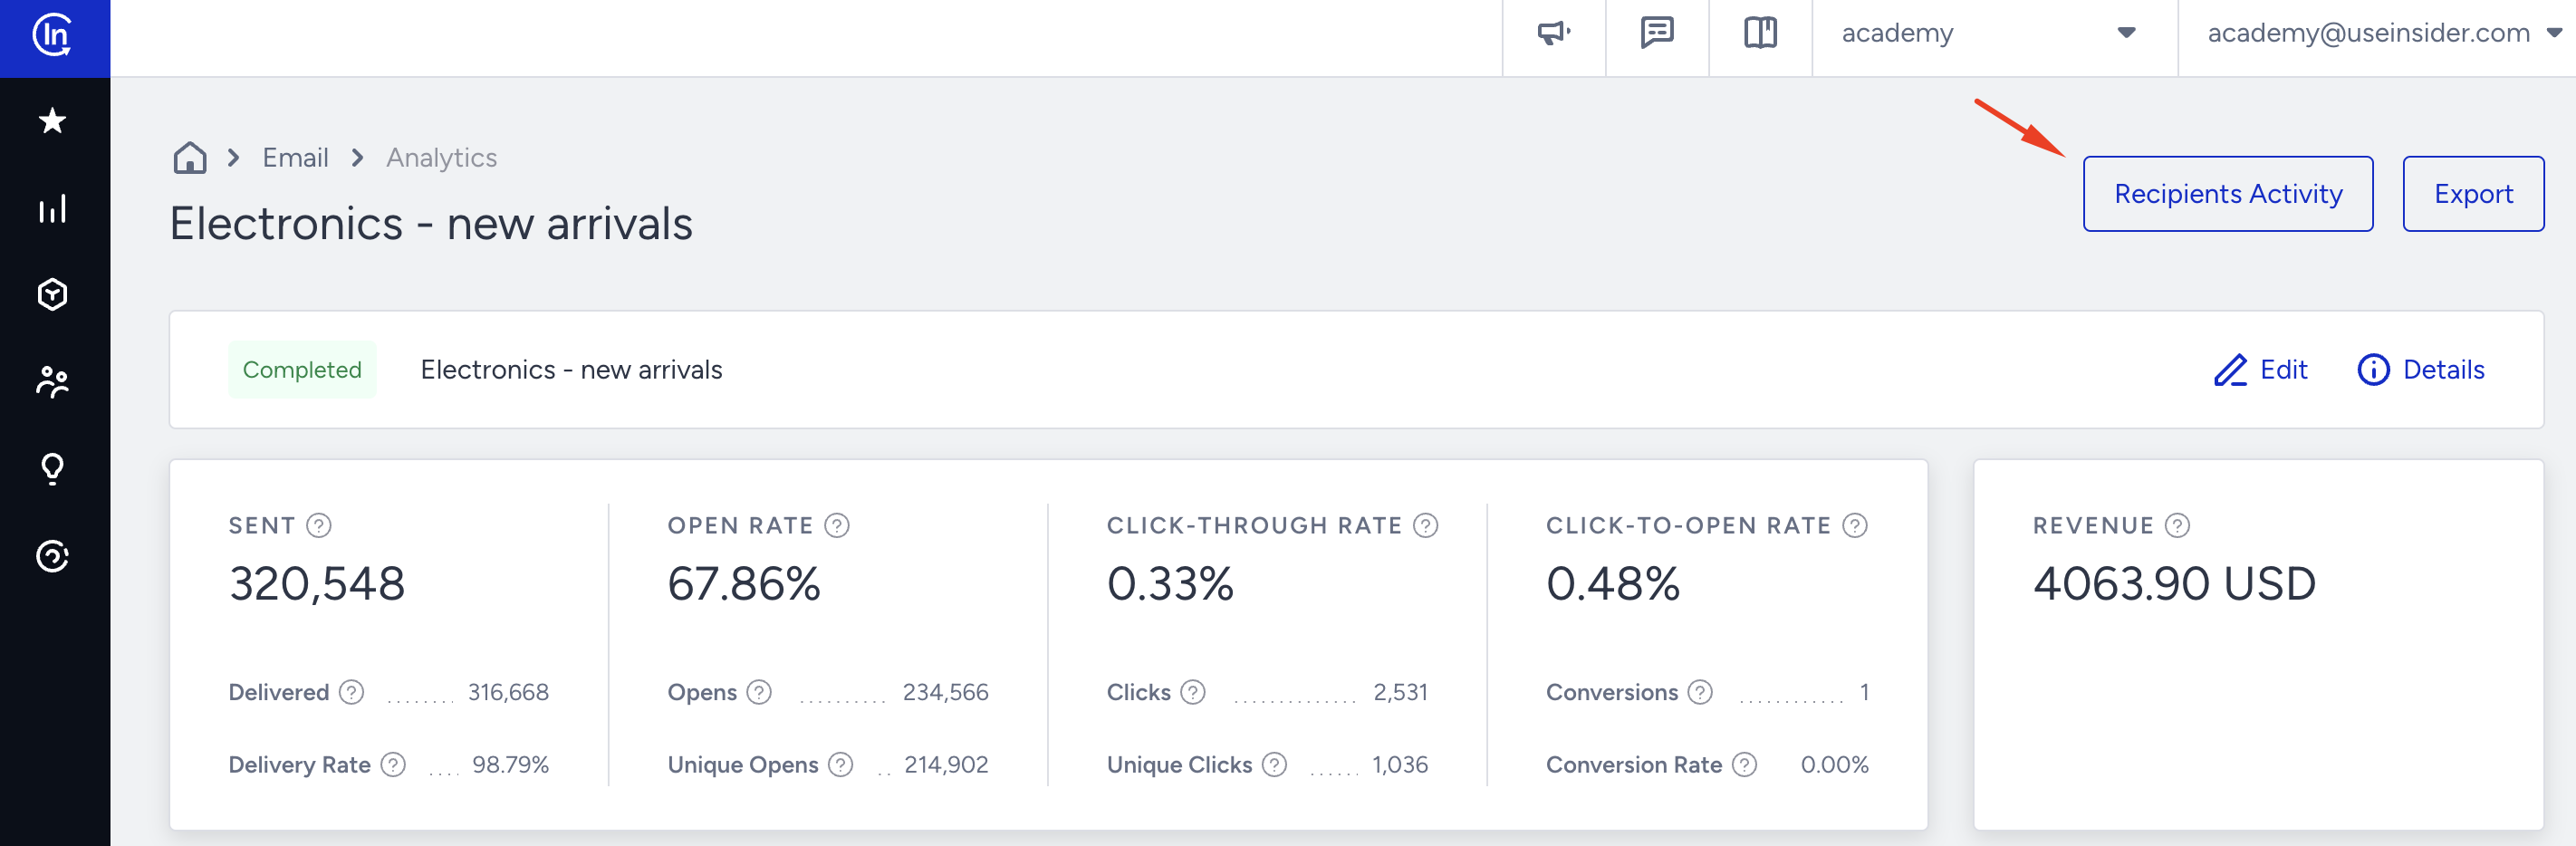
Recipients Activity allows you to view the user emails based on the events of the associated email campaign. It makes the delivery flow of each message visible, which expedites troubleshooting. If you want to troubleshoot any event associated with specific users, you can check the Recipients Activity.
Your title goes here
Once the data retention duration of a user has passed, the respective user's event is dismissed. That's why you might not see the recipient activity of such users. For further information about User TTLs (Time To Live), refer to Data Retention.
To reach the Recipients Activity, click the Analytics button against the campaign you want to see.
your title goes here
Only the team members who have access to user profiles can view the recipients activity. You can provide access to the team members from the settings tab.
After sending an email, you can explore the Recipients Activity to:
- Pinpoint specific emails easily with search and filter options,
- Troubleshoot email delivery issues faster with event data by email addresses,
- Customize your data with CSV export option.
Recipients Groups
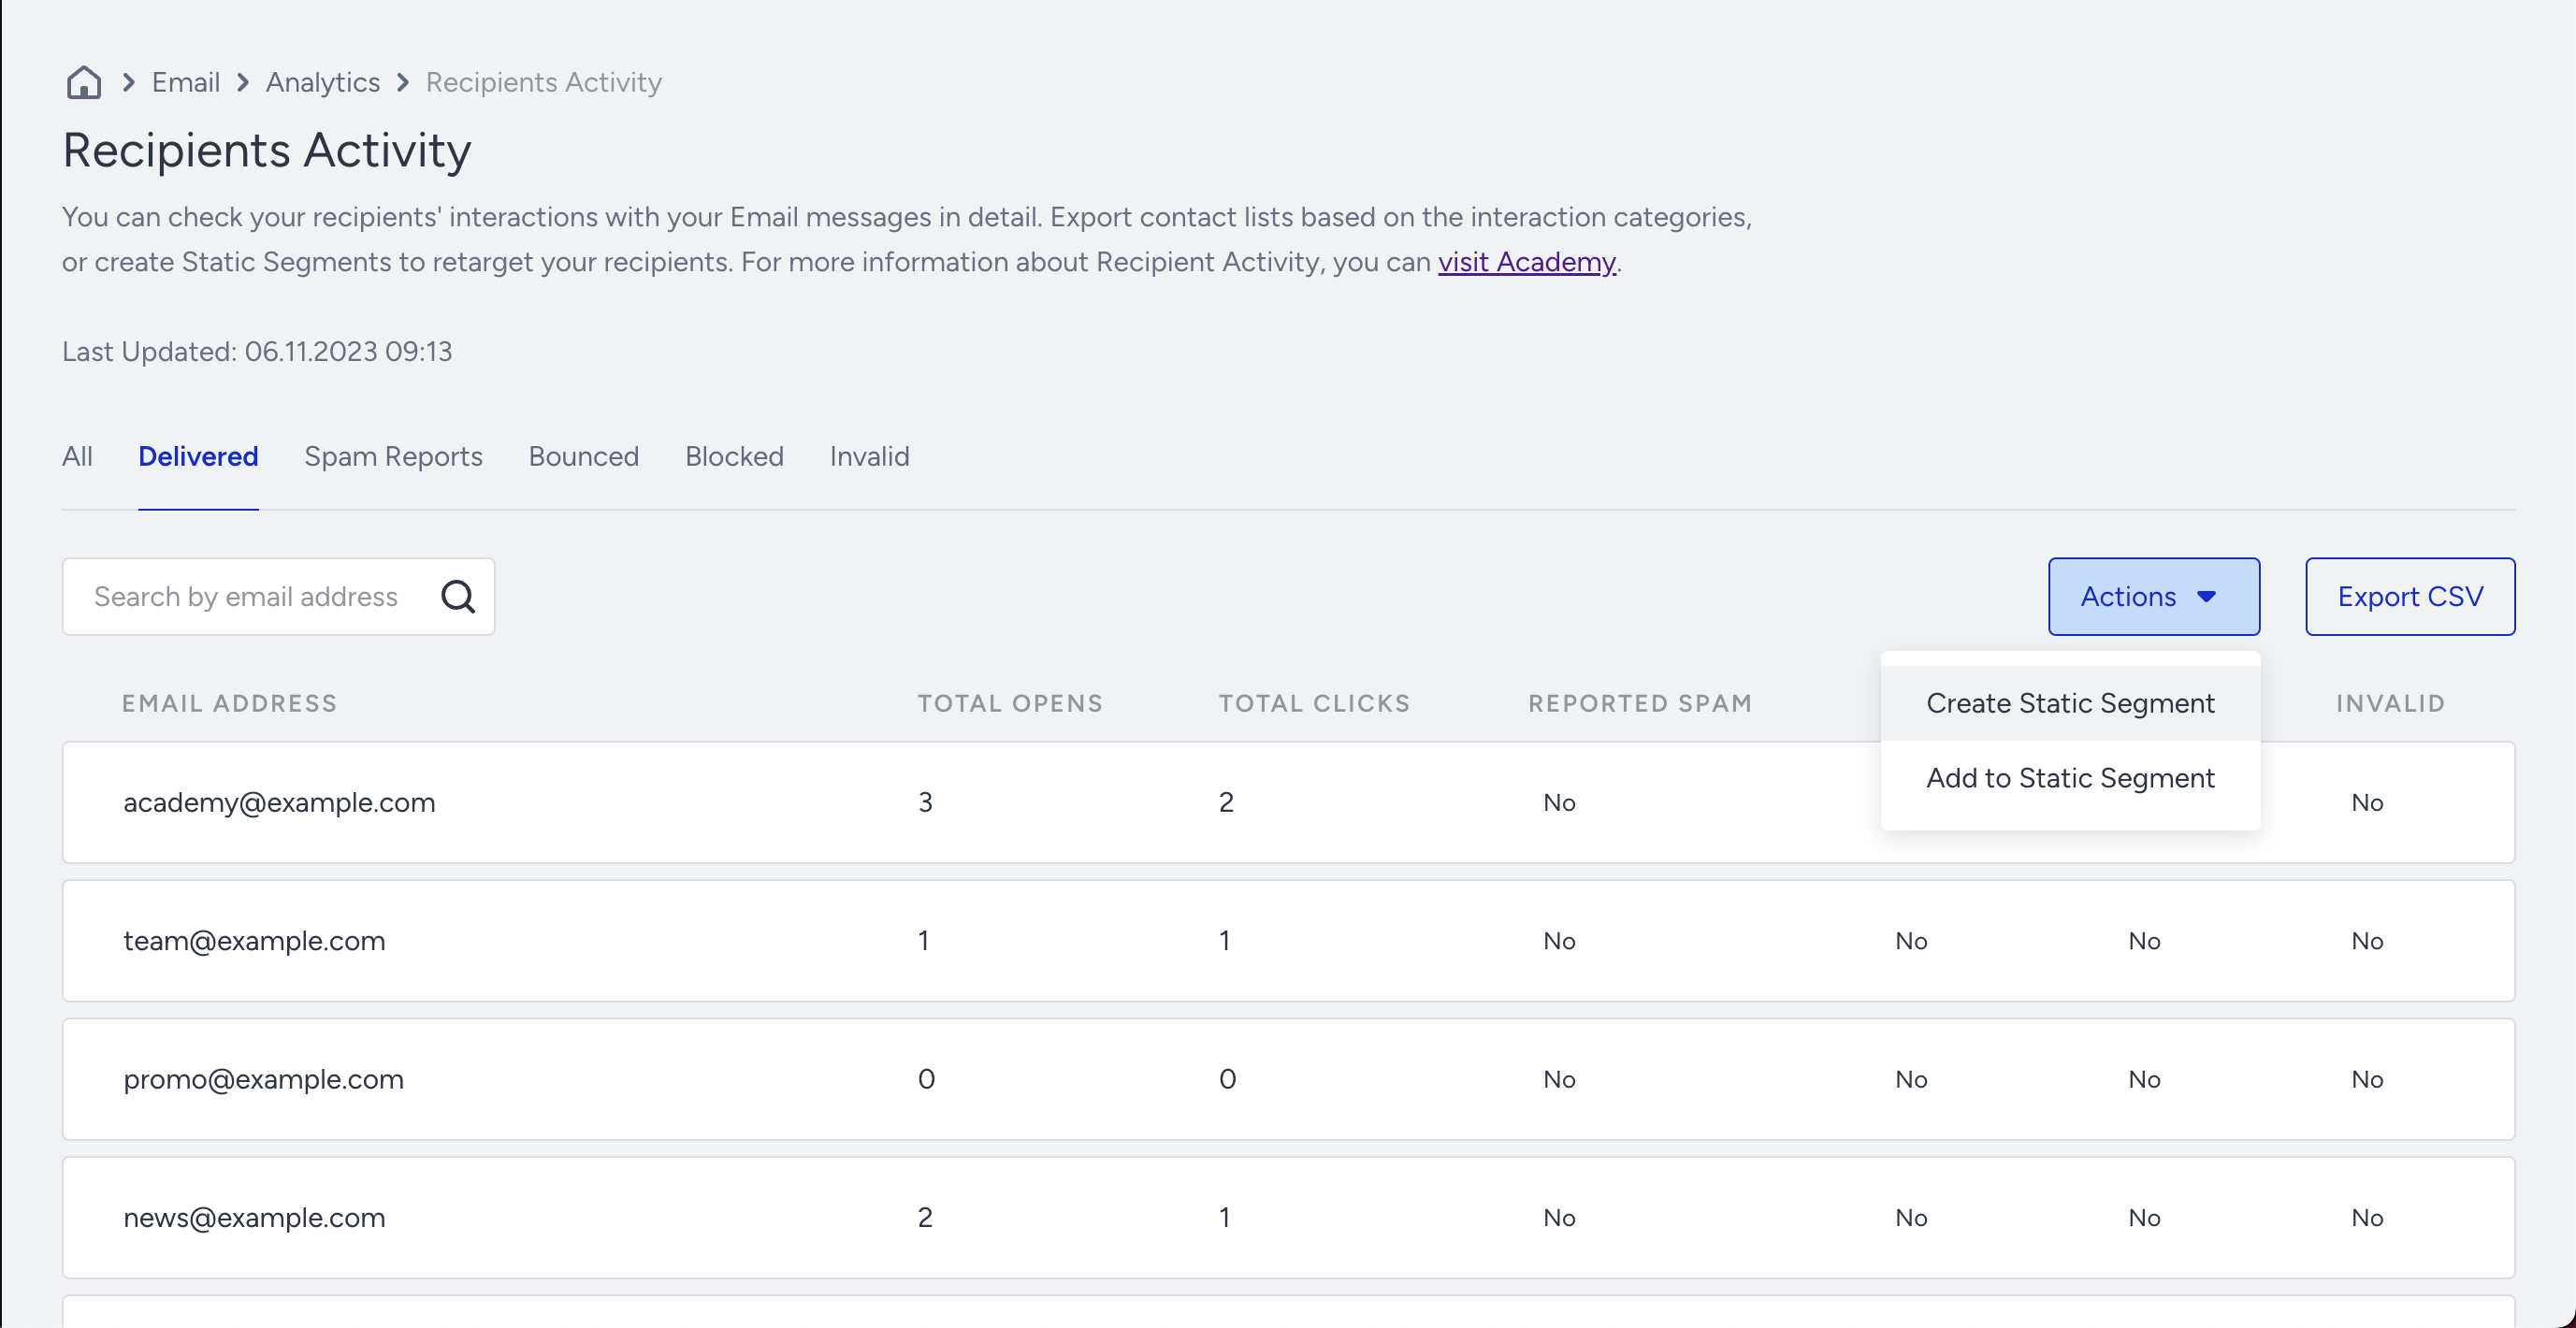
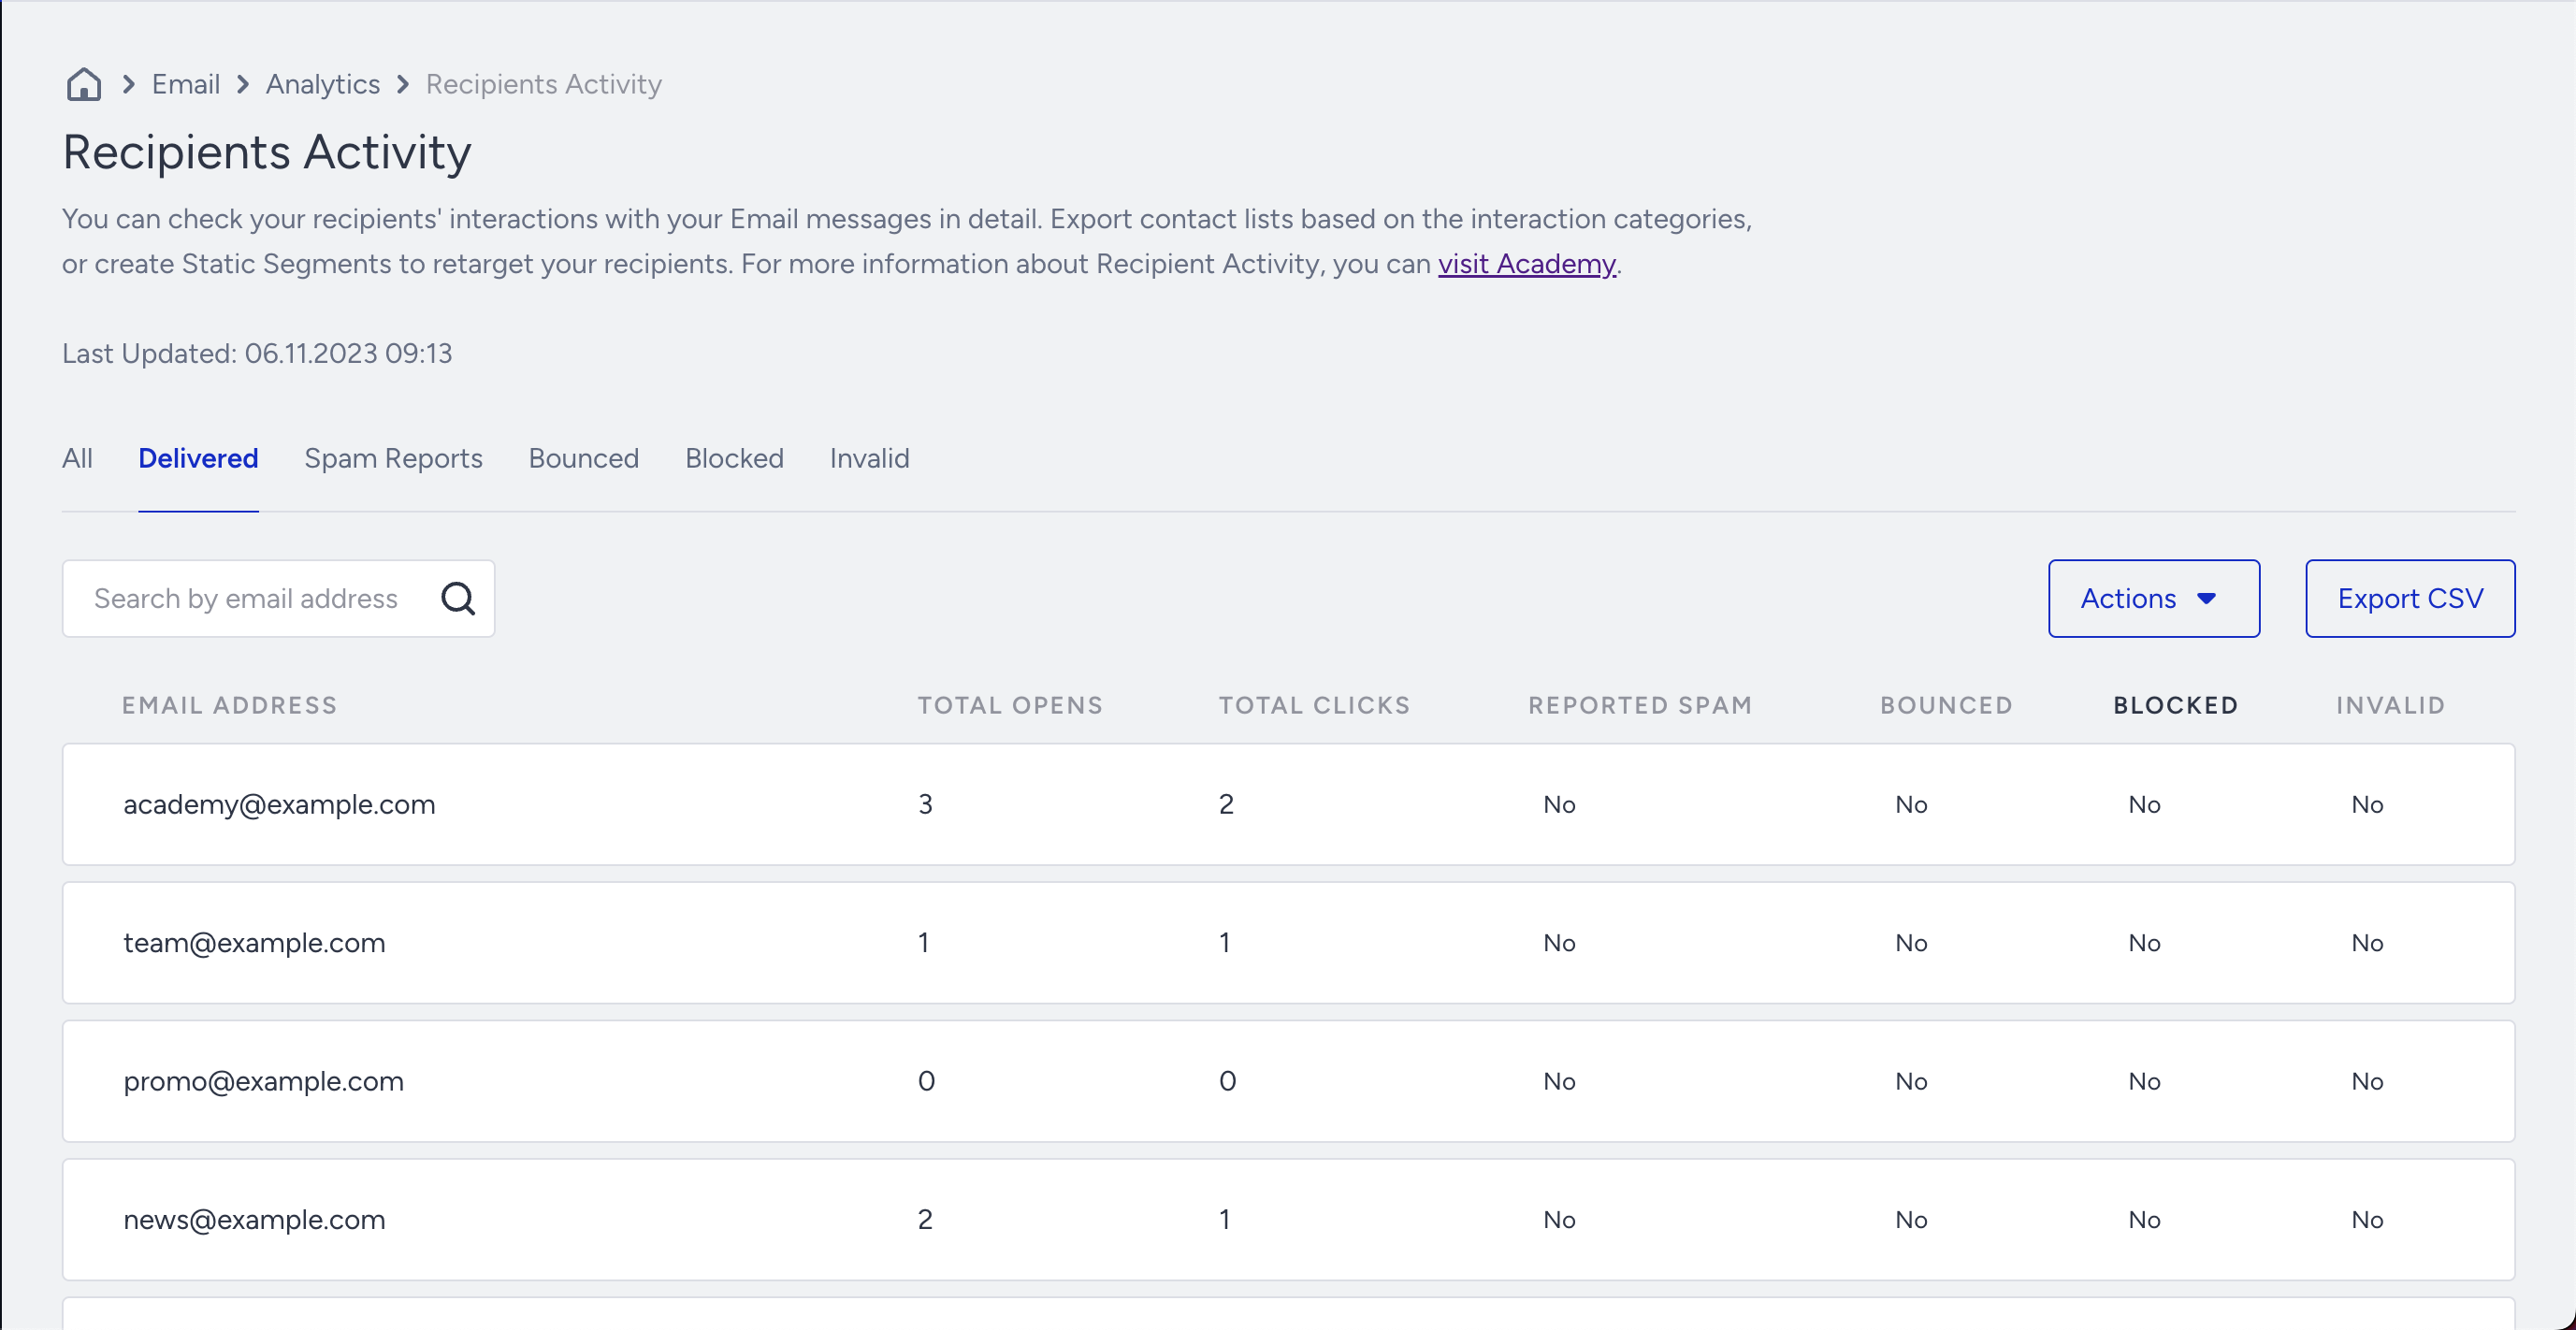
The Recipients Activity lists the recipients in All, Delivered, Spam Reports, Bounced, Blocked, and Invalid groups along with the Total Opens and Total Clicks data.
- All: Lists all recipients of your email campaign.
- Delivered: Lists the recipients whose server your email campaign is delivered to.
- Spam Reports: Lists the recipients who reported your email as spam.
- Bounced: Lists the recipients that have been returned to the sender due to an invalid address.
- Blocked: Lists the recipients your email campaign couldn't be delivered to due to a reason (e.g. sending IP, message content, etc.).
- Invalid: Lists the recipients whose email addresses do not exist on the recipient's mail server or do not fit the email format standards.
Recipients Activity Actions
With your recipients listed under Delivered, Spam Reports, Bounced, Blocked, and Invalid groups, you can:
- Create a new static segment.
- Add them to an existing static segment.
Your title goes here
You can create a static segment with your recipients or add them to an existing static segment with regards to the Last Updated date stated above the recipients list.
Create Static Segment
- Click the Create Static Segment button and add a segment name.
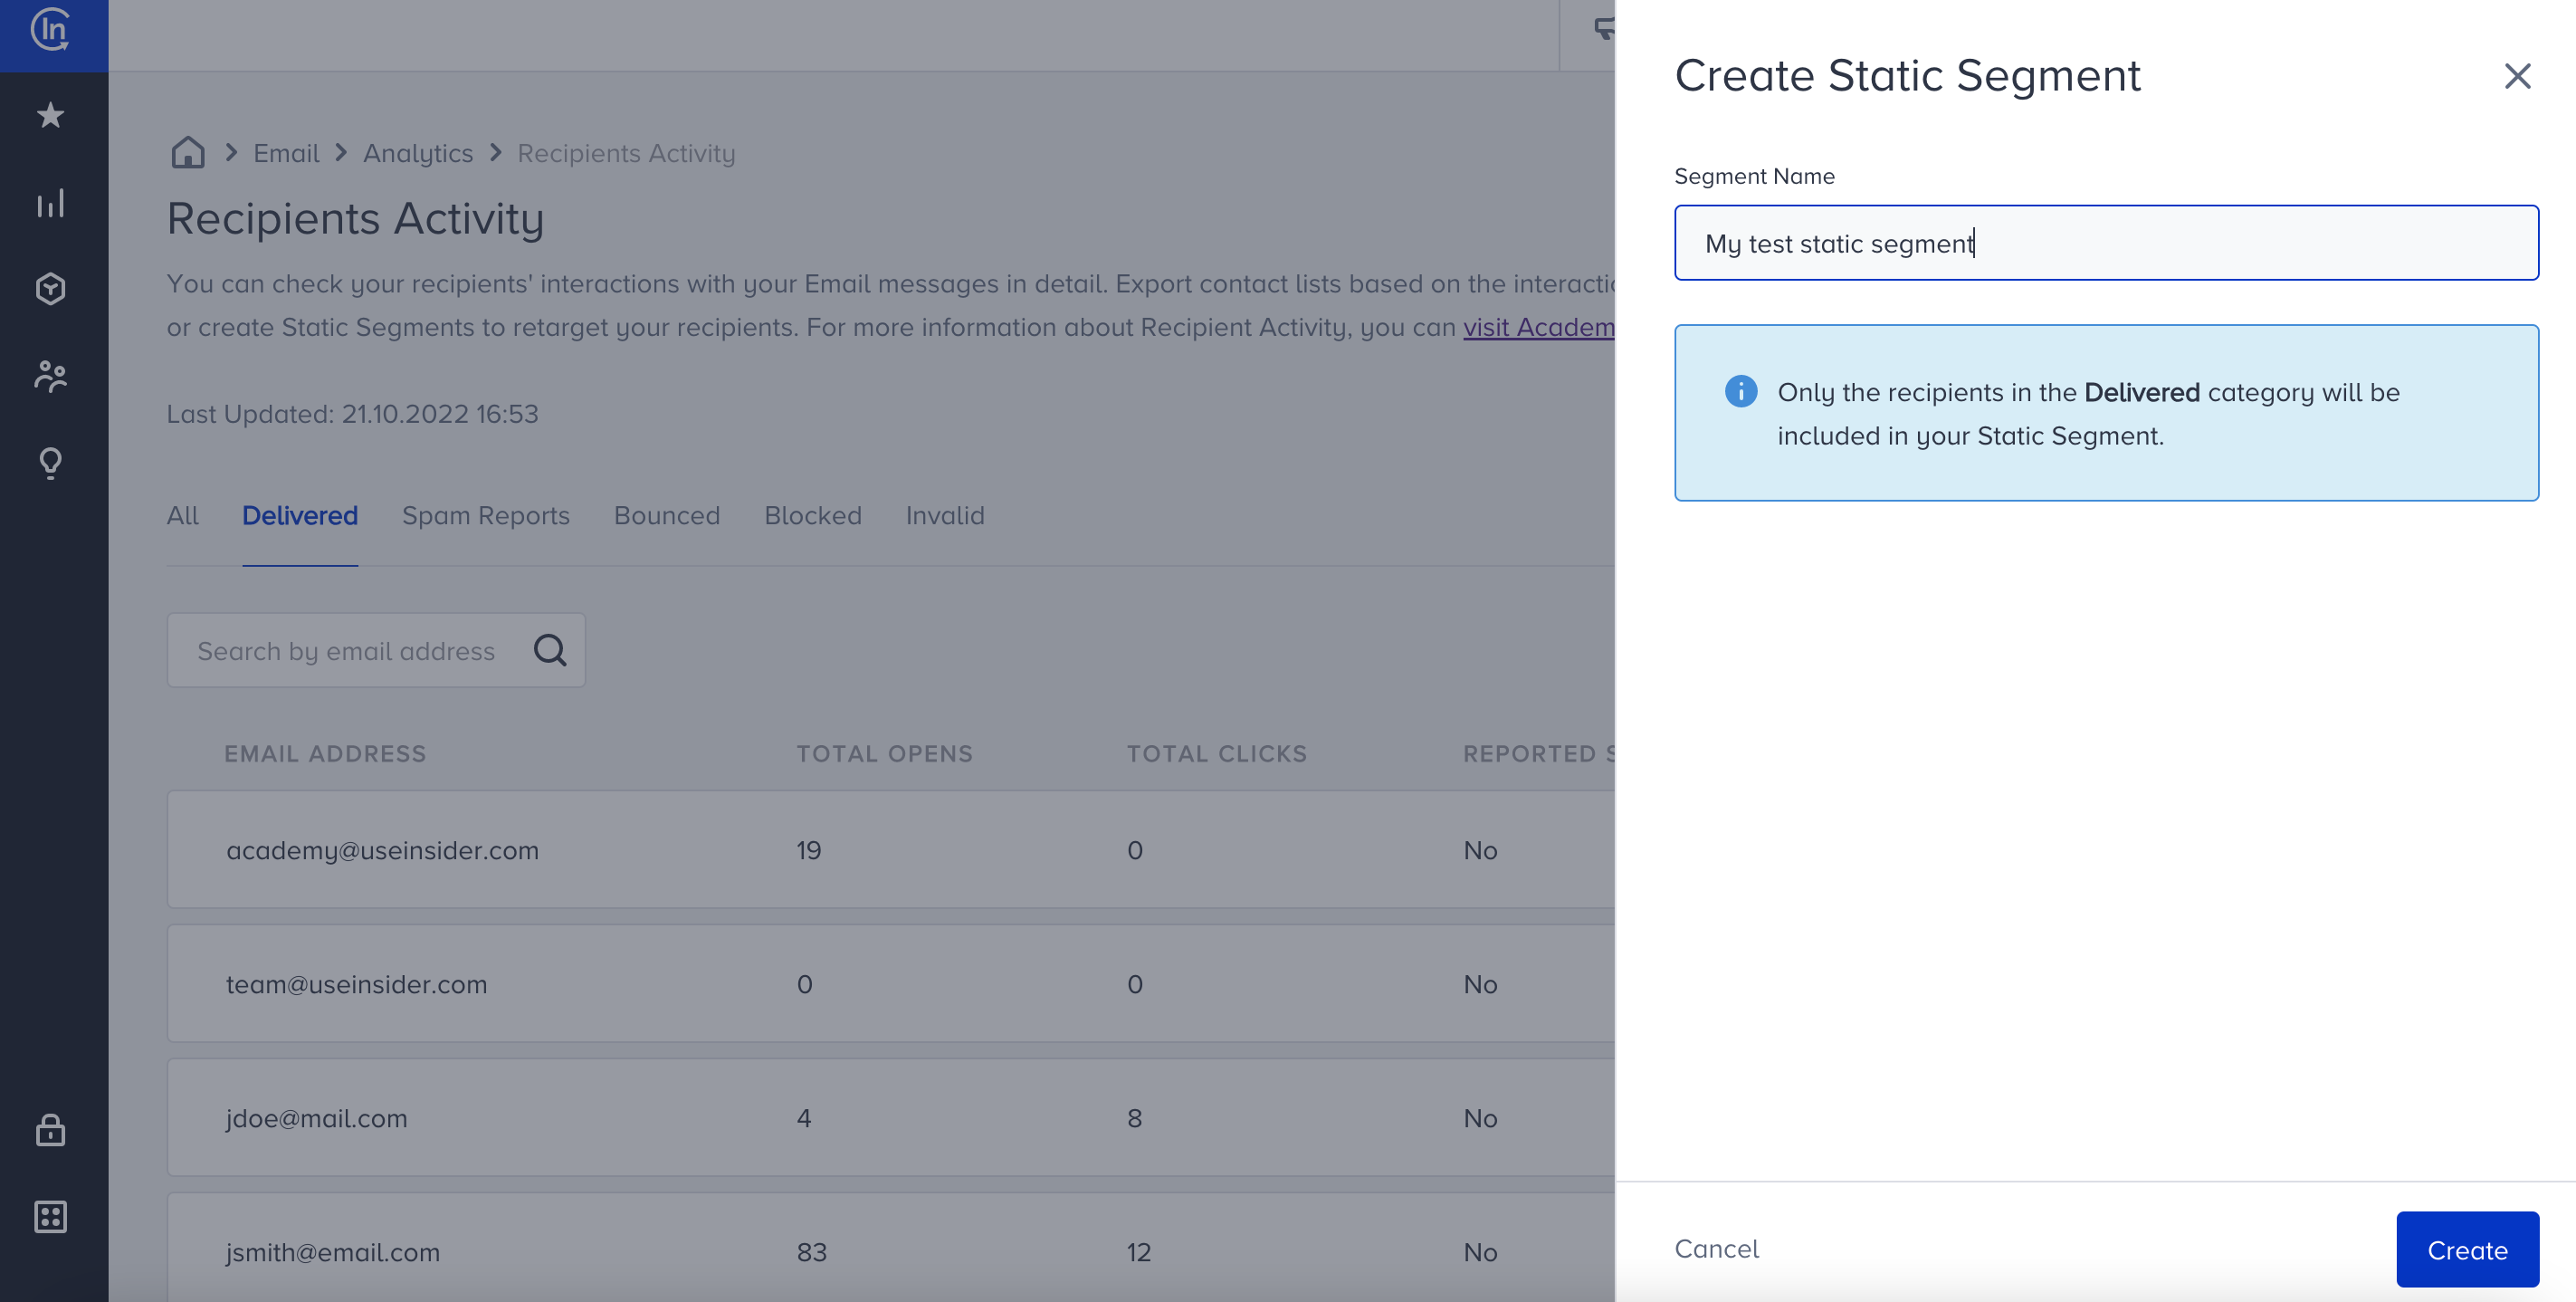
- Click the Create button to save your segment.
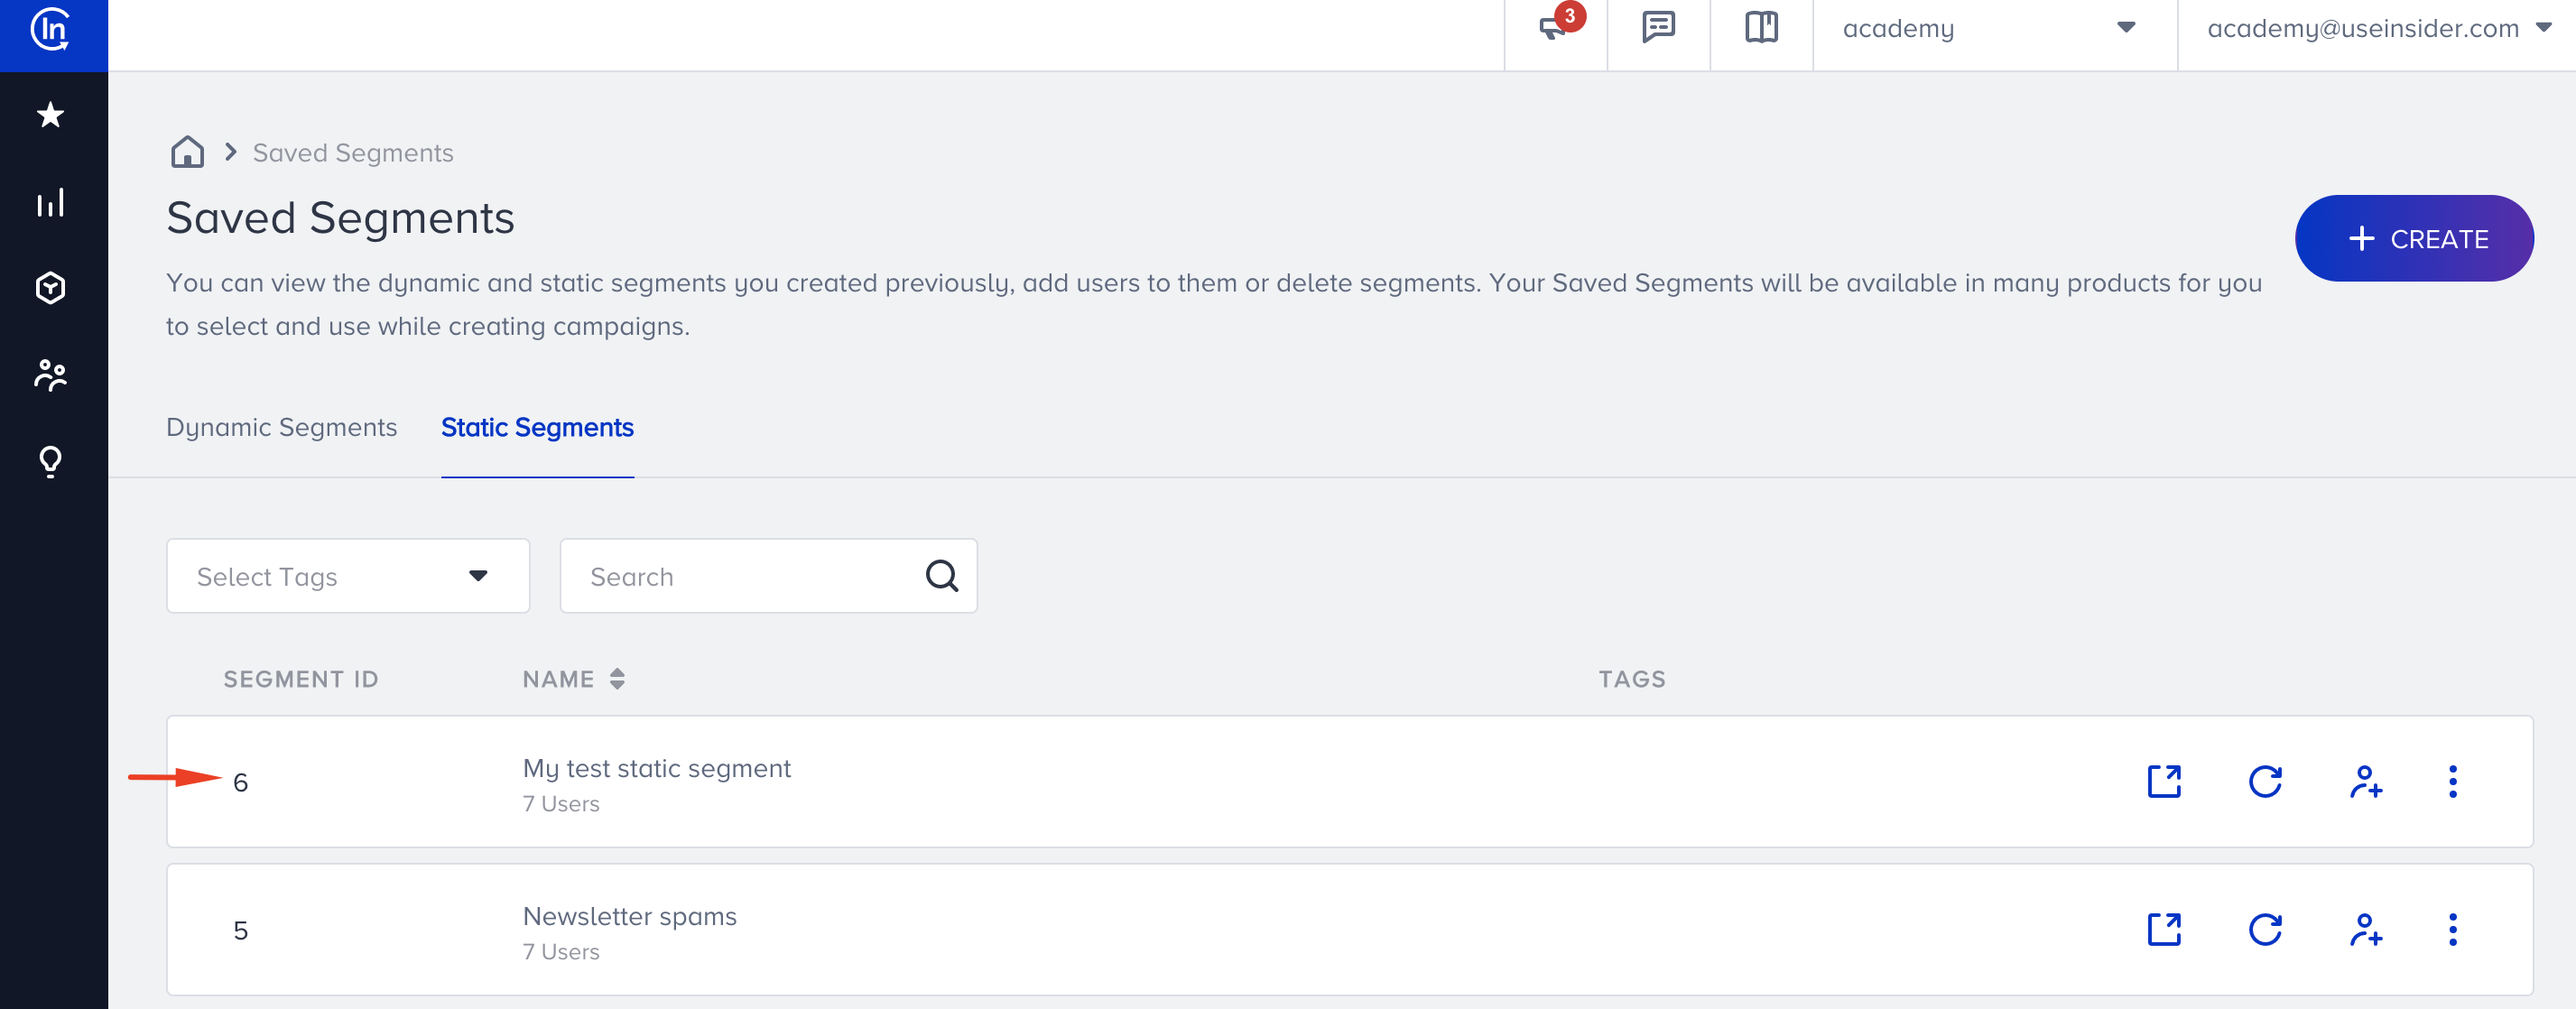
- Once your segment is saved, you can view it on Audience > Segments > Saved Segments > Static Segments.
Add to Static Segment
- Click the Add to Static Segment to add the listed group of recipients to an existing static segment. Select the static segment you want.
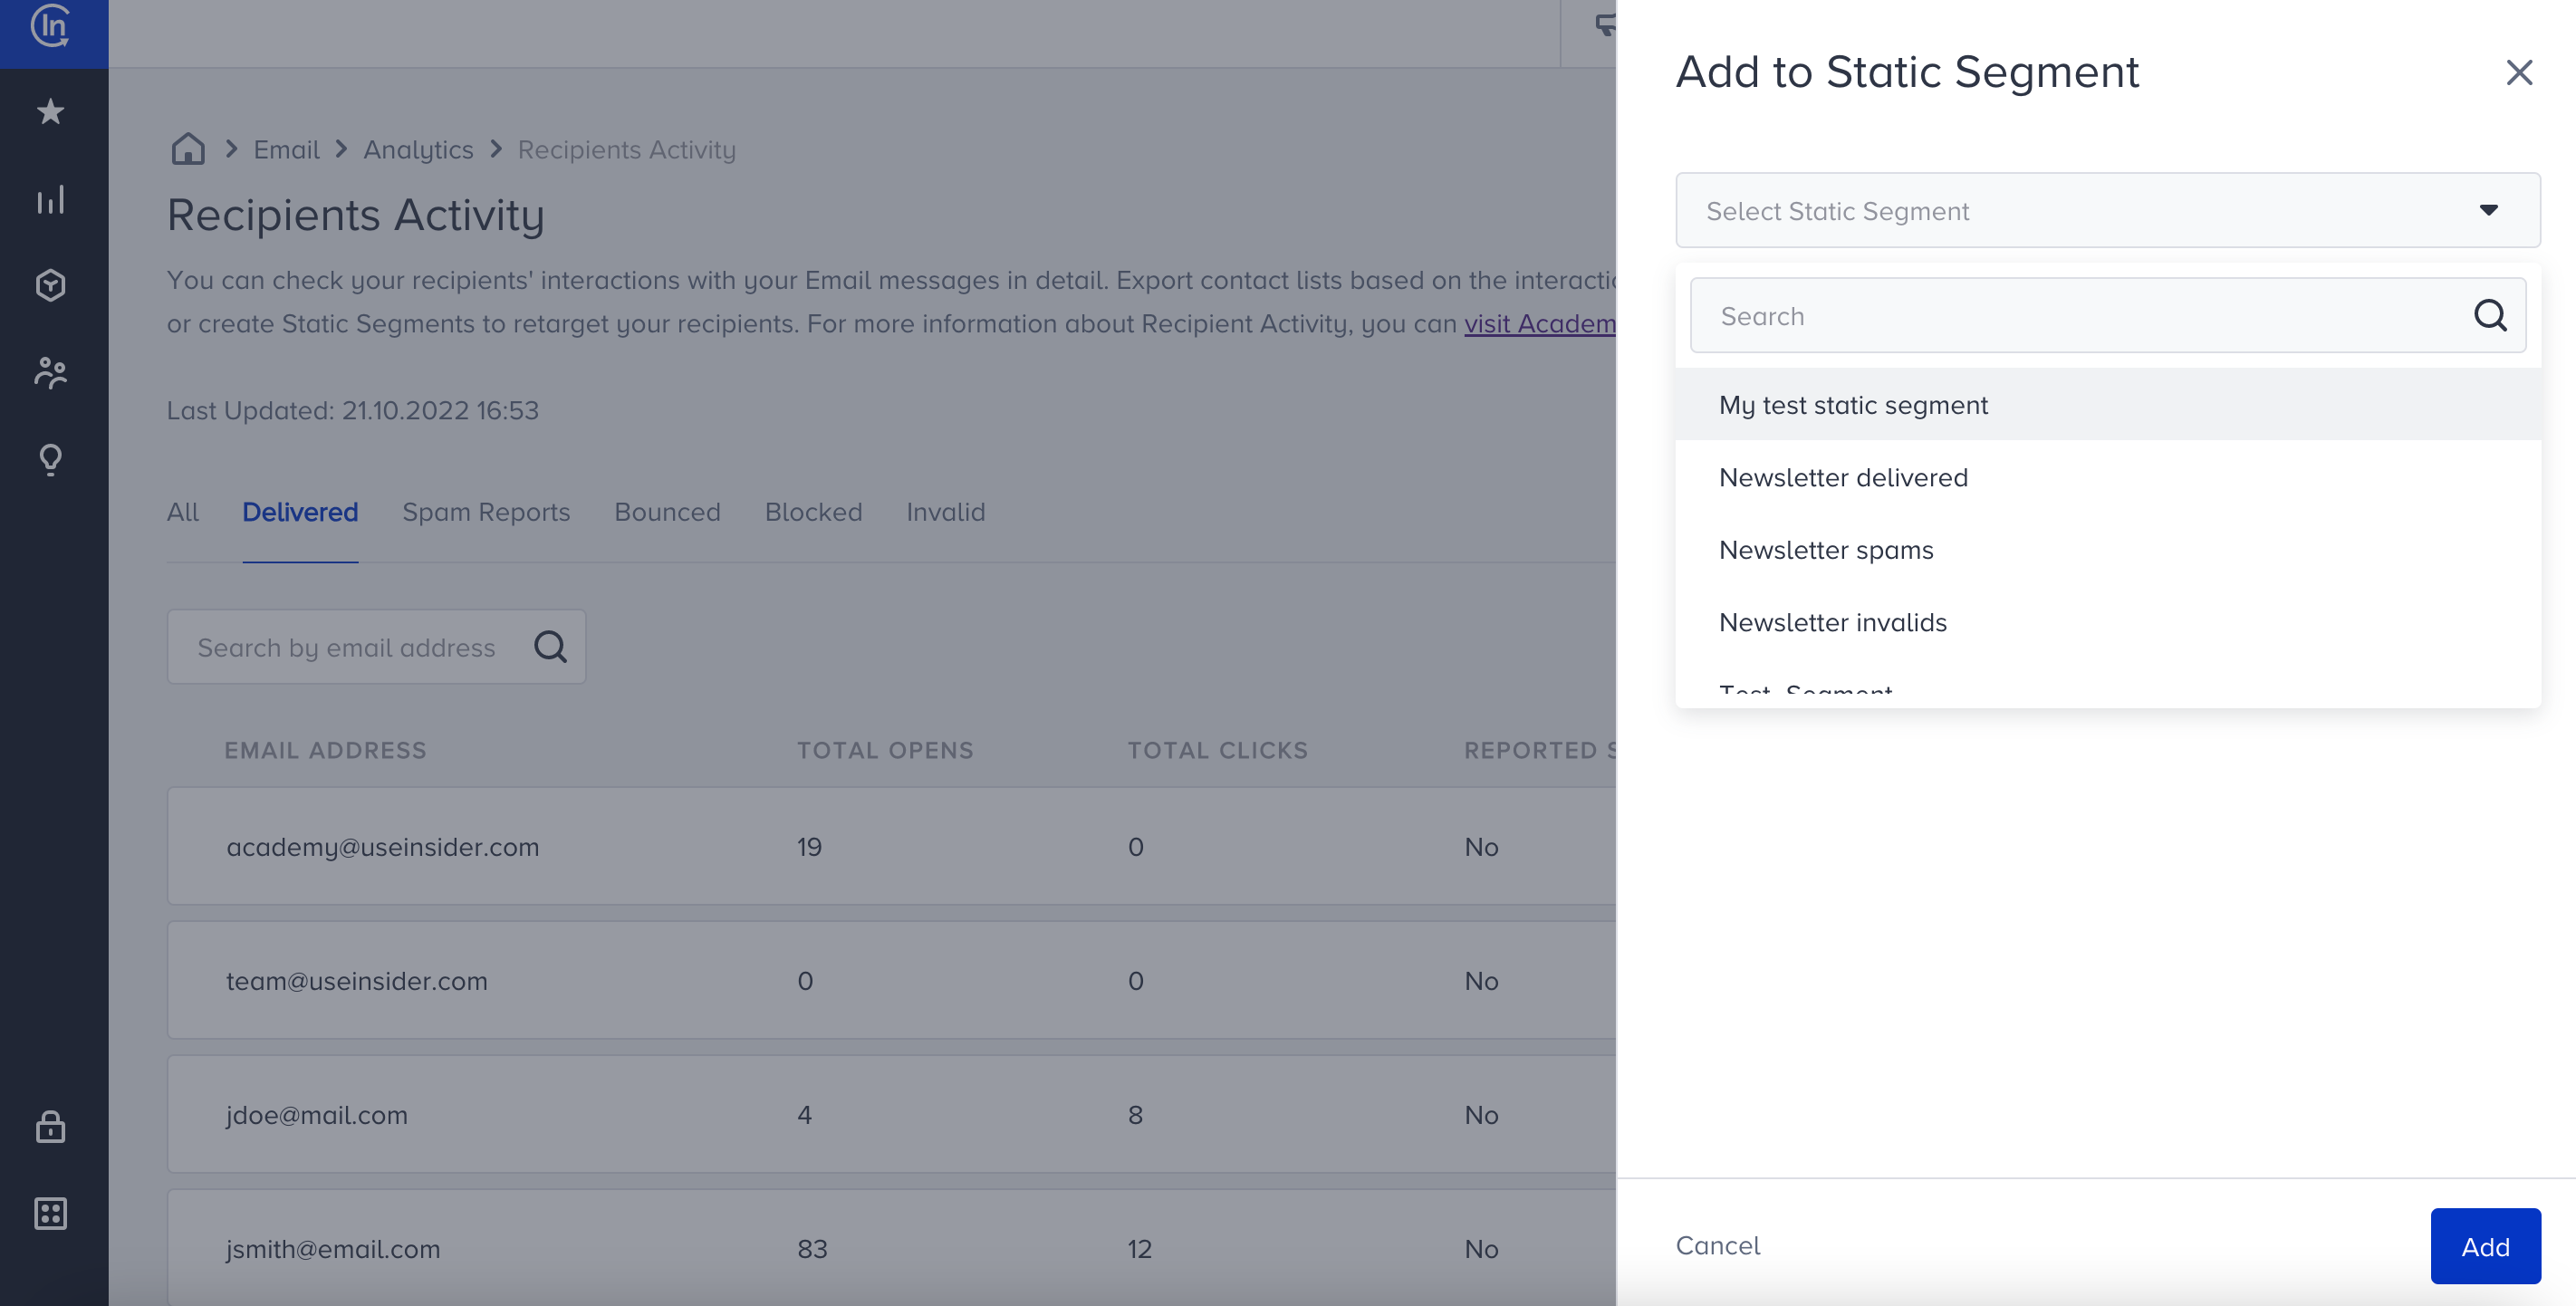
- Click the Add button to save your step.
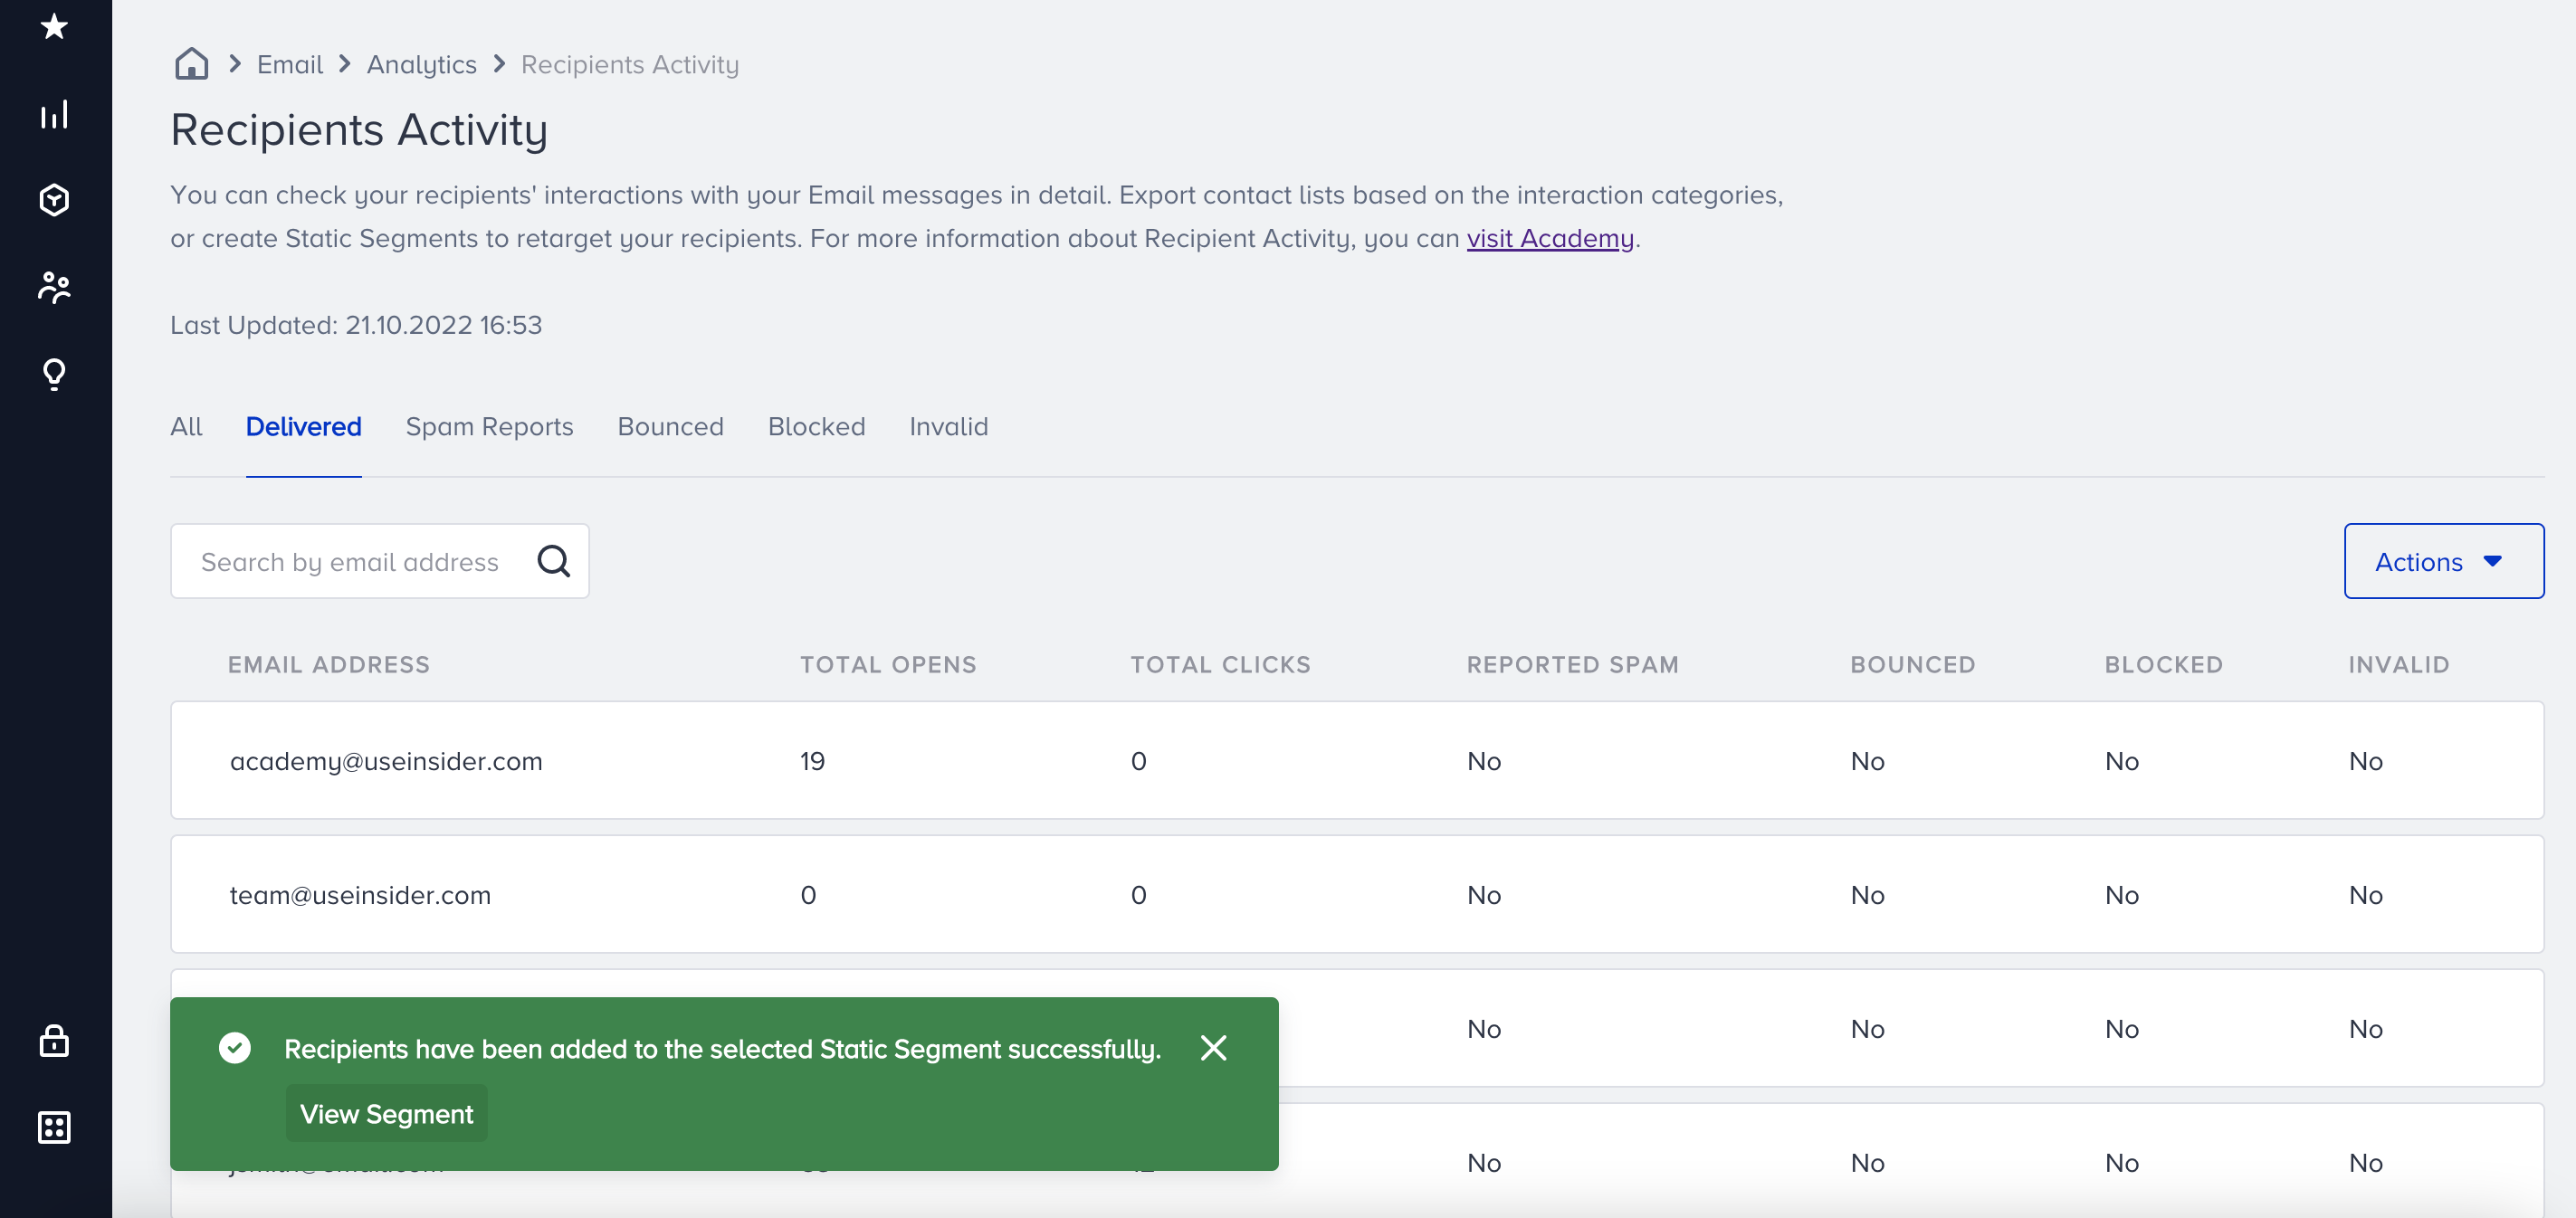
- Once you save your static segments, you can use them in your campaigns. Learn more about Static Segment.
Export CSV
Your title goes here
To export a CSV file of your recipients, you need to have PII (Personally Identifiable Information) access.
- Click the Export CSV button.
- You will be prompted with a modal that displays the applied filters on the recipients.
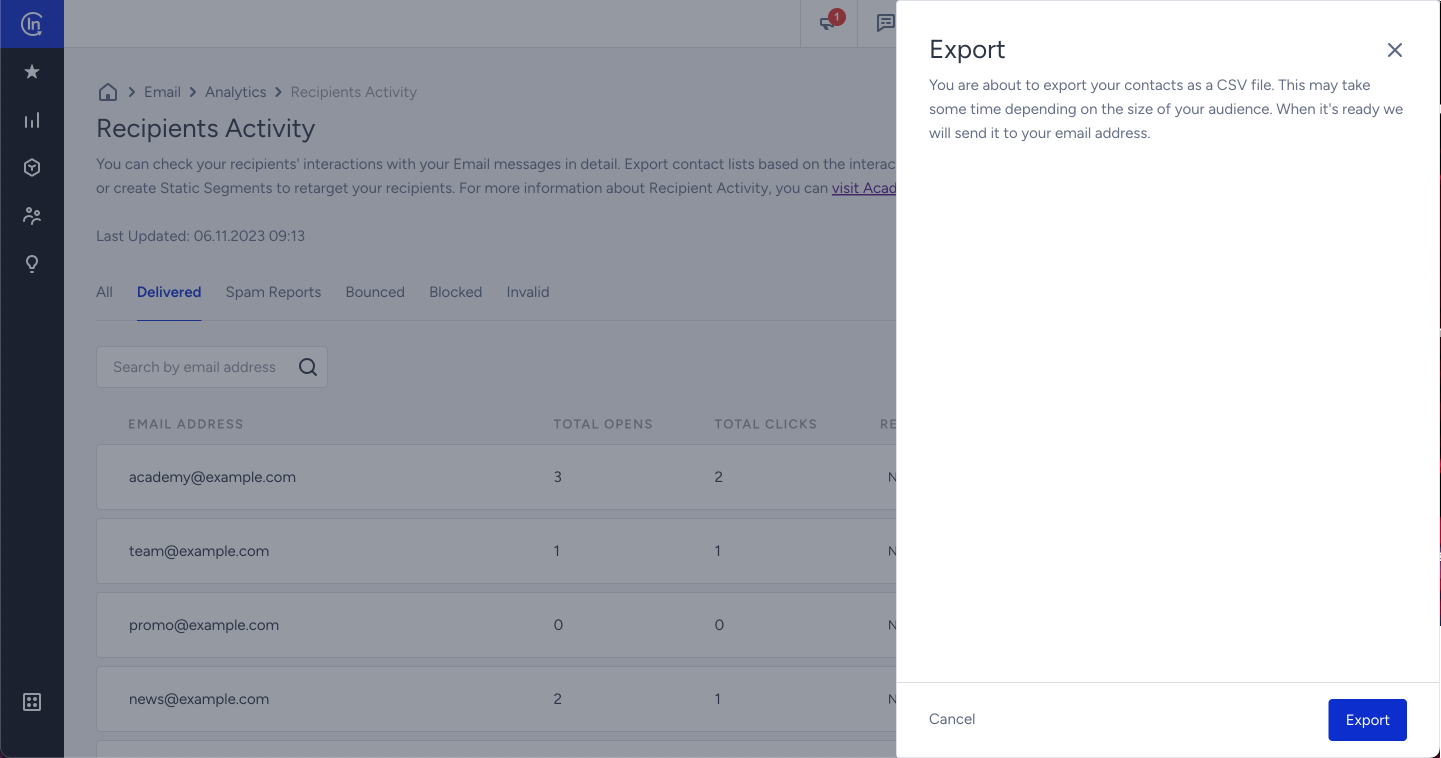
- Click the Export button at the bottom of the page.
- Once your request is received, you will see the respective message on the page. When your report is ready, you will receive an email with a download link.