A Virtual Contact Card (VCC) is a digital business card that brands can send directly via MMS to help subscribers easily save verified contact details.
Once saved, future messages will display your brand name and logo, increasing trust and visibility in your subscribers’ inboxes.
Remember that adding a Virtual Contact Card converts your SMS into MMS format due to the embedded contact file (
.vcf).
A Virtual Contact Card can contain:
Brand name and logo
Phone number
Email address
Physical address
Website or social links
How does a Virtual Contact Card (VCC) work?
When customers receive your Virtual Contact Card, they’re prompted to save your brand as a trusted contact.
From that moment, all future SMS messages will show your verified sender identity, improving deliverability and recognition.
Before sending Virtual Contact Cards, you must obtain explicit consent from their subscribers.
You can manage it through the opt-in process, two-tap or double opt-in flows within SMS or Architect, ensuring compliance with messaging regulations.
Key benefits
Improved deliverability: Messages sent from saved contacts are less likely to be filtered or marked as spam.
Higher engagement: Recognized sender names help increase open and response rates.
Enhanced trust: Displaying a verified sender identity with your brand’s logo and details builds credibility.
Better retention: Keeps your brand visible and accessible for ongoing communication.
Send a Virtual Contact Card (VCC) in your MMS messages on InOne
To create an MMS campaign that includes a Virtual Contact Card:
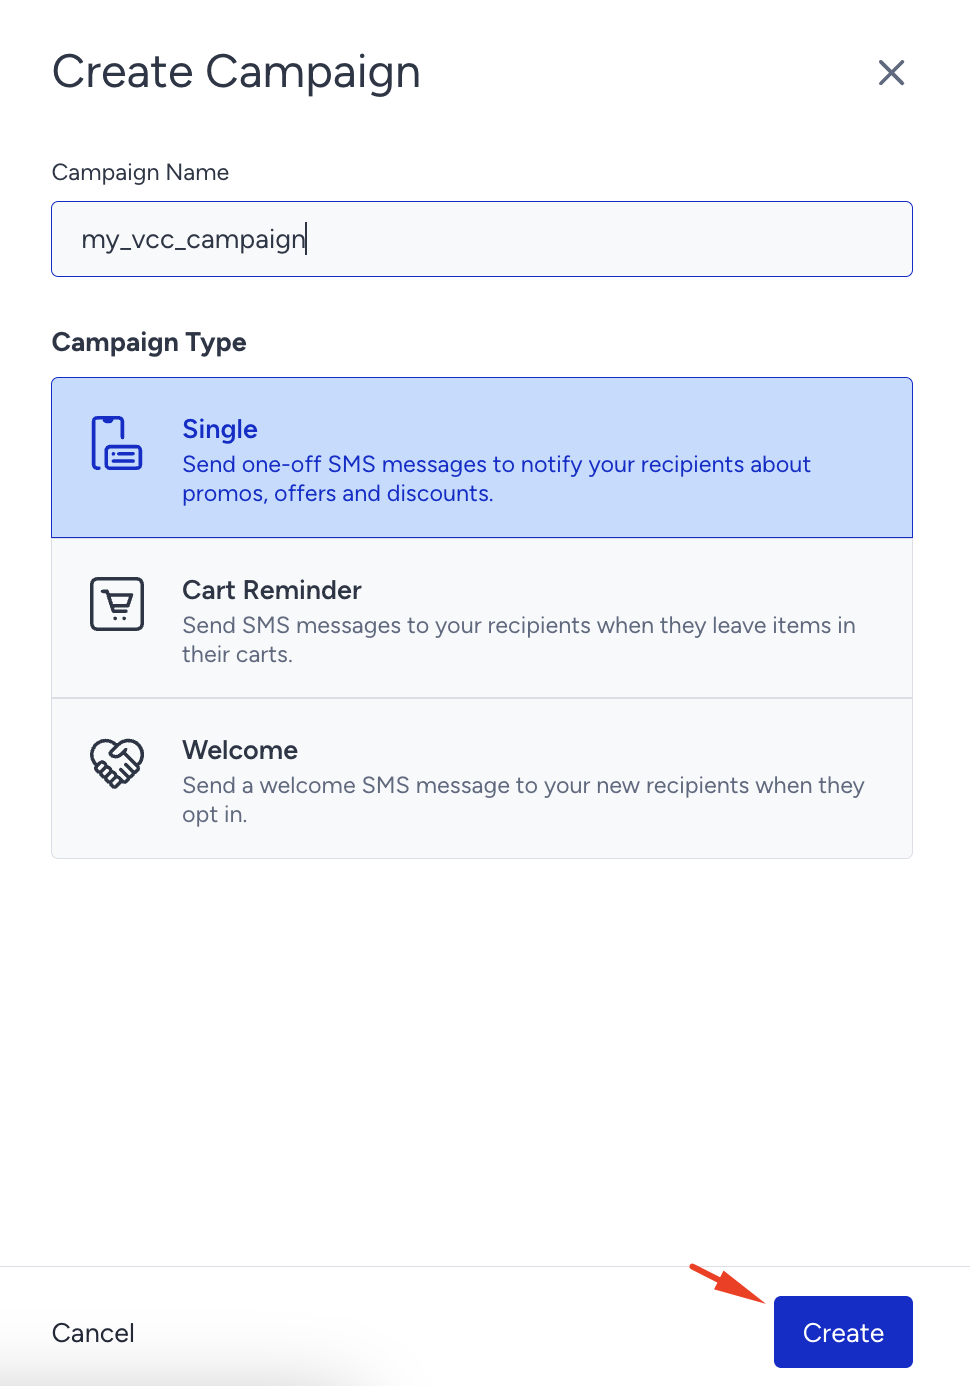
Navigate to InOne > Campaigns > Messages > SMS and click the Create button
Enter a name for your campaign and select your campaign type. Click Create.
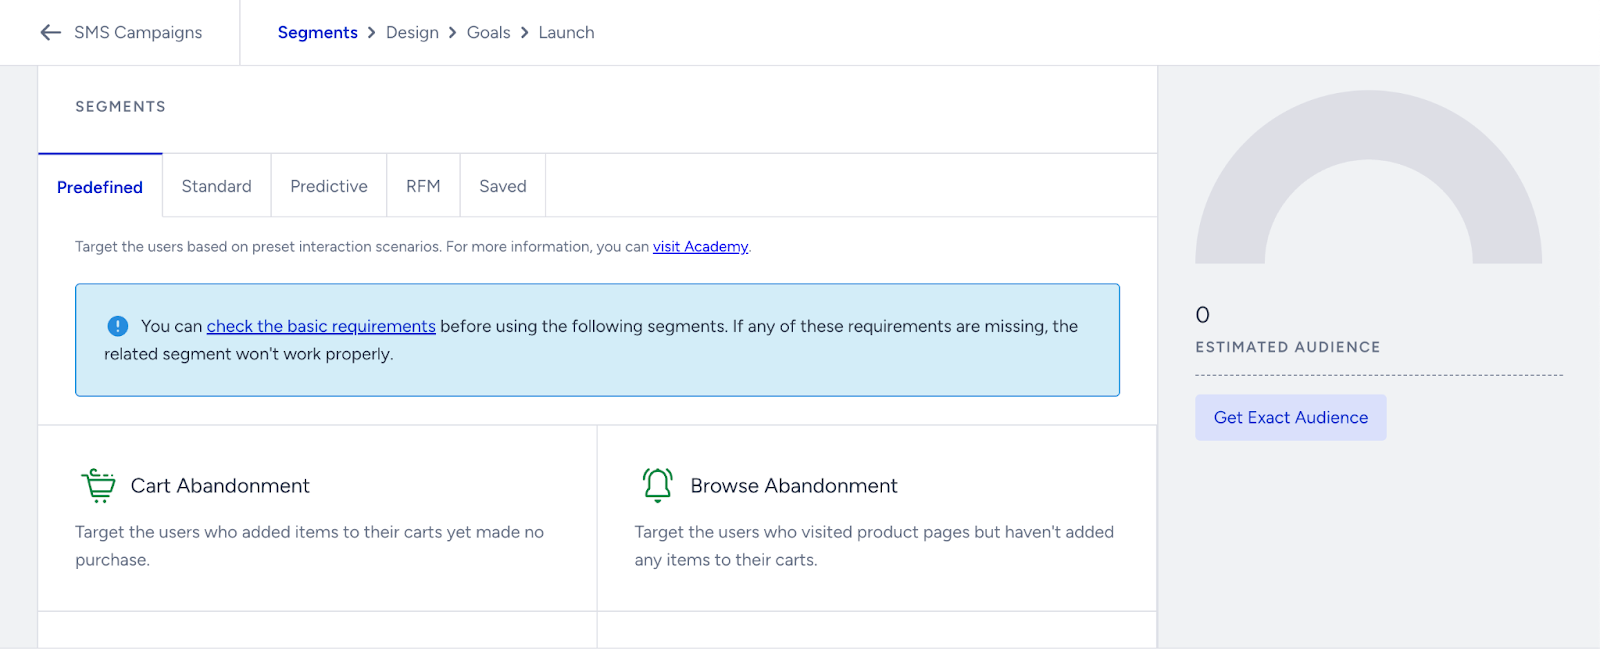
Select the Segment that you want to send your campaign to.
Select MMS as your Message type.
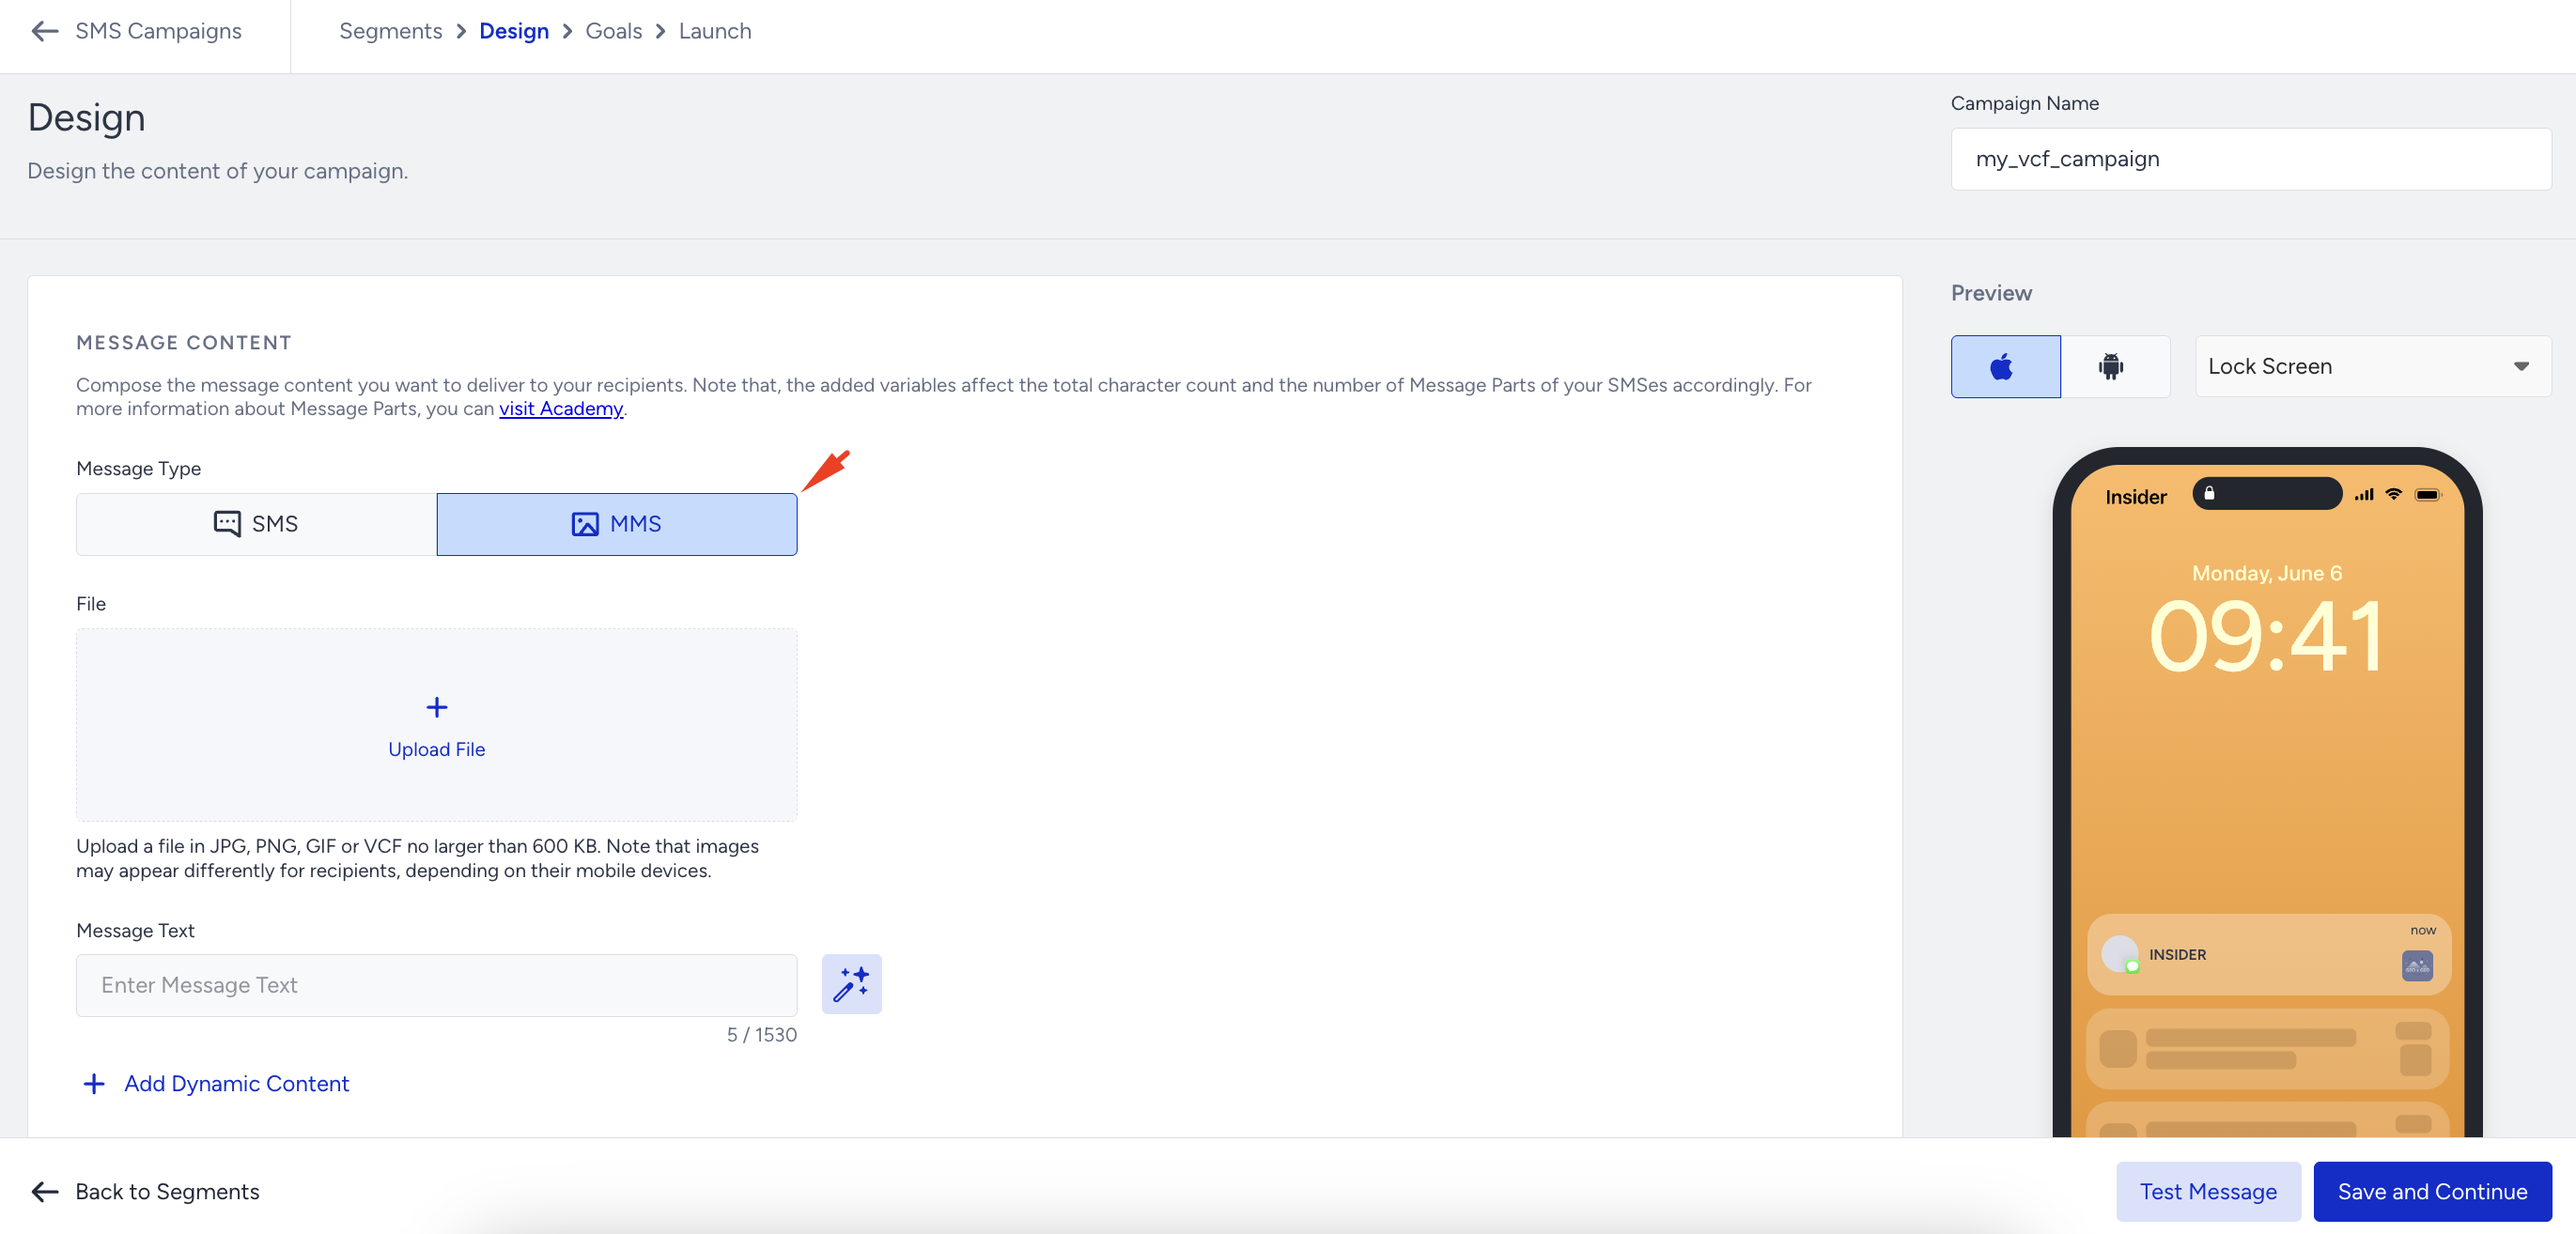
Click the Upload File button and attach your
.vcffile (Virtual Contact Card) to the message to include your brand’s contact details.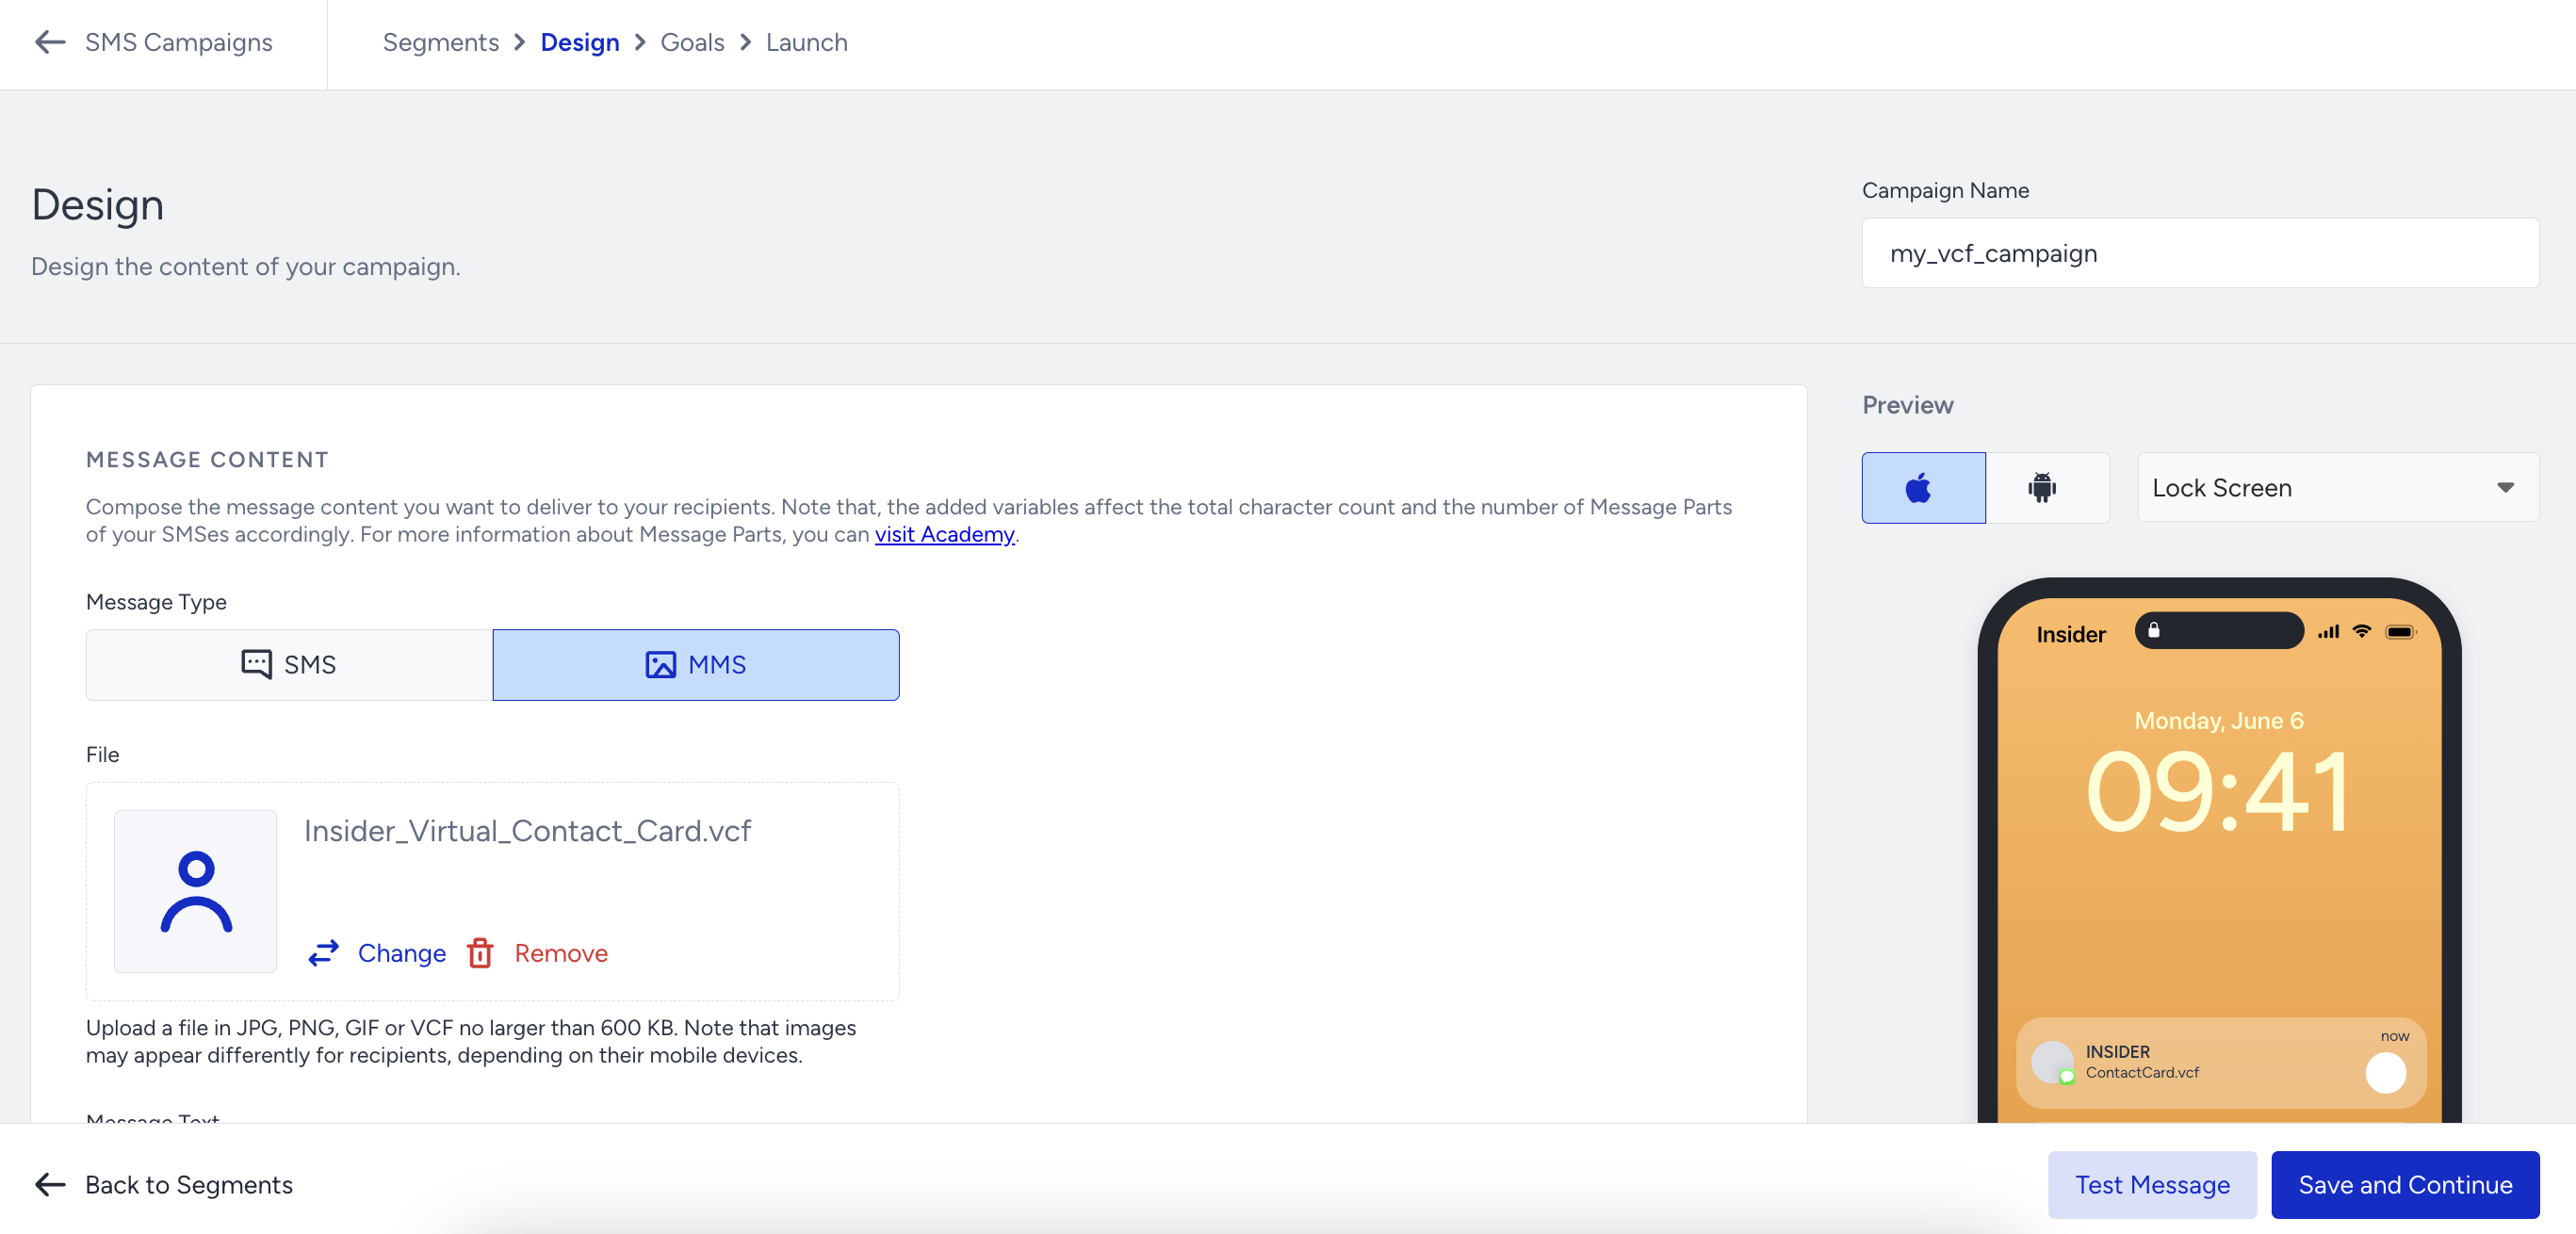
Review your message to verify that the Virtual Contact Card is displayed properly. Once everything looks good, schedule or send your campaign, and you’re all set.