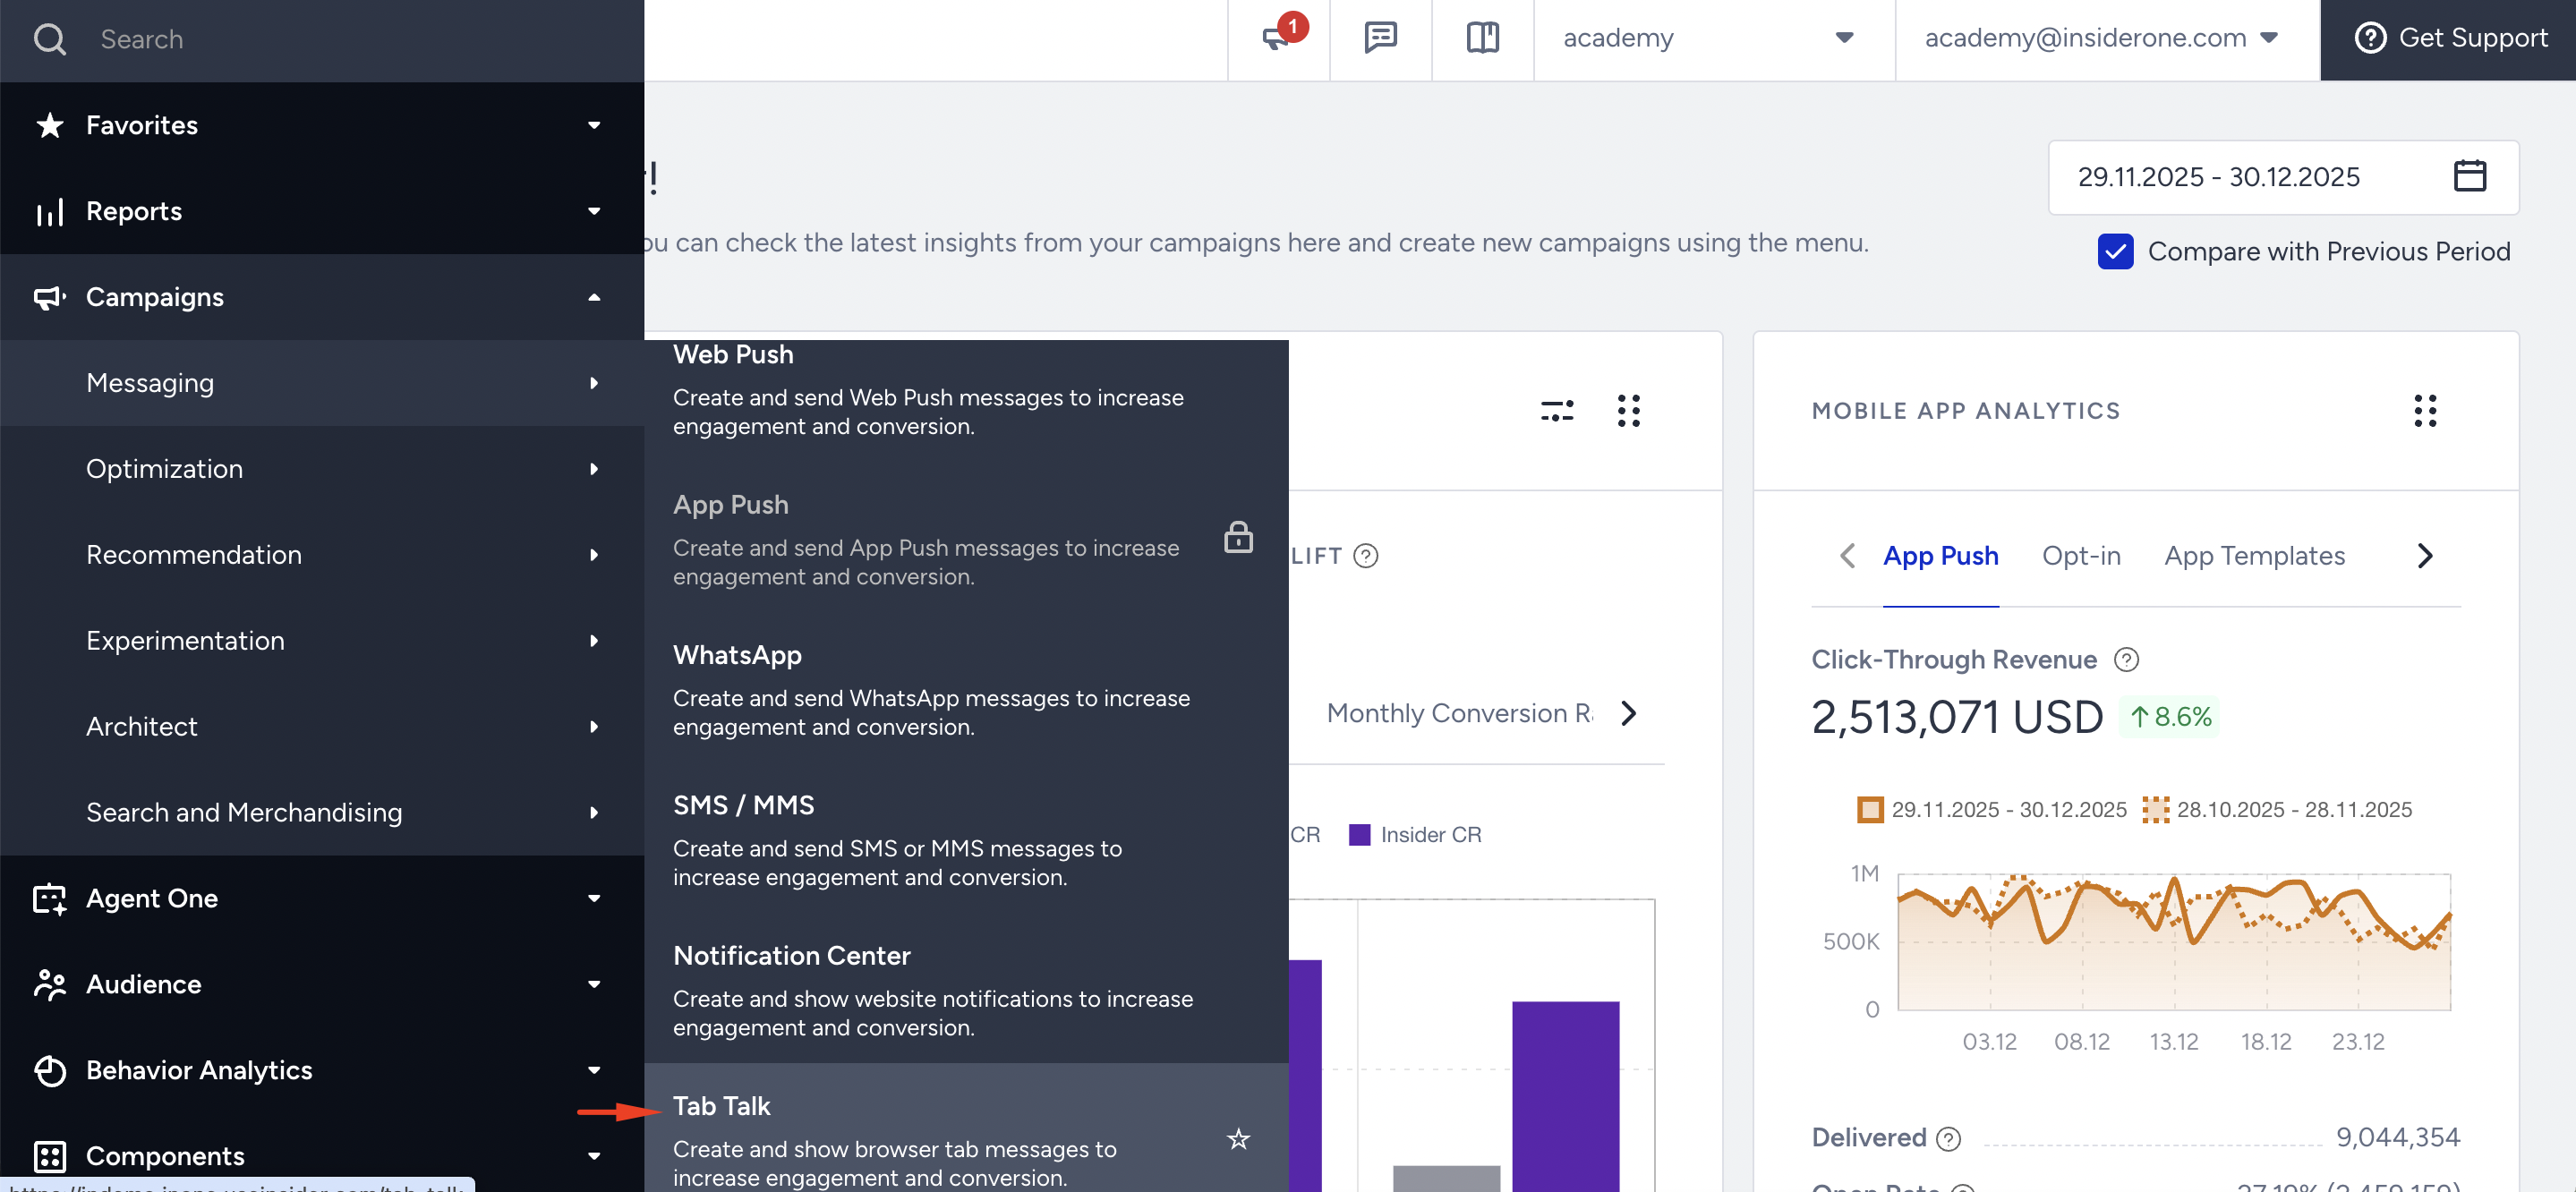
Tab Talk displays a custom message and animation in the browser tab when a user navigates away from your website. It is designed to re-engage users by drawing their attention back to the tab.
This article covers the full campaign creation flow from setup to launch.
Navigate to Campaigns > Messaging > Tab Talk.
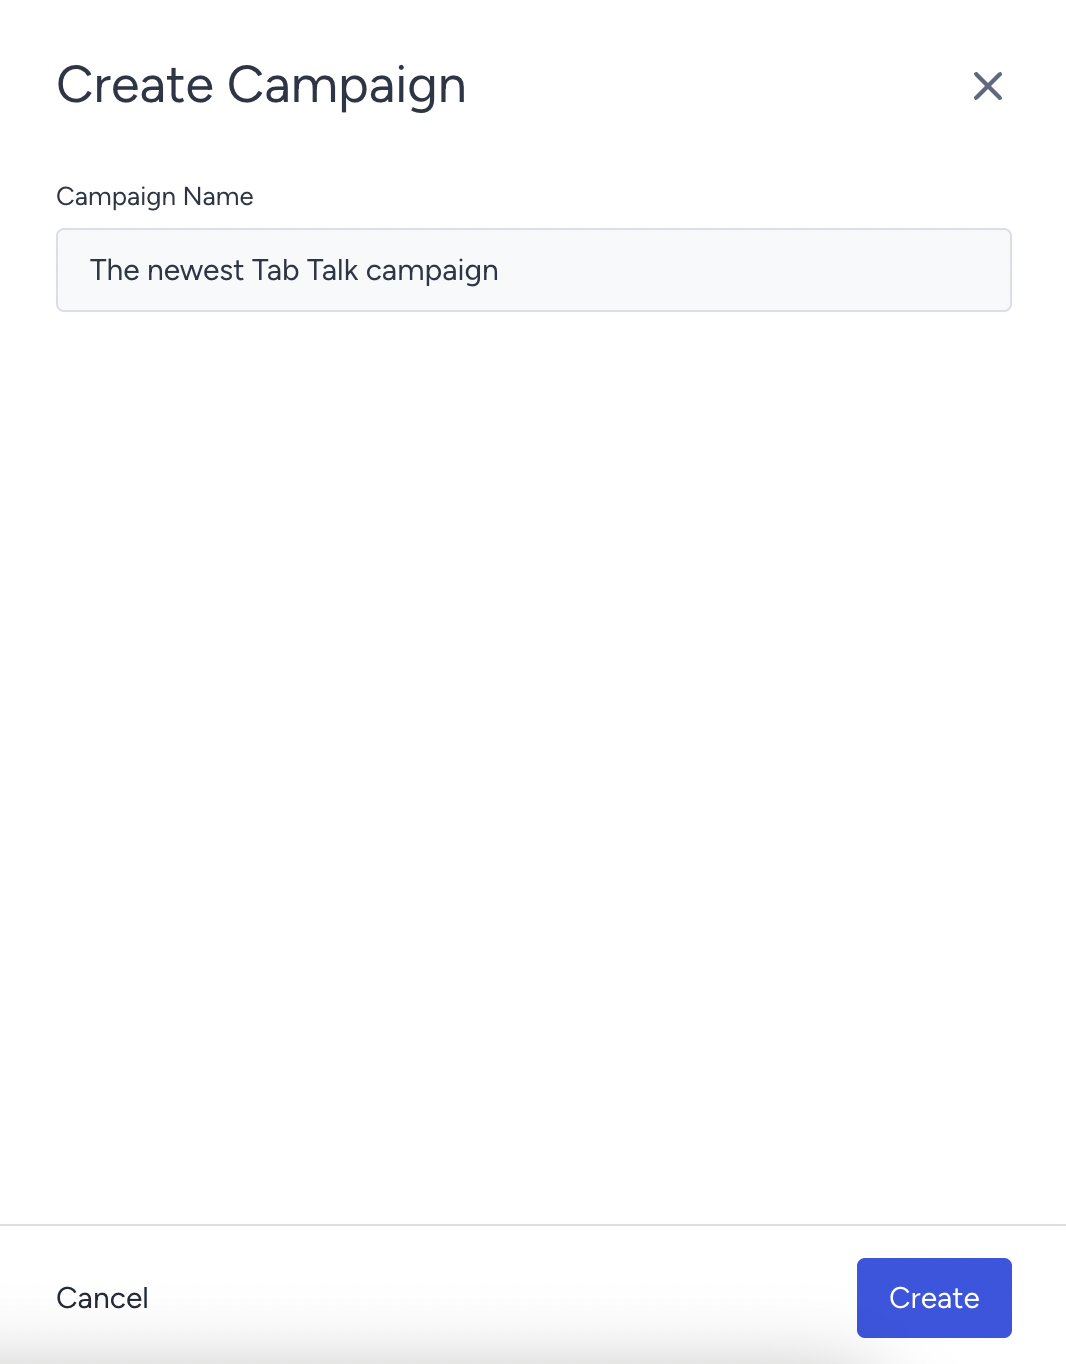
Click the Create button in the top right corner.

Enter the name of your campaign and click the Create button.
Select your user group to define which users are eligible for this campaign. Use segments to narrow your audience by behavior, attributes, or profile data. Click Save and Continue.

Set the conditions under which the campaign will be shown to users. Rules define the real-time context for display, such as which page the user is on or how they behave on the page.
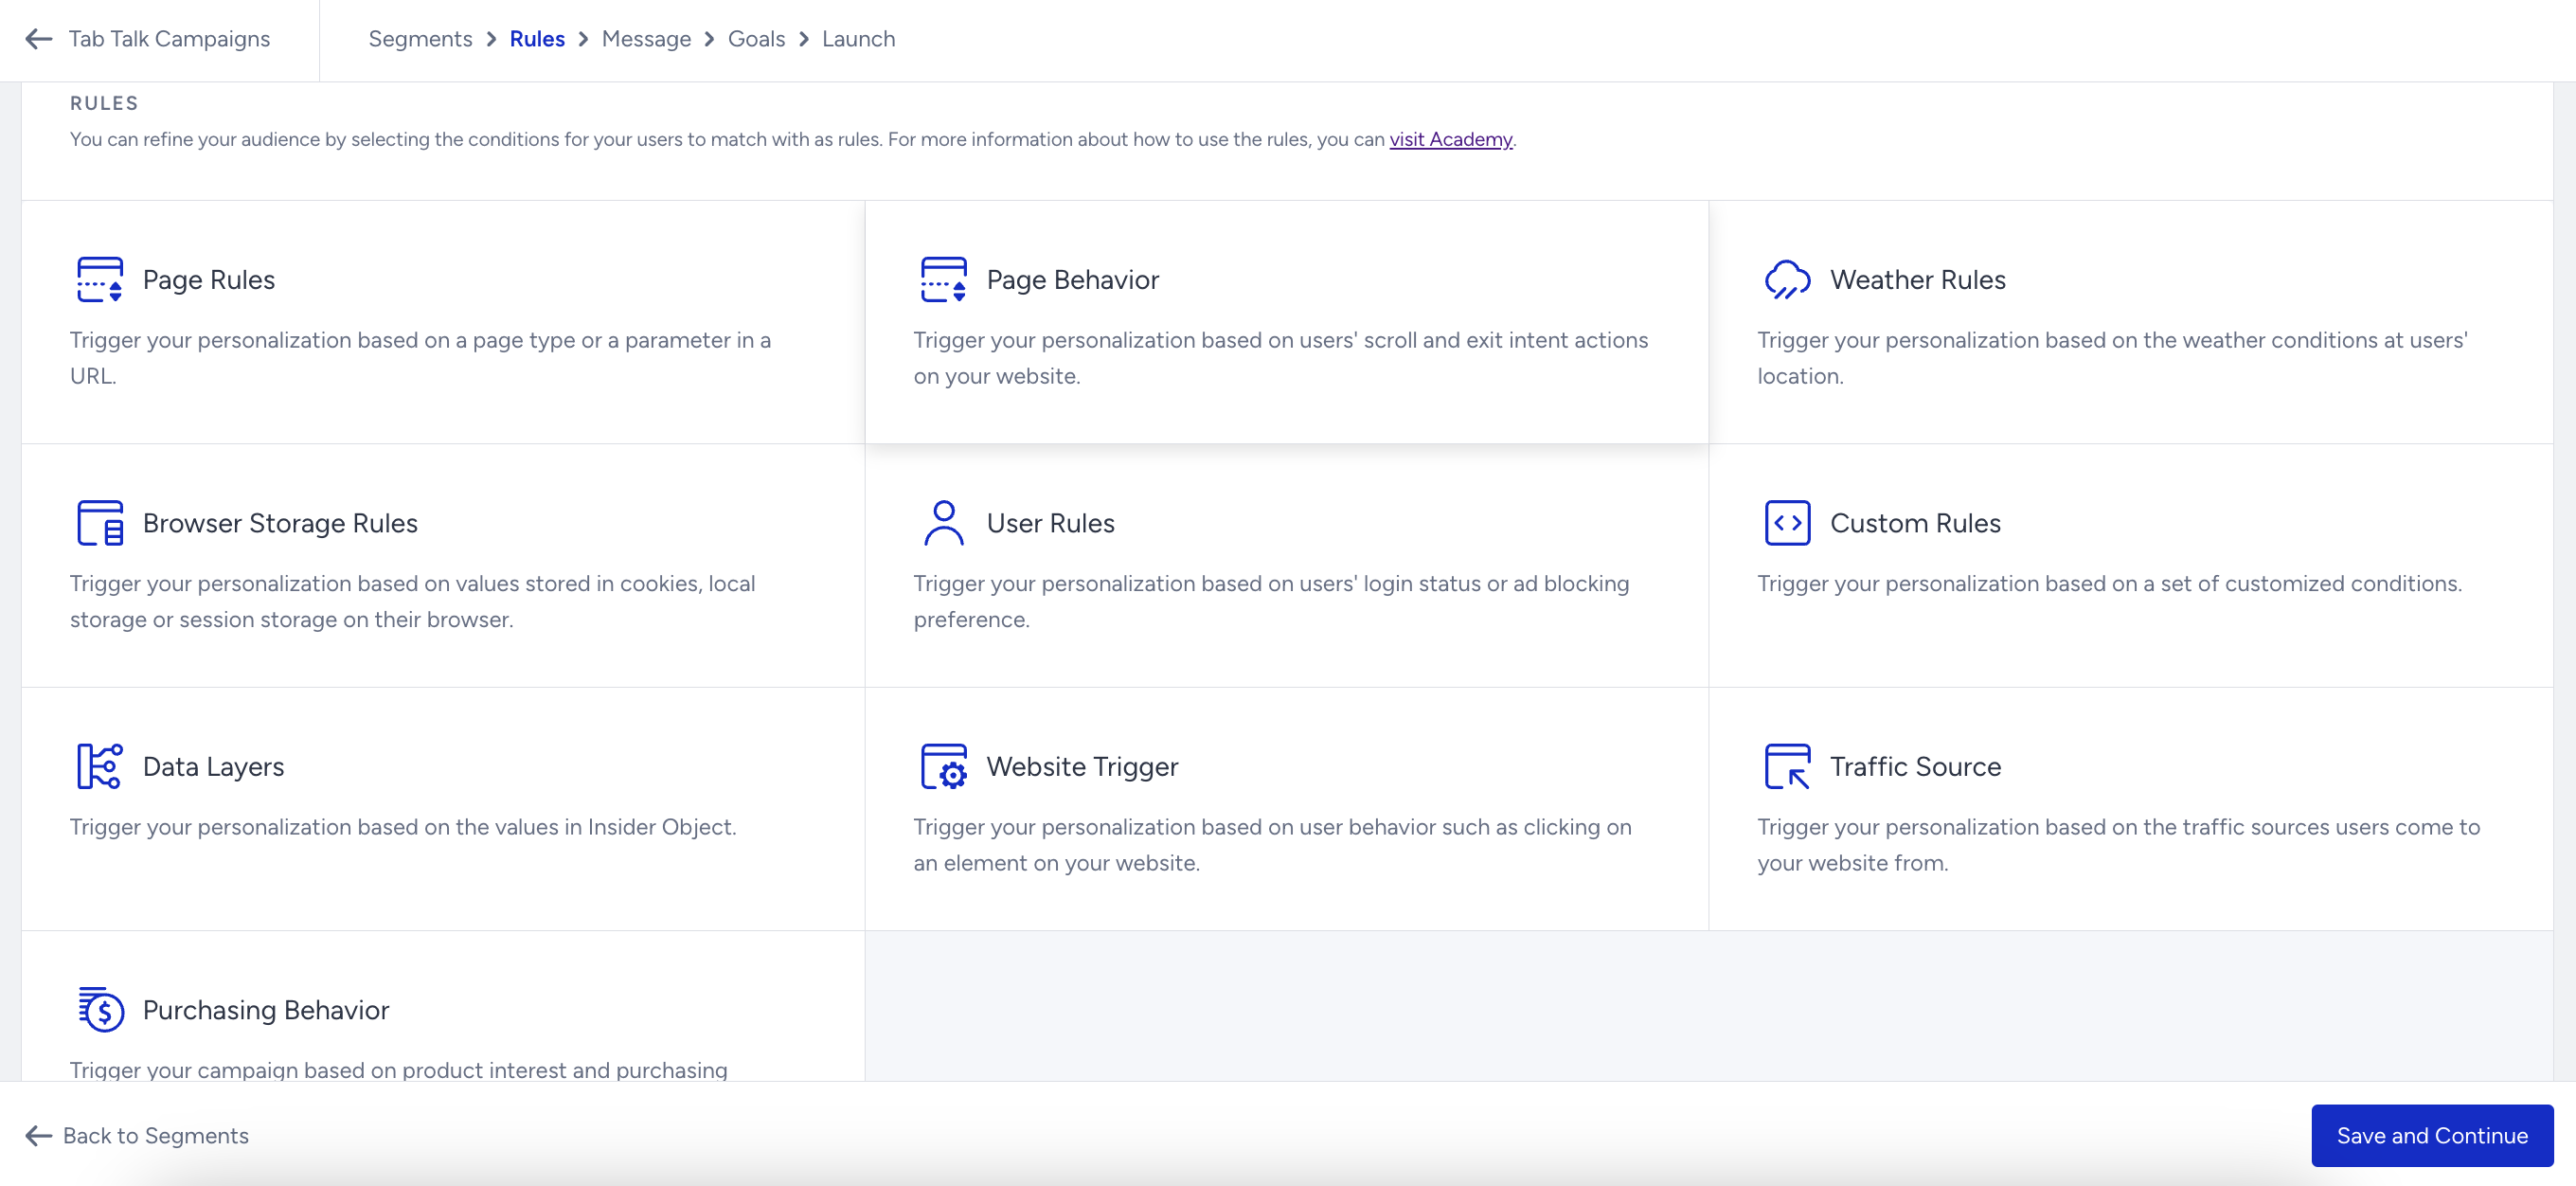
You can also configure Display Time to control when and for how long the campaign appears after rules are met. Click Save and Continue.
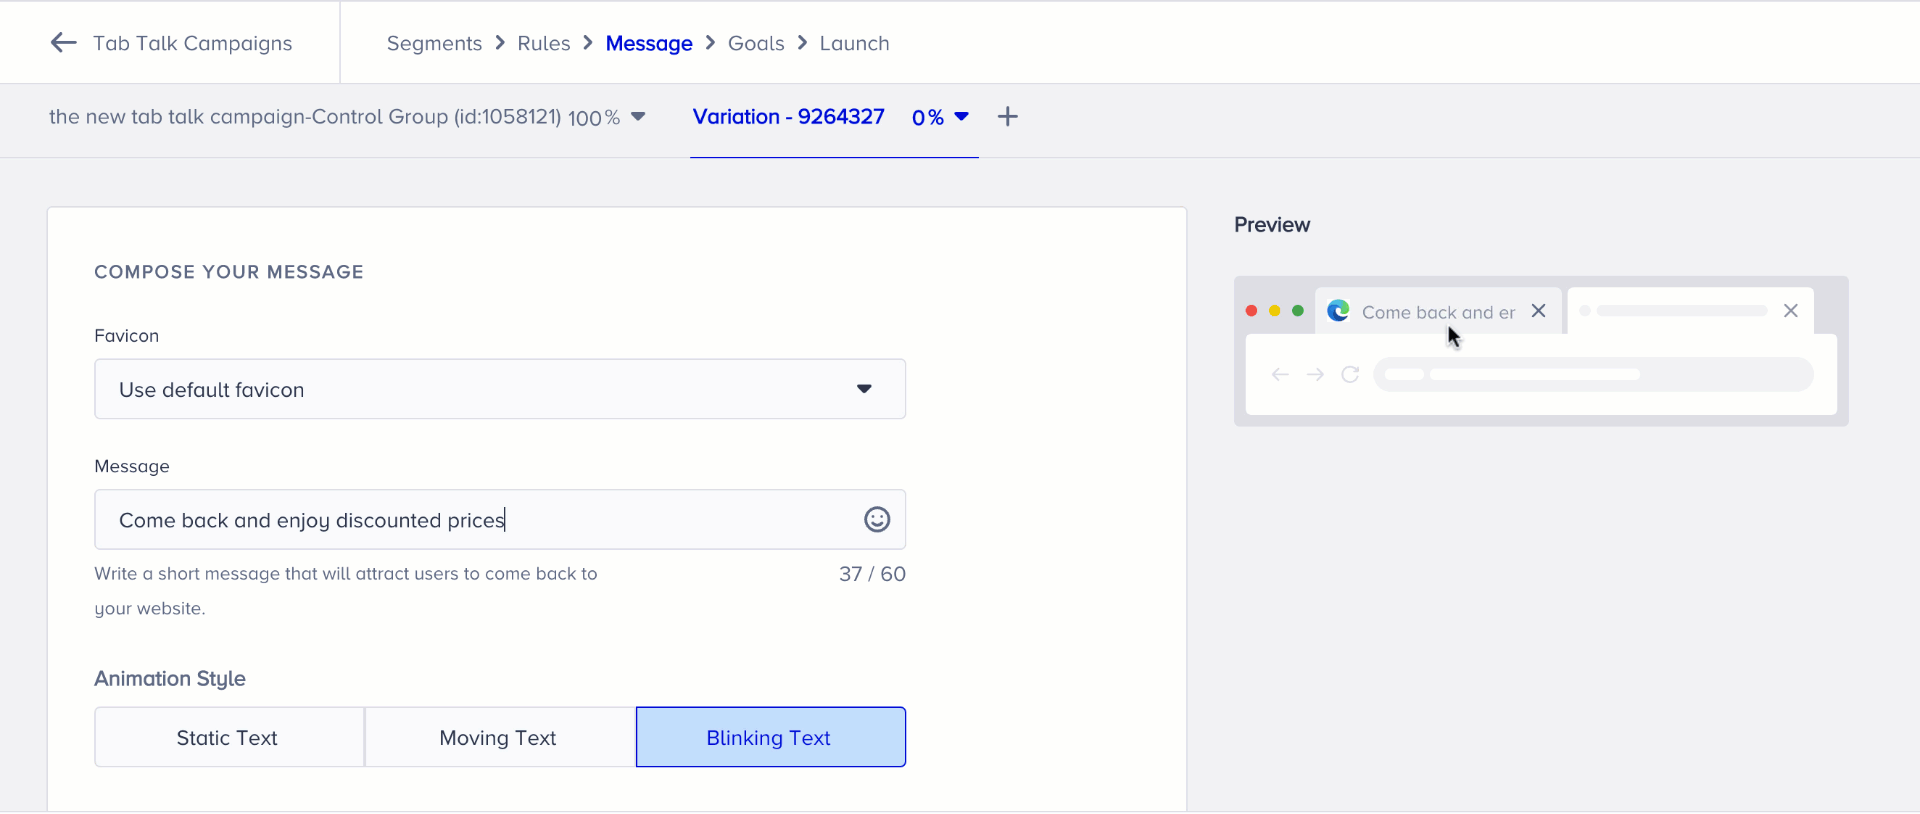
Compose your message
Design the content that appears in the browser tab. Click the + (Plus) button to begin.

All changes are reflected in the Preview area in real time.
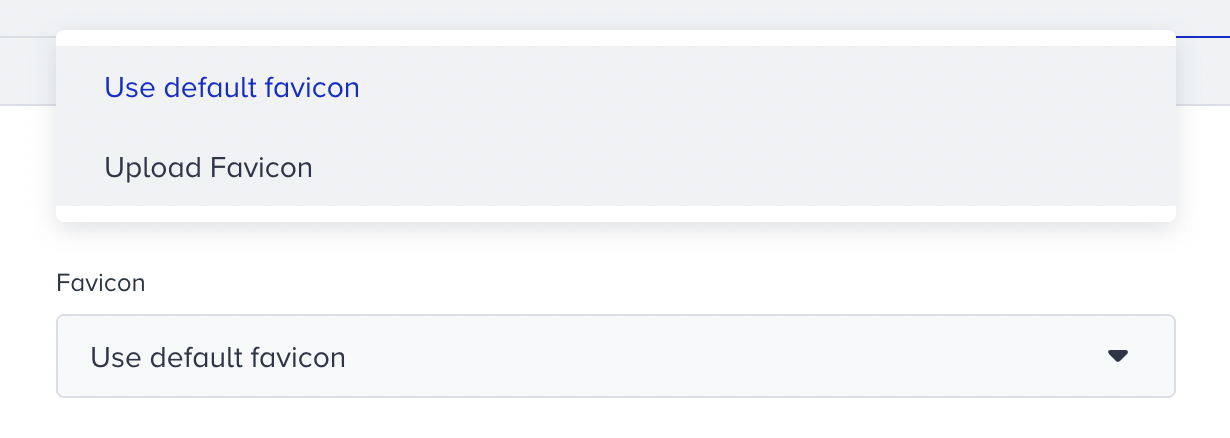
Favicon Area
Choose how the favicon appears in the tab while the campaign is active. Three options are available:
Default: Uses the existing favicon from your website.
Image upload: Upload a custom image. The image must be 32x32 pixels and under 500 KB.
Emoji: Select an emoji to display in the text tab.
Message
You can type your message here to show on your tab. Depending on the browser support, you can add emojis. It doesn't have font or text settings. We suggest writing a message that captures your users' attention and encourages them to return to your website.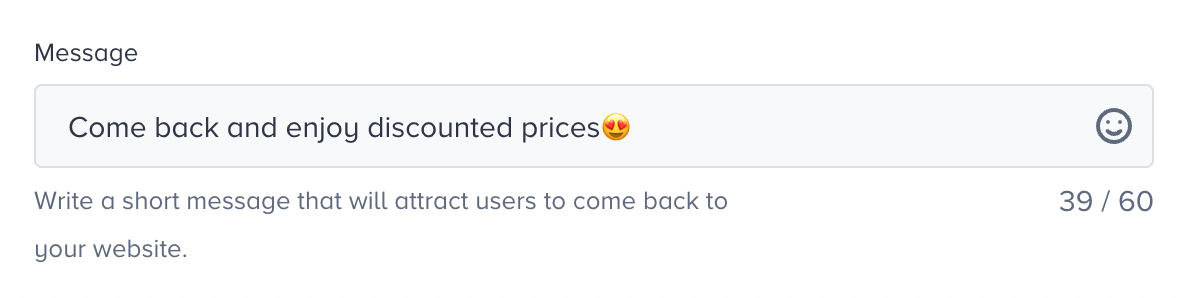
Animation Style
Enter the message that will appear in the browser tab. Emojis are supported depending on browser compatibility. Select how the message is displayed in the tab. Three animation styles are available:
Static Text: No animation. The message appears and stays fixed.
Moving Text: The message slides across the tab.
Blink Text: The message blinks on and off.
To run an A/B test, click Add Variation and allocate the traffic percentage between variations. To remove a variation, click Delete.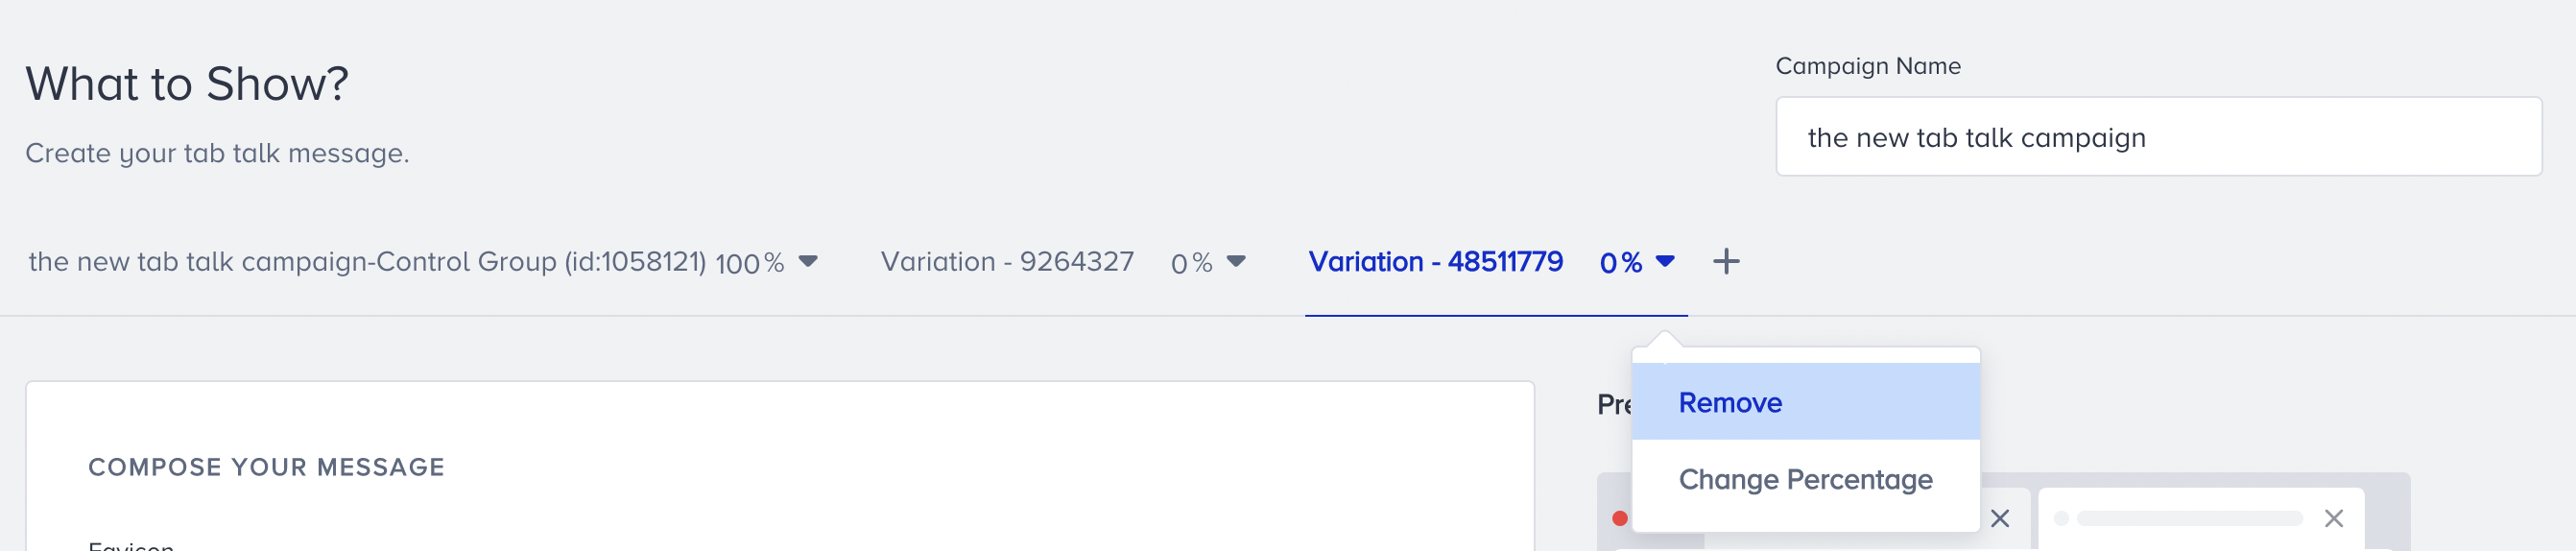
Click Save and Continue when you complete the message.
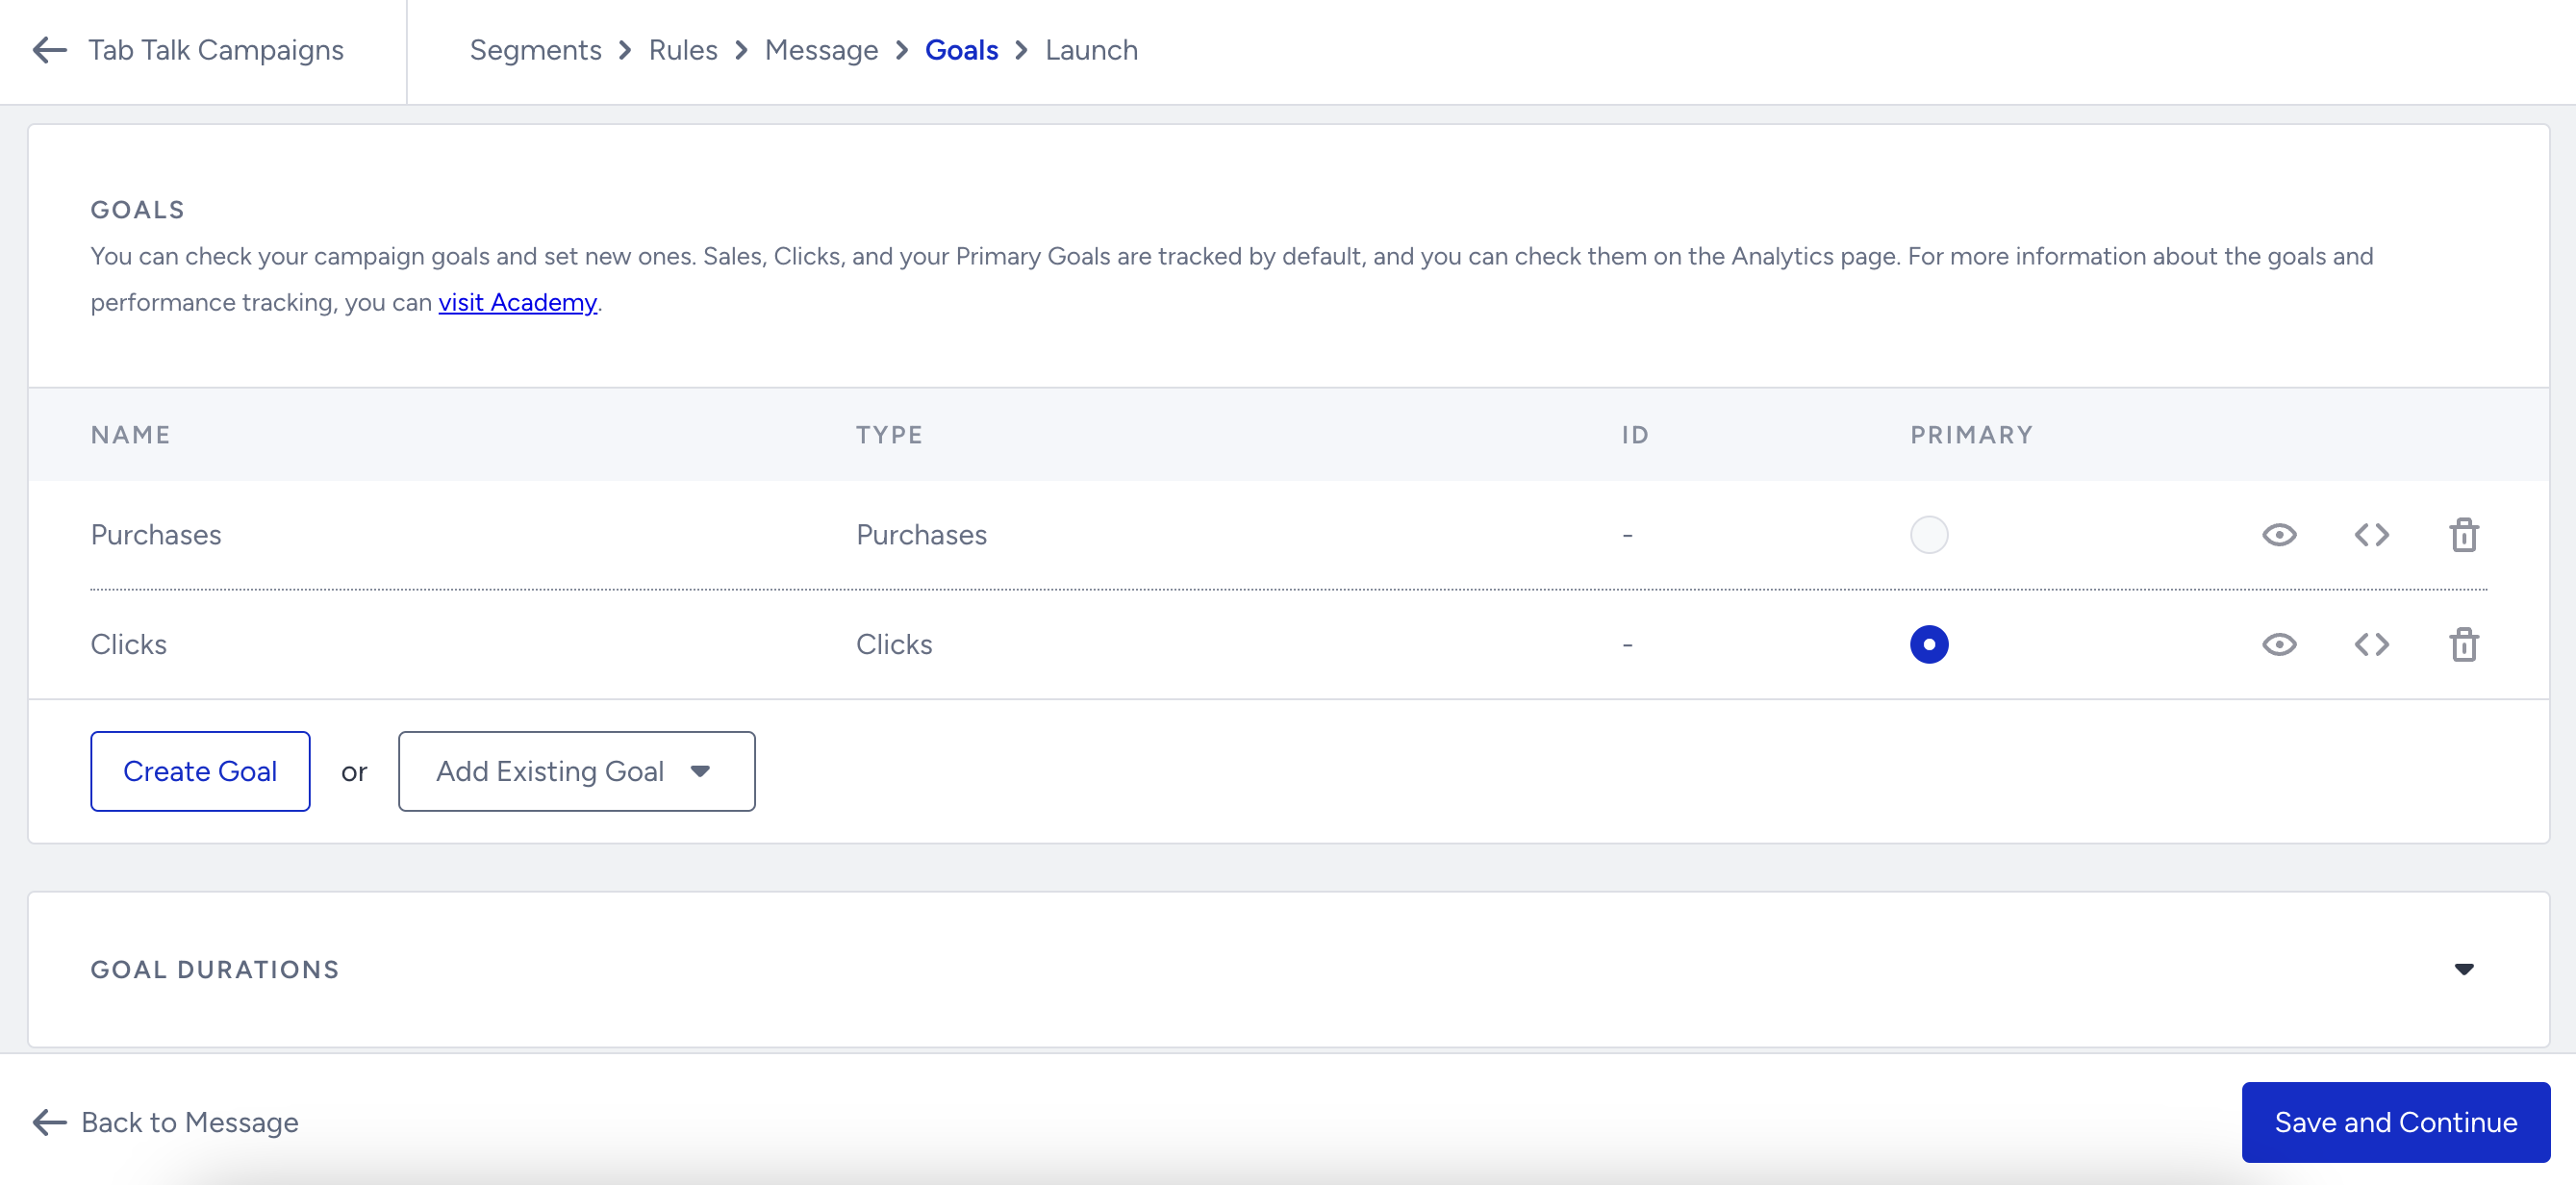
In the Goals step, you can check your campaign goals and set new ones to track campaign performance. Purchases, Clicks, and Primary Goals are tracked by default, and you can check them on the Analytics page.
You can also configure Goal Durations to define the conversion attribution window.
In the Launch step of your campaign,
Choose the language to show your campaign.
Activation time determines the period during which the message will be shown.
Under Display Settings, you can decide to show your campaign every day or on specific dates.
Advanced Settings help you get your campaign results periodically.
Decide on the Activation Status of your campaign. You can test it before going live.
You can take notes related to this campaign in the Notes area.

When all settings are confirmed, click Launch.
After launching, generate your InOne panel to publish the changes to your website.
Tab Talk does not affect SEO scores.