To reach Category Optimizer, navigate to Campaigns > Optimization > Category Optimizer.
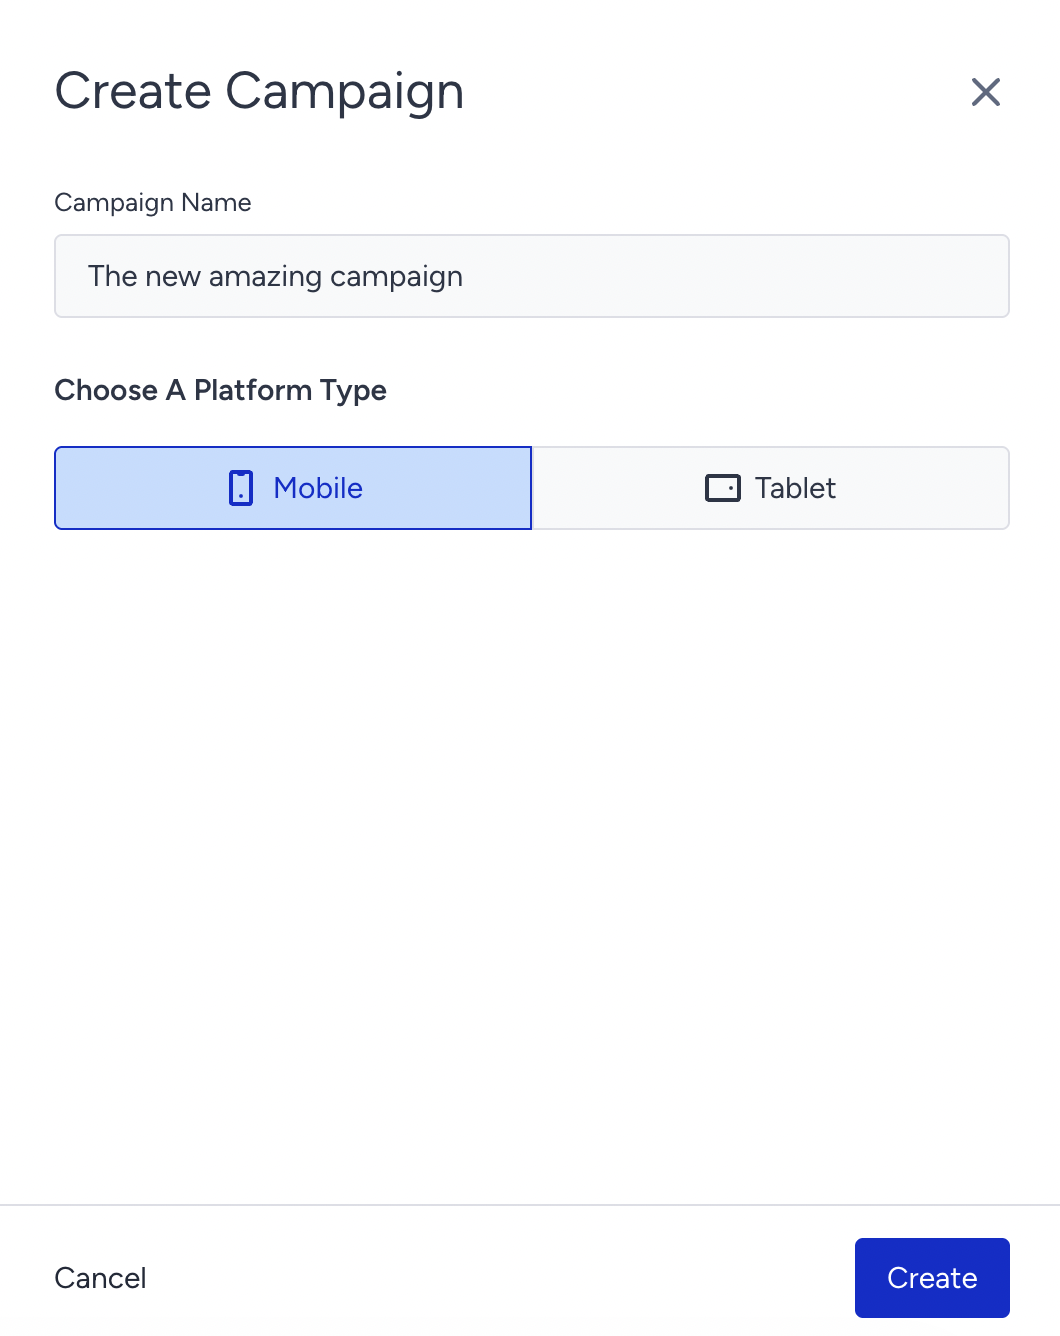
Click Create to set your Category Optimizer. After naming it and choosing the platform, click the Create button.
Configure Segments to target your audience and Rules to show your campaign.
In the Design step, choose your type to reorganize your menu listings and categories.
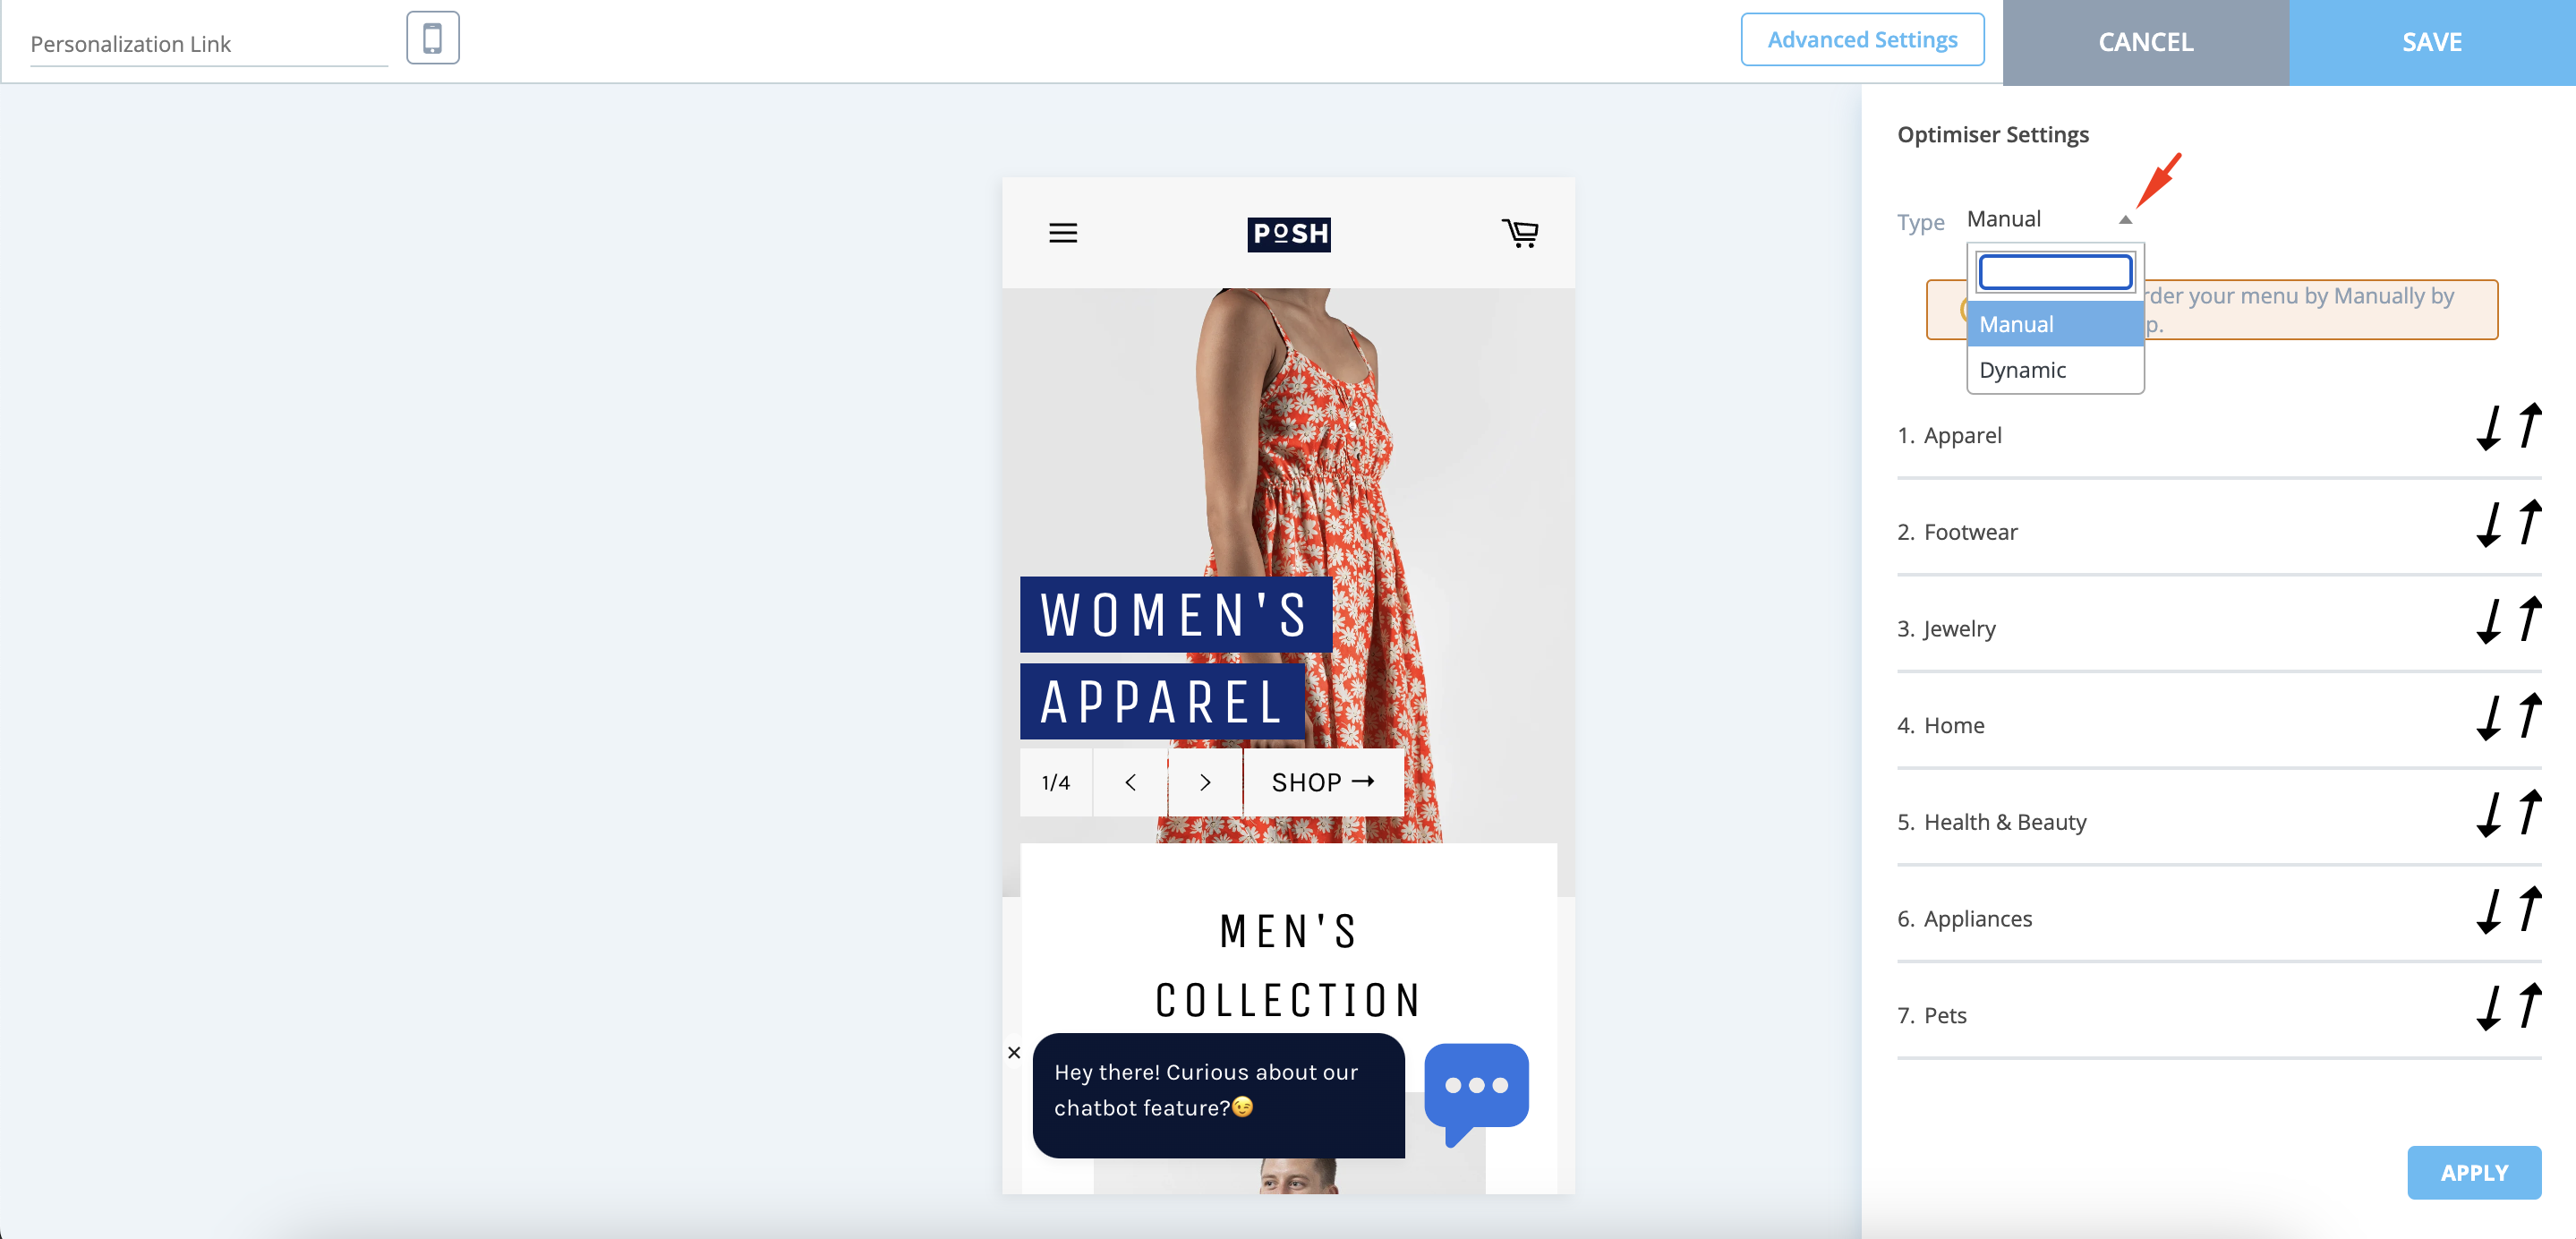
Optimizer Settings helps you manually or dynamically optimize the navigation bar.
Navigation List helps you re-order your menu manually via drag-and-drop.
Apply your changes in the design step.
Continue with Goals to track the performance of your campaign.
In the Launch step, choose the language for your campaign, set the start/end dates to determine the time period, select the display time to specify the day(s) your campaign will appear, and choose the activation status to start it. If you save it in Test mode, you can test it using the test link on the listing page.
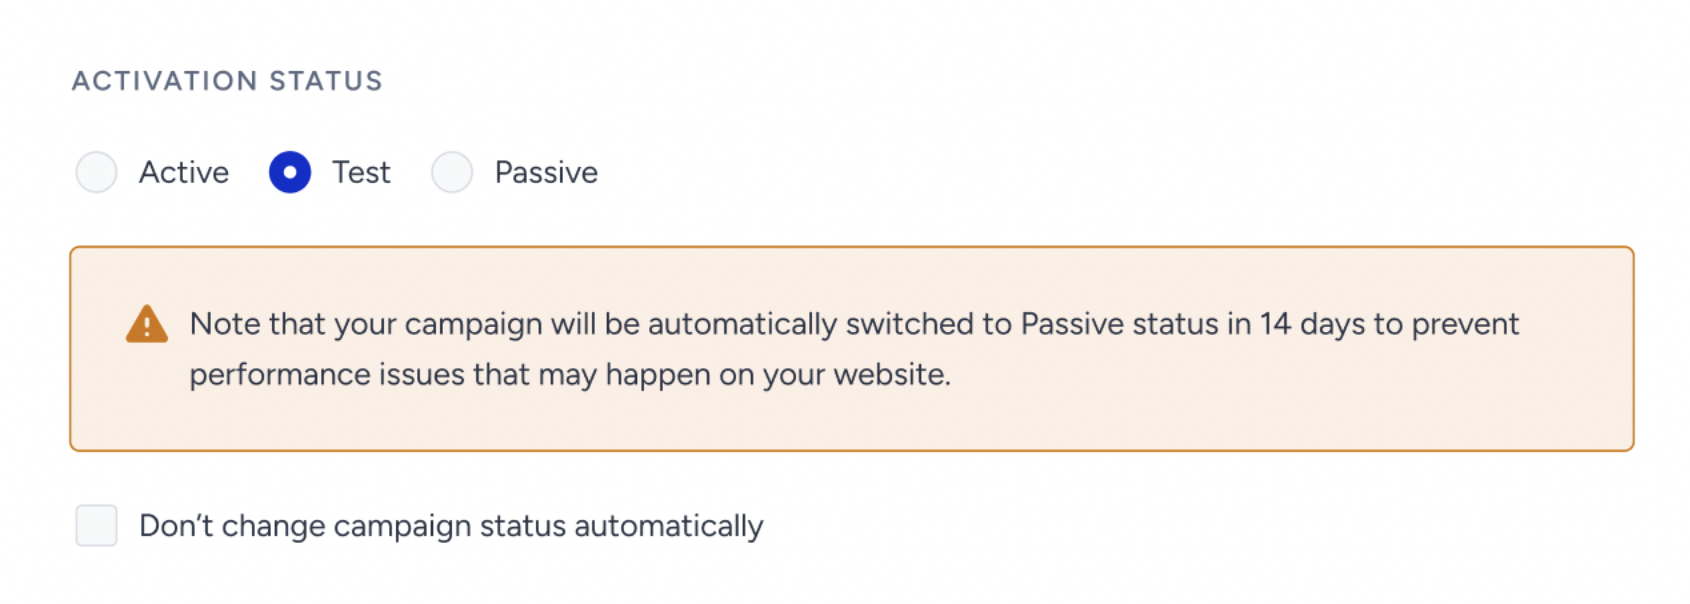
As of February 19th, 2025, Test campaigns will be automatically deactivated after 14 days if their status is not updated. To prevent this, you can select the appropriate option in the Launch step.
This change applies only to newly created campaigns. Existing campaigns will not be affected.
When selecting the Test status in the Launch step, a warning message will indicate that the campaign will be deactivated in 14 days.
To disable automatic deactivation, simply check the box below the warning.
For campaigns that remain in Test status beyond 14 days, an informational message will appear in the Details Modal on the listing page.
Once your campaign configurations are ready, launch your campaign.
Category Optimizer does not work in subcategories.