Requirements
To start using the carousel push, you need to complete the following requirements.
- Integrate the basic SDK version for Android
- Complete the Advanced Push Notification integration steps for iOS
- The mobile push opt-in must be true for the user to receive app push notifications.
- Your account must have at least one certificate uploaded.
Use Cases
To get a better understanding of how and when to use carousel app pushes, refer to Use Cases for Carousel App Push.
A carousel push enables you to offer multiple items in one single push notification. You can create instant campaigns without any automation.
You should complete the following steps to launch a campaign with the carousel push:
- Create a campaign
- Select a segment
- Design your message
- Test your campaign
- Select goals
- Configure the launch
- Check analytics
1. Create a campaign
You can follow the steps listed below to create a carousel app push campaign.
1. Navigate to Experience > Message > App Push.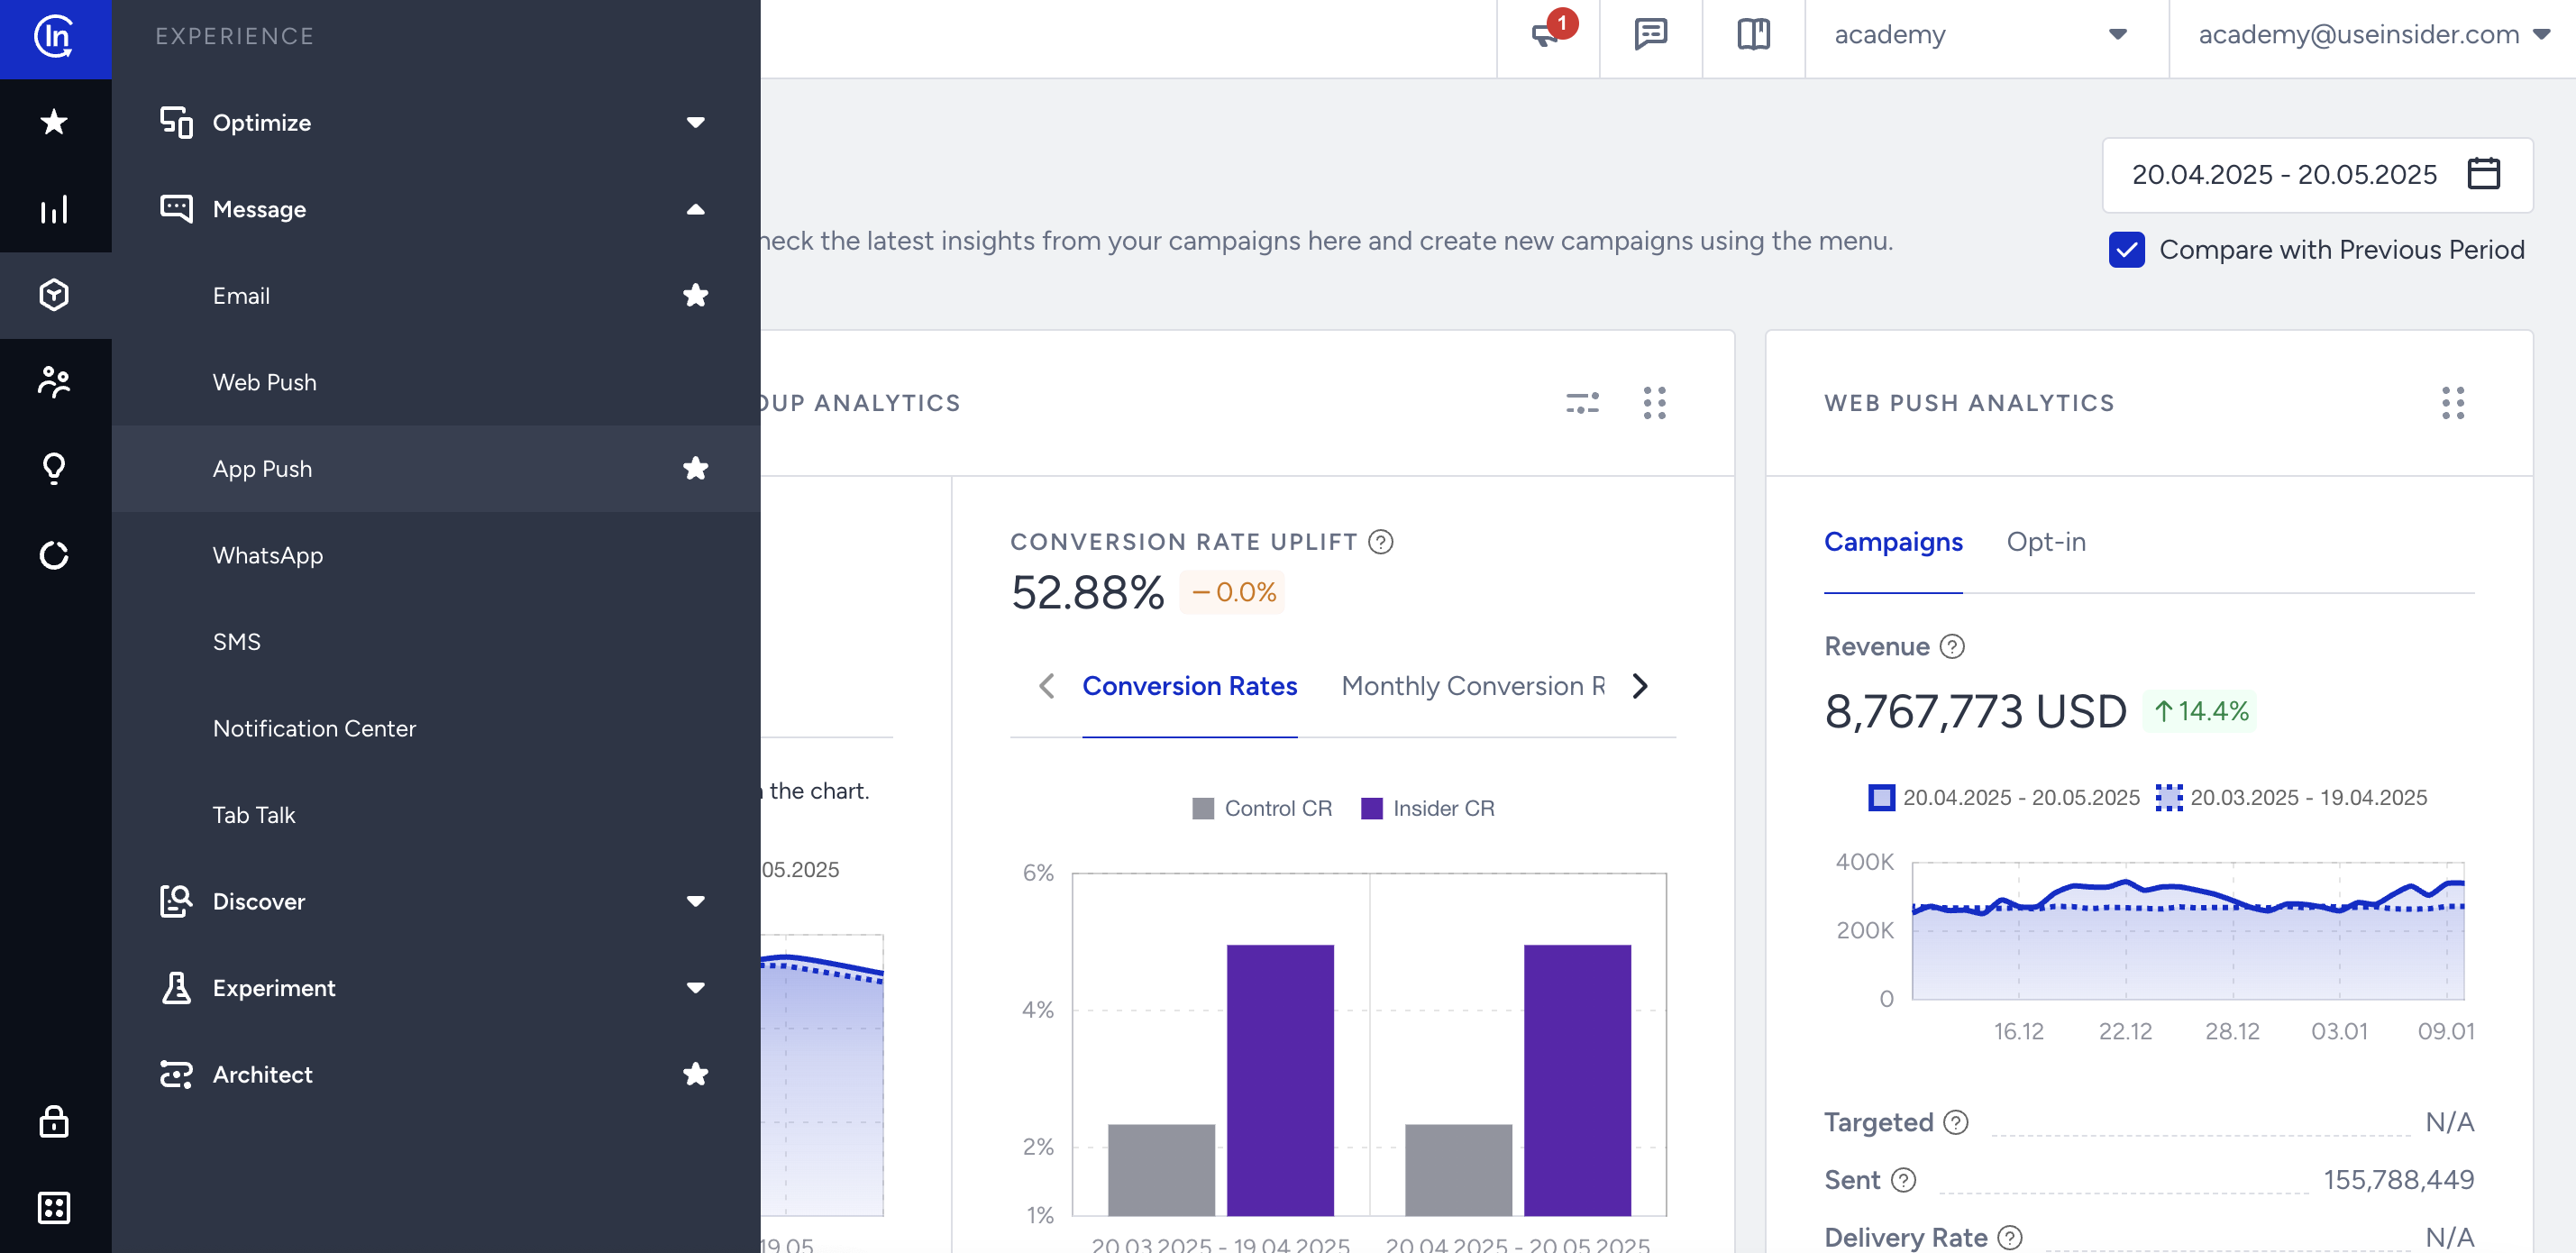
2. Click the Create button to start creating your campaign.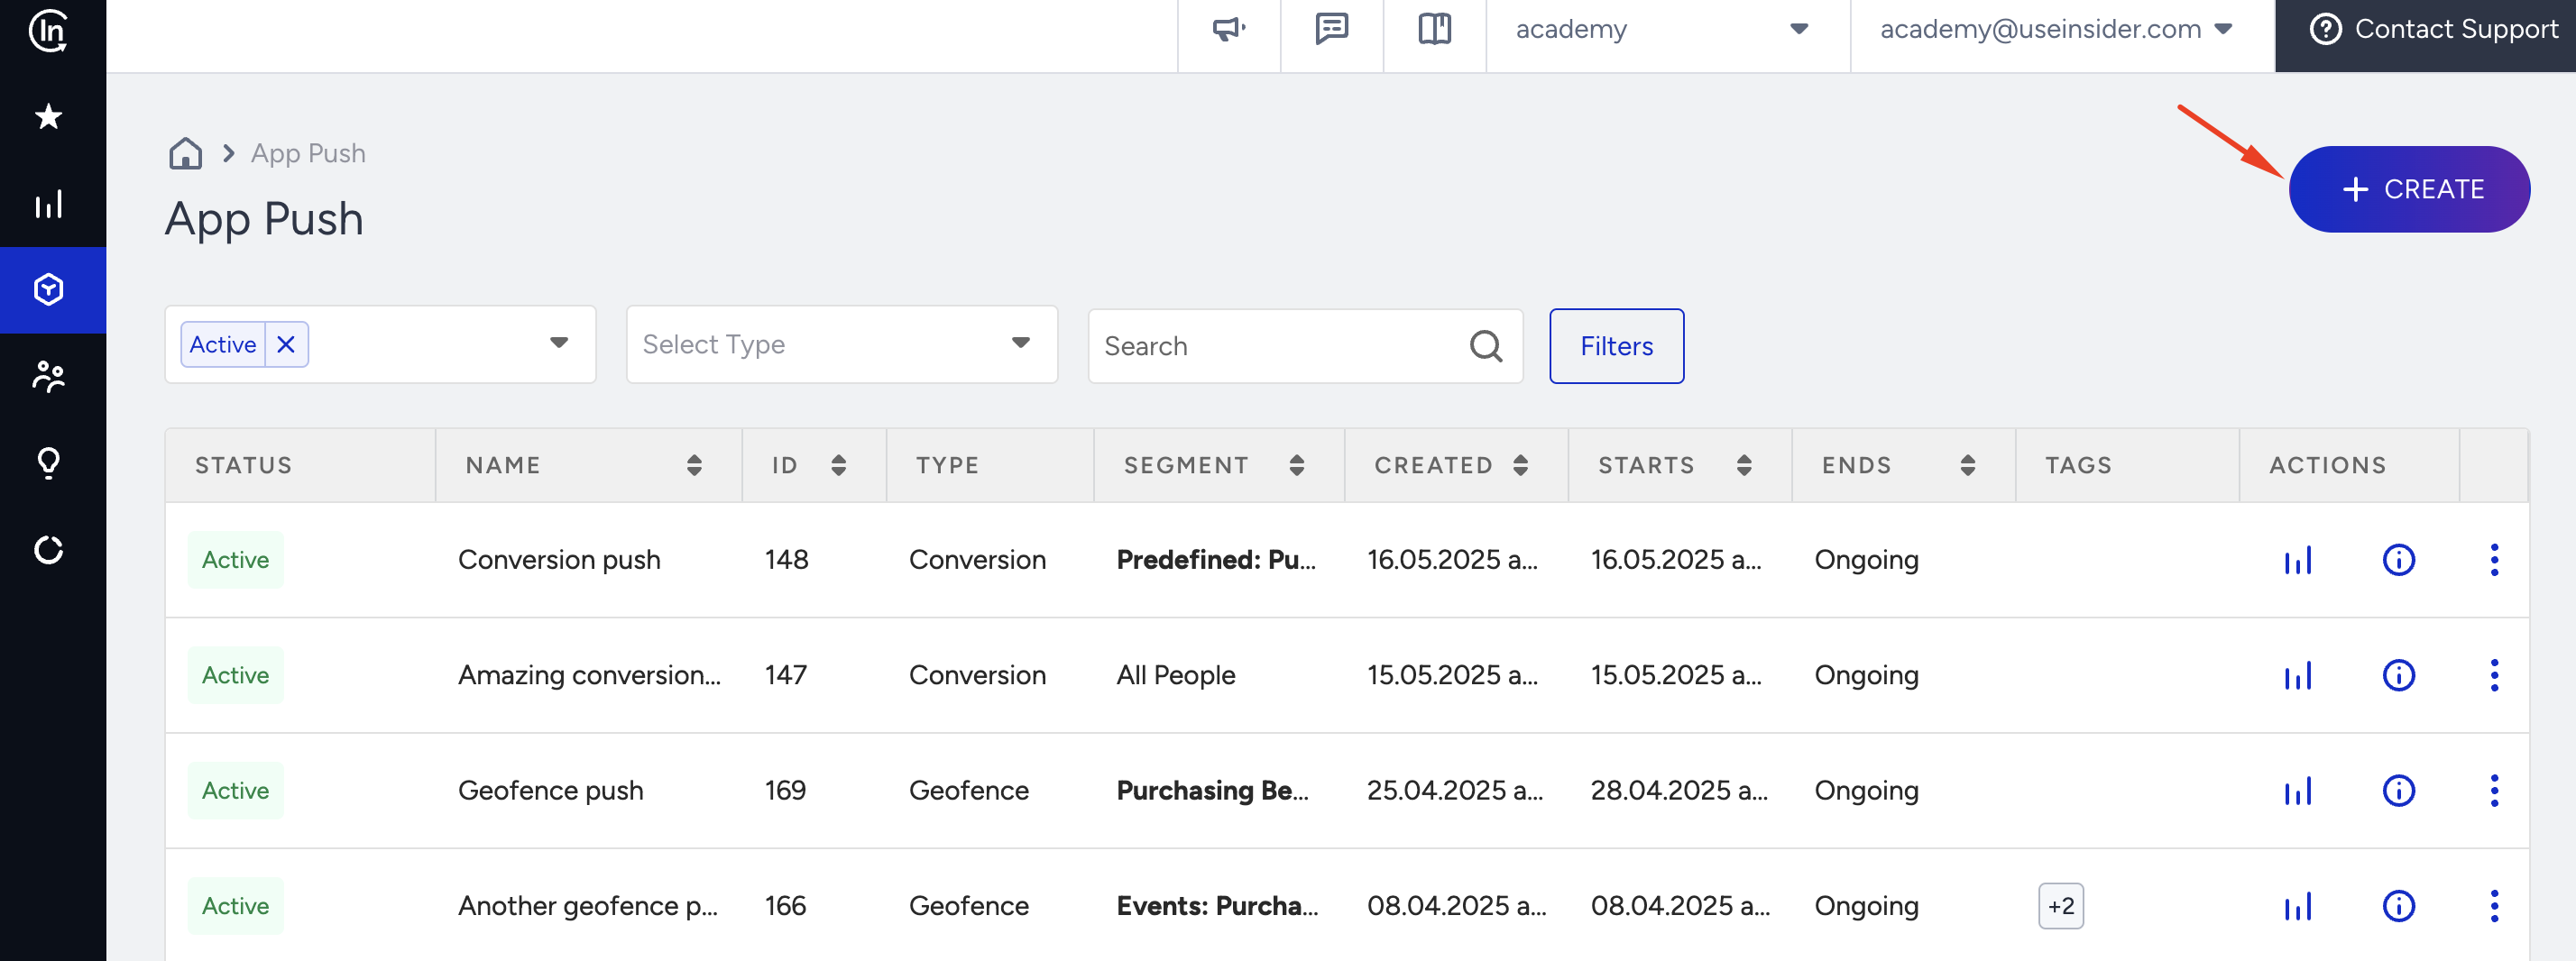
3. Select the Single push and click the Create button.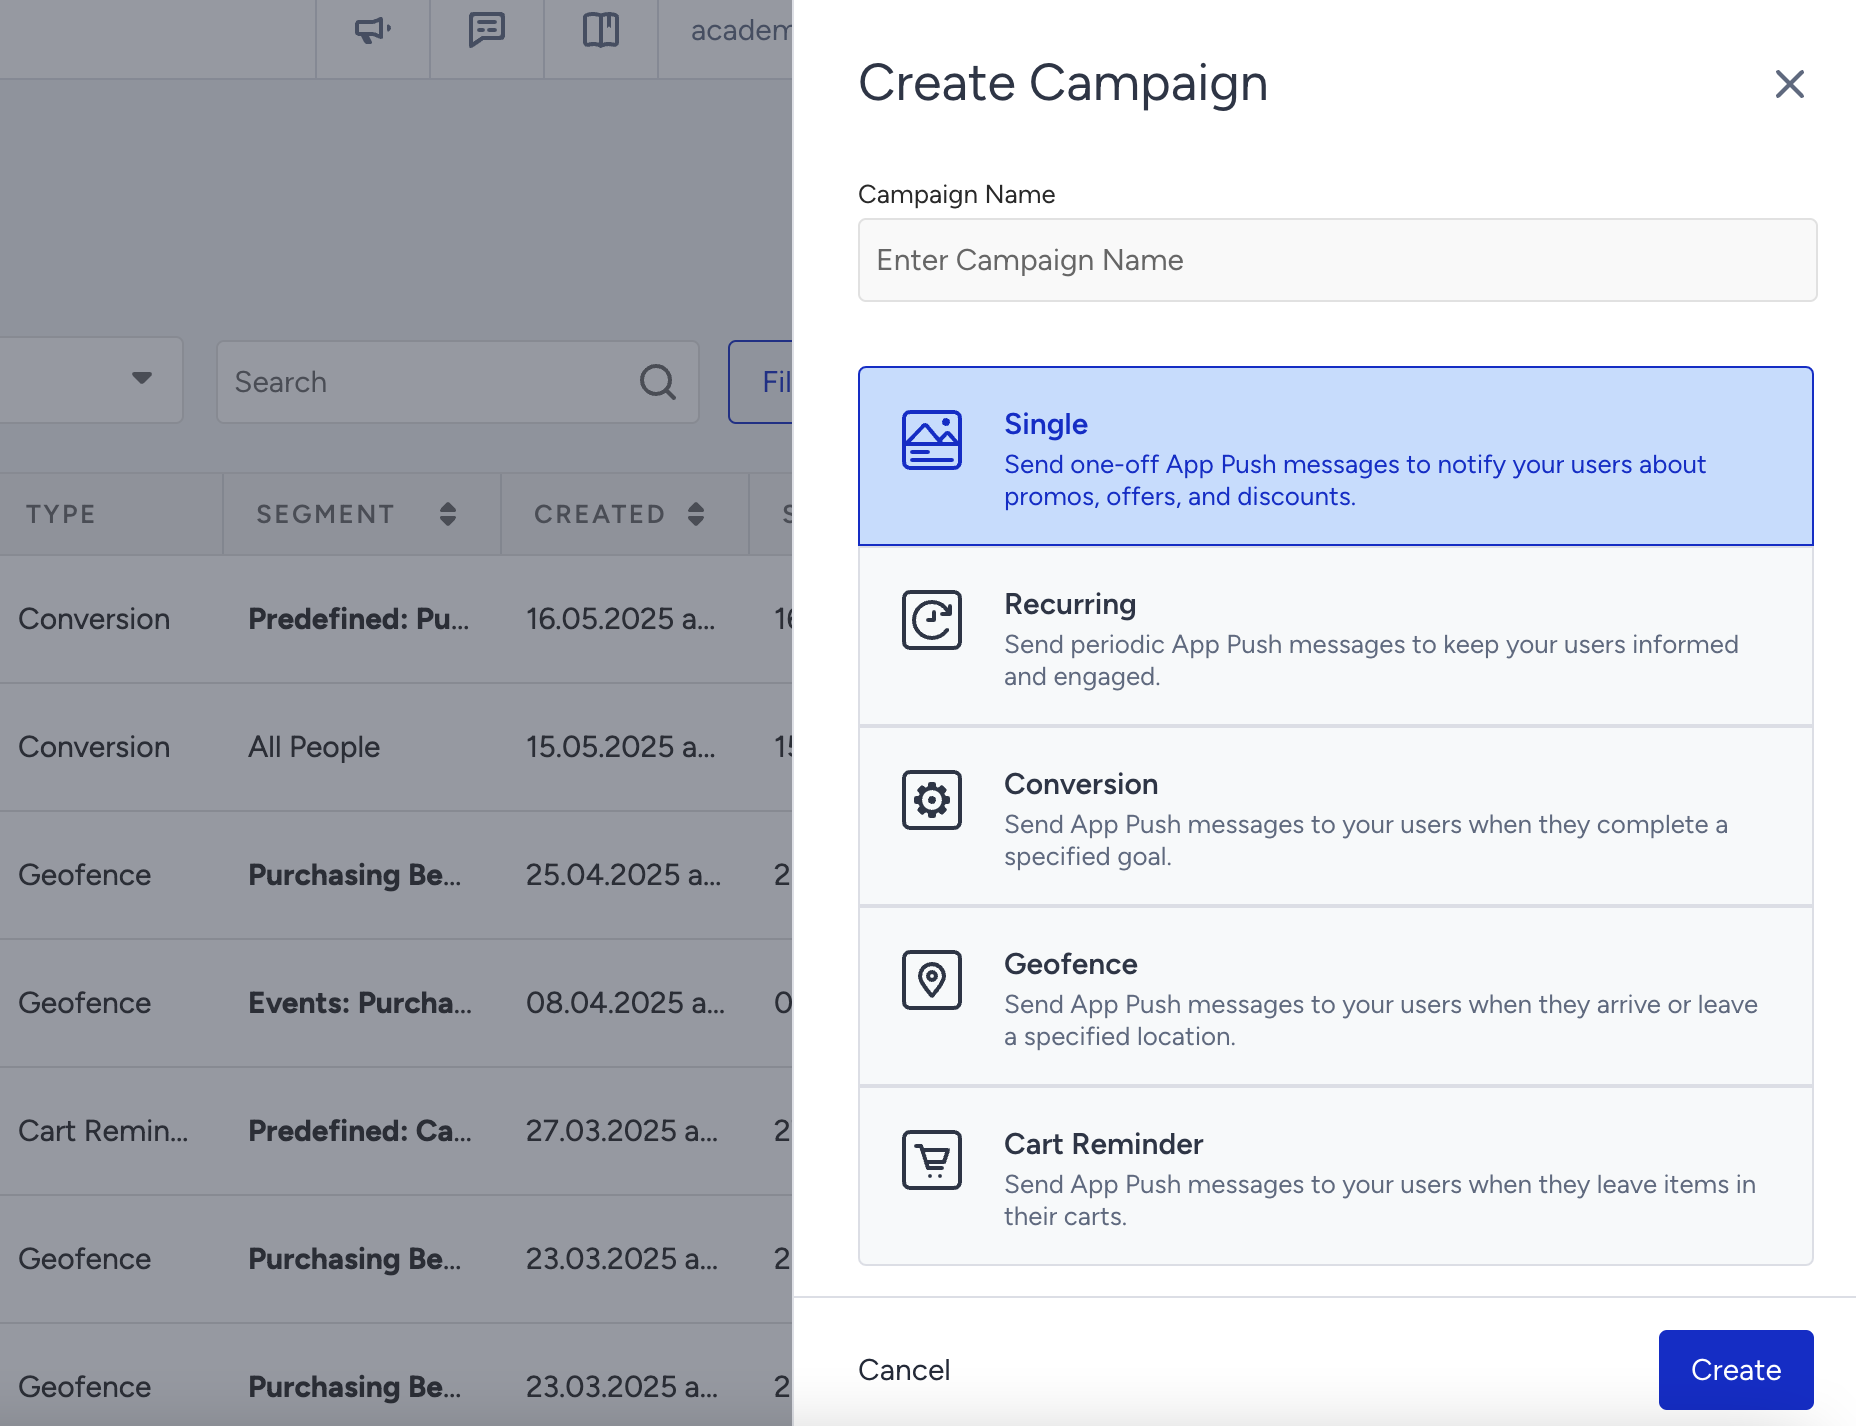
2. Select a segment
To select the group of users to send your push notification to, refer to Segments to see the steps that you should complete.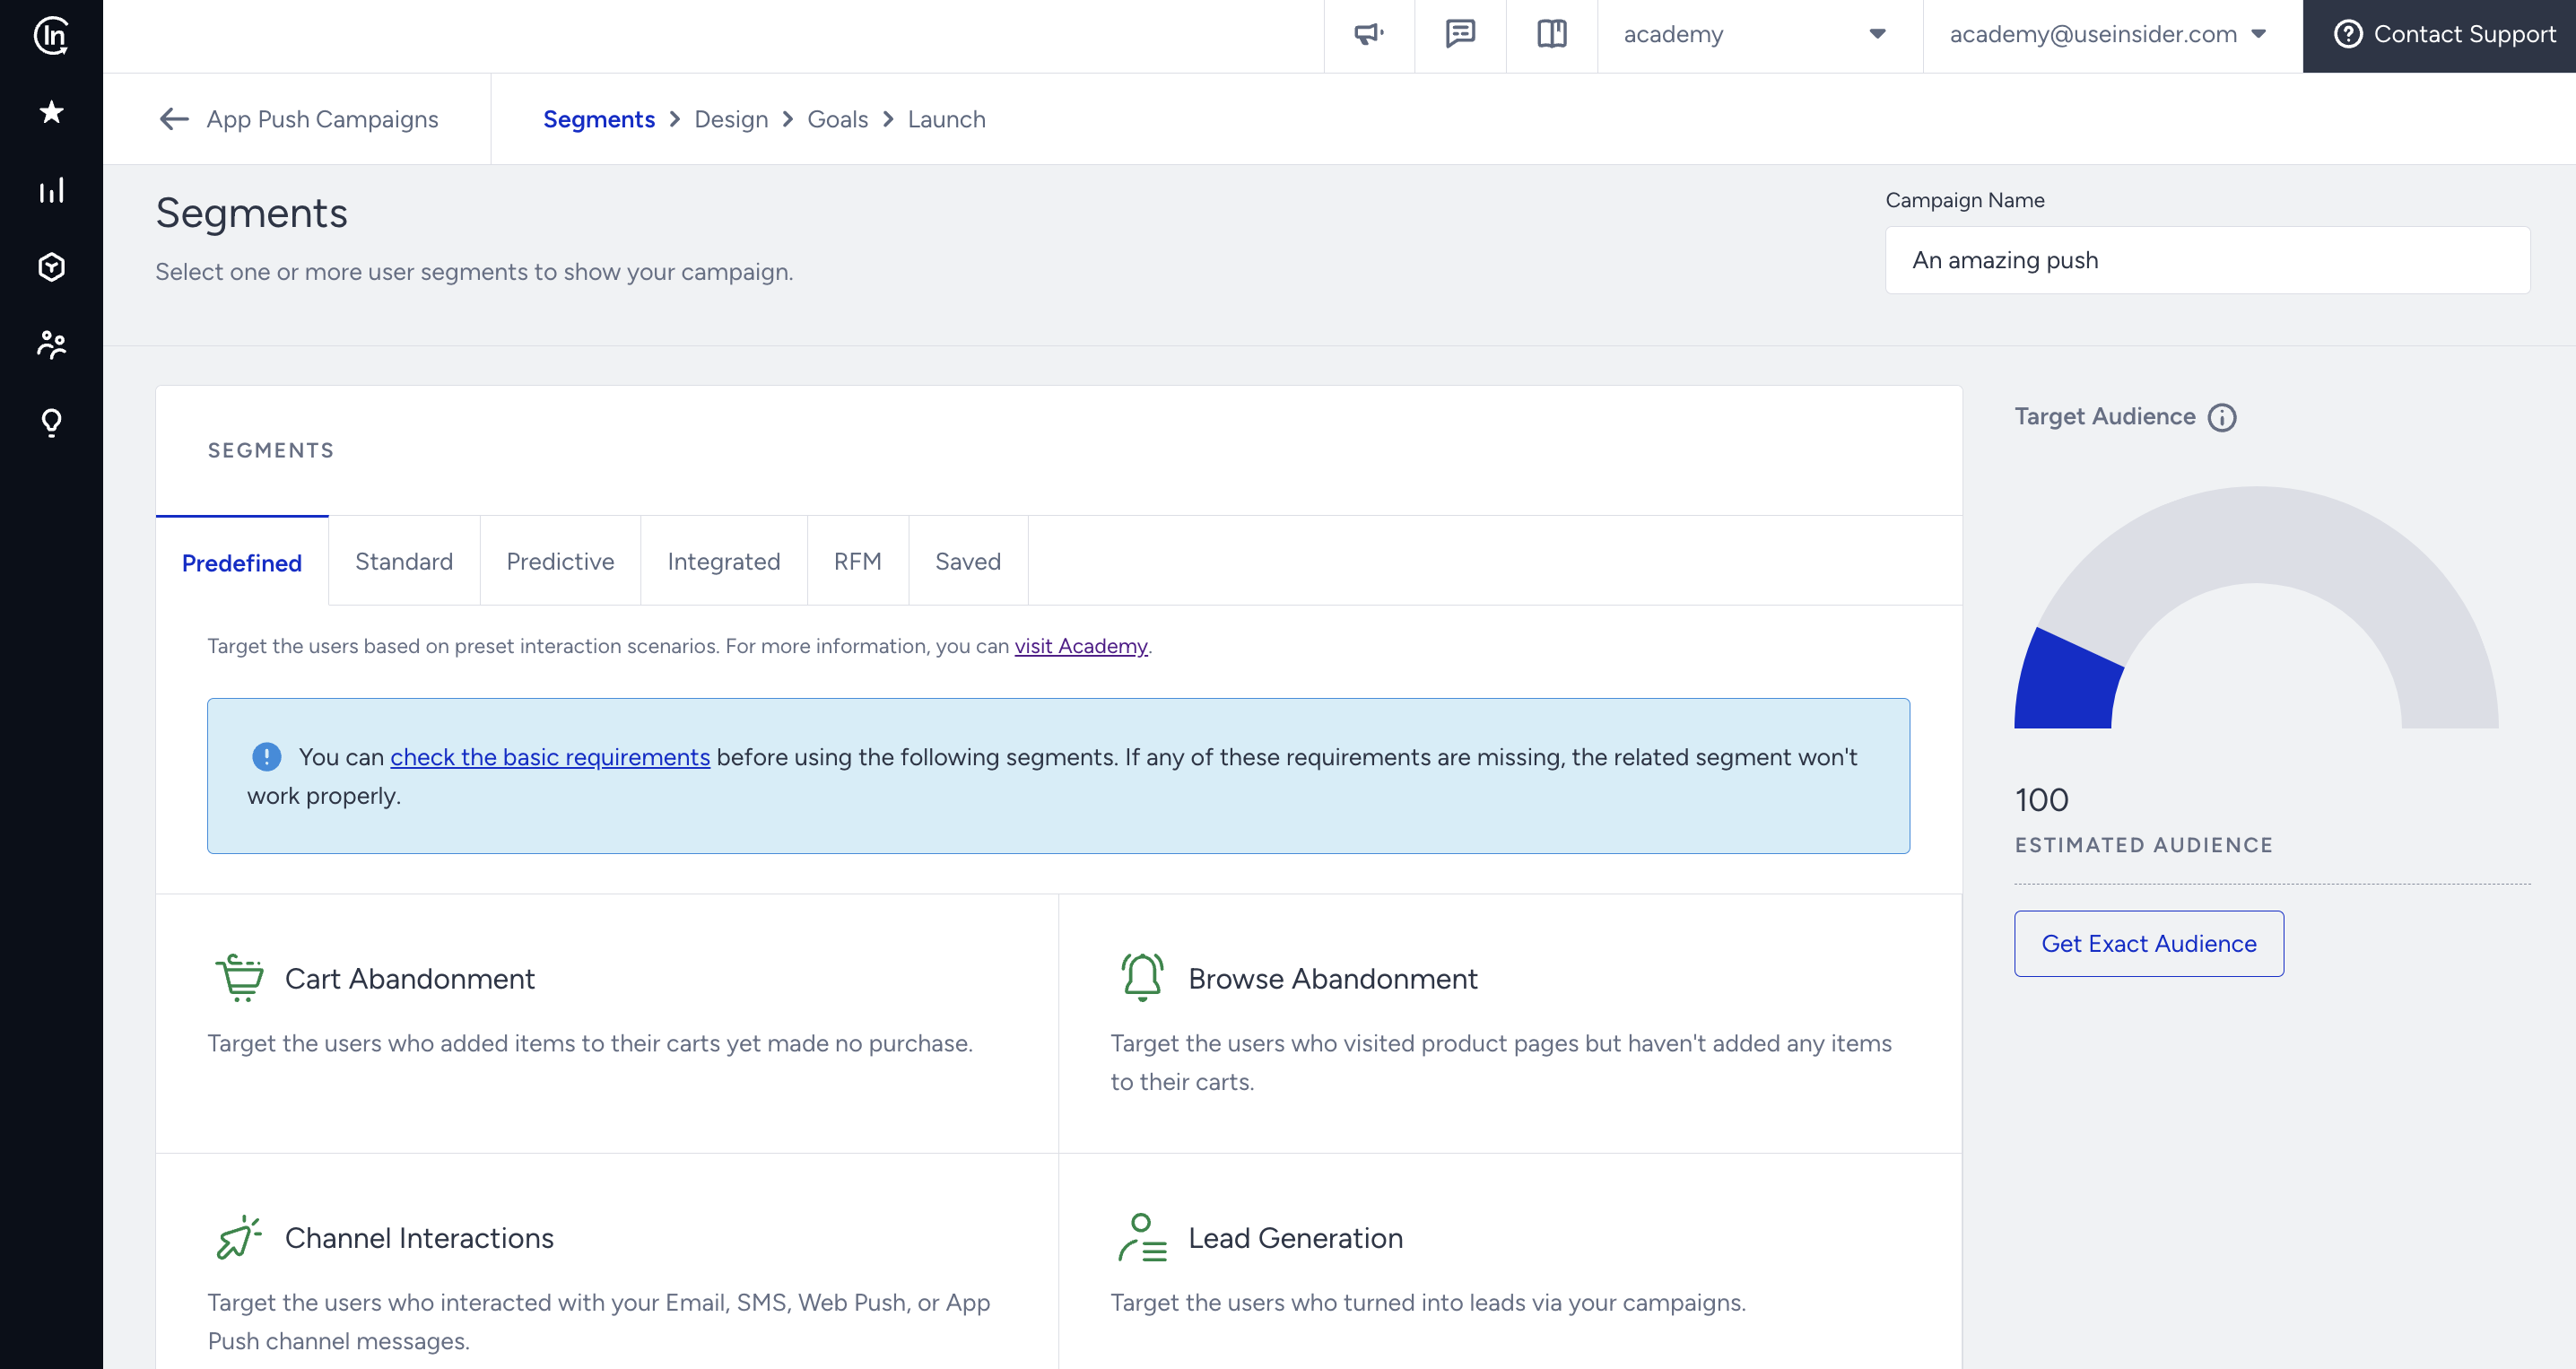
You can select from Predefined Segments, Standard Segments, Predictive Segments, Integrated Segments, RFM Segments, and Saved Segments.
3. Design your message
3.1. Select the Carousel message layout.
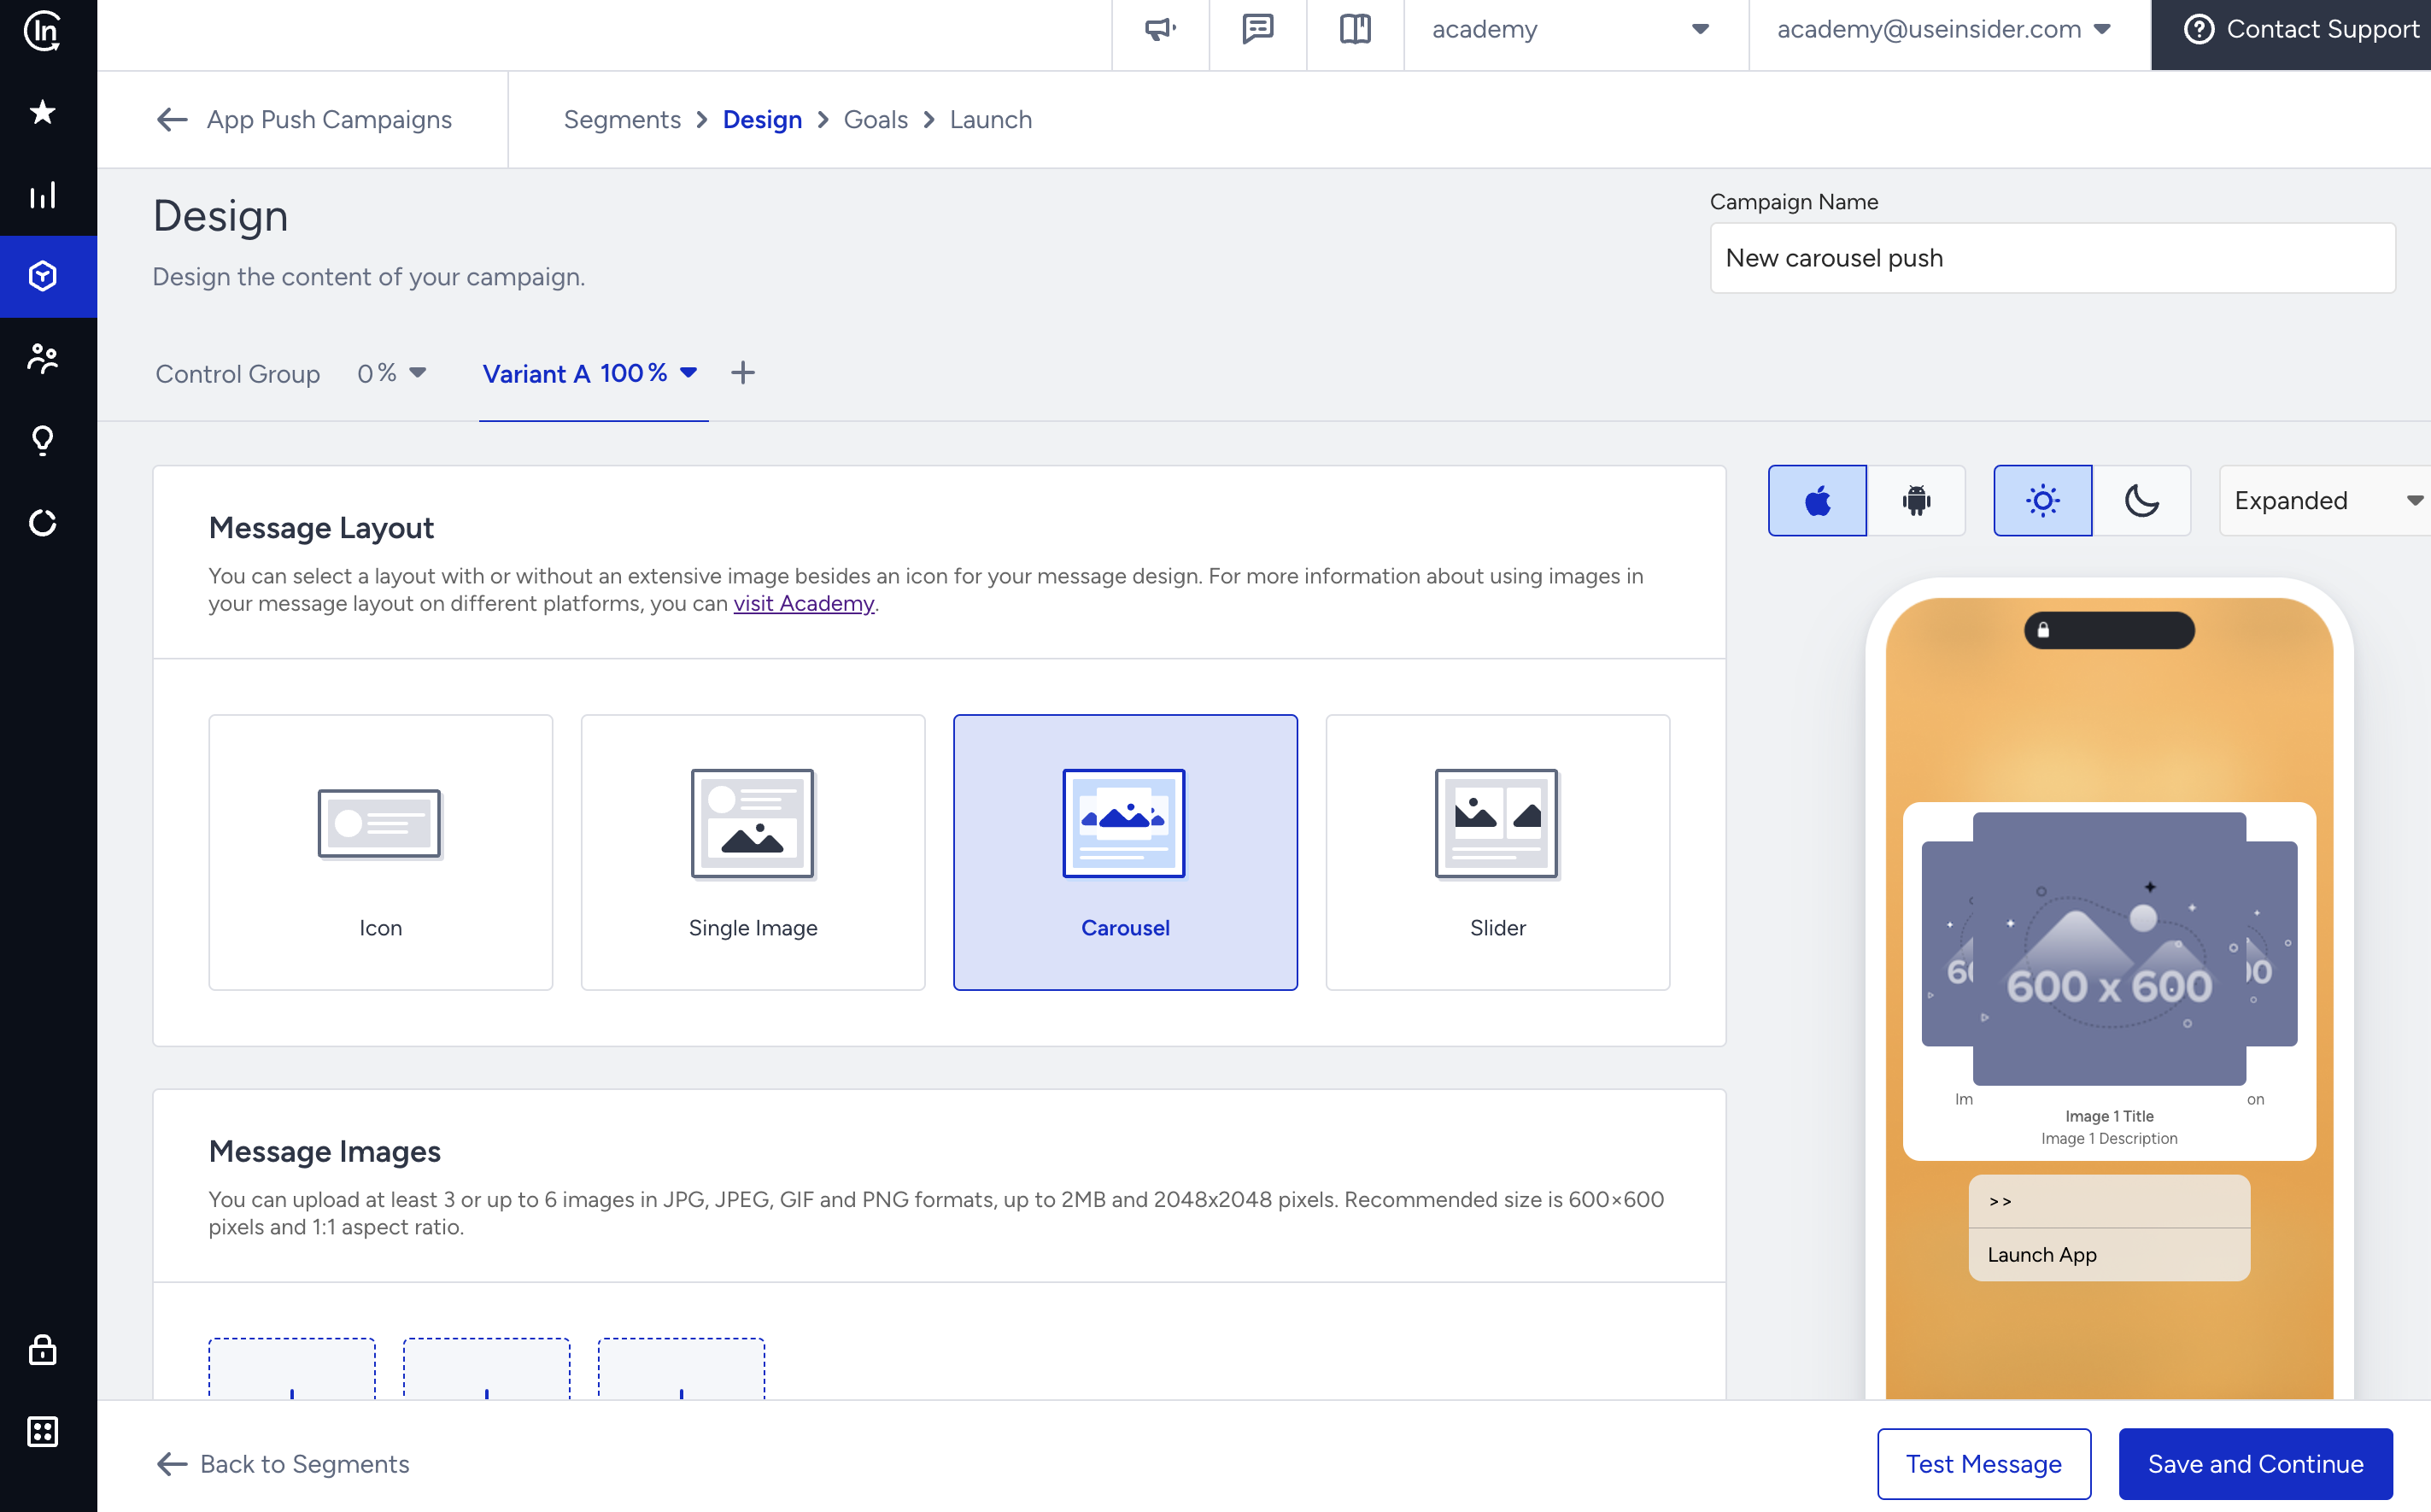
Fill out the Message Title and Message Description fields.
.png)
3.2. Click the Upload Image button to add your images to the carousel push. You can upload at least 3 or up to 6 images in JPG, JPEG, GIF, and PNG formats, up to 2MB and 2048x2048 pixels. The recommended size is 600x600 pixels and 1:1 aspect ratio.
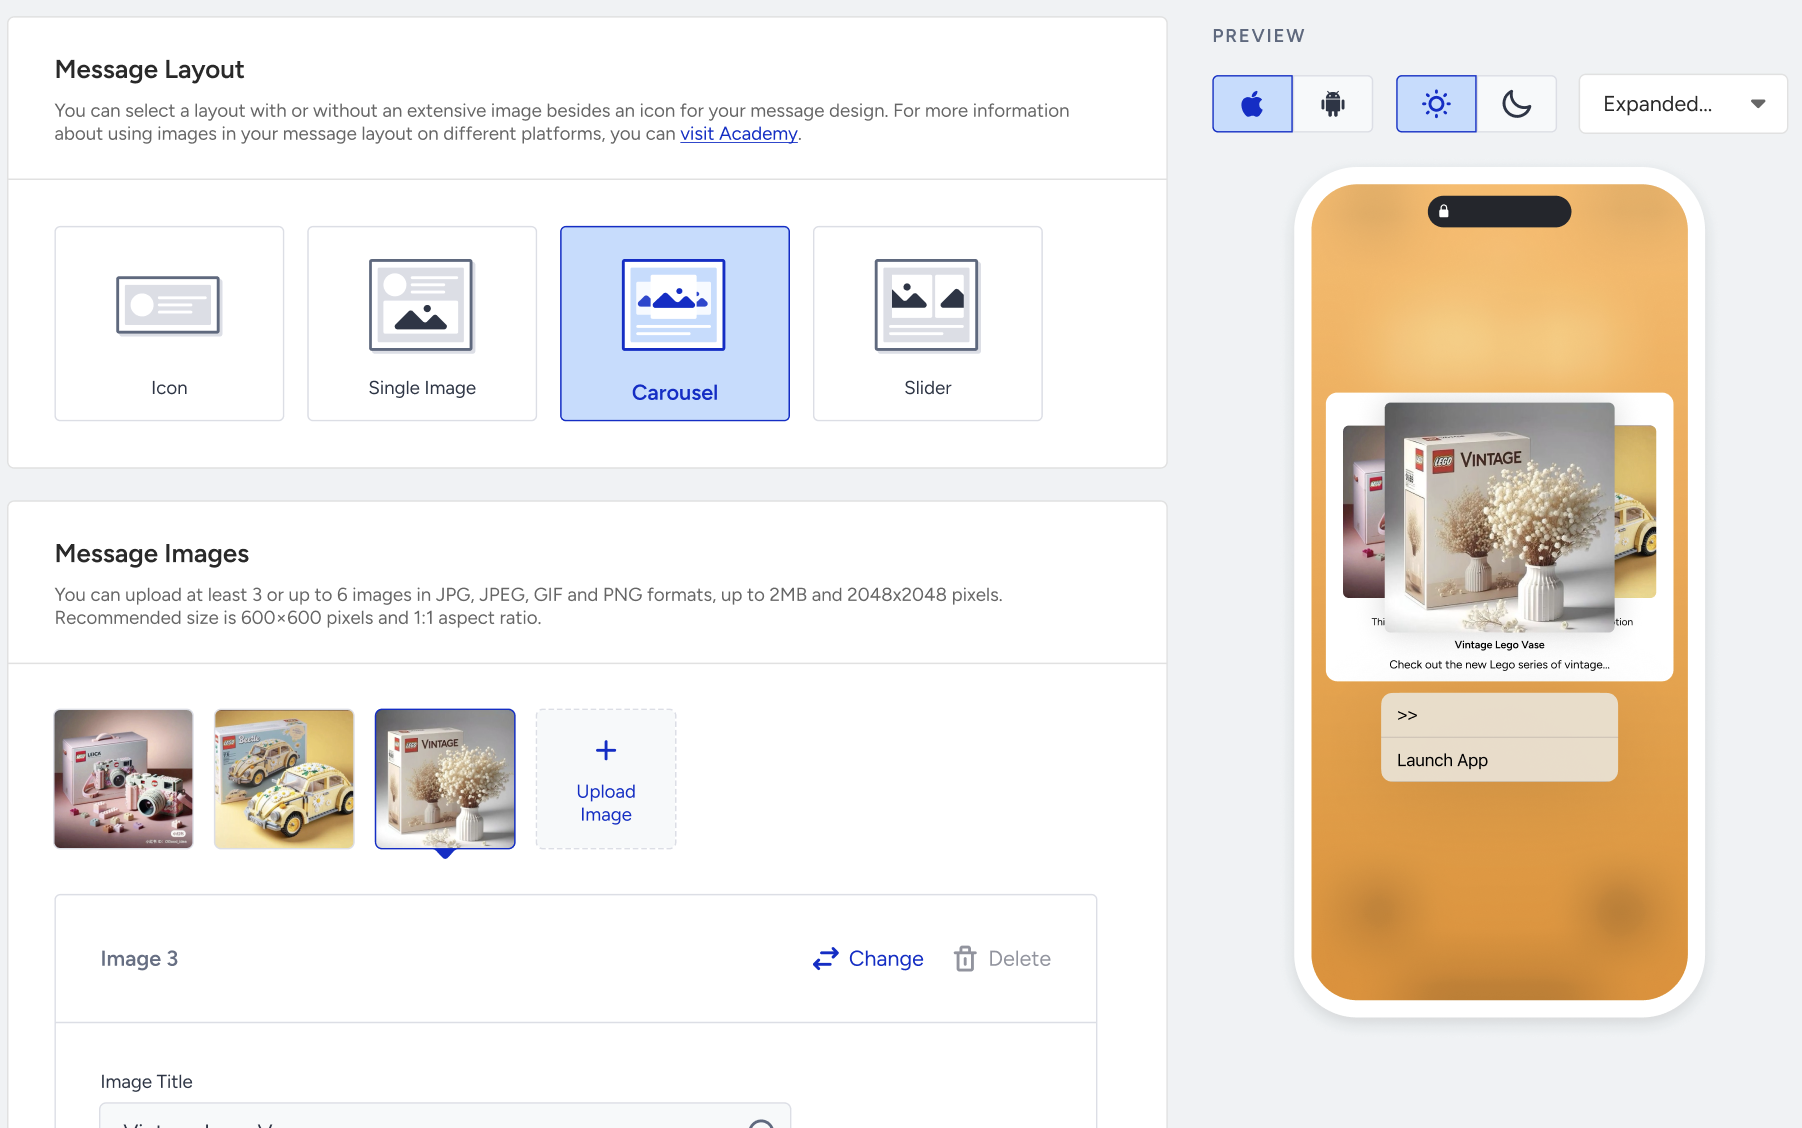
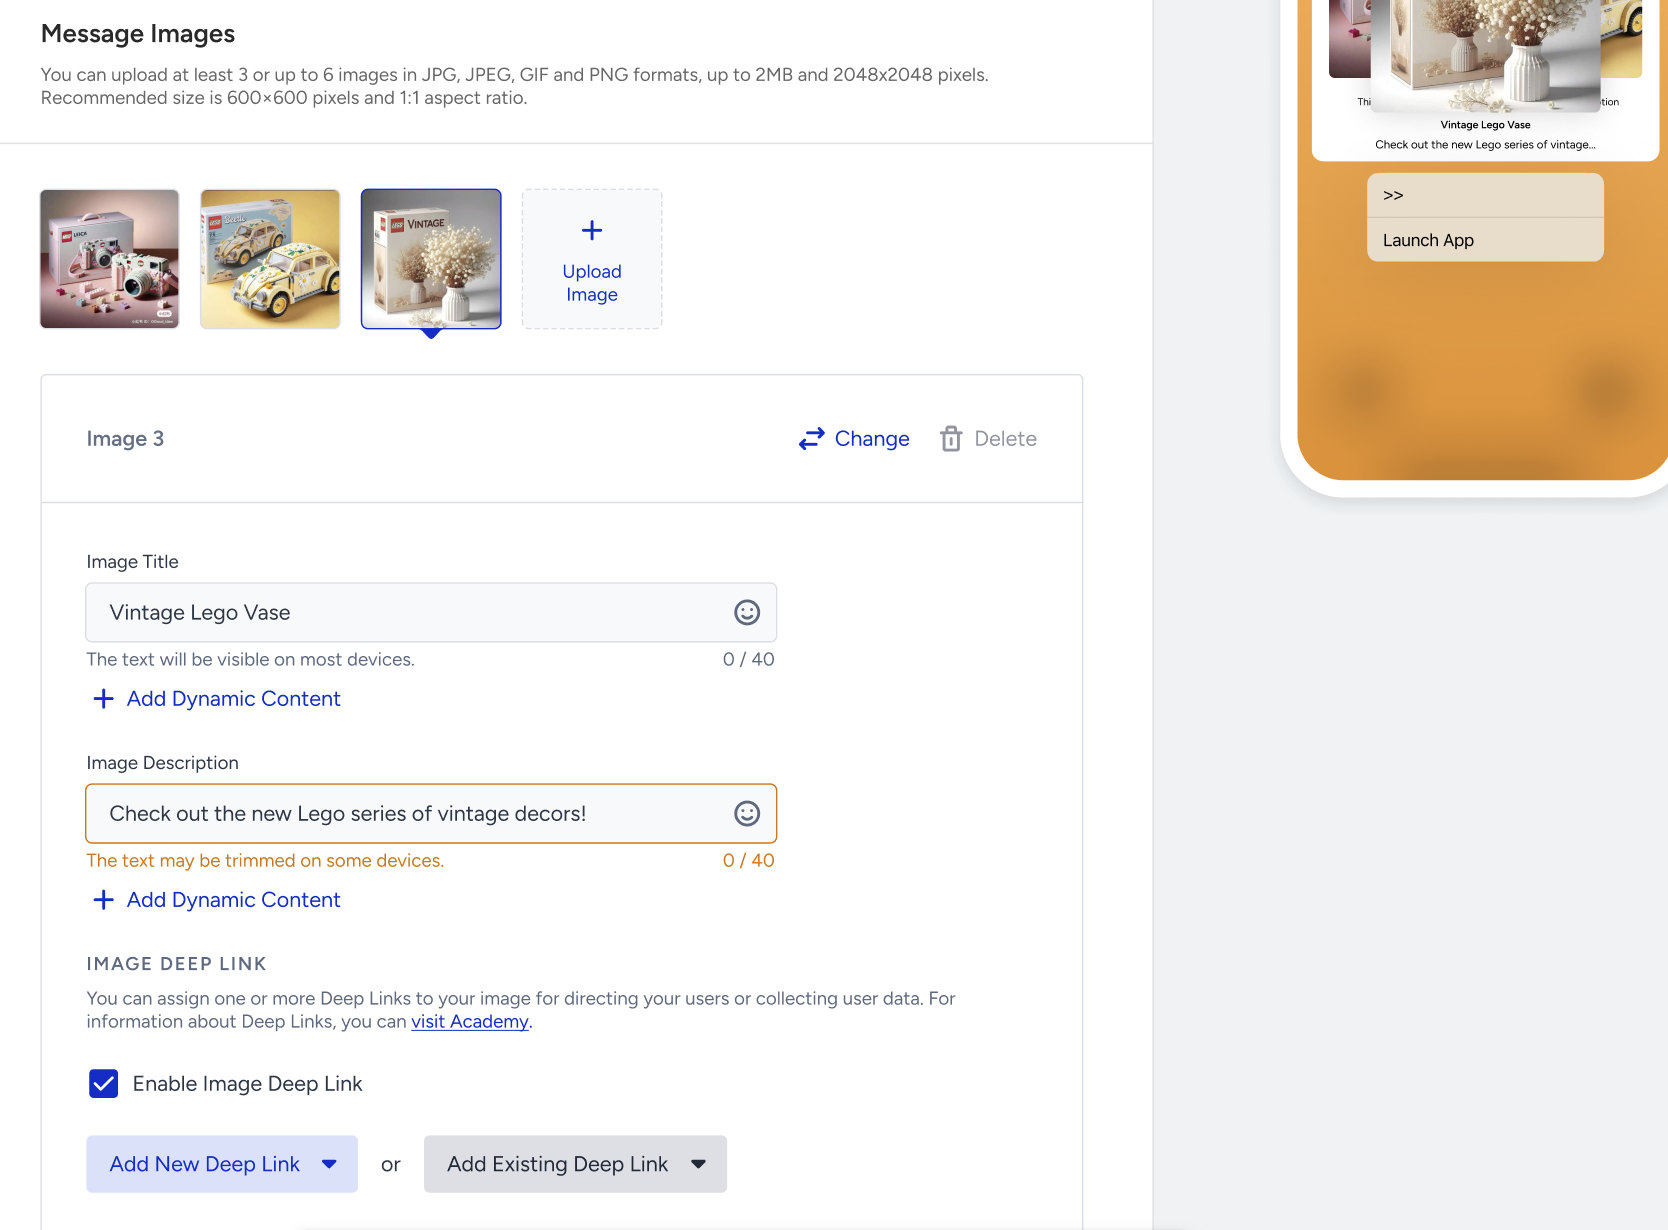
3.3. For each image, fill out the Message Title and Message Description fields.
3.4. With the Add Dynamic Content button right below the input areas, you can use the user attributes to personalize your message content for each user. You can insert the selected attribute where your typing cursor is.
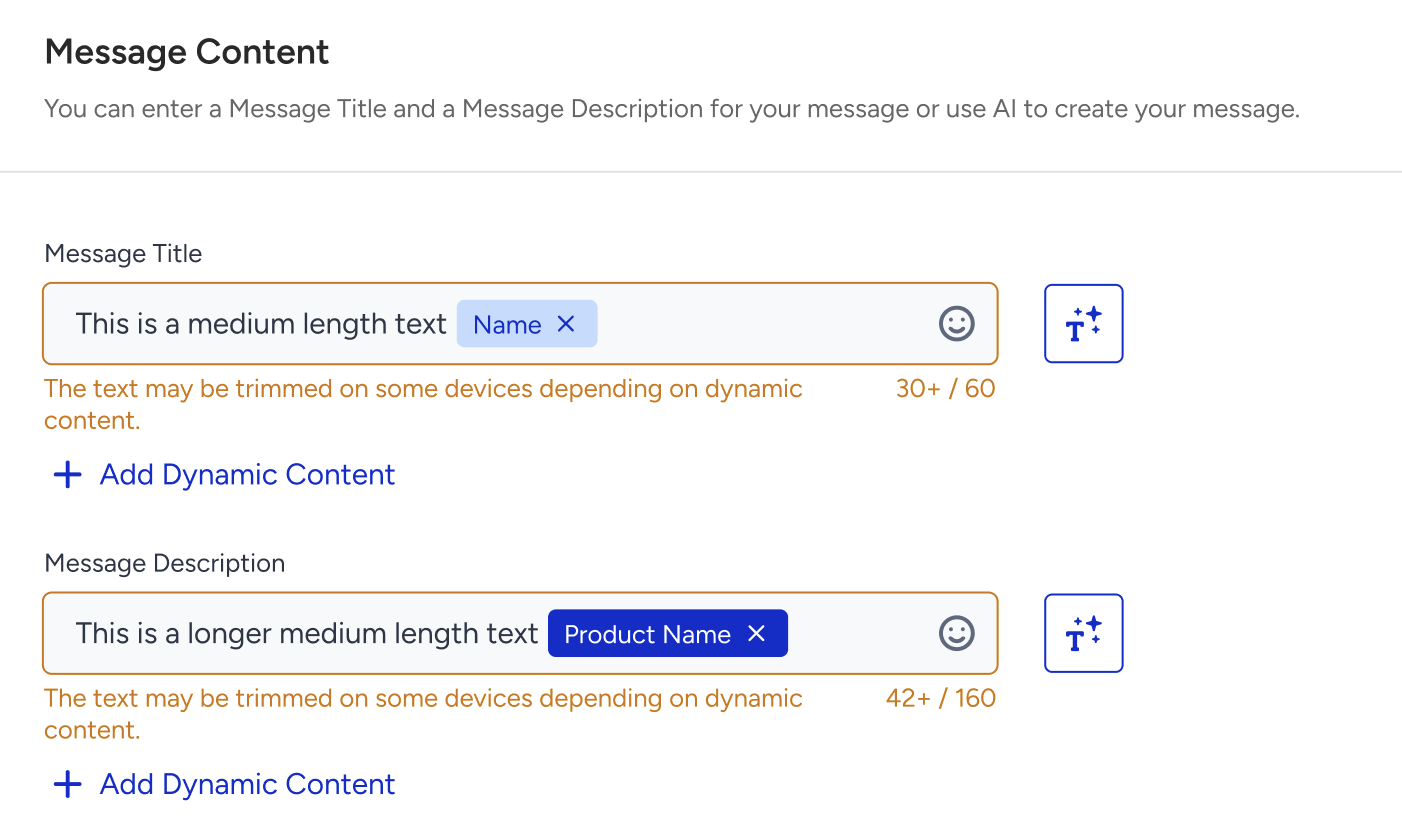
Click the emoji button against the Title and Message input areas to add emojis.
To use an AI-generated text:
1. Click the Generate Text button to see the side modal.
2. Enter a prompt you want to generate the text about.
3. The language option will be the default selected language of your panel.
4. Select your industry and use case to define the context for the text to be generated.
5. Click the Generate Copy button.
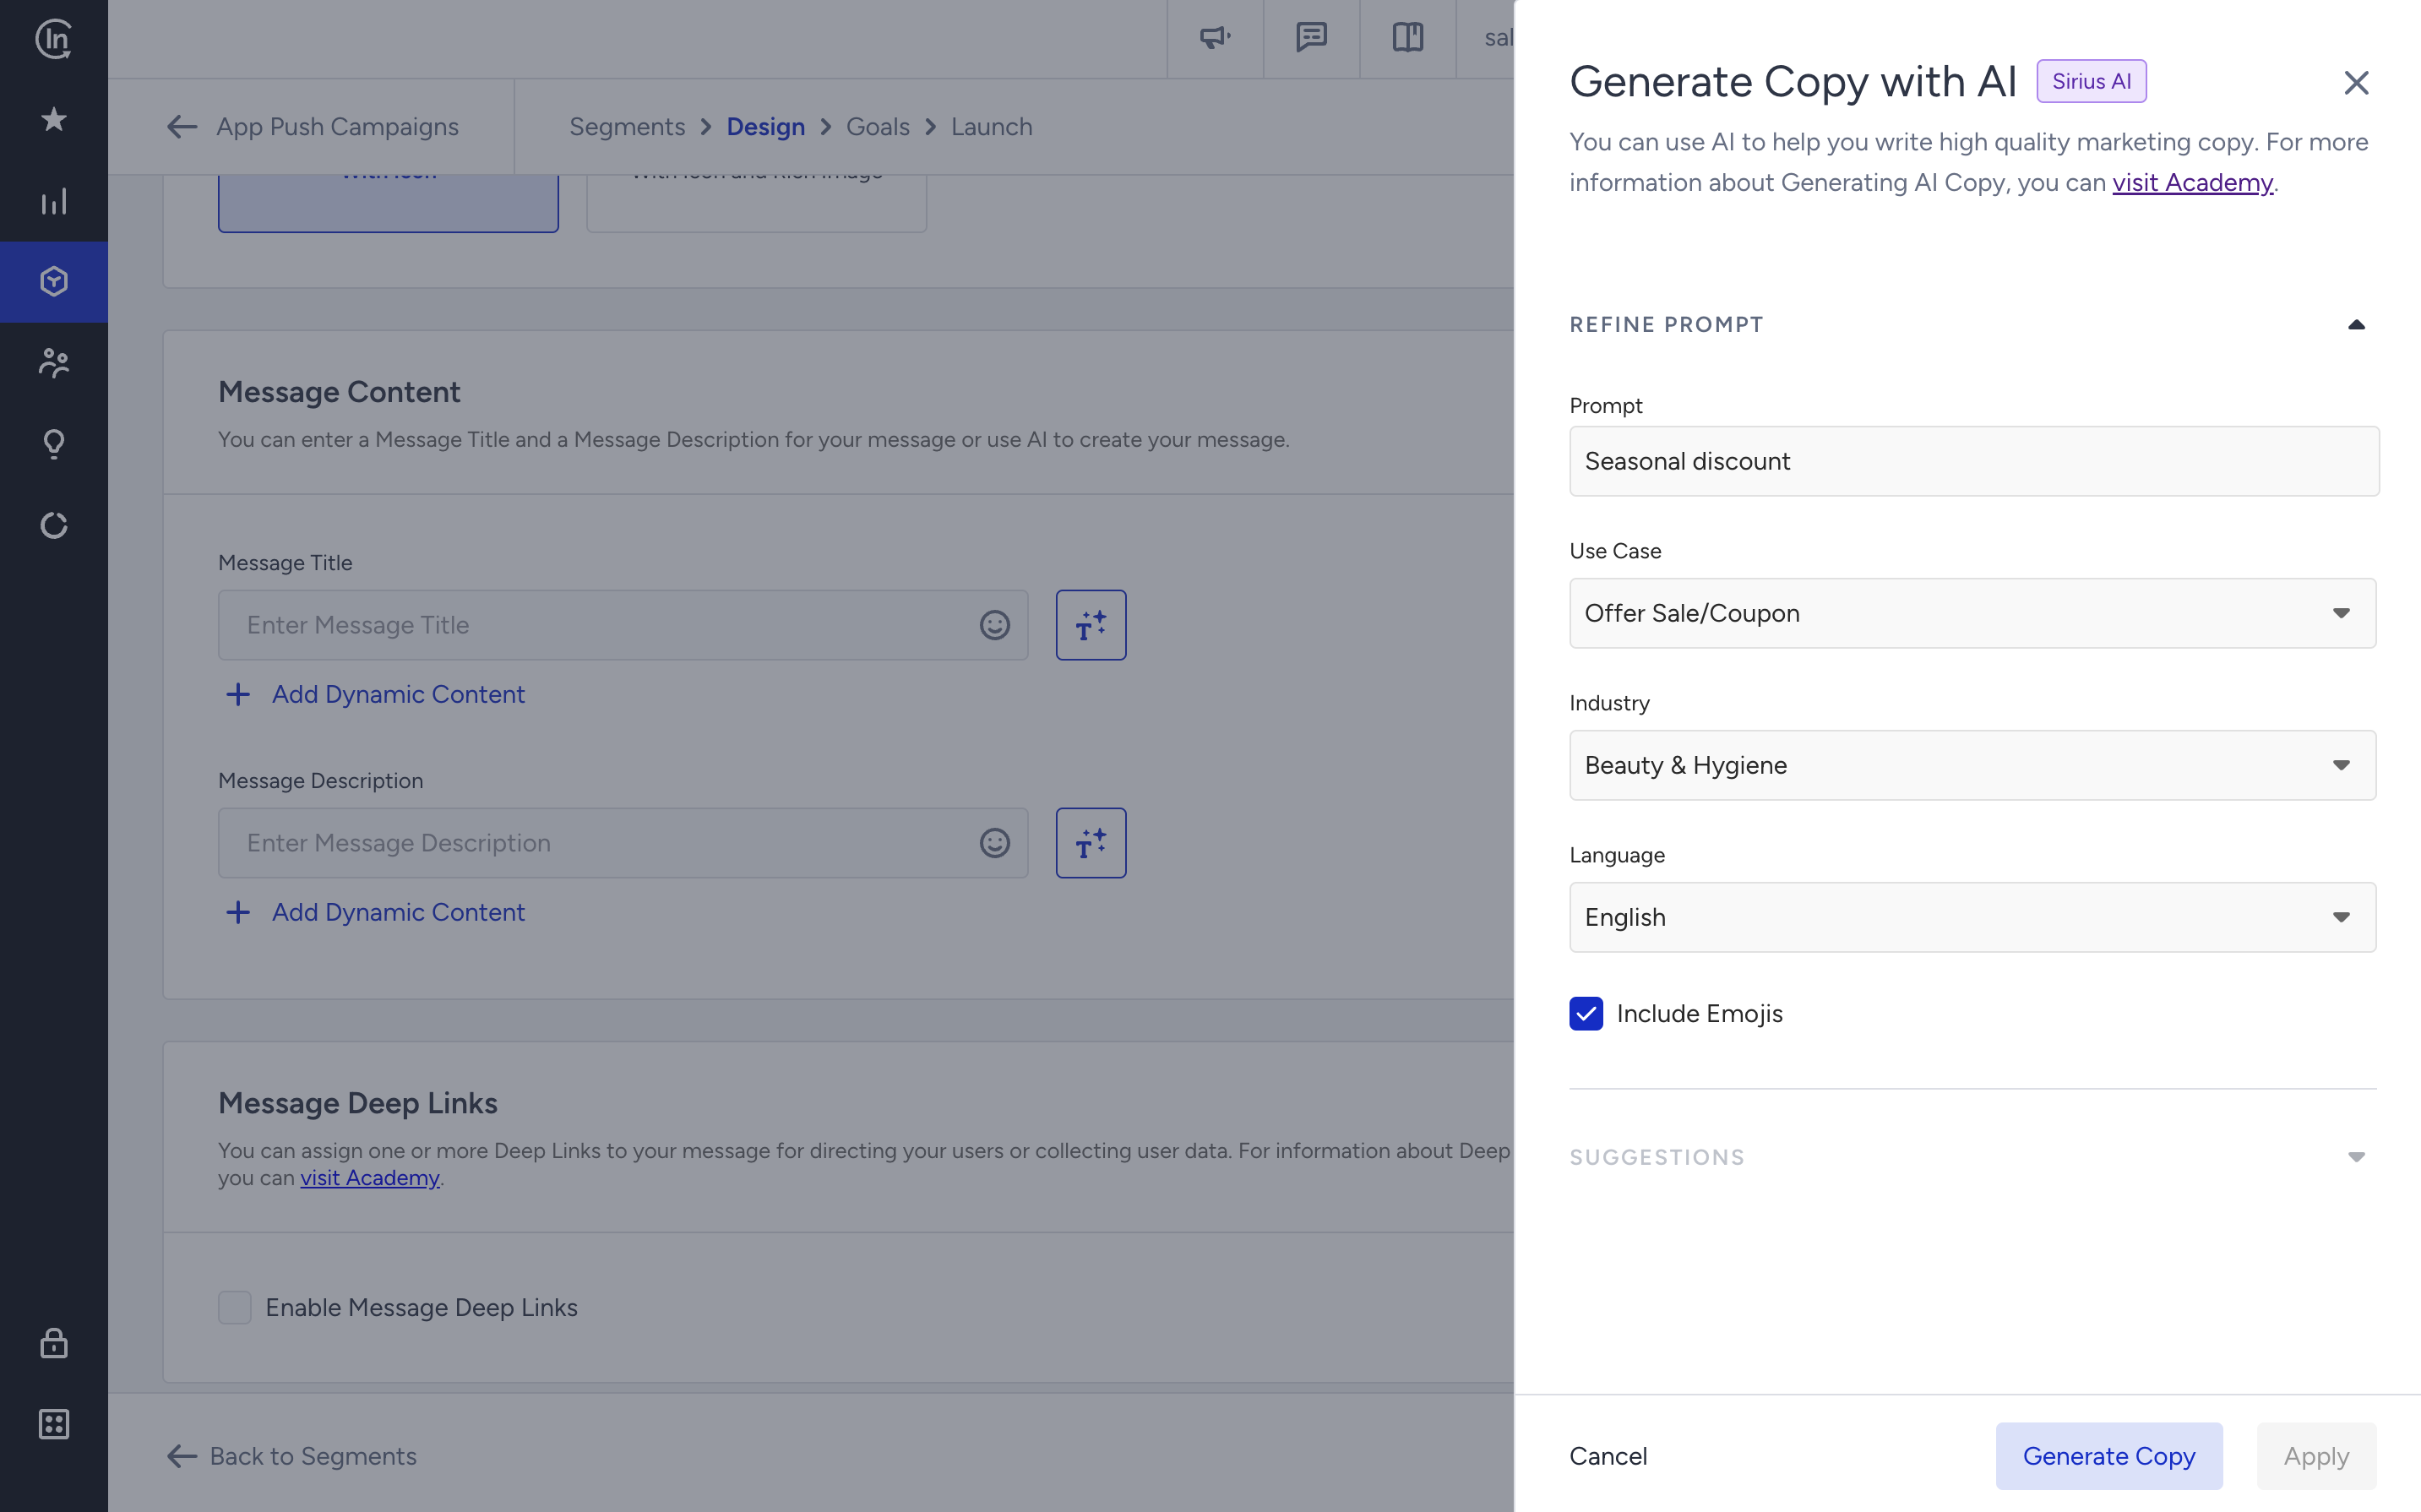
If you want to include emojis in your copy, you can check the "Include Emojis" box.
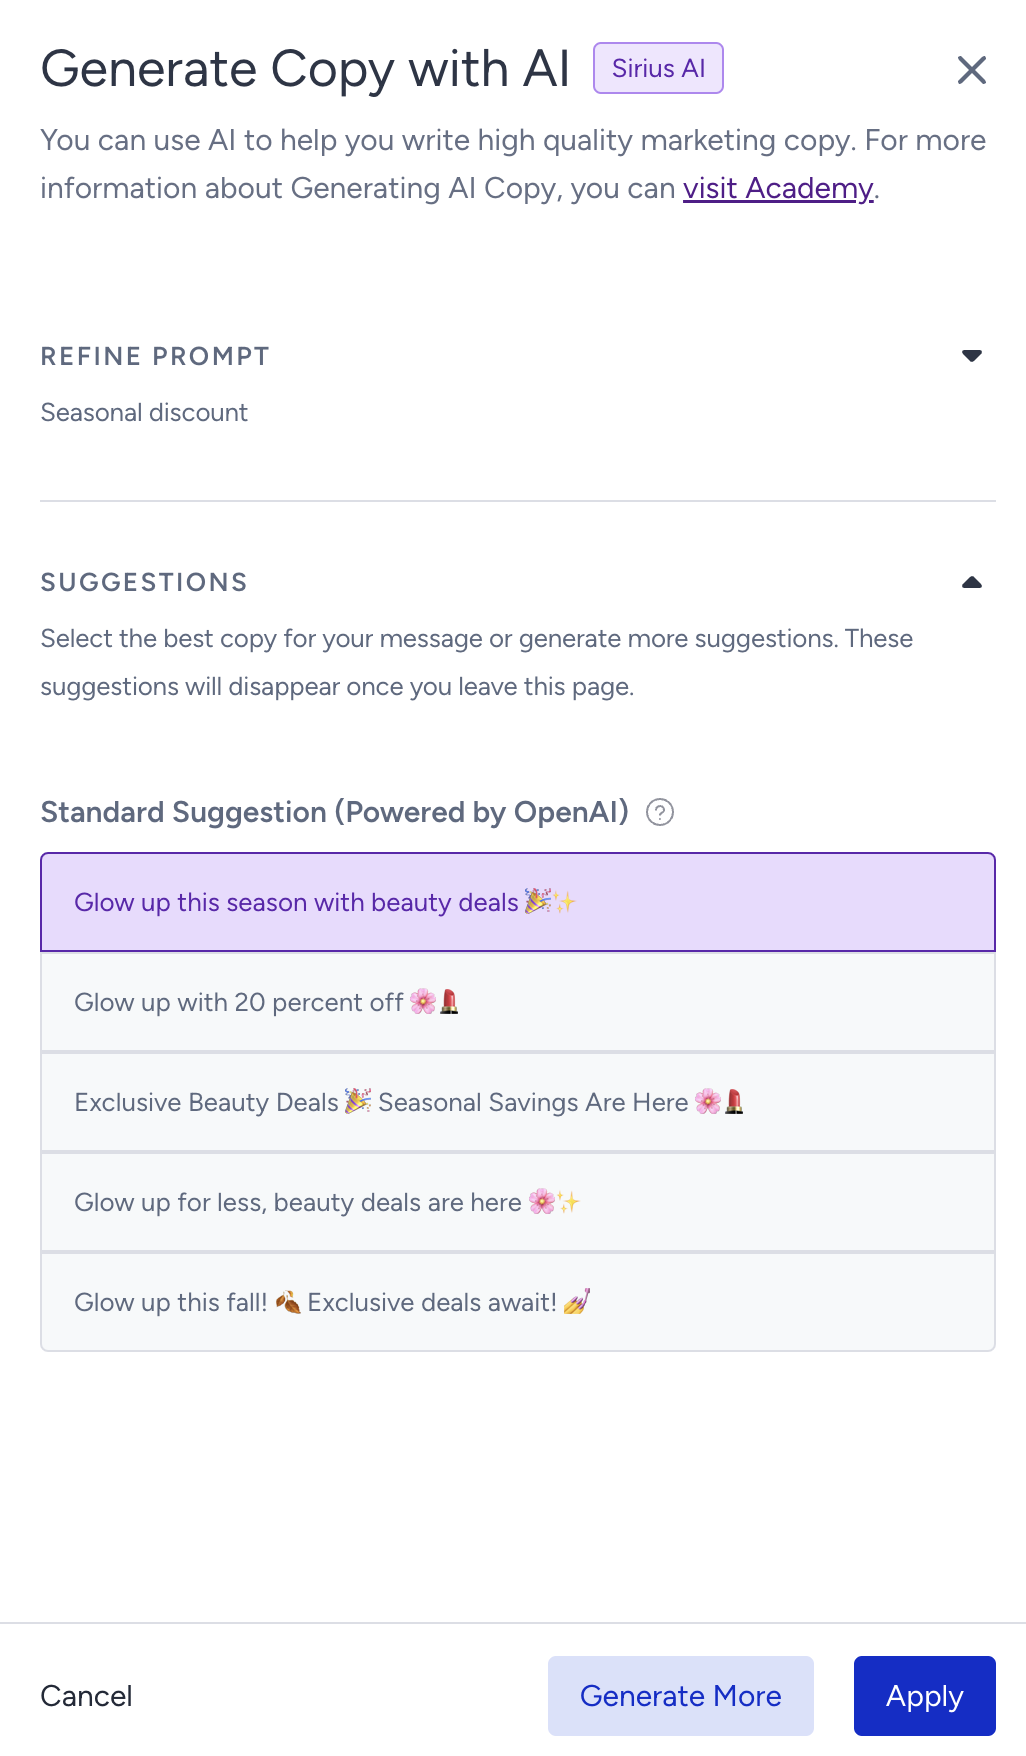
The modal displays 5 suggestions. To see more, you can click the Generate More button. To use any suggestion, you can select it and click the Apply button. Once you click the Apply button, the copy will be added to the respective field.
3.5. To add a deep link to the images or push message, check the Enable Message Deep Links box.
.png)
Select one of the deep link types to enter your key and value or add an existing deep link. Read more on deep links.
.png)
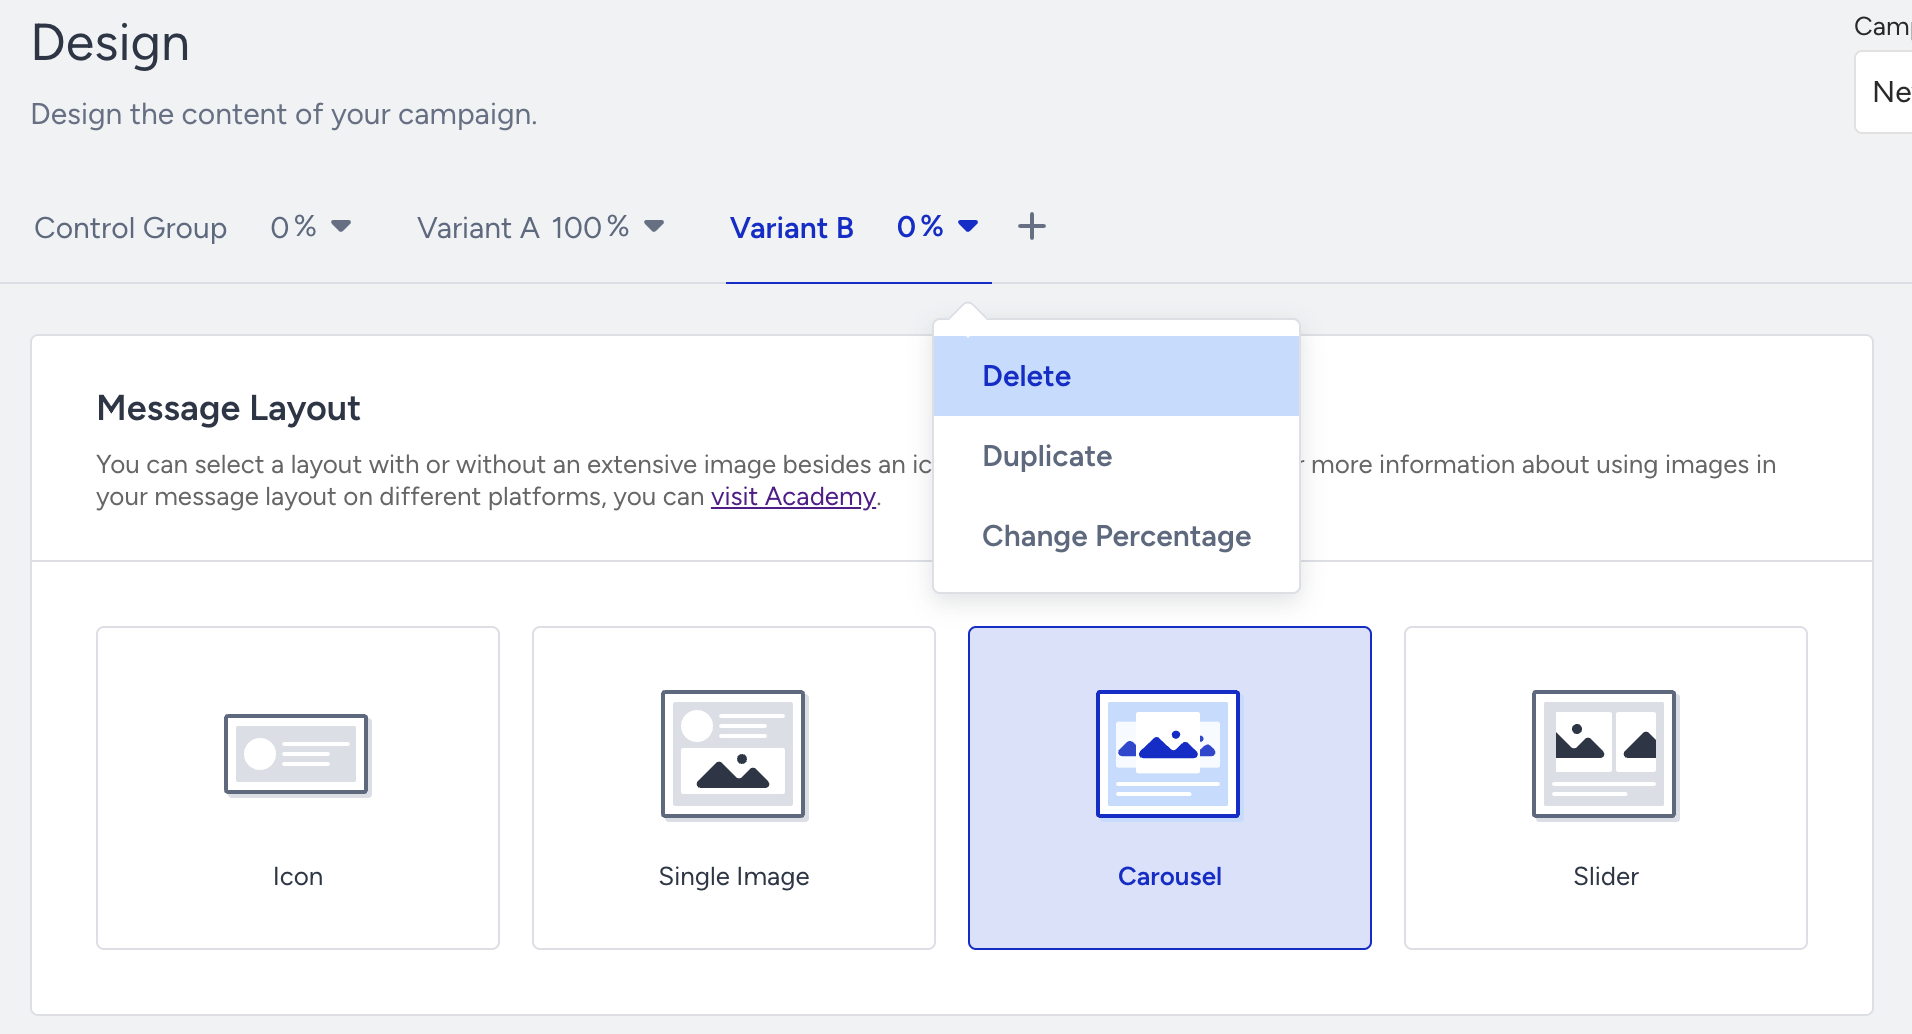
3.6. To run A/B/C tests, click the + (plus) button next to your variant. Then click the variant to change their percentage, duplicate it, or delete it.
4. Test your campaign
You can preview your app pushes on the Design step while designing your message. The Test Message button helps you see the campaign preview on your device. You can select a test group and/or any individual user to test your message.
Refer to the Test page to see how to test your campaign.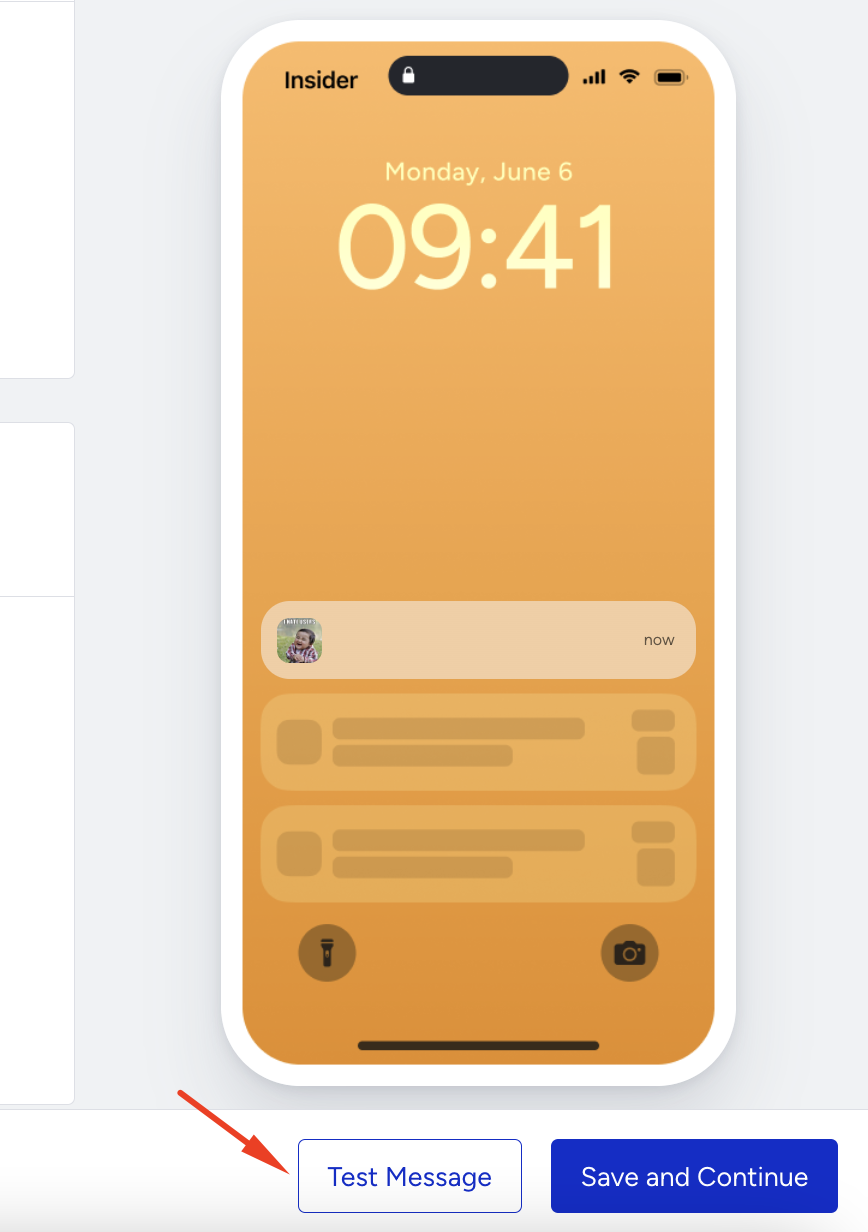
5. Select goals
The Goals step helps you create goals and configure conversion durations for your campaign.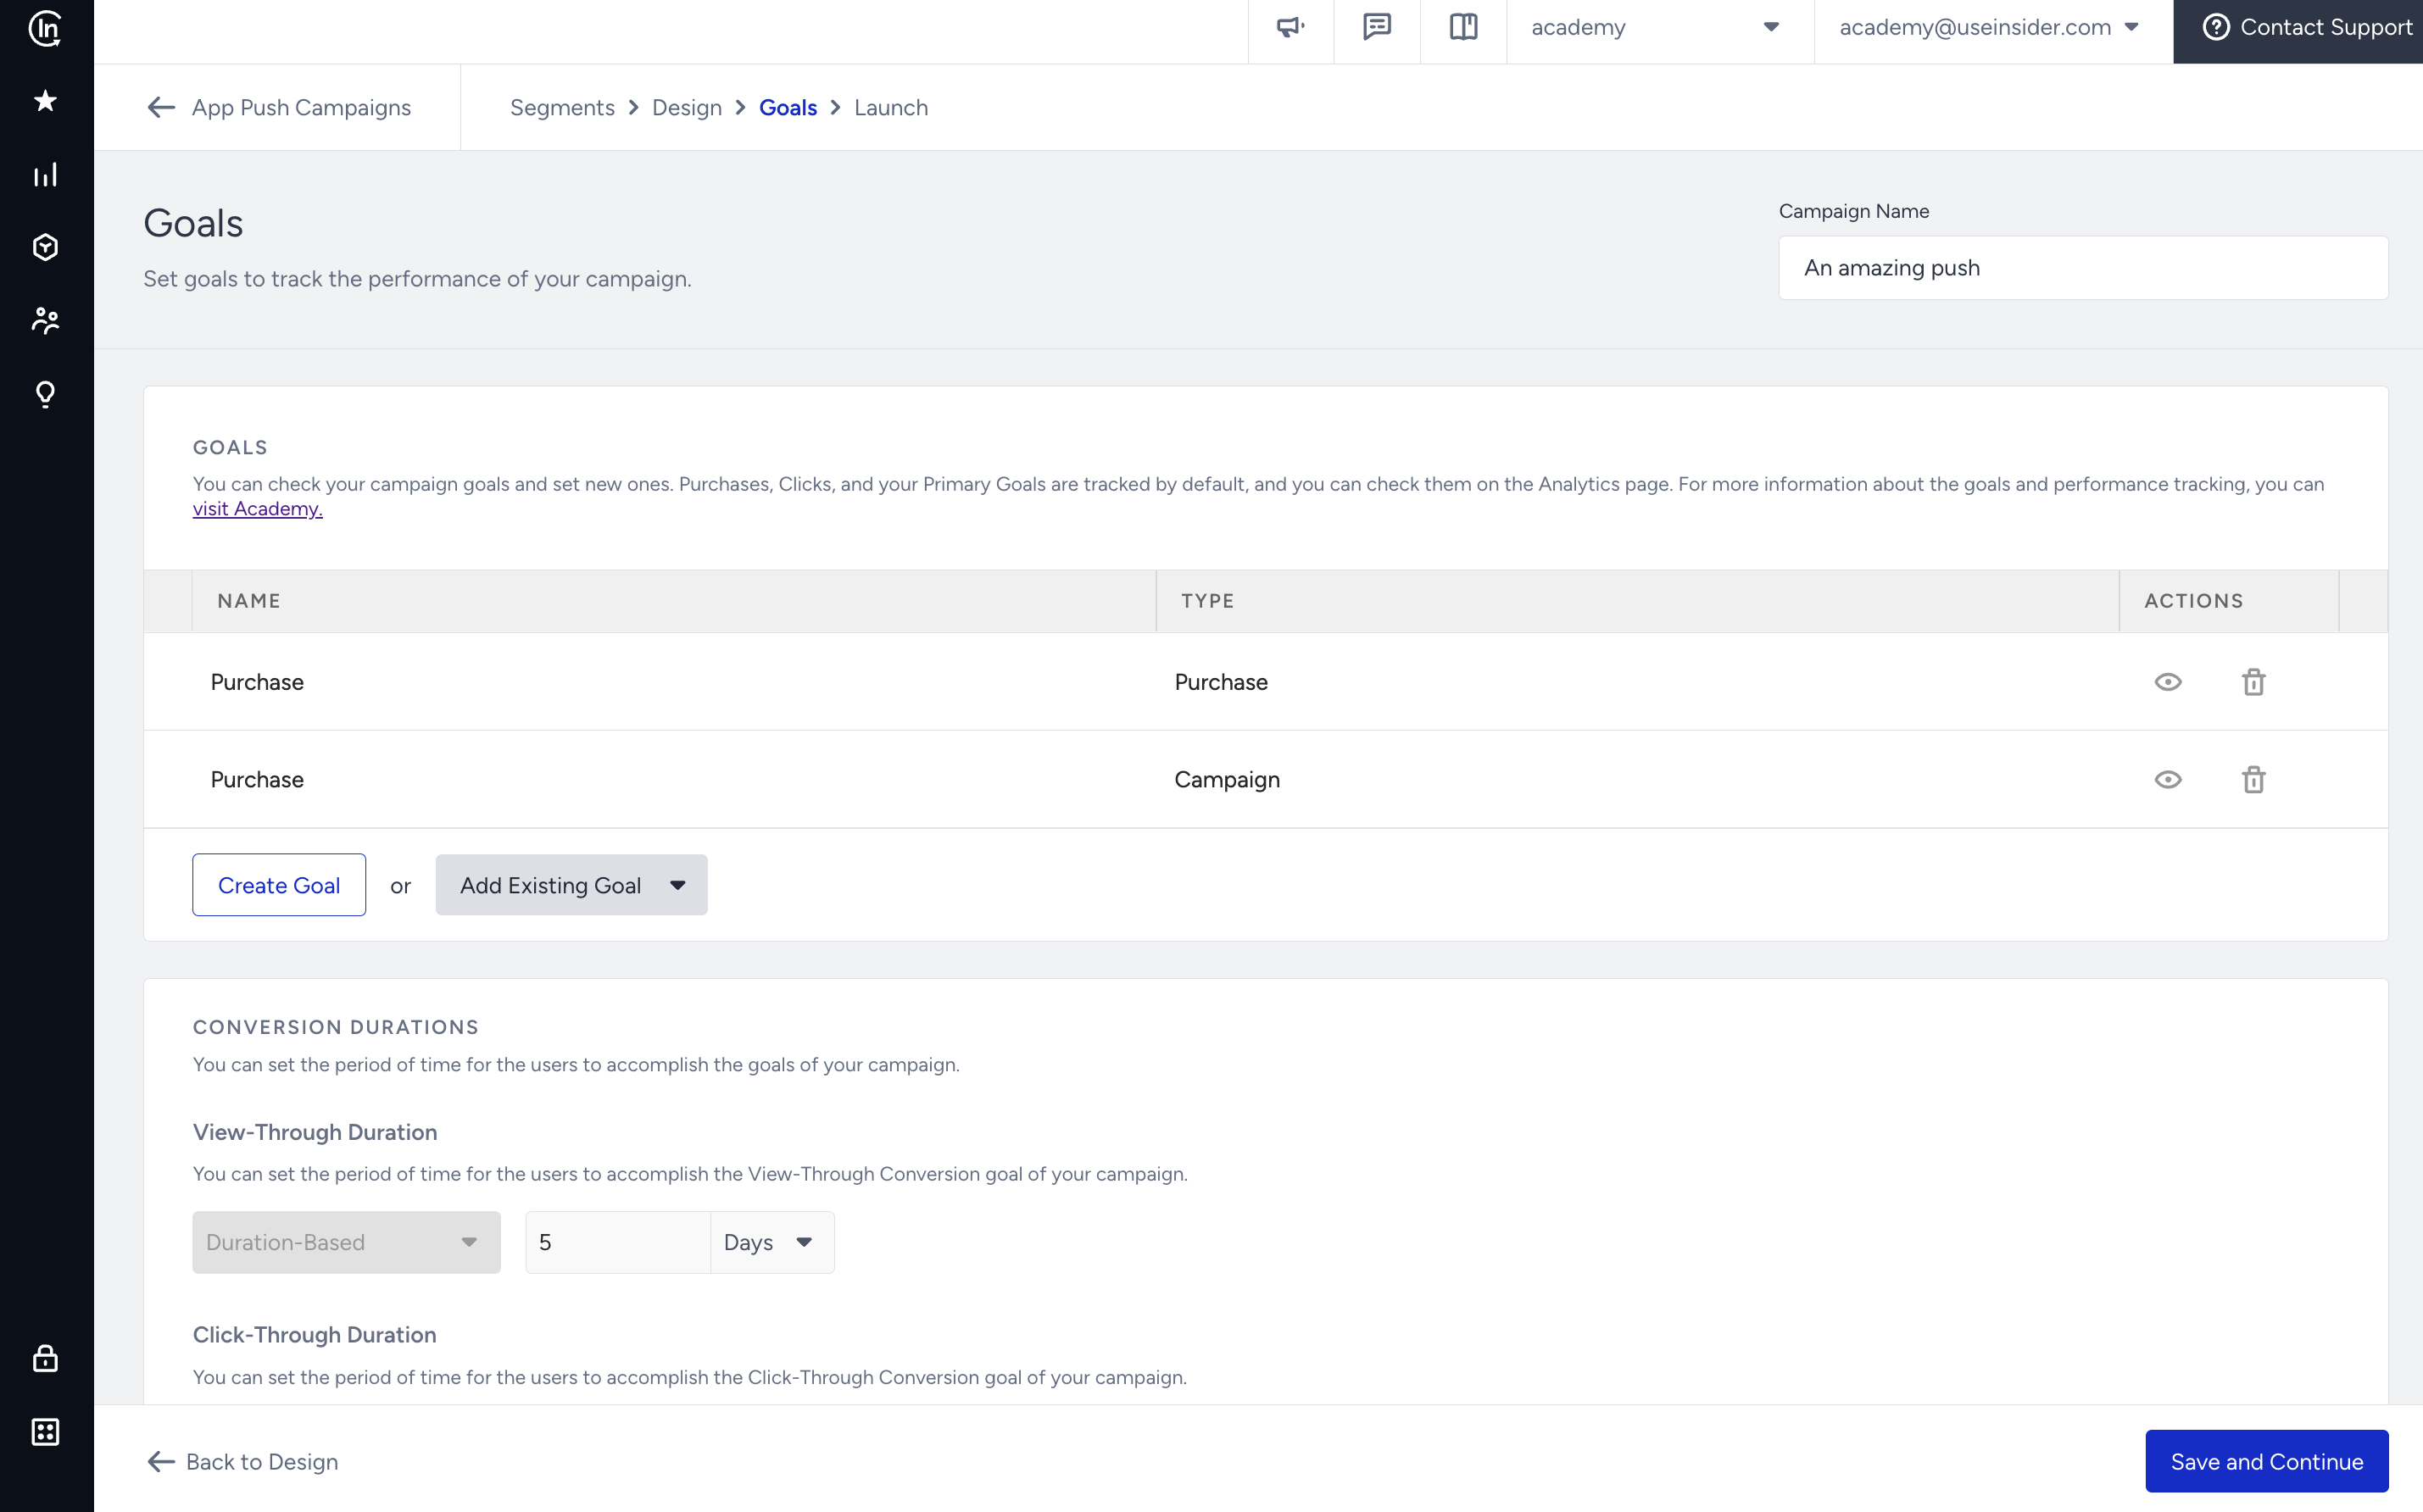
6. Configure the launch
Refer to the Launch page to see how to configure Send Time Optimization, Time to Live, Campaign Group Access, App Template Campaign Integration, Frequency Capping, Message Throttling, Notification Sounds, iOS Thread and Android Channels, and Campaign Tags.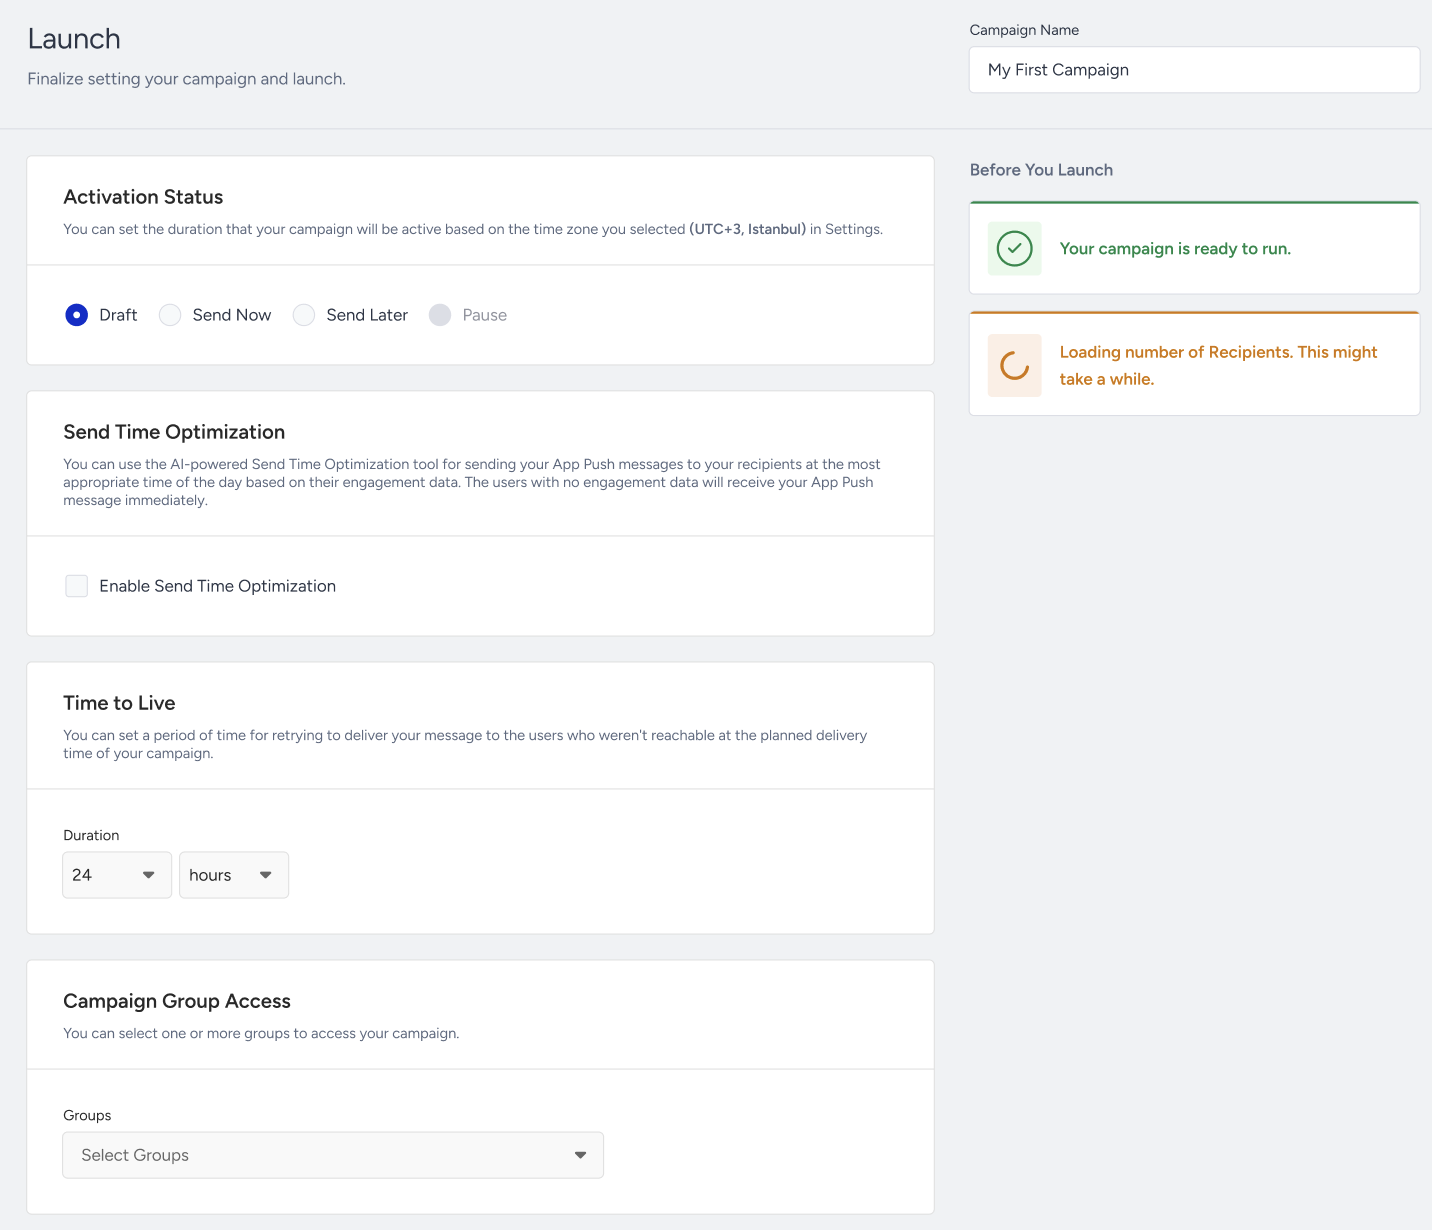
7. Check analytics
Go to the Analytics page to
- View the summary metrics
- Analyze the pie chart & graphs
- View the variant list
- Export your results
