You can follow these steps to use Wait Until Dynamic Time:
1. Click the + (plus) button to select the Wait Until Dynamic Time in the Wait category.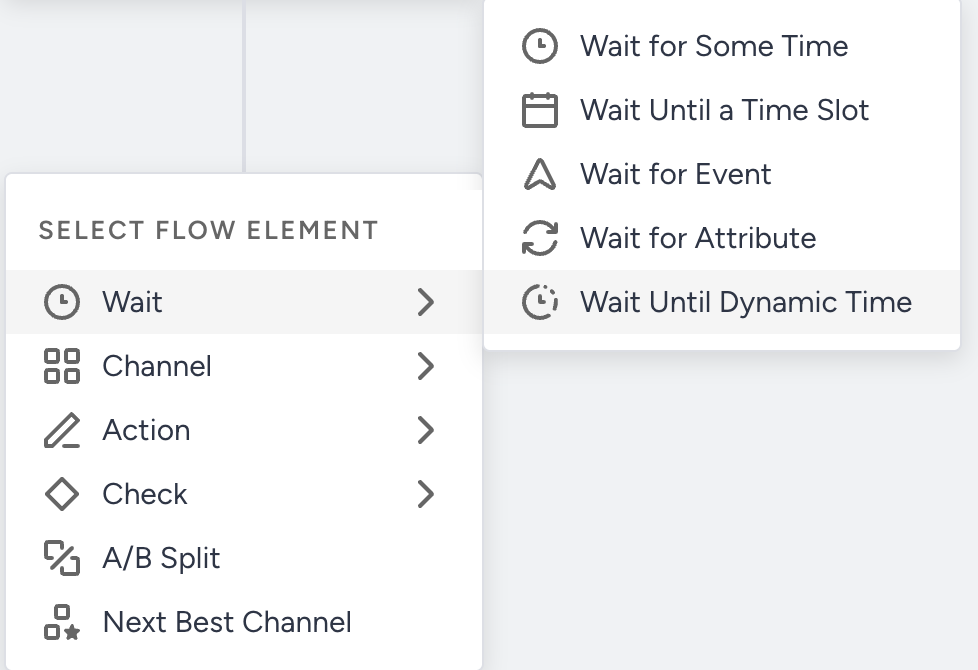 2. Click on the field and select the date/time event parameter and time zone.
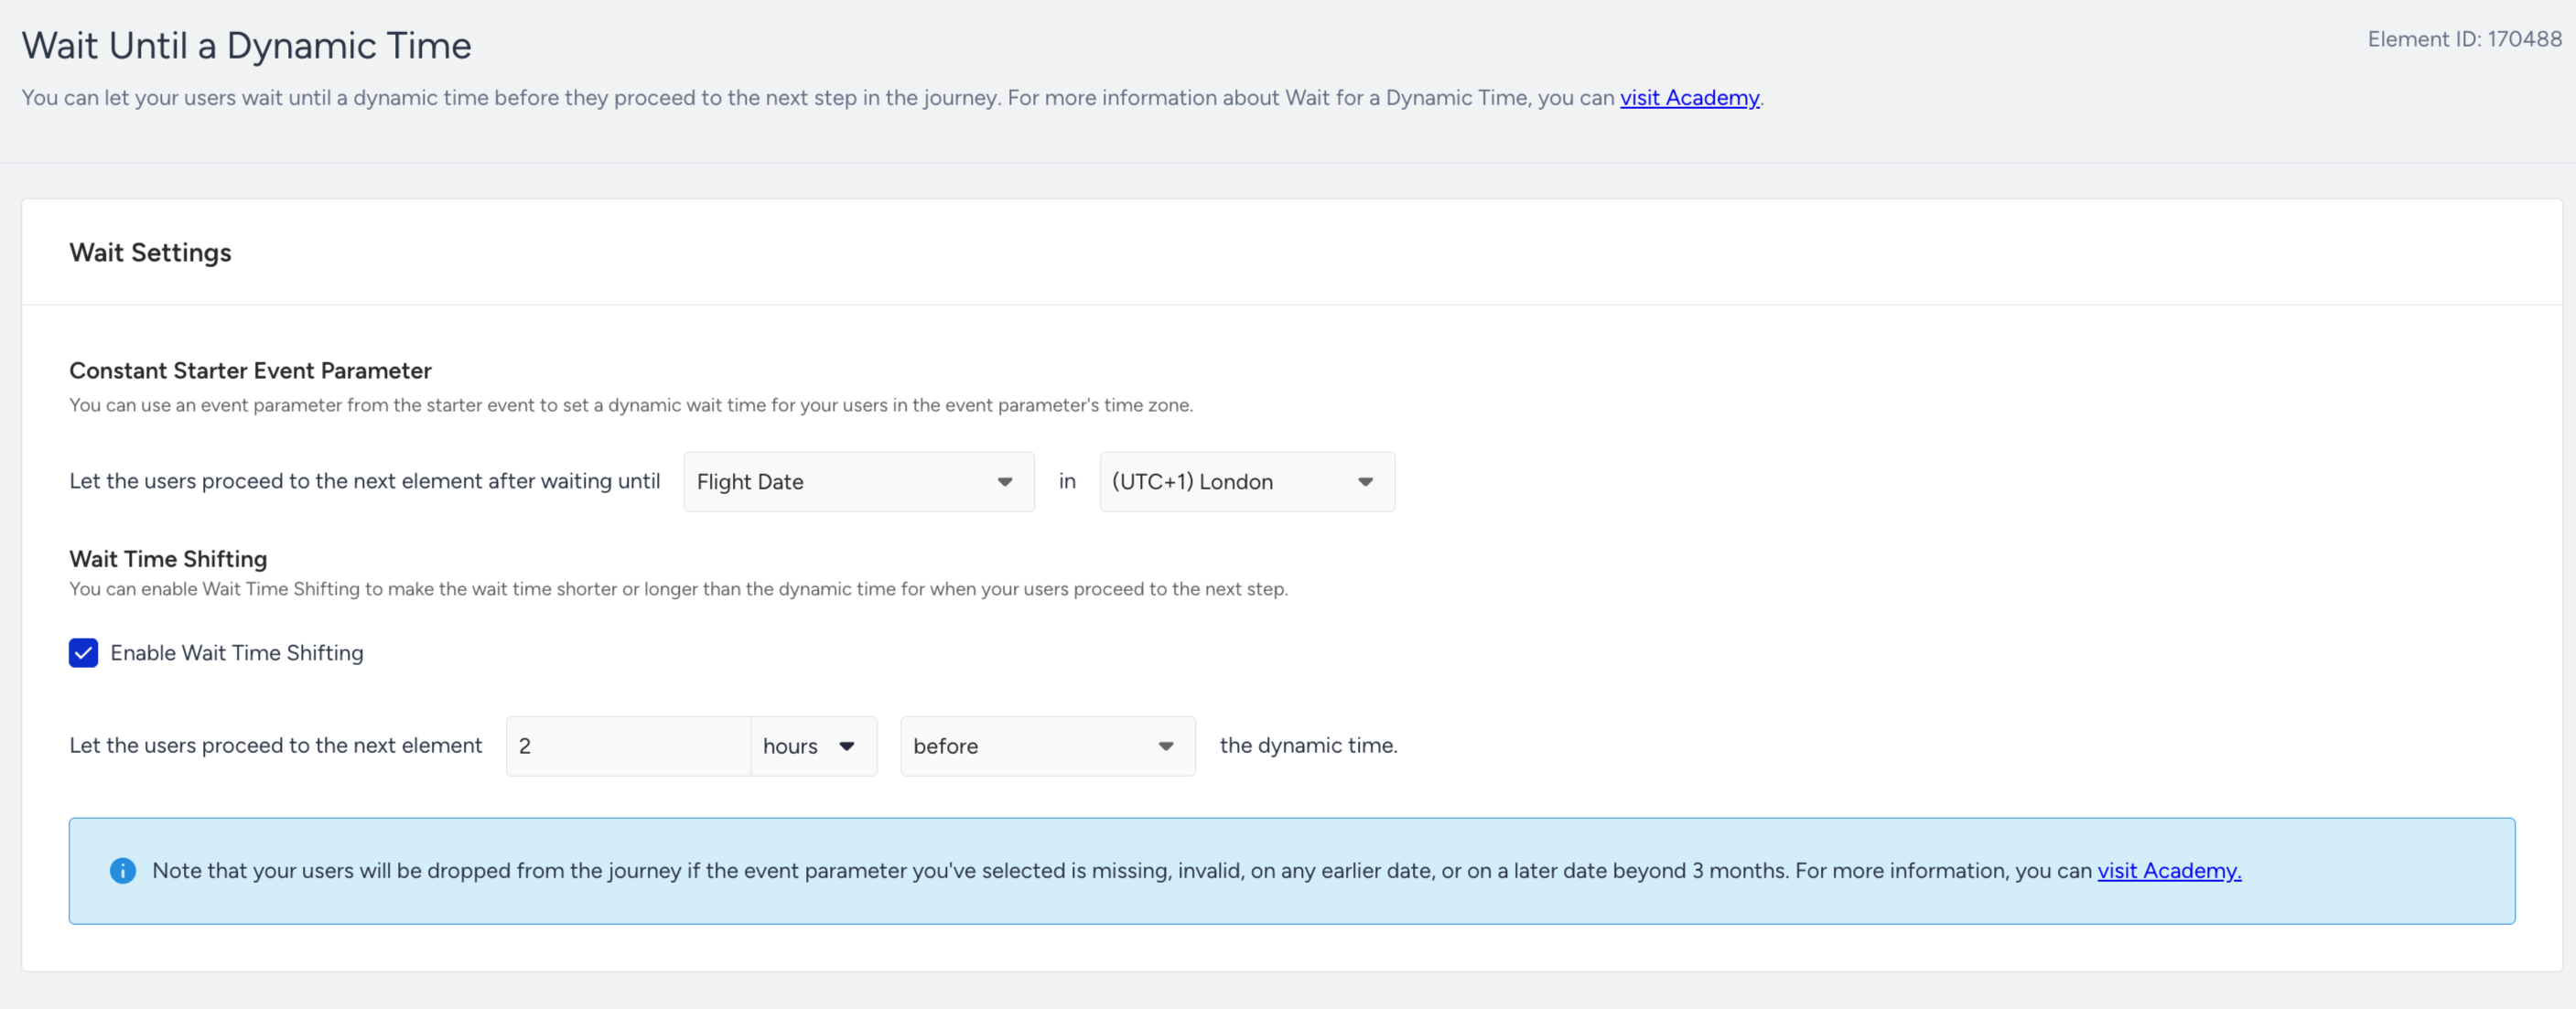
Your title goes here
Select the same time zone as that of the selected event parameter.
Your title goes here
Only date/time event parameters are supported. Each element can use one parameter at a time.
You can check the Enable Wait Time Shifting box to make the wait time shorter or longer than the dynamic time.
Your title goes here
Users will be dropped from the journey if the event parameter is missing, invalid, or if it is on an earlier date or a later date beyond 3 months.
3. Save and return to the canvas to continue designing your journey.