You cannot make any changes to External Platform Integrations without having either an Administrator or an Editor with PII access in InOne. Refer to User Roles for further information.
You can configure the Insider One Connector for SendGrid to allow data to be sent with ease via Insider One's InOne panel.
With this guide, you can find answers to the following questions:
- What are the use cases for SendGrind and Insider integration??
- What should I do before the SendGrid configuration?
- How can I set up SendGrid?
- How can I authenticate the Connector for SendGrid from Insider's InOne panel?
Use Cases
Leveraging the Insider One and SendGrid integration capabilities, you can easily send the data from SendGrid to Insider One and utilize it with Insider One’s extensive capabilities. Using the SendGrid connector enables you to sync:
- The selected user data
- All email addresses that are globally suppressed
- All email addresses that are currently on your block list
- Selected data from a list of all bounces
- Selected data from a list of all suppressions
- Selected data from all spam reports
During configuration, you can also set some filters to decide which data should be synced. For example:
- You can get users whose emails do not contain “@yourbrandname.com”.
- If you want to keep phone numbers with a country code and SendGrid has phone numbers registered without a country code, you can only migrate those with a country code.
After having set up the data connection, you can enable the following use cases:
- You can send an email by taking the user data that you synchronize with SendGrid. You can also take those users on an Architect journey, apply the channel reachability condition, and send an email.
- You can send a lead collection to the users who are not reachable via the email channel.
What should I do before the configuration?
Before configuring the connector, you should decide and define the following points clearly:
- You need to select the identifier(s) to be used. Insider One supports email, phone_number, and uuid identifiers by default. You can use a custom user identifier, too.
- You need to provide mapping for the attributes you would like to get from HubSpot and sync to Insider One. You can refer to the table below:
| Column Name on SendGrid Table | Attribute Key on Insider One's InOne | Identifier | Attribute Type on Insider One | Attribute Type |
|---|---|---|---|---|
| Yes | Default Attribute | String | ||
| phone_number | phone number | No | Custom Attribute | String |
How can I set up SendGrid?
SendGrid uses an API key for authentication, so you need to log in to your SendGrid account. You can refer to the steps below to get your API key:
- Log in to your SendGrid account.
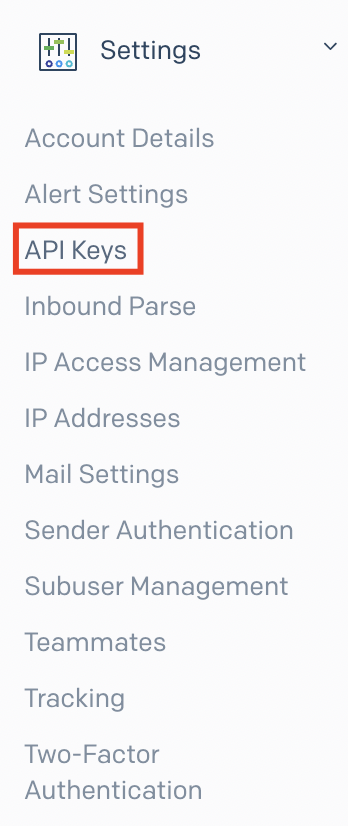
- Click on the Settings option from the sidebar menu.
- Then click on the API Keys option.
- If you have not created an API Key before:
- Click the Create API Key button to create one. Then, API Key Permission options will appear.
- Since a Full Access Key will be needed to retrieve data from SendGrid, you can create the API Key and view it after clicking Create&View.
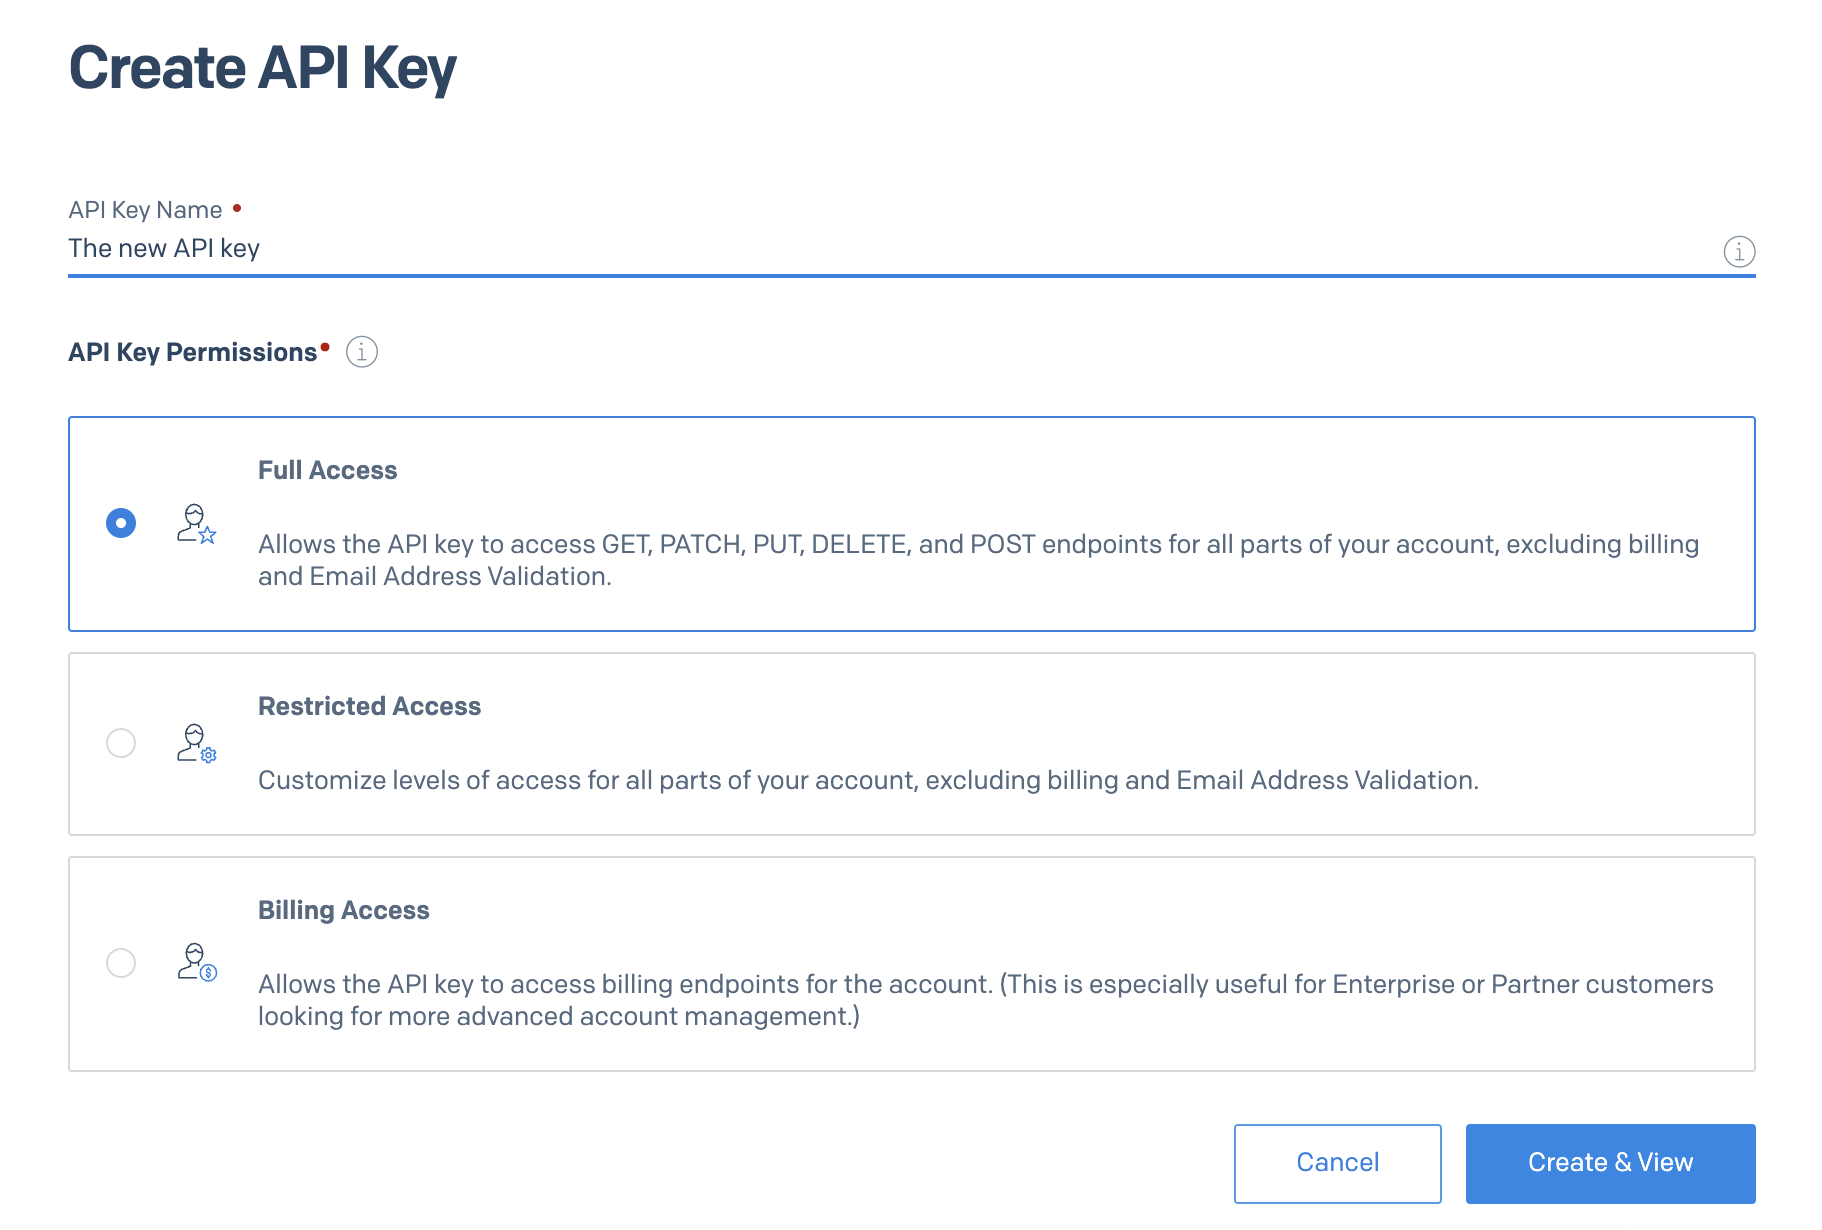
- Keep this key safe since you cannot access it again due to security reasons.
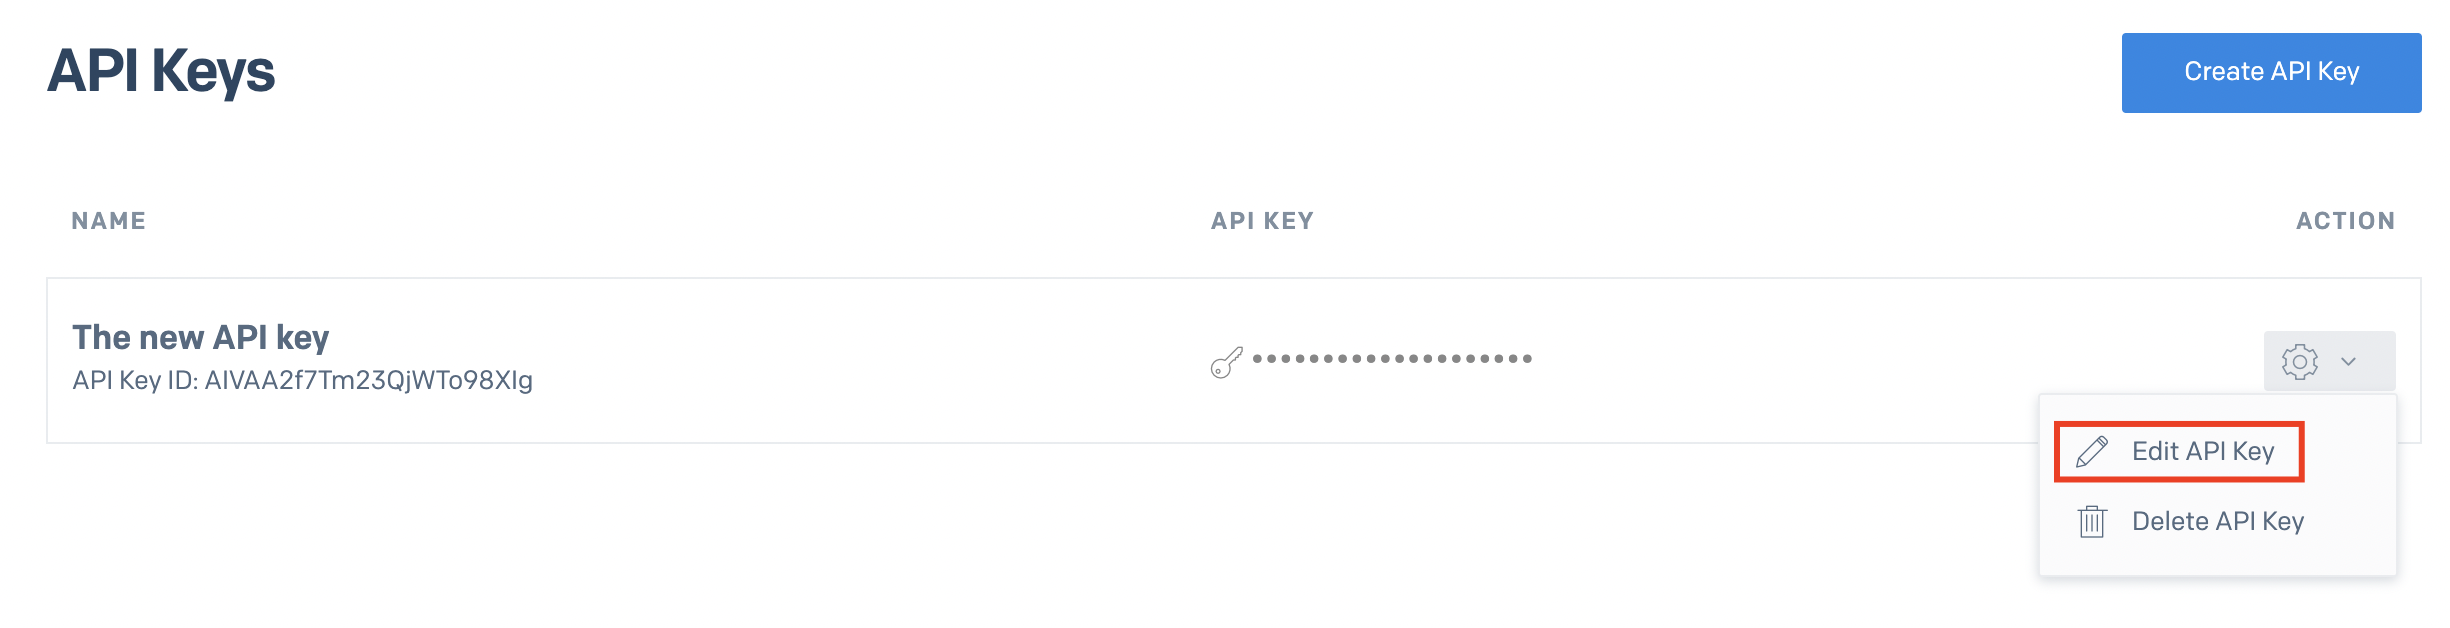
- If you have an API key that you already use:
- To check whether Full Access is available, click the icon in the Action section, then select Edit API Key.
- You can change the permission type here.
- You will use the API Key you created during the connection phase to Insider One's InOne panel.
How can I authenticate the Connector from Insider One's InOne panel?
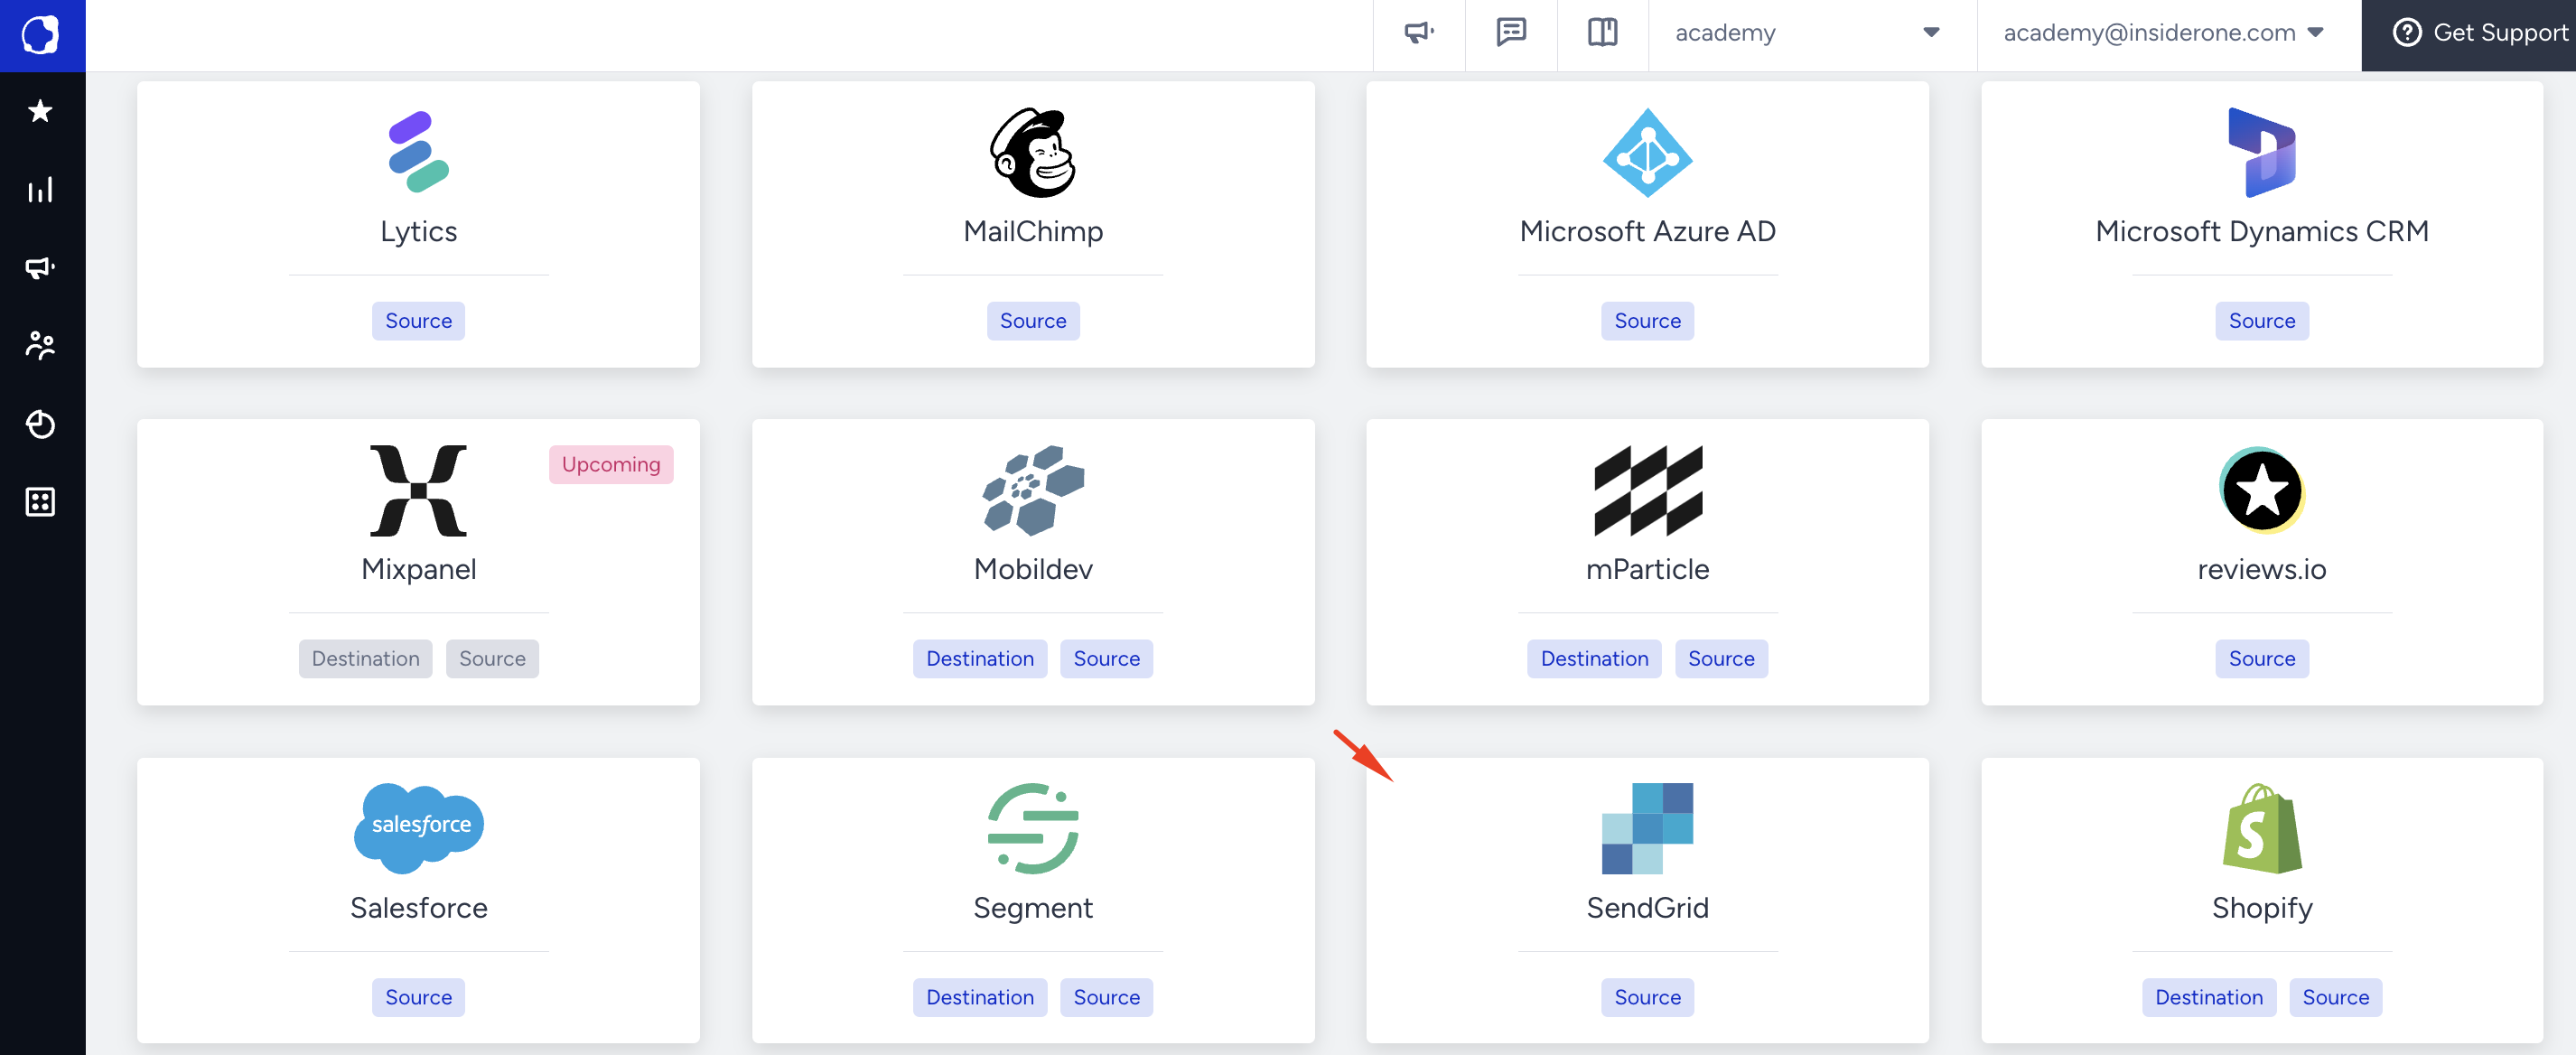
- Navigate to Components > Integrations > External Integrations.
.png)
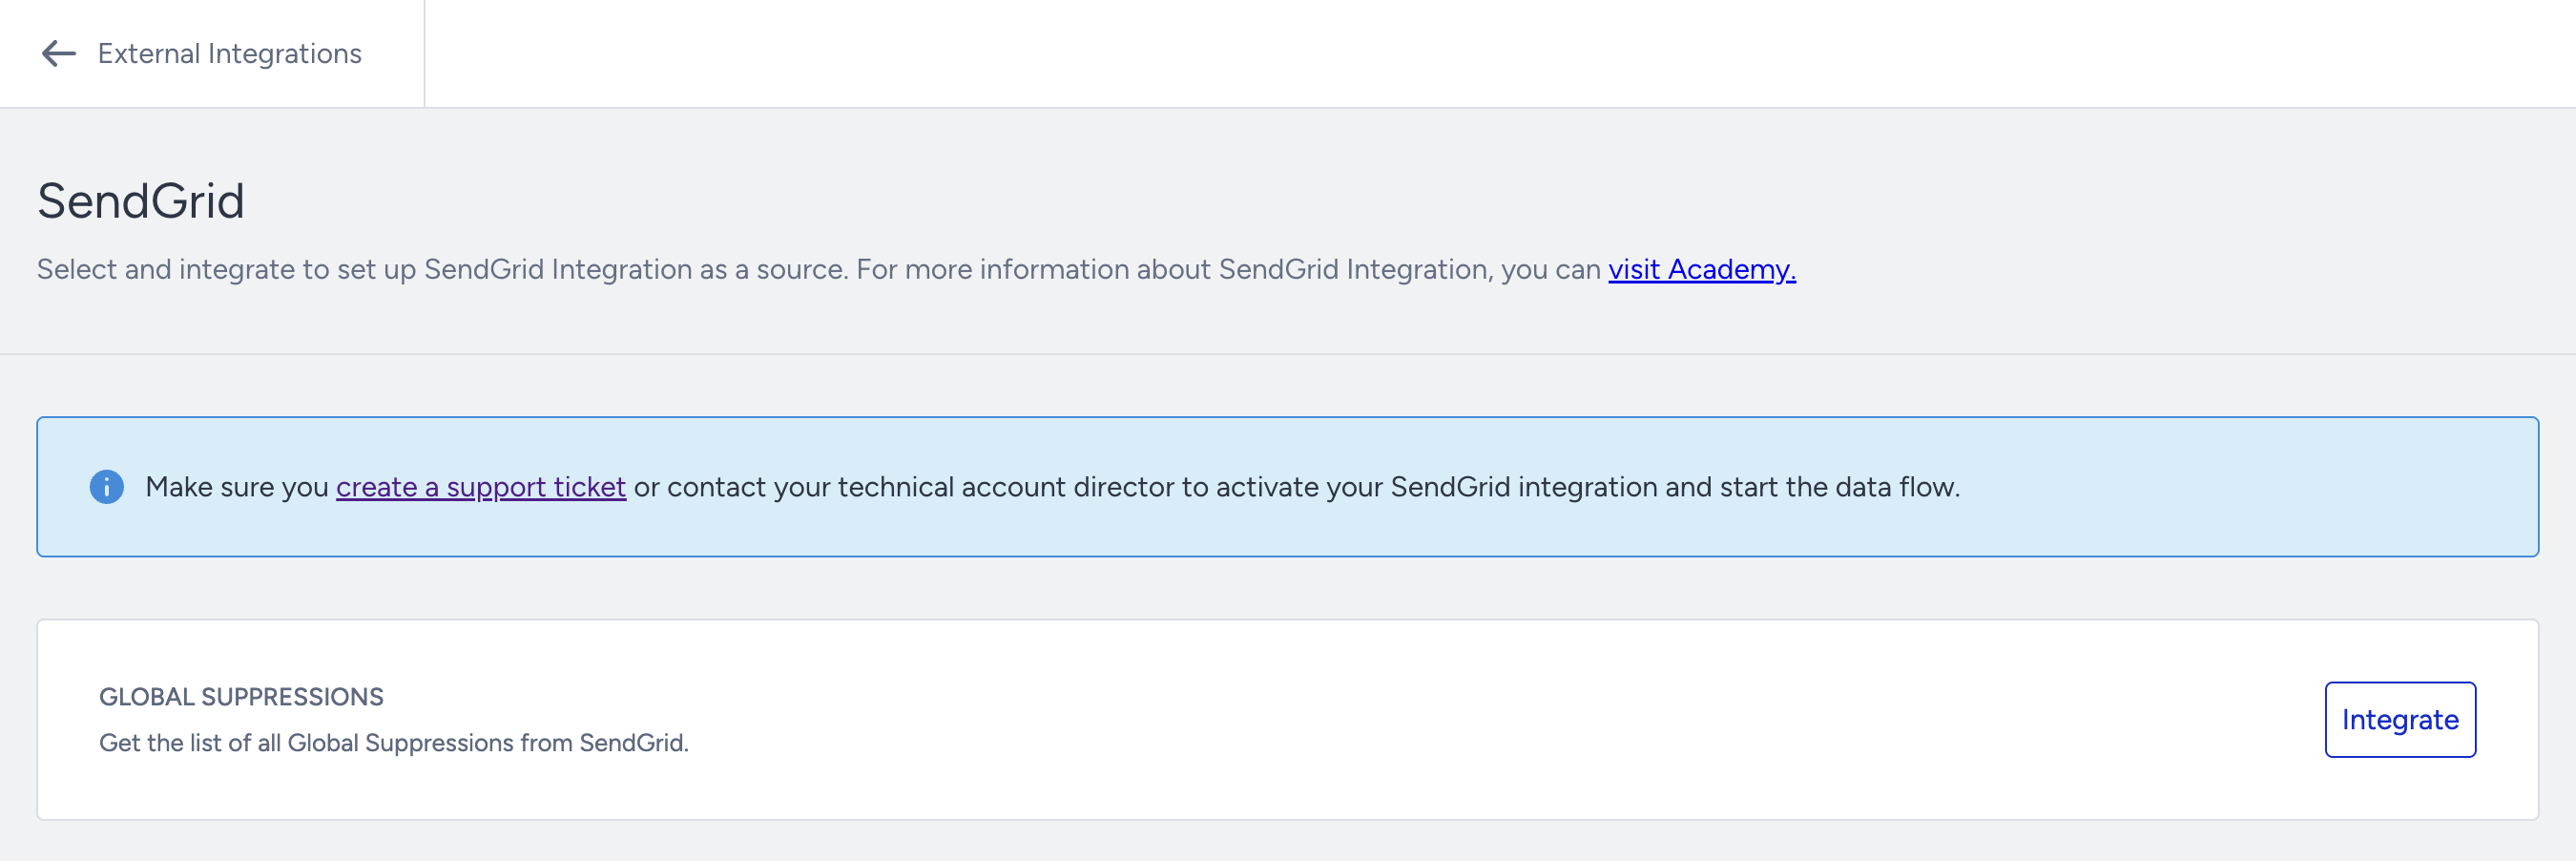
- Click the SendGrid platform to view methods in the SendGrid category.
- Select the installation method you want to use, then click the Integrate button.
- Enter the key of the SendGrid account in the API Key field.
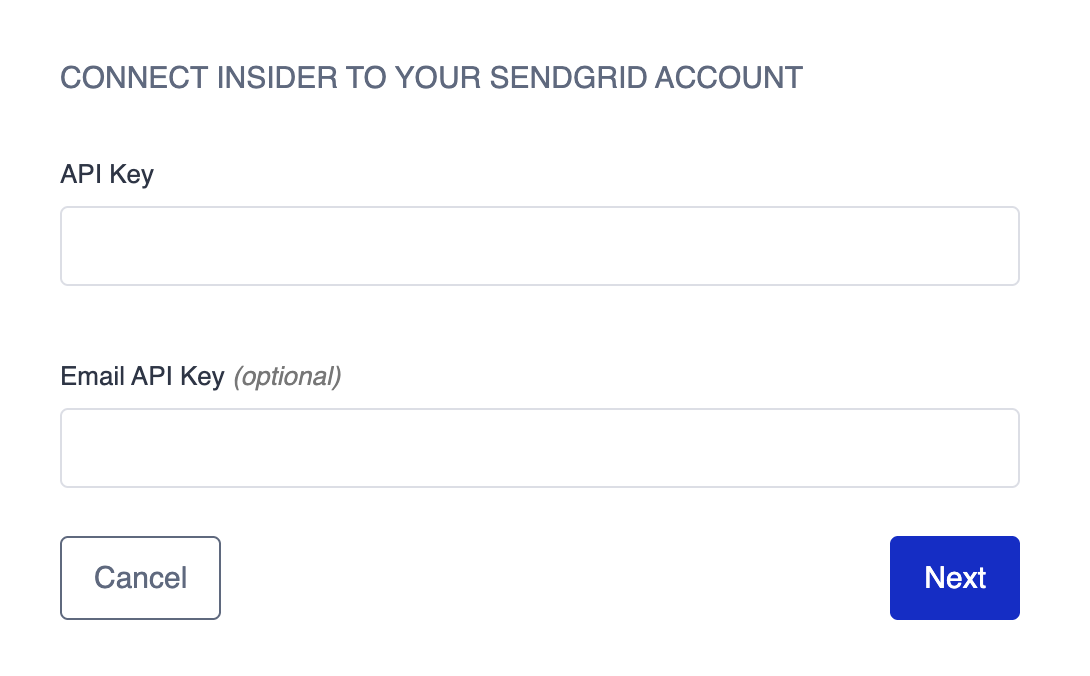
- After filling in the fields, click Next, and Insider One will be connected.

Finalizing the Setup
Once the mapping is complete, Insider One will start the connector.