You cannot make any changes to External Platform Integrations without having either an Administrator or an Editor with PII access in InOne. Refer to User Roles for further information.
You can establish Insider One as a source in the Amplitude ecosystem and send data from Insider One to Amplitude. With the Insider One event ingestion integration, you can send your Insider One event data to Amplitude when a response is received and enable data-driven charts and cohorts in Amplitude.
Use Cases
Once you integrate Insider One as a source on Amplitude:
- You can collect all messaging channel events, such as email open or SMS click. This integration helps you have advanced analytics use cases, create charts, and analyze your user data better.
- You can utilize channel interaction events, such as journey entered or in-app events, and create cohorts on Amplitude.
Configure Insider One as a source on Amplitude
To configure Insider One as a source on your Amplitude account, follow these steps:
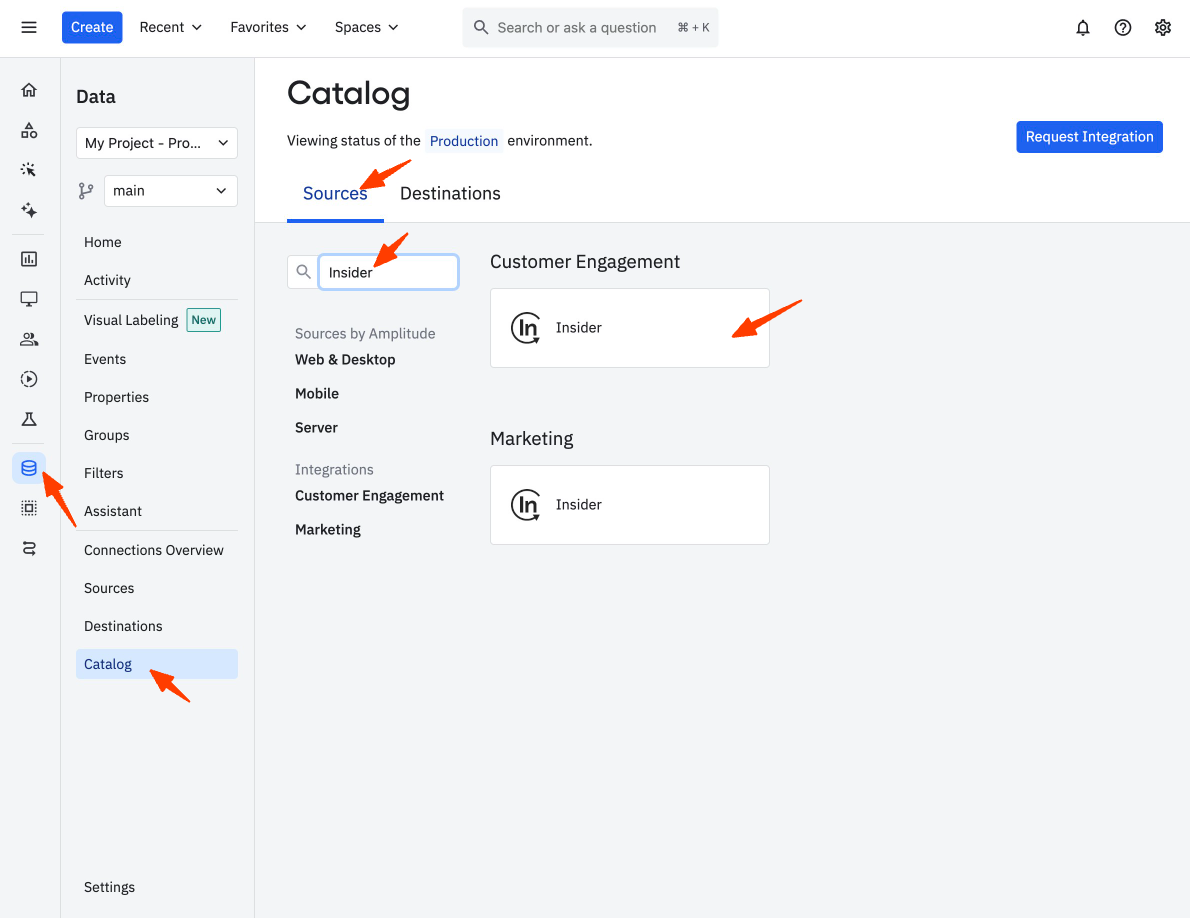
- Log in to your Amplitude account and go to the Data tab. Navigate to Catalog > Sources, search for Insider, and select it from the list.
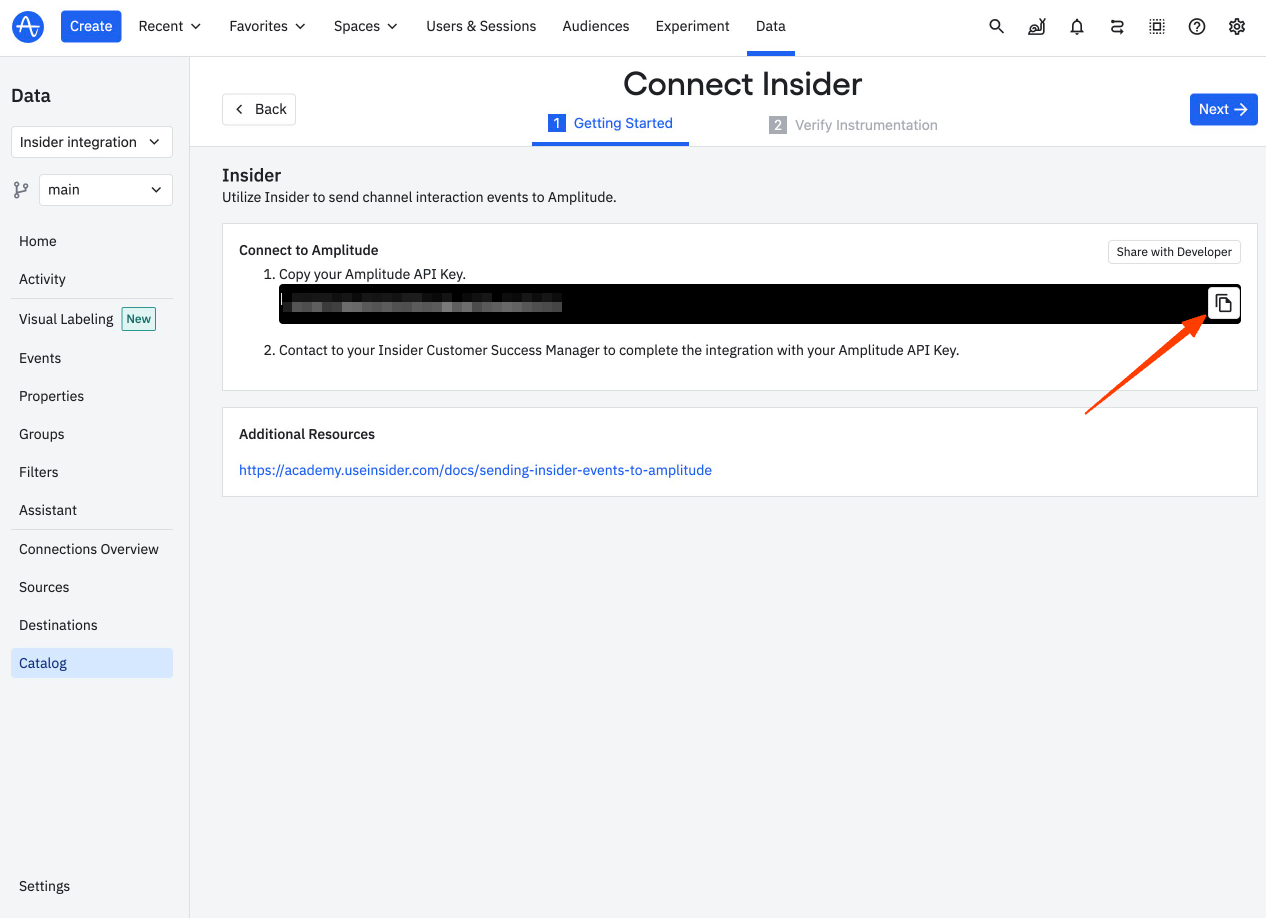
- Copy your Amplitude API Key.
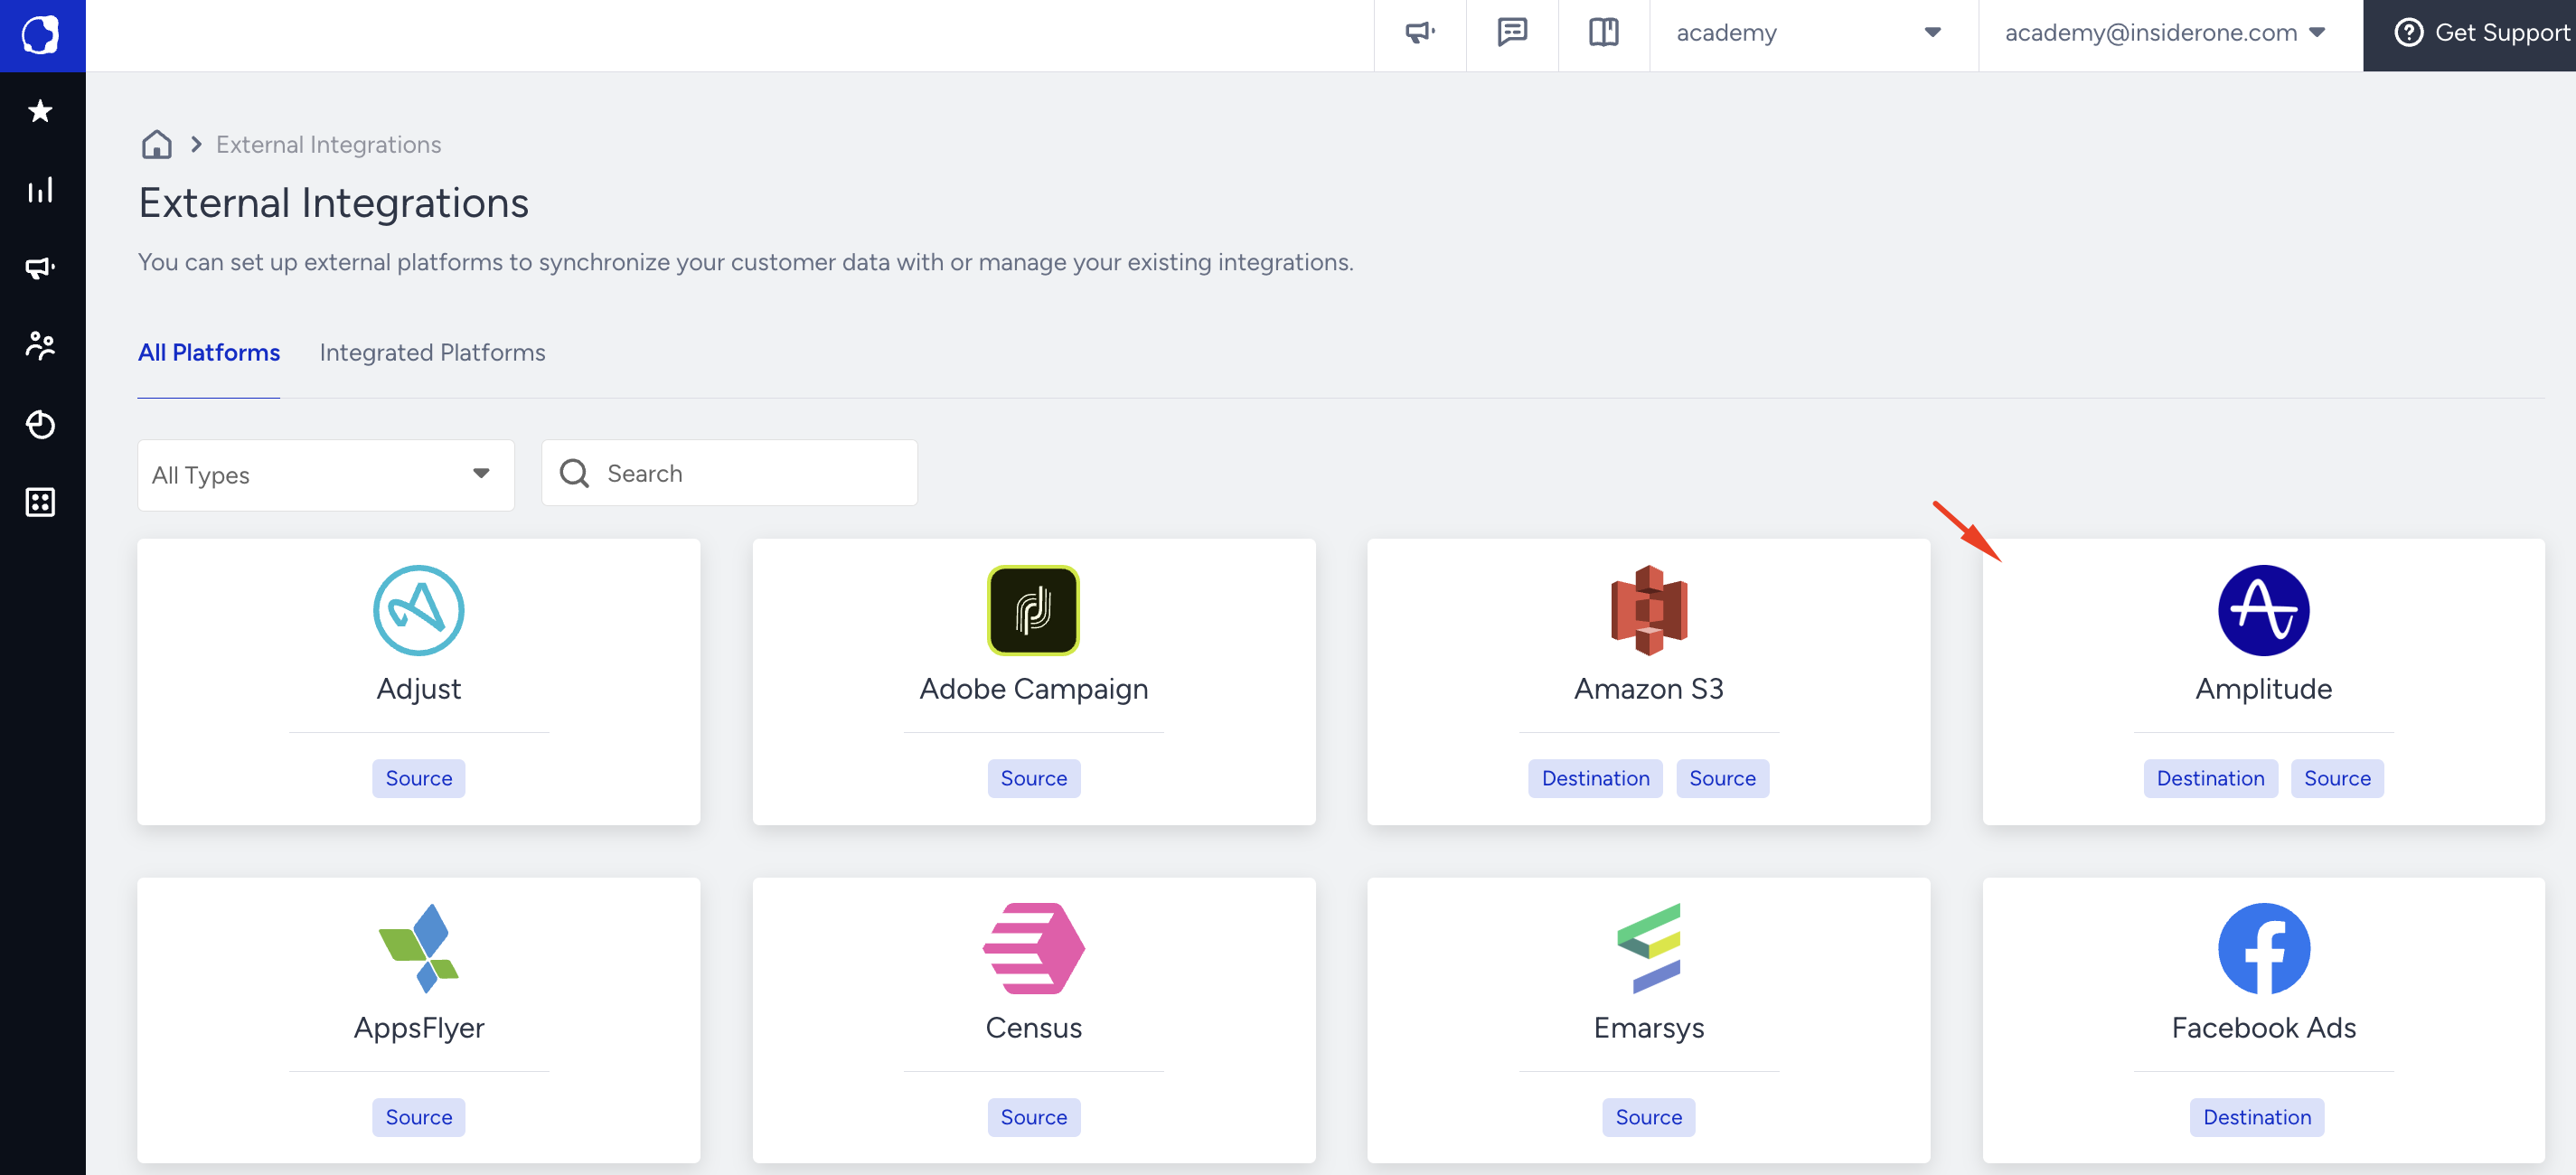
- Go to the Insider One's InOne panel and navigate to Components > Integrations > External Integrations.
- Select the Amplitude platform from the list.
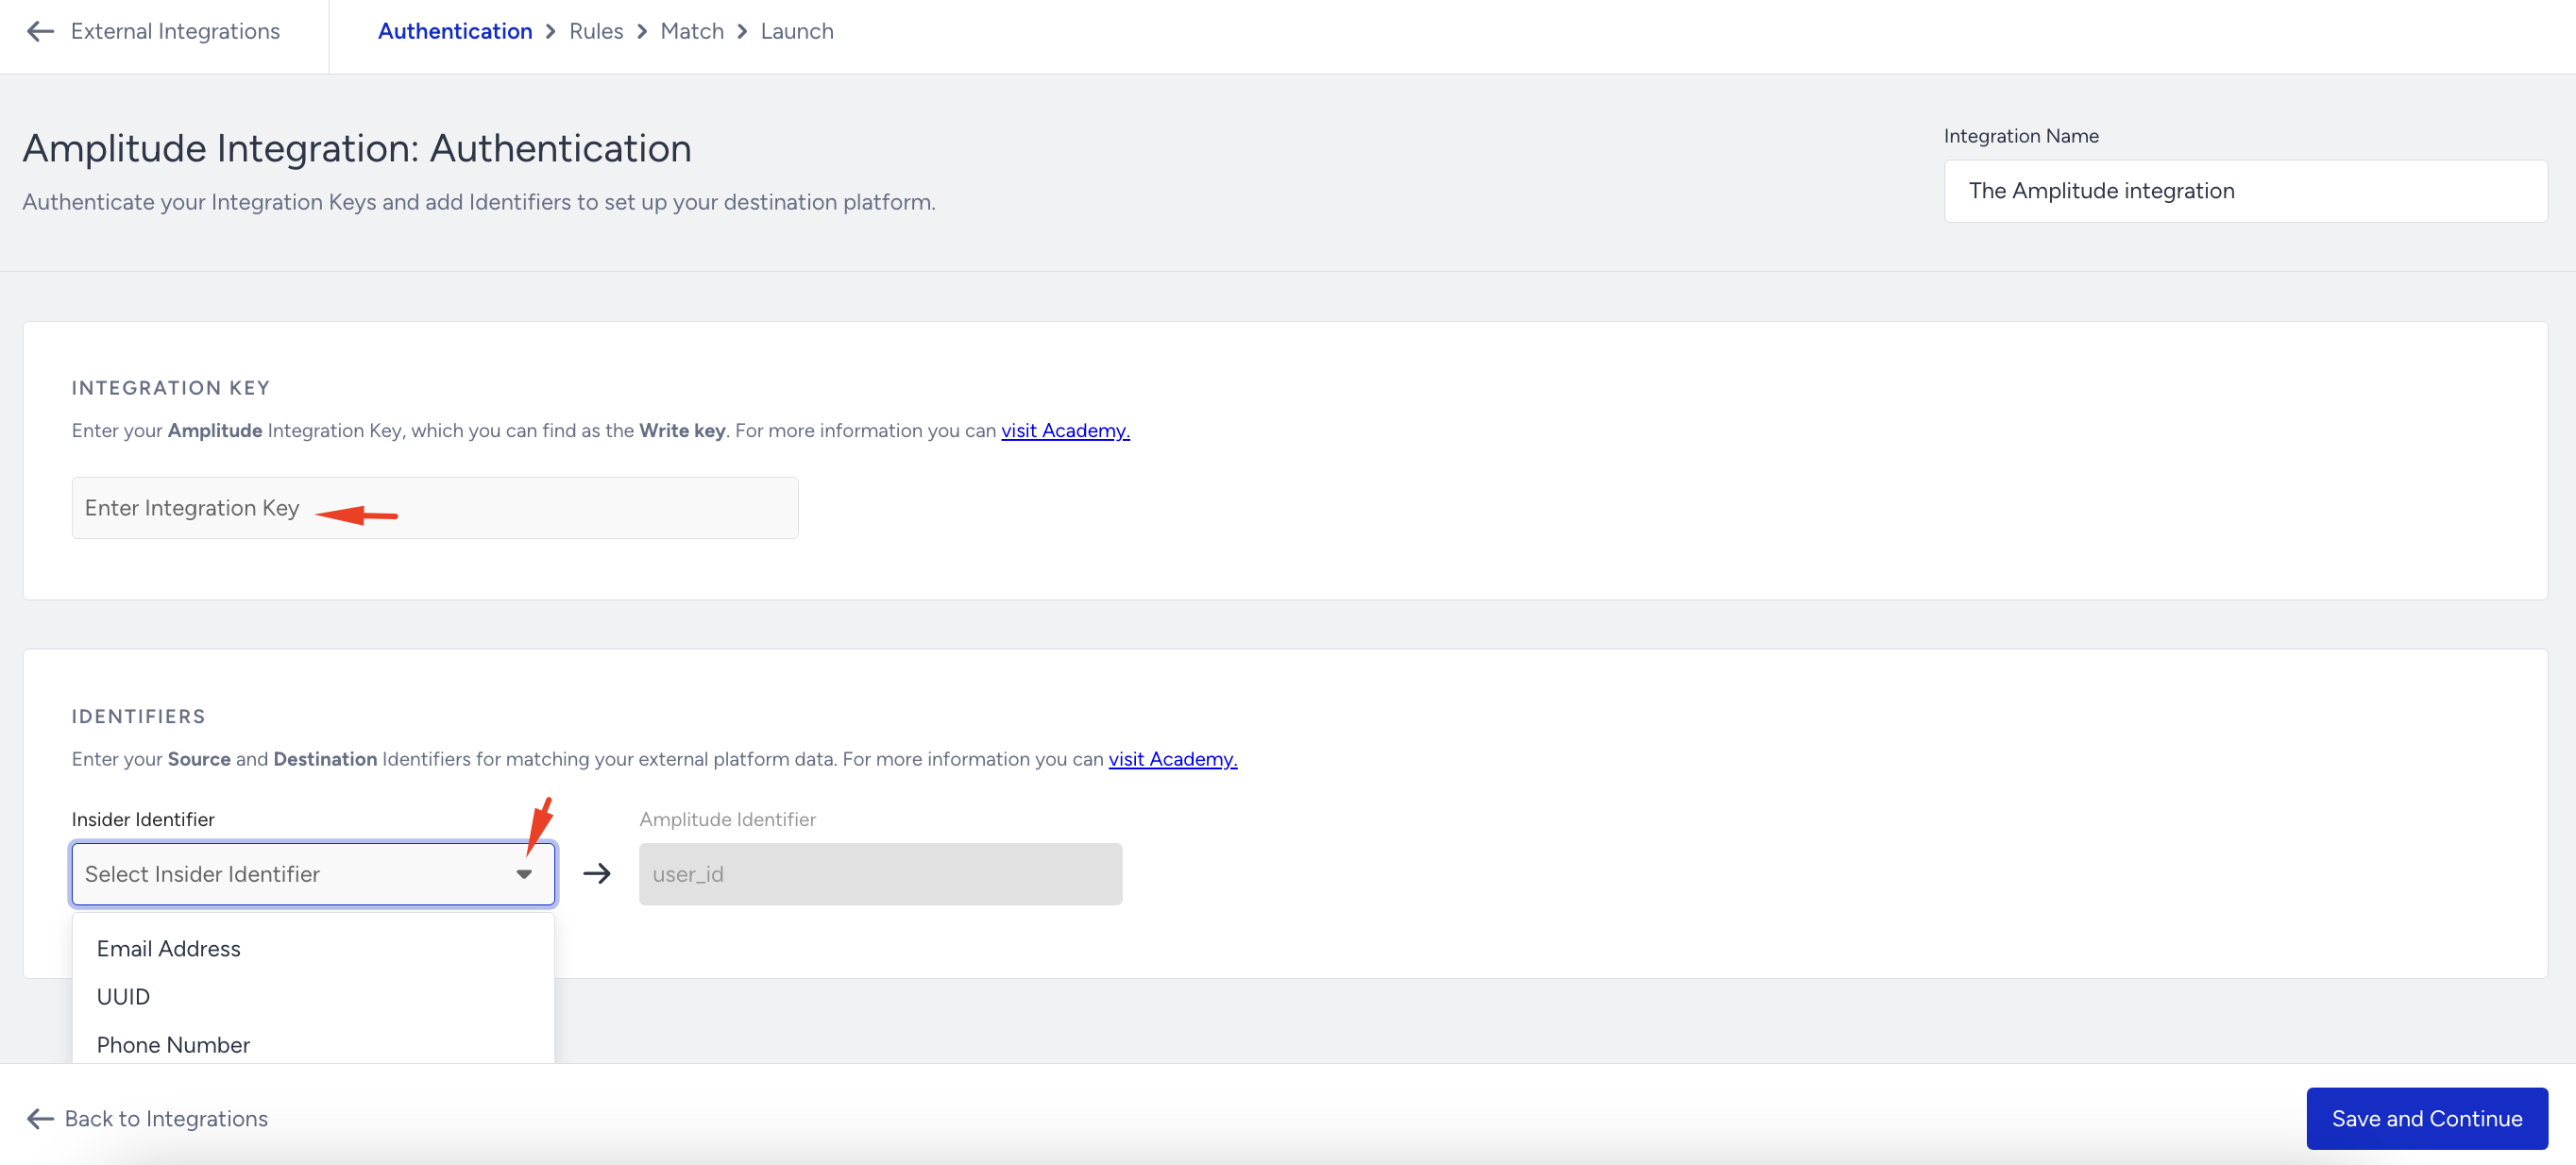
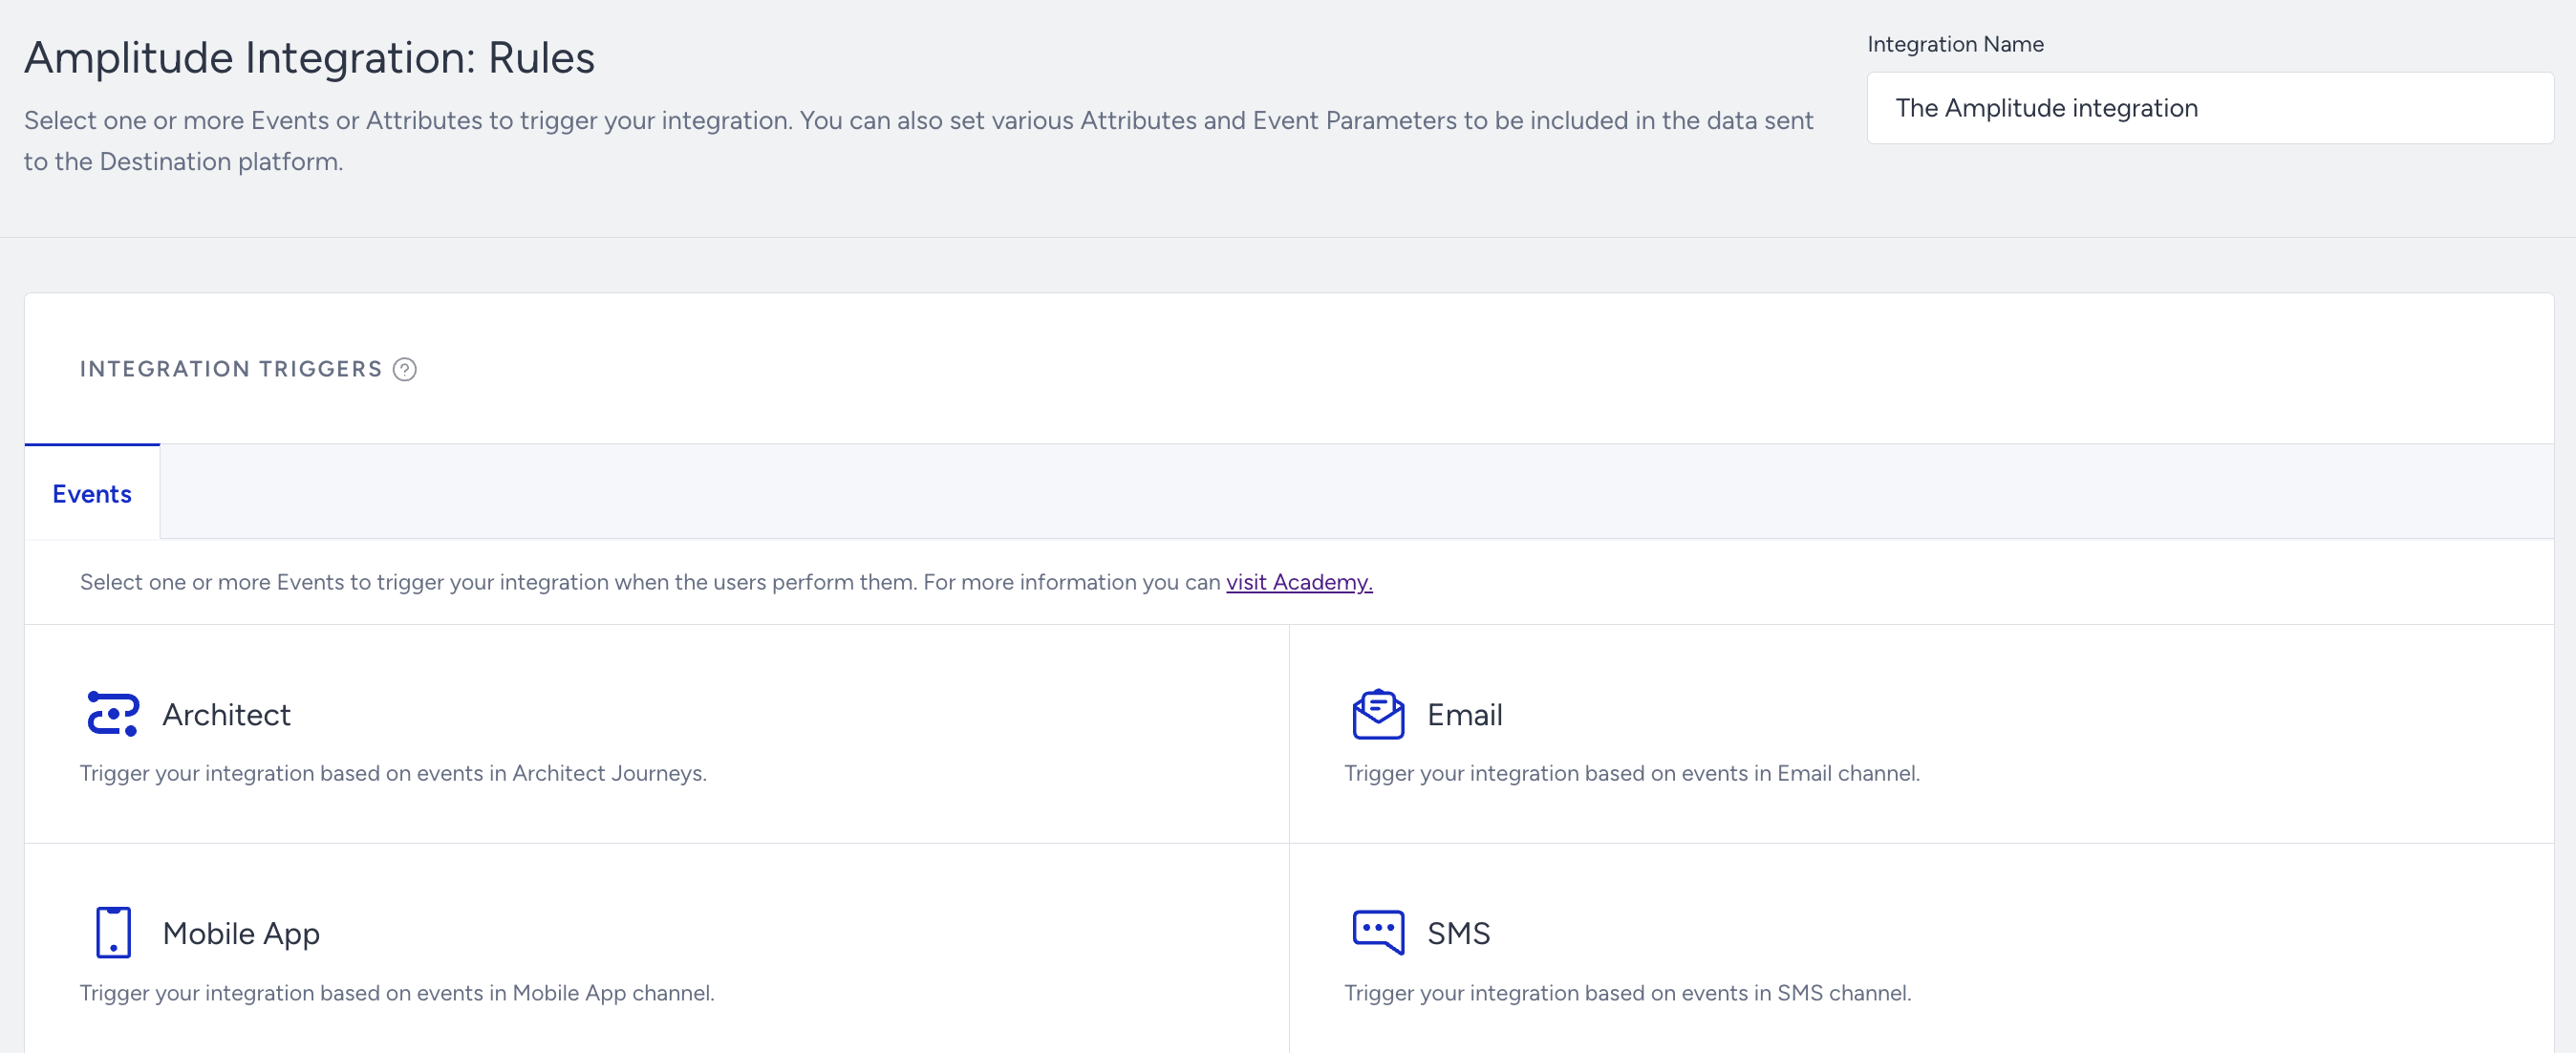
- Name your integration, and select Destination as the integration type.

- Copy the Integration Key from Amplitude and choose the Insider Identifier you want to associate with Amplitude’s user_id. Then click Save and Continue.The best practice here is to map Insider One’s UUID to Amplitude’s user_id.
- Continue with the Rules step after completing your Integration Key and Identifiers. You can select one or more Events to send to Amplitude.
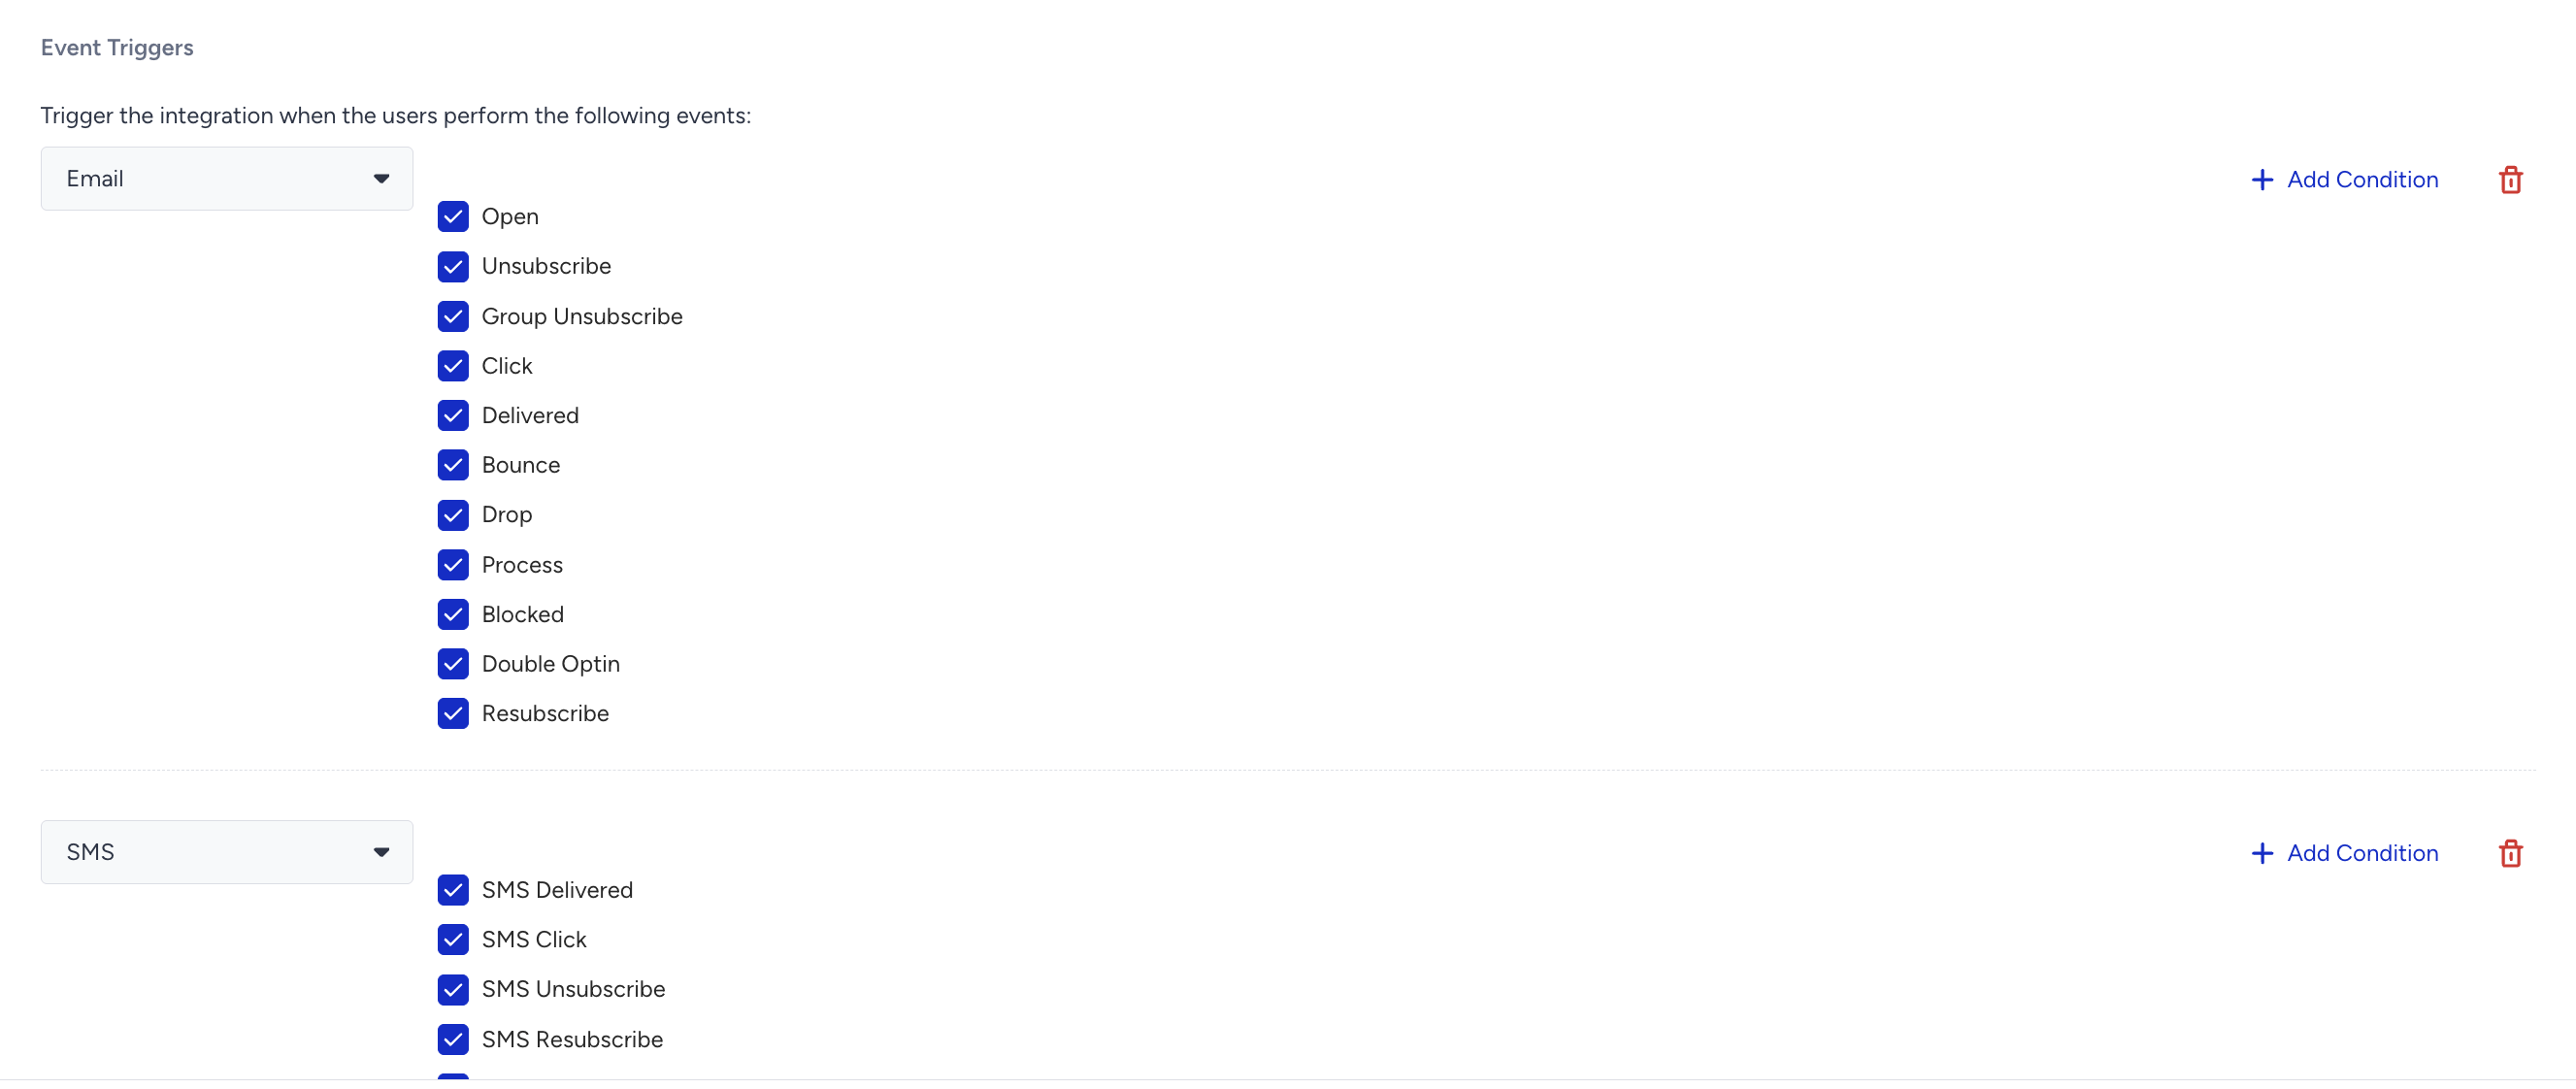
- Once you've chosen the initial event type to start data collection, you can view events categorized by type and choose which ones to include or exclude for collection. You can also introduce additional event types within the same section. You can also apply conditions to each event you want to send.
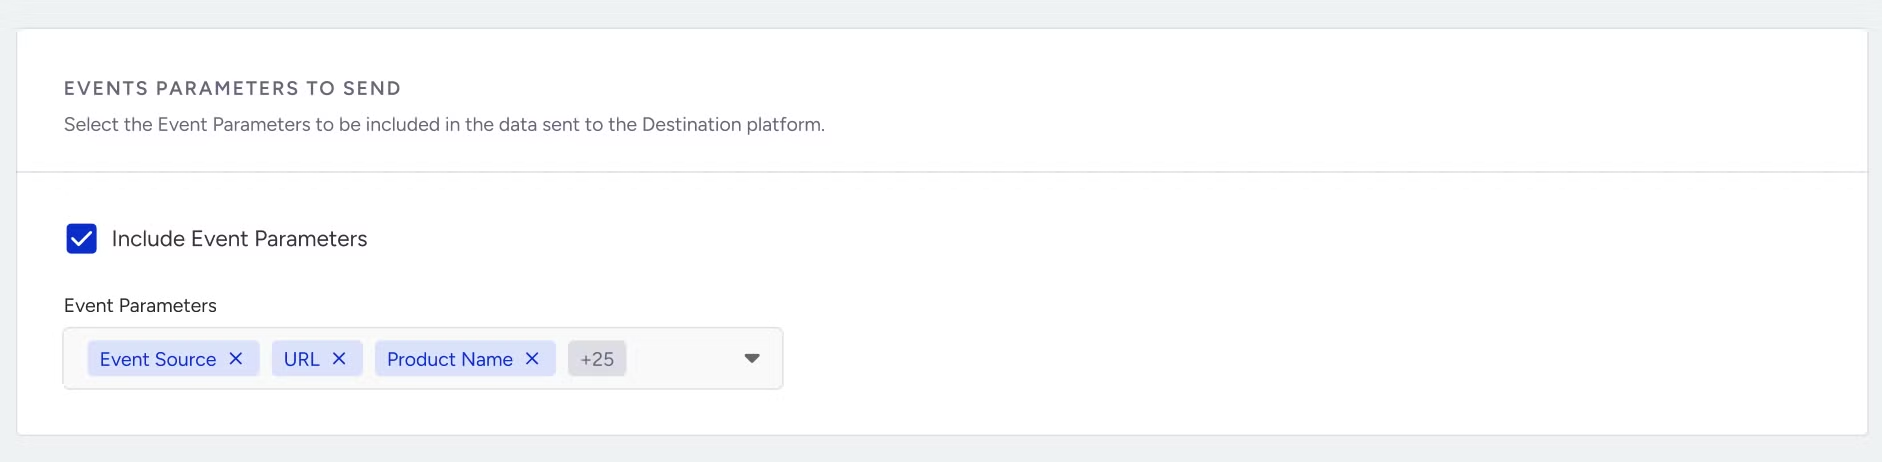
- The Event Parameter section will be enabled after you select an event. You can select the parameters of your events through the dropdown you want to send to your destination.
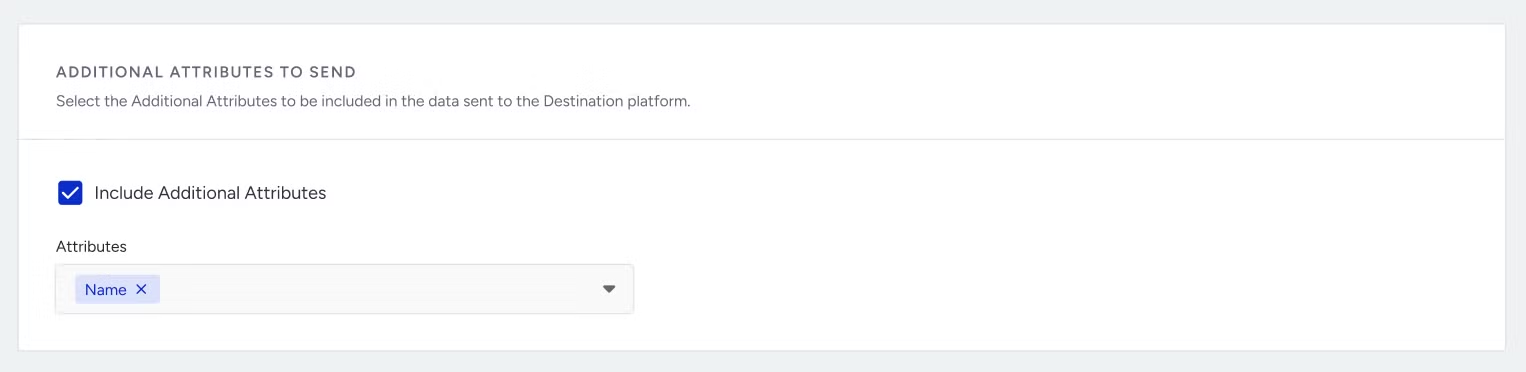
- You can select the additional attributes to be included in the data sent to the endpoint. If you want to include additional attributes while sending the event data to your destination, you can add them here. For example, if you are sending an email open event, you can also select the email address to which it is to be sent. This way, you can understand which email address opened in which email campaign.
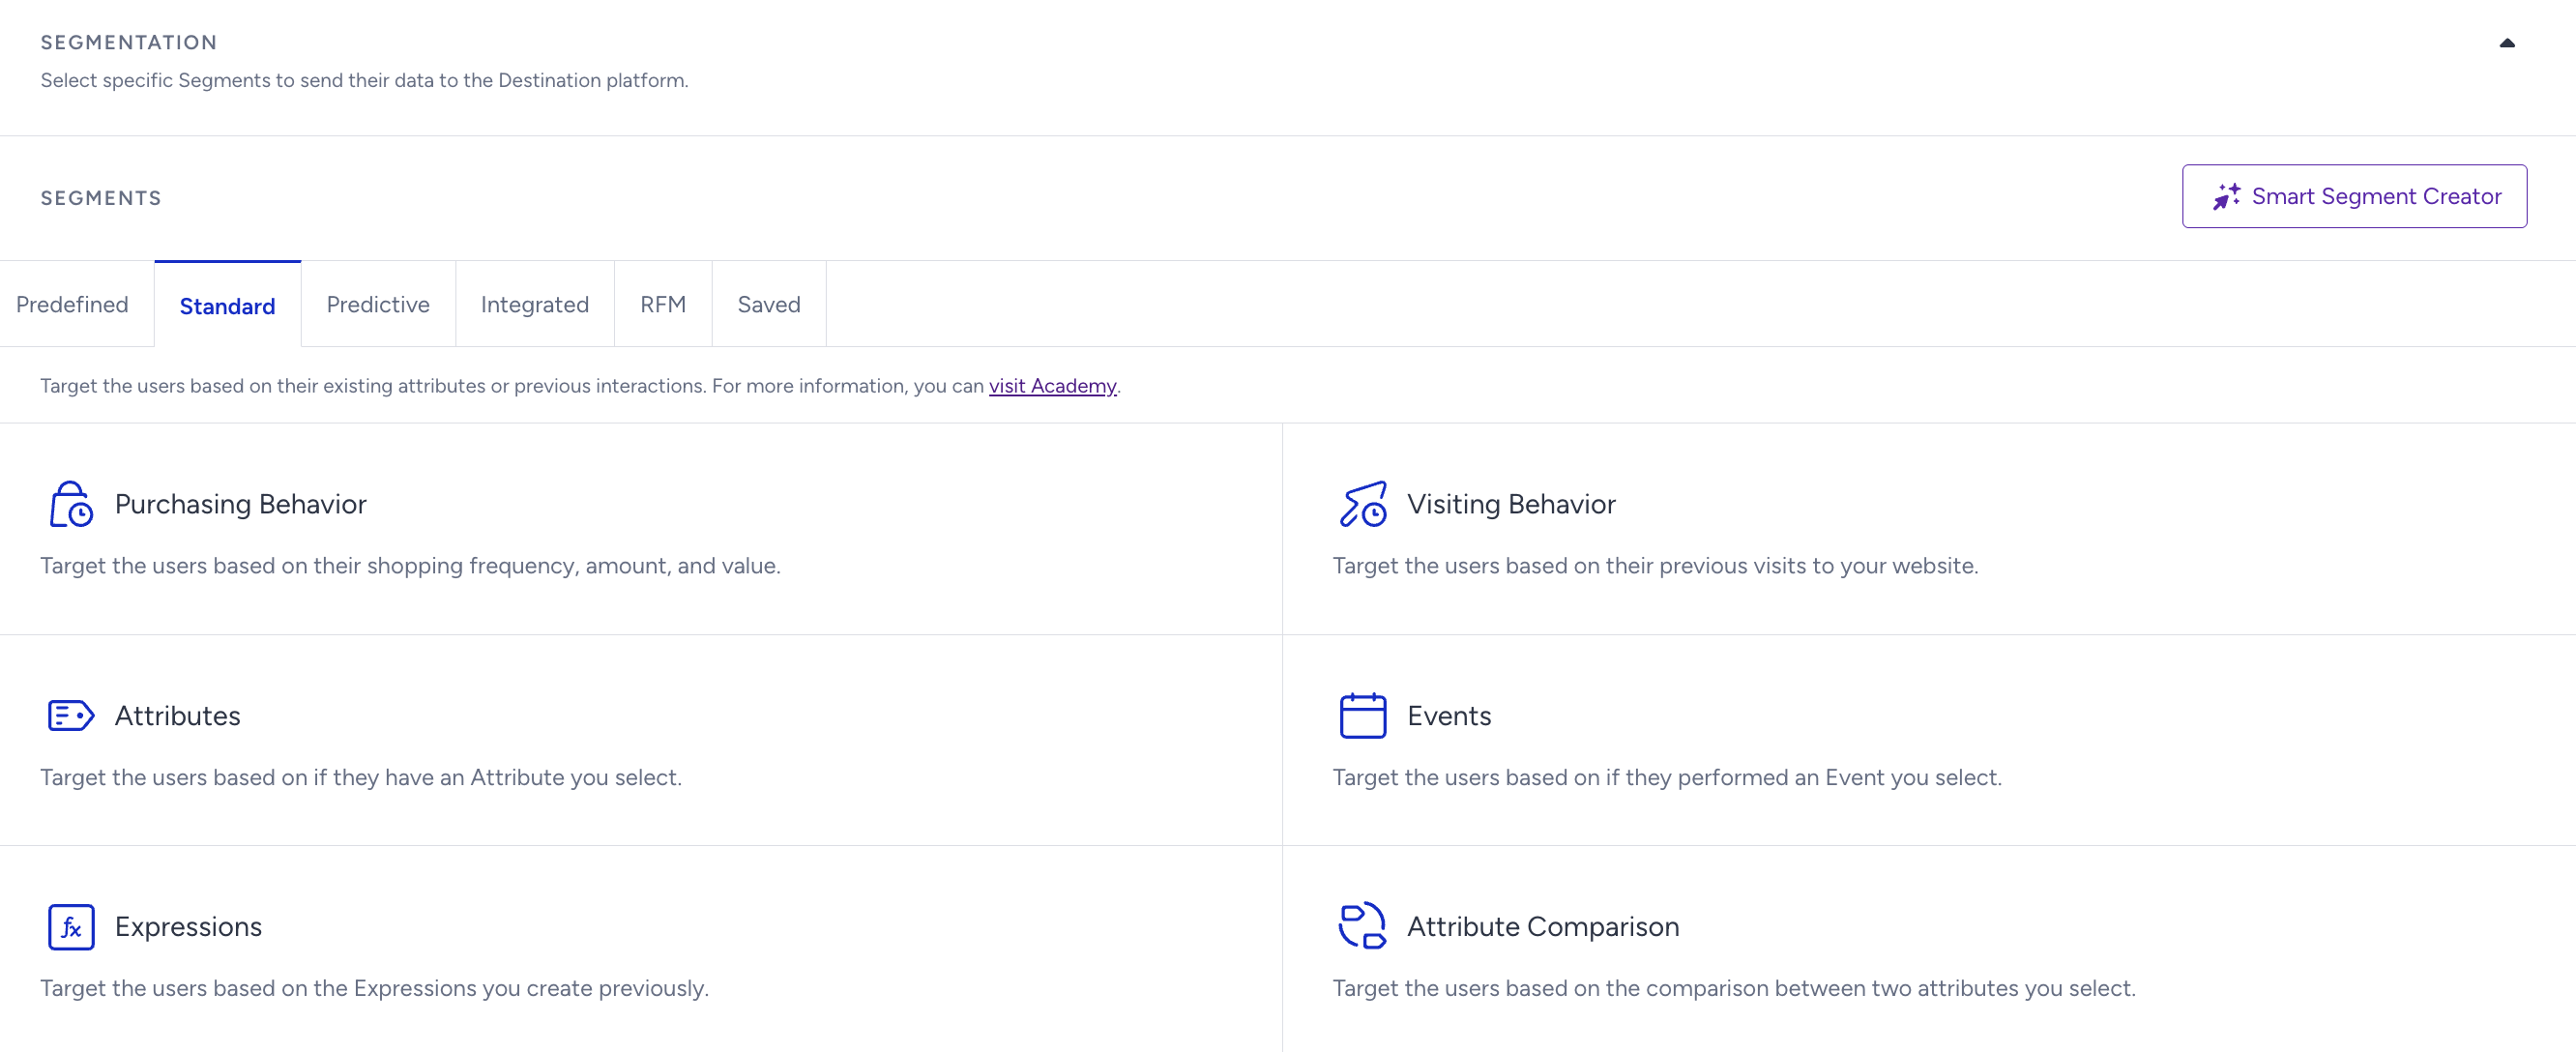
- Thanks to segmentation, you can also decide which users' data will be sent to the destination. For example, you can send an email open event only for users whose Total Purchase Amount was more than 100 USD in the last week. This way, you only get the data that you need in the destination.
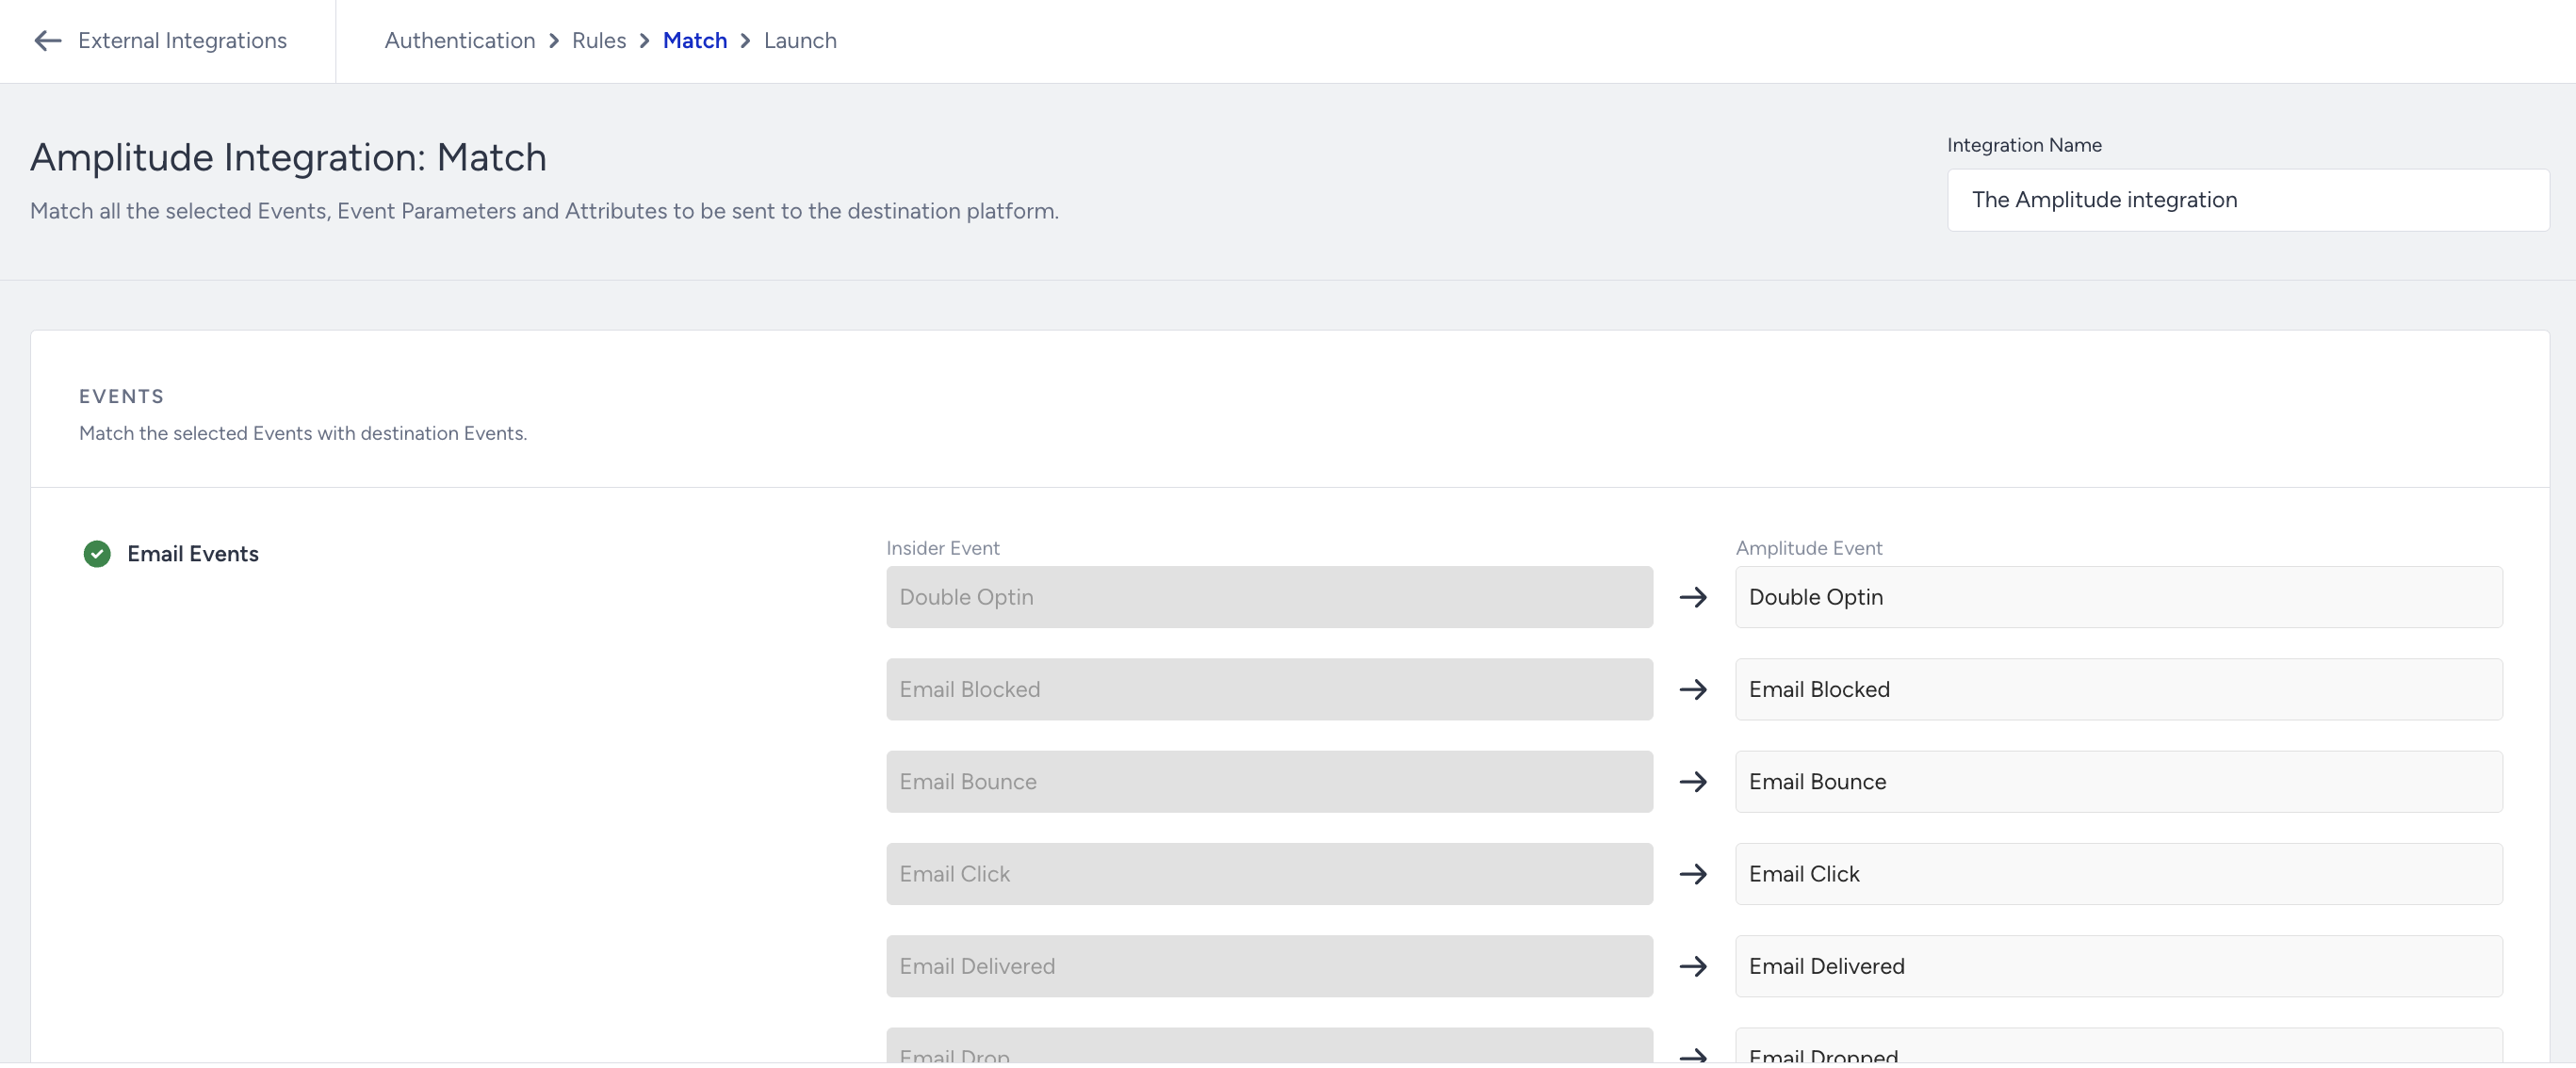
- After selecting the data you want to send and when to trigger it under the Rules tab, proceed to the Match tab. Match the selected Events with the events in the destination to ensure your data aligns with the schema you have in Amplitude.
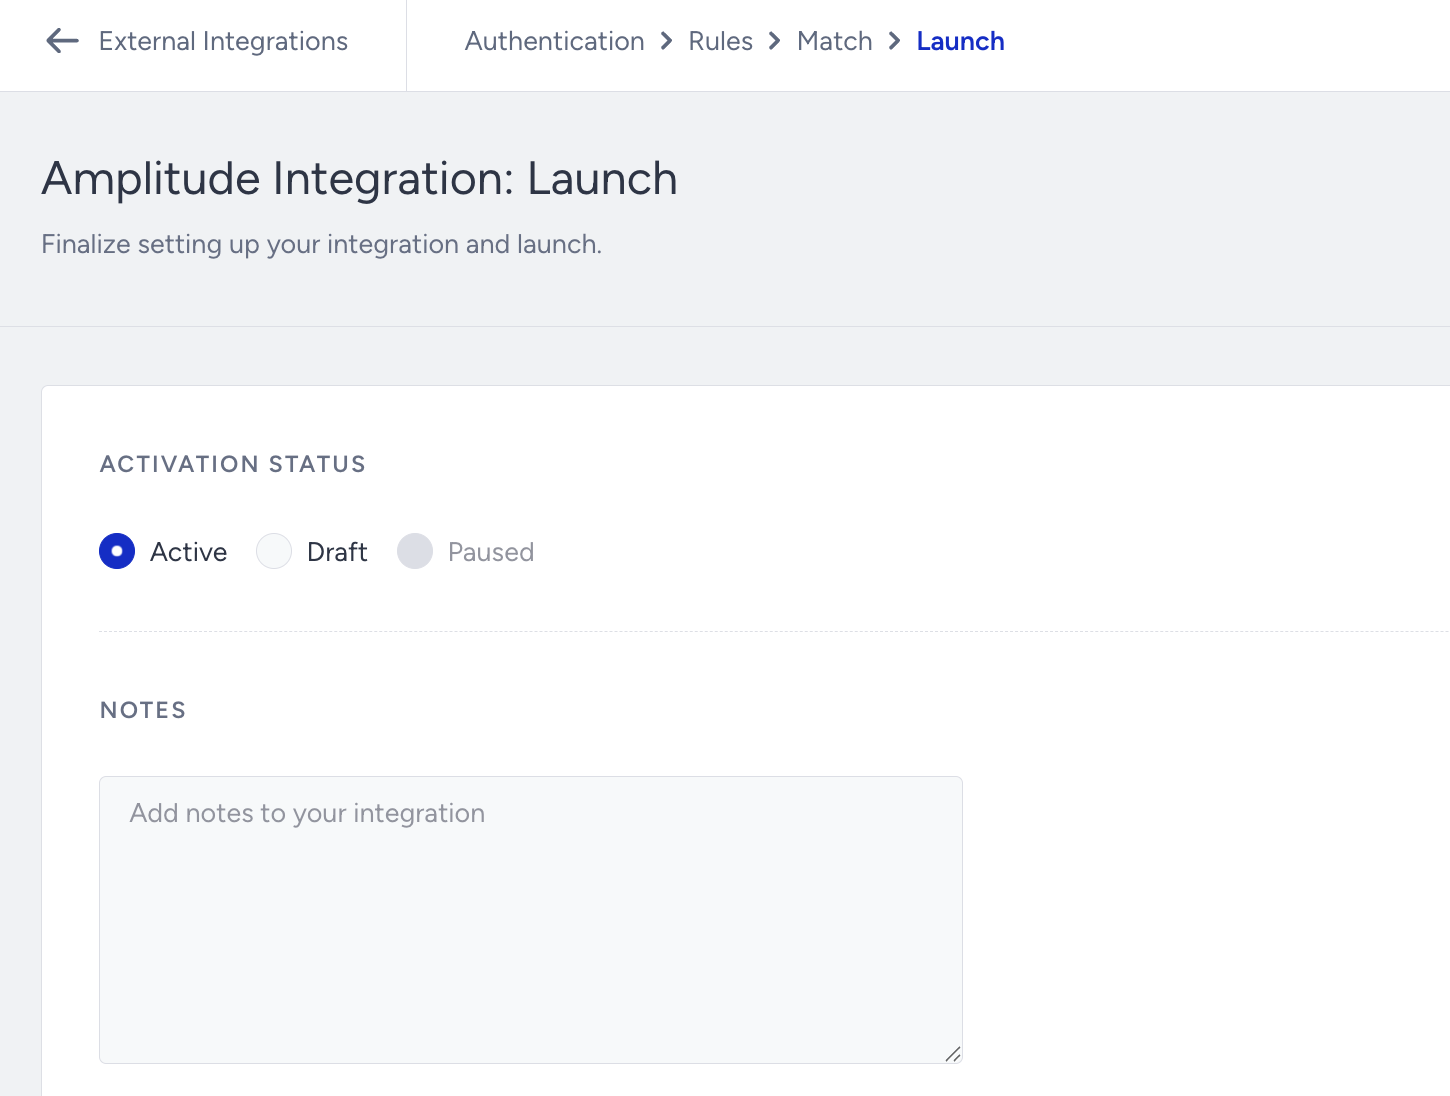
- Continue with the Launch step. You can either activate your Amplitude integration or save it as a draft. Select the Active status and click the Save as Active button to set your integration in motion.
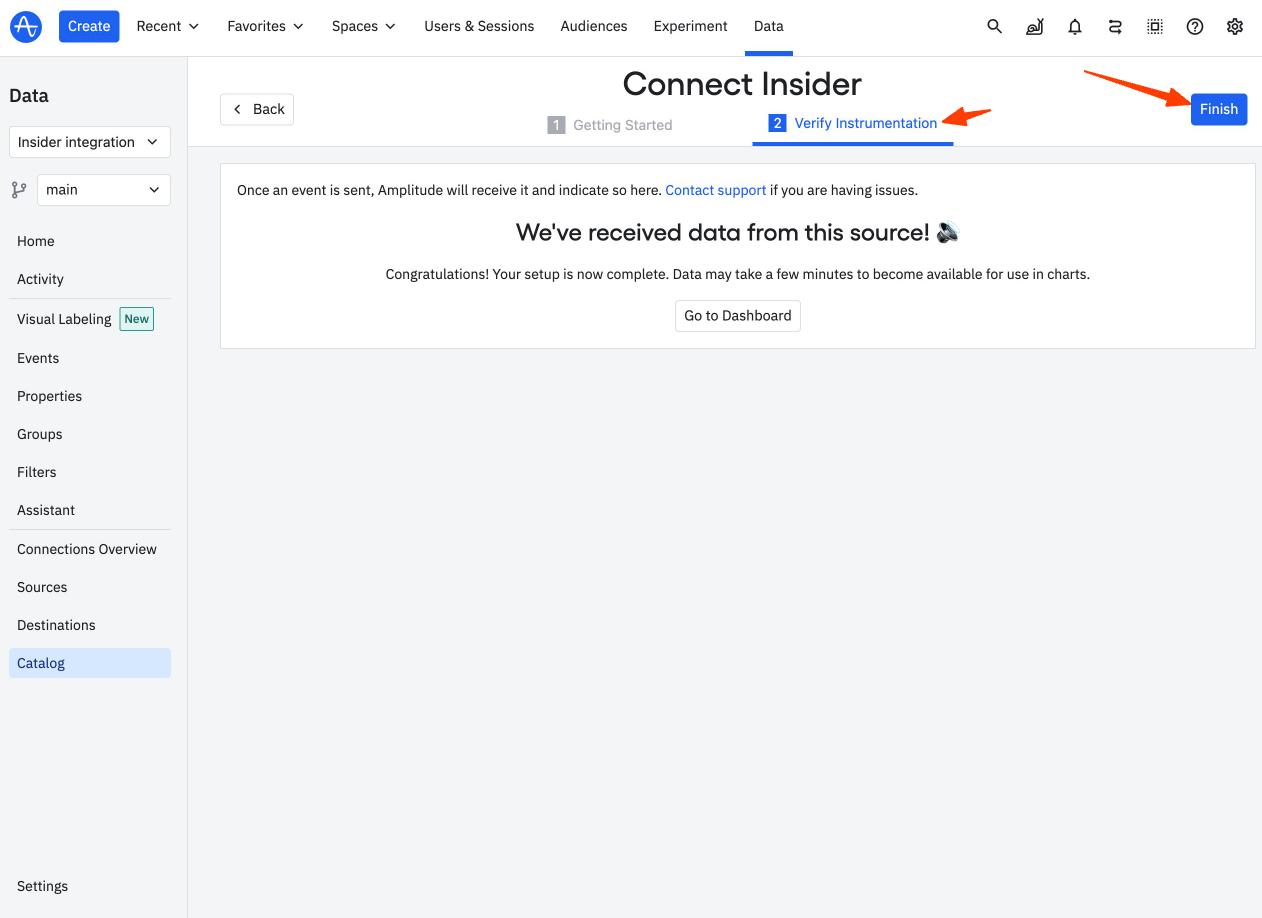
- The final step is to complete the integration on the Amplitude side. Return to your Amplitude account, click the Verify Instrumentation tab, and then click the Finish button to complete the integration.
Refer to Insider One IP Allowlist for Destinations for the list of IPs to allowlist.
Supported Events
All default events are forwarded to Amplitude.