General settings allow you to manage the settings that apply to your entire account and those for third-party integrations.
You can click your username > Settings > Mobile App Settings to navigate to this page.
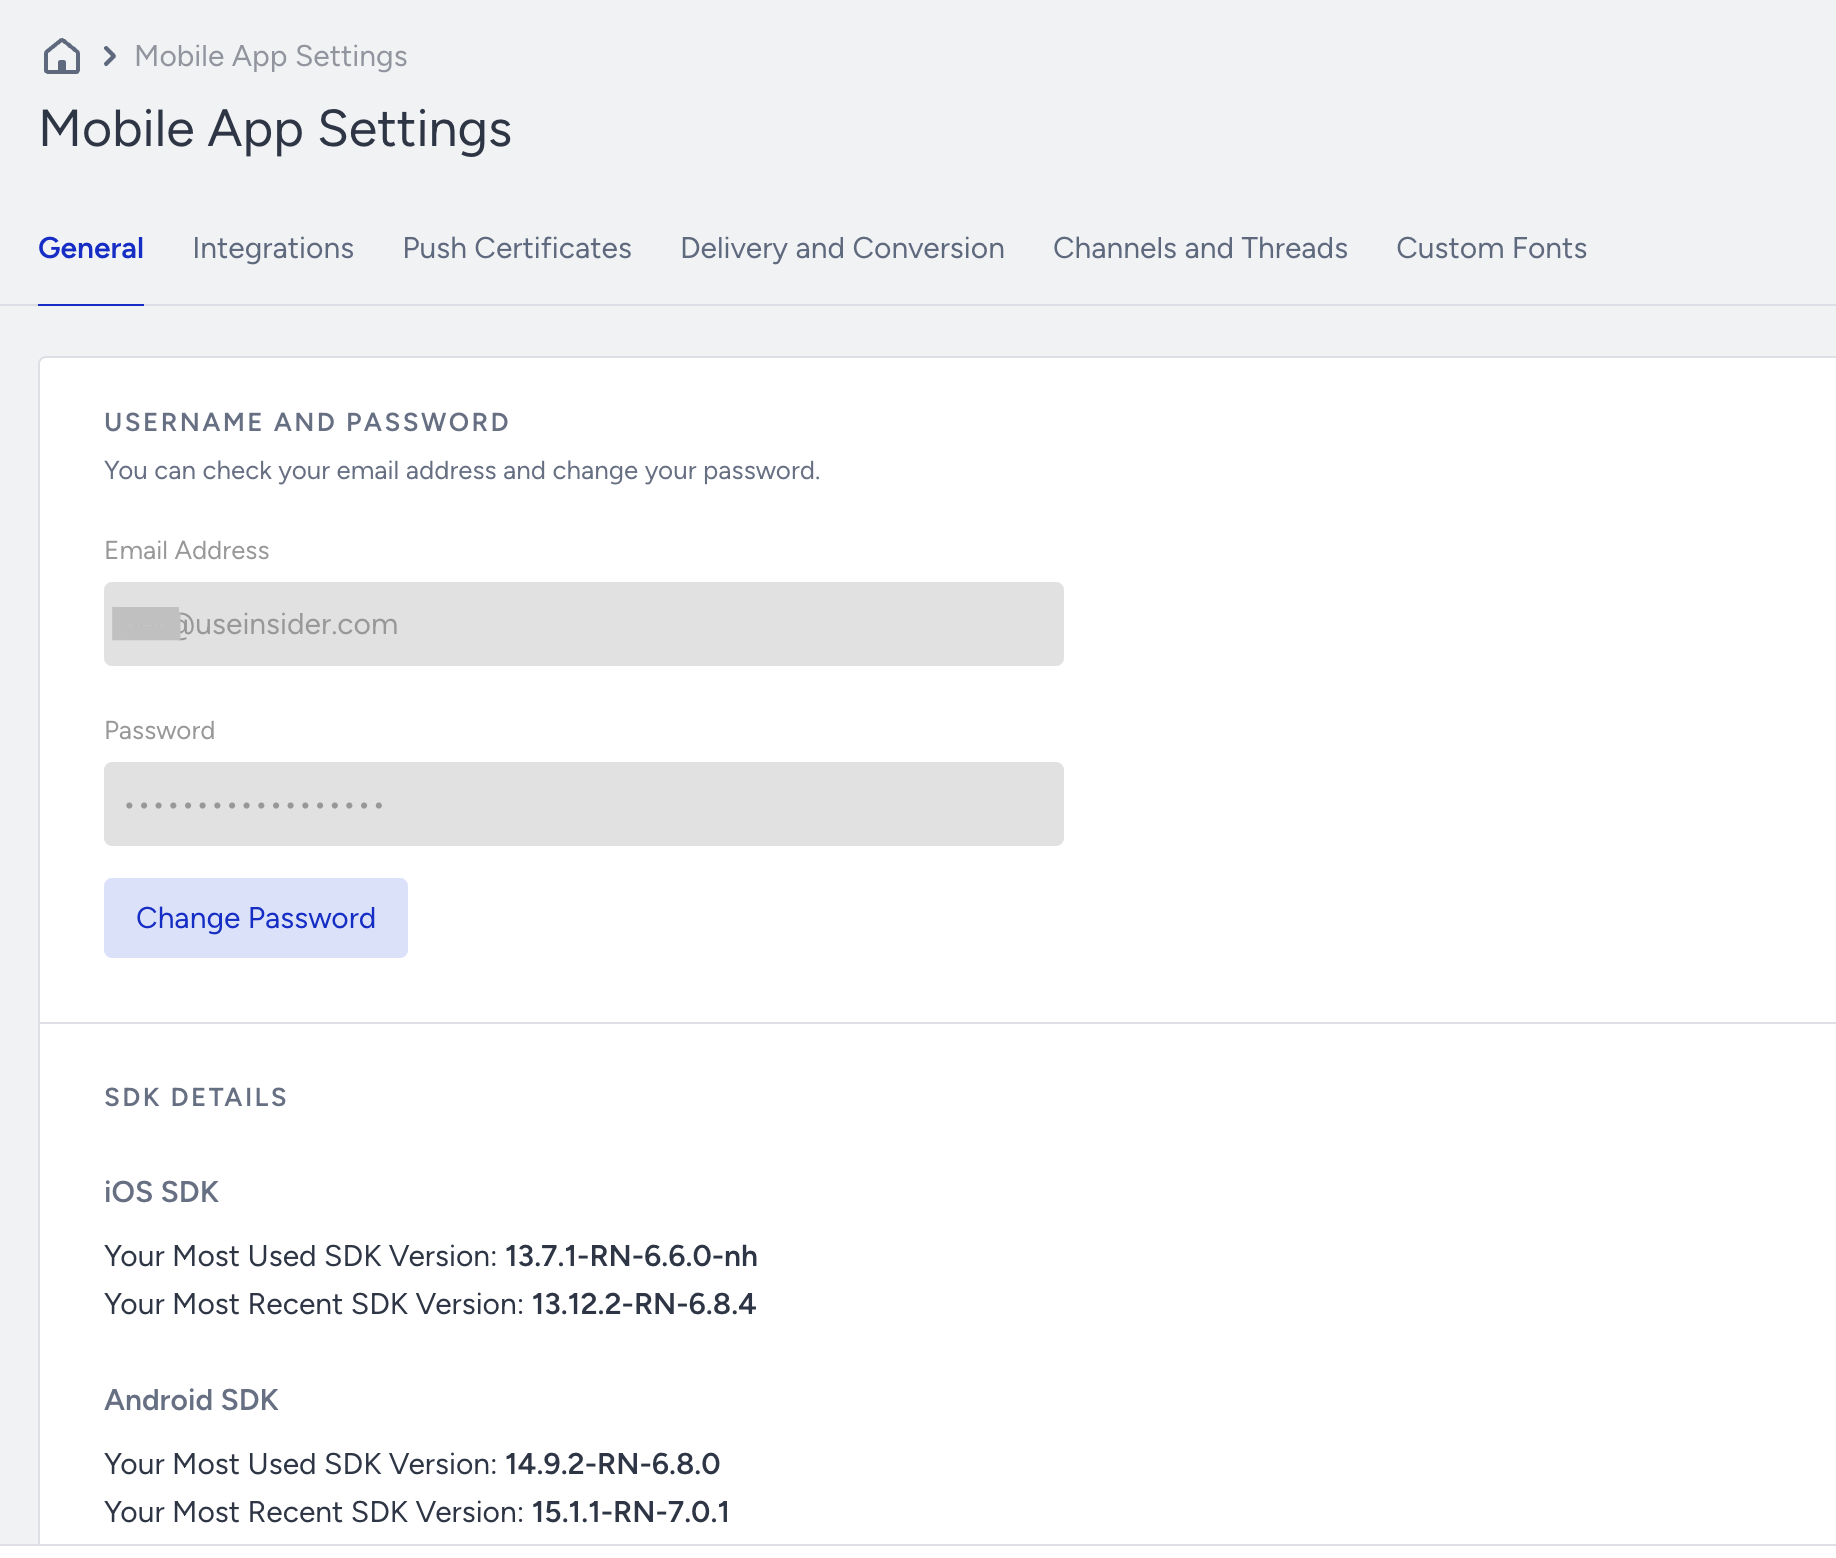
Username and Password
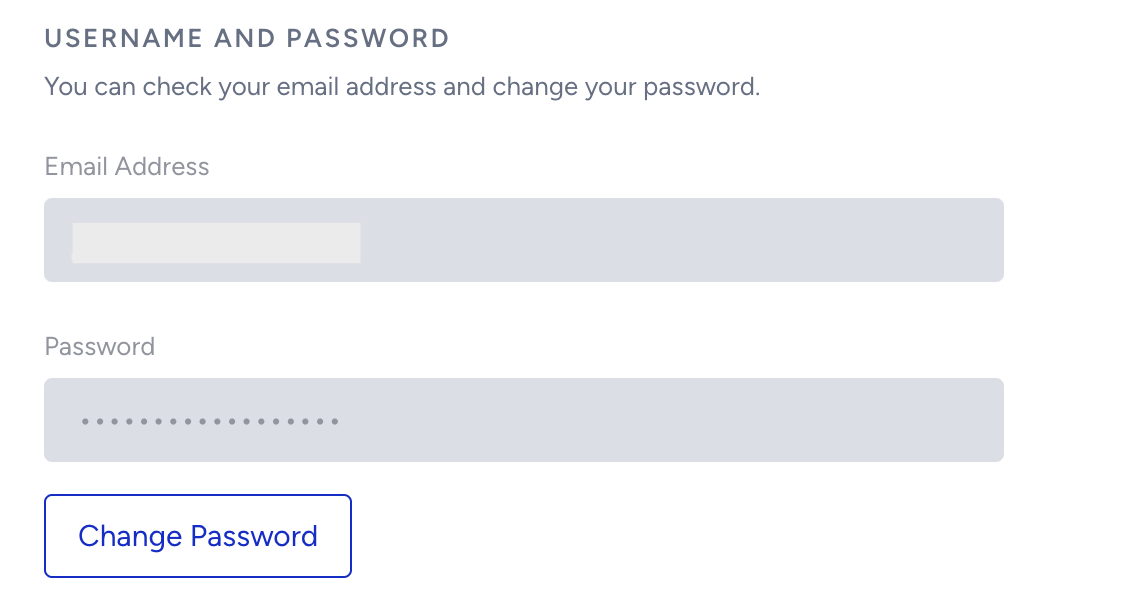
The email address in this field is the username you use when logging into your account. You can click the Change Password button to change your password at any time.
SDK Details
The most used and recent iOS and Android SDK versions are displayed in this section.

App Settings
In this section, you can upload an app icon and configure settings that apply to your entire account.
- App Icon:You can upload your company logo. If there is any logo uploaded by you or Insider One team before, you can replace or remove it.
- This logo is used as the default icon where applicable.
- This icon will also be displayed in the push notification previews viewed on the panel.
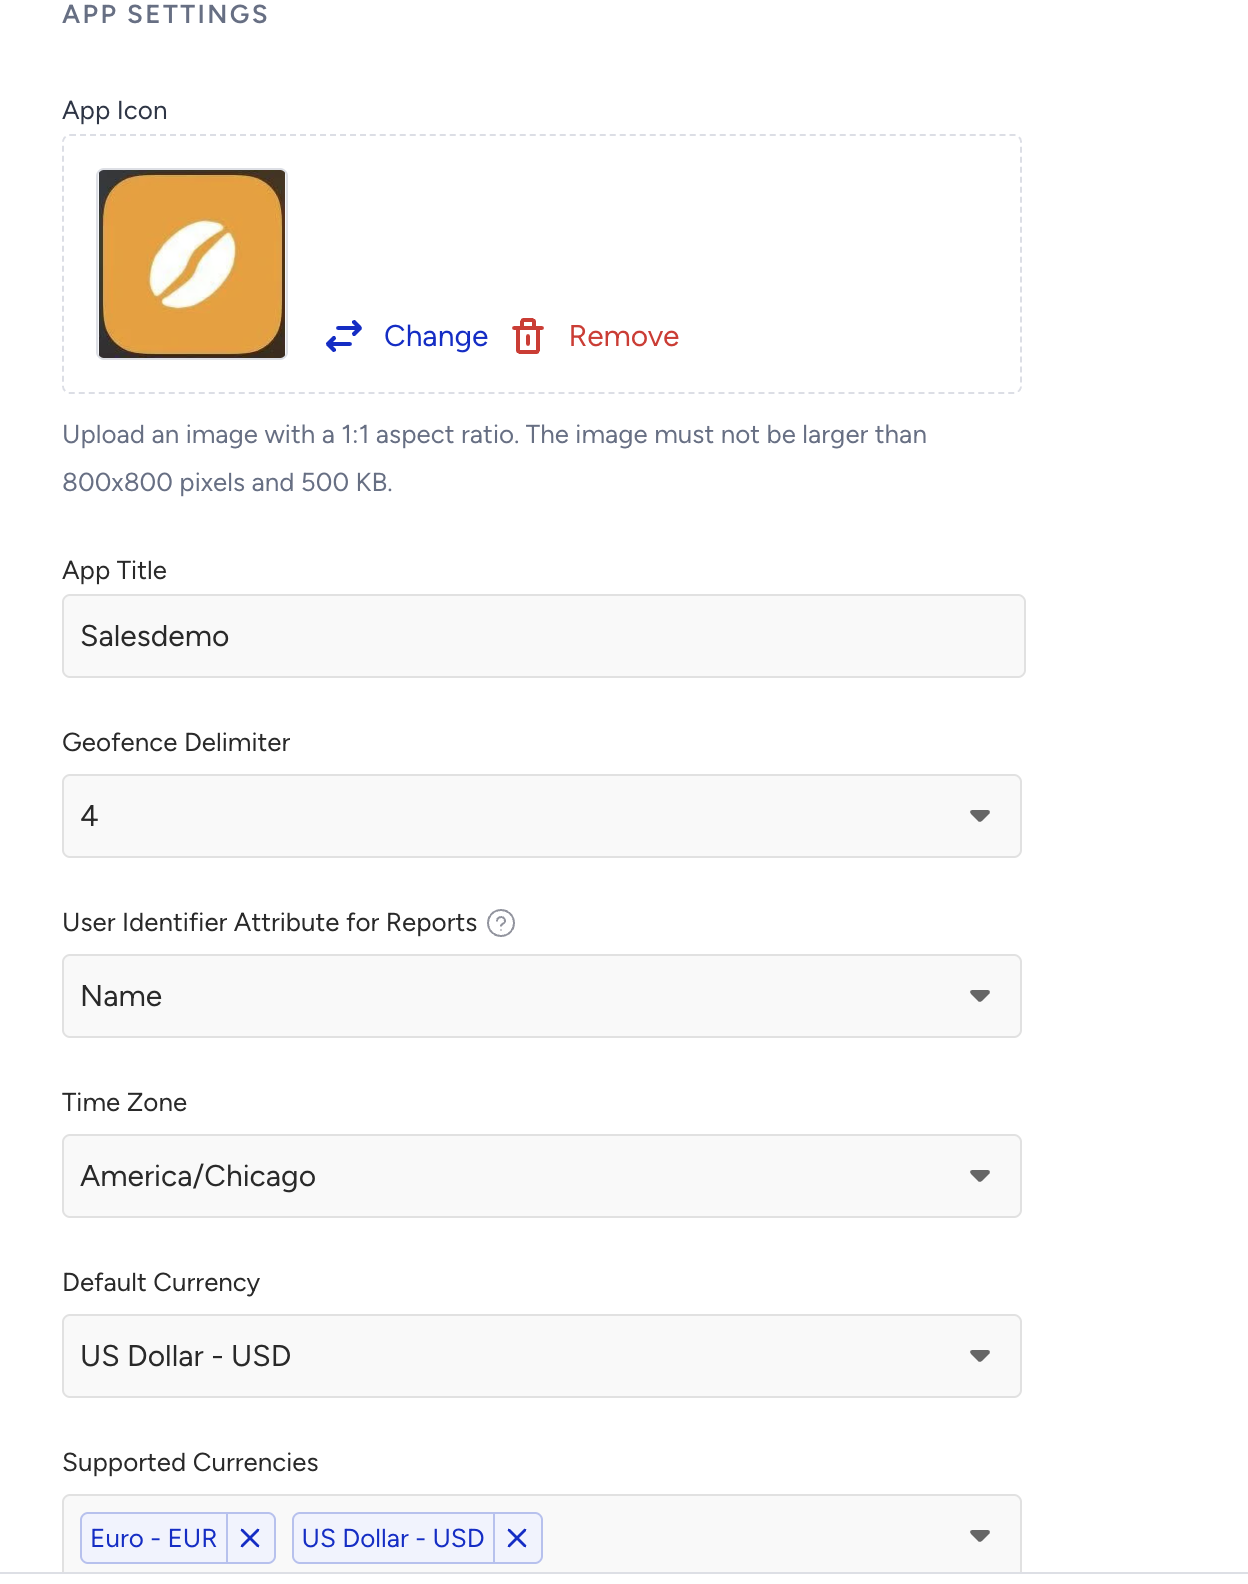
- App Title: This title is your account name that you see when you log into your dashboard.
- Geofence Delimiter: You can set a maximum number of geofences you want to track for a user at the same time. You can track up to 20 geofence locations for a single user.
- User Identifier Attribute for Reports: You can use this field to select a primary identifier for your users. It sets the default user attribute added as the first column in reports with user identifiers.
- Time Zone: Your campaign duration will be based on this time zone. That's why you should select it accordingly.
- Default Currency: The default currency on your app. You must select the correct currency as it affects your reporting.
- Supported Currencies: The currencies that are supported on your app.
IP Address Authorization
You can add IP addresses to authorize access to Inone.
You can click your user name > Settings > Mobile App Settings > General to access this section.
1. Click the Add IP Address button.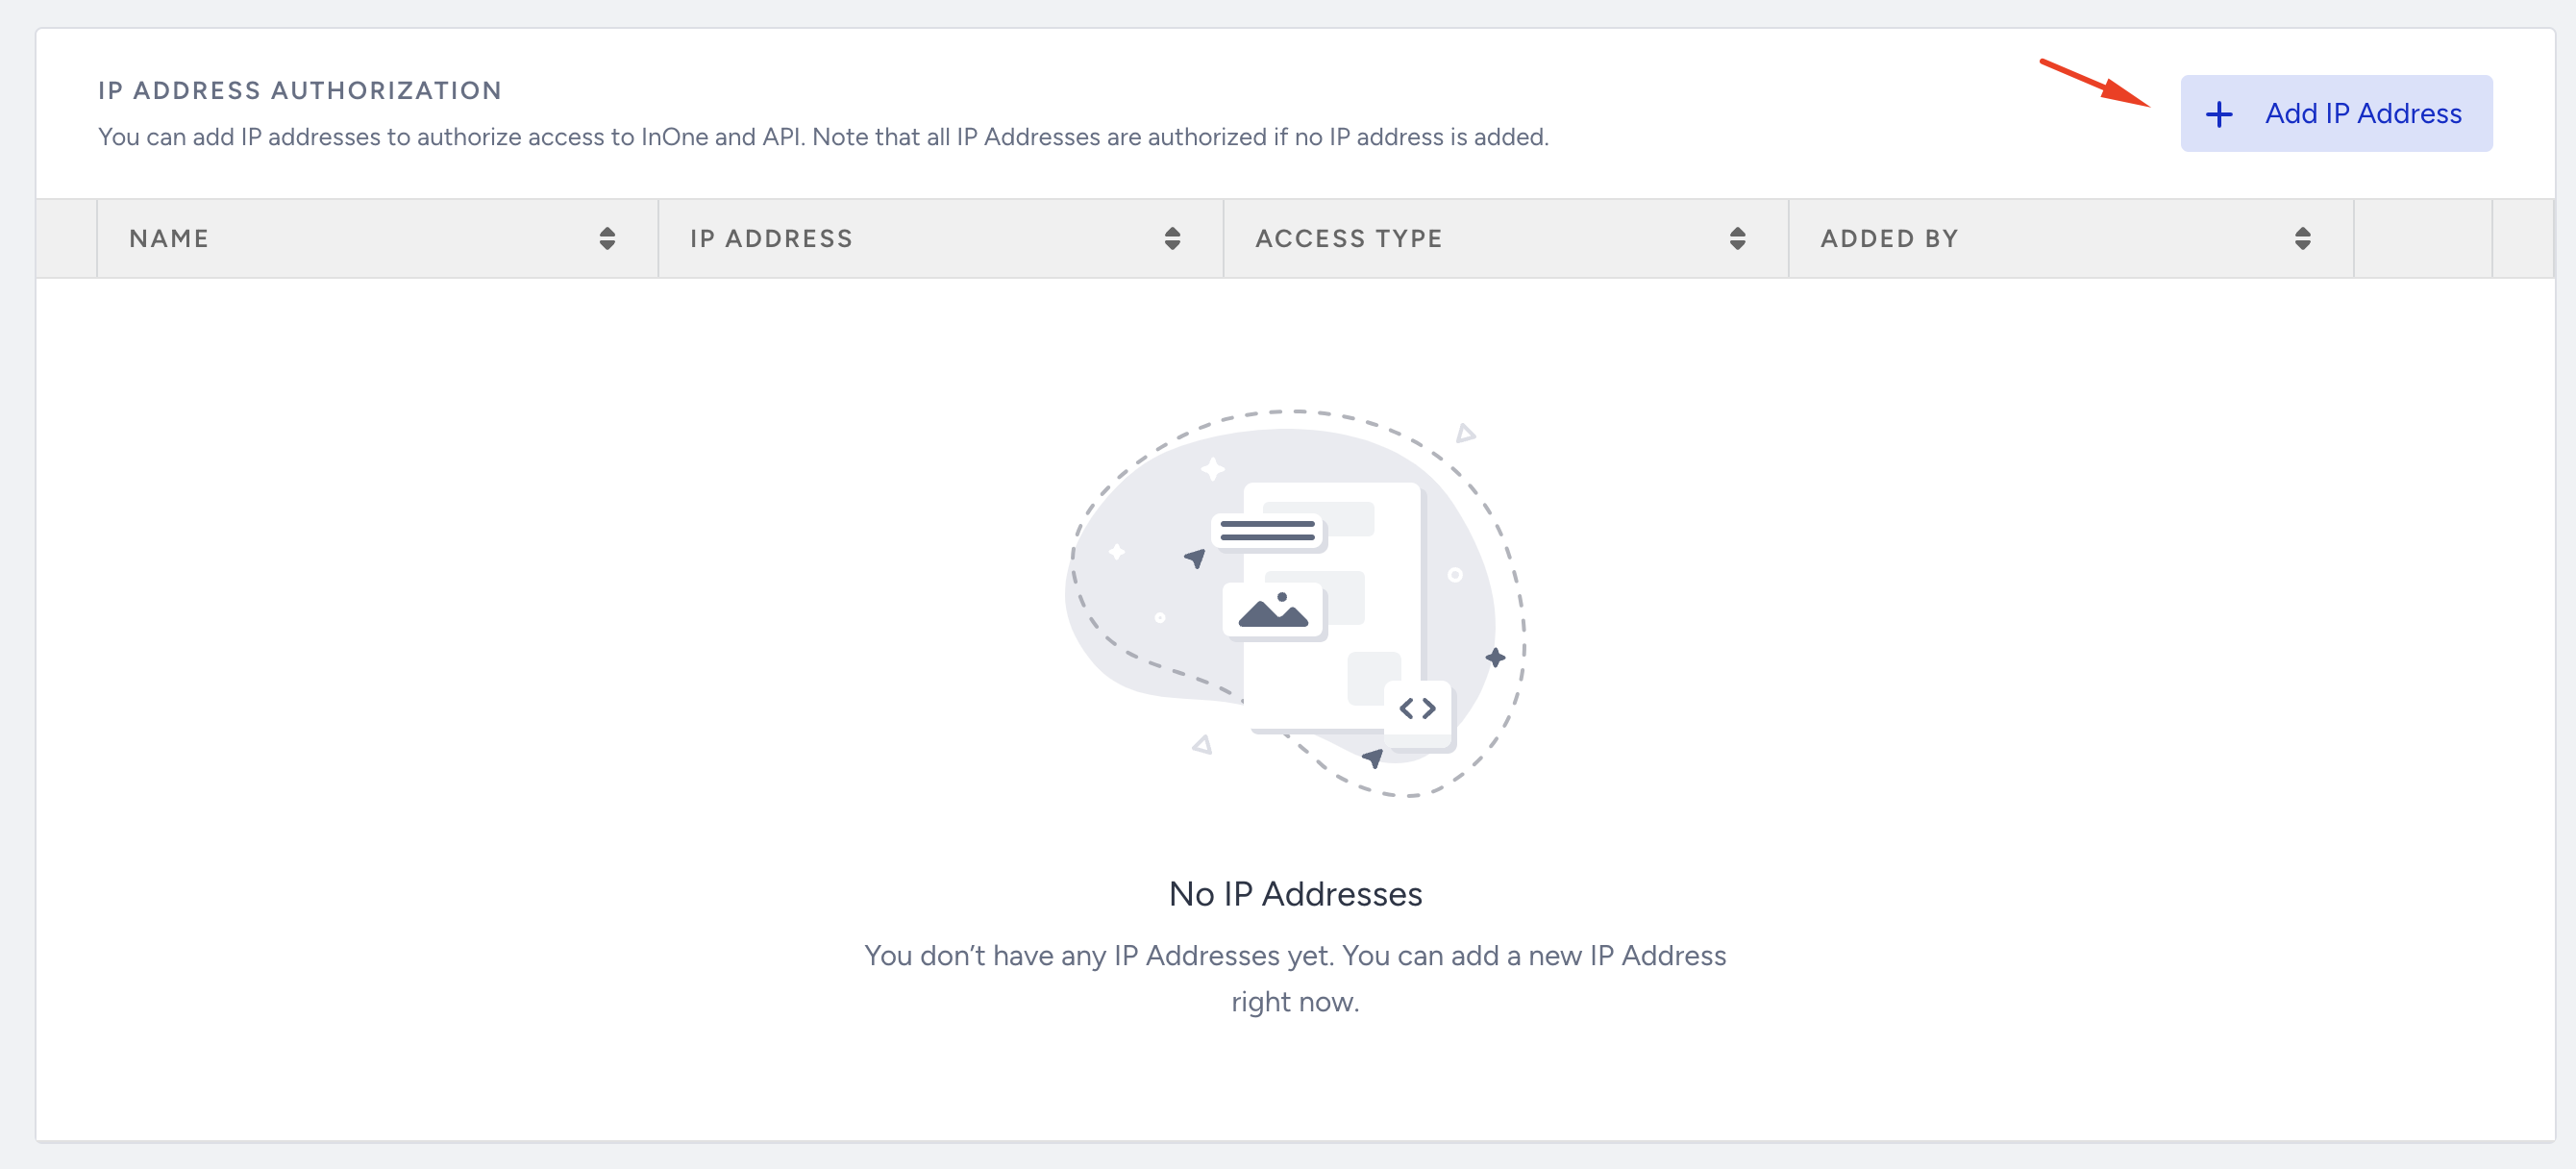
2. Choose the access type, name your connection, add the IP address, and click the Add button.
You can choose both or either access type.
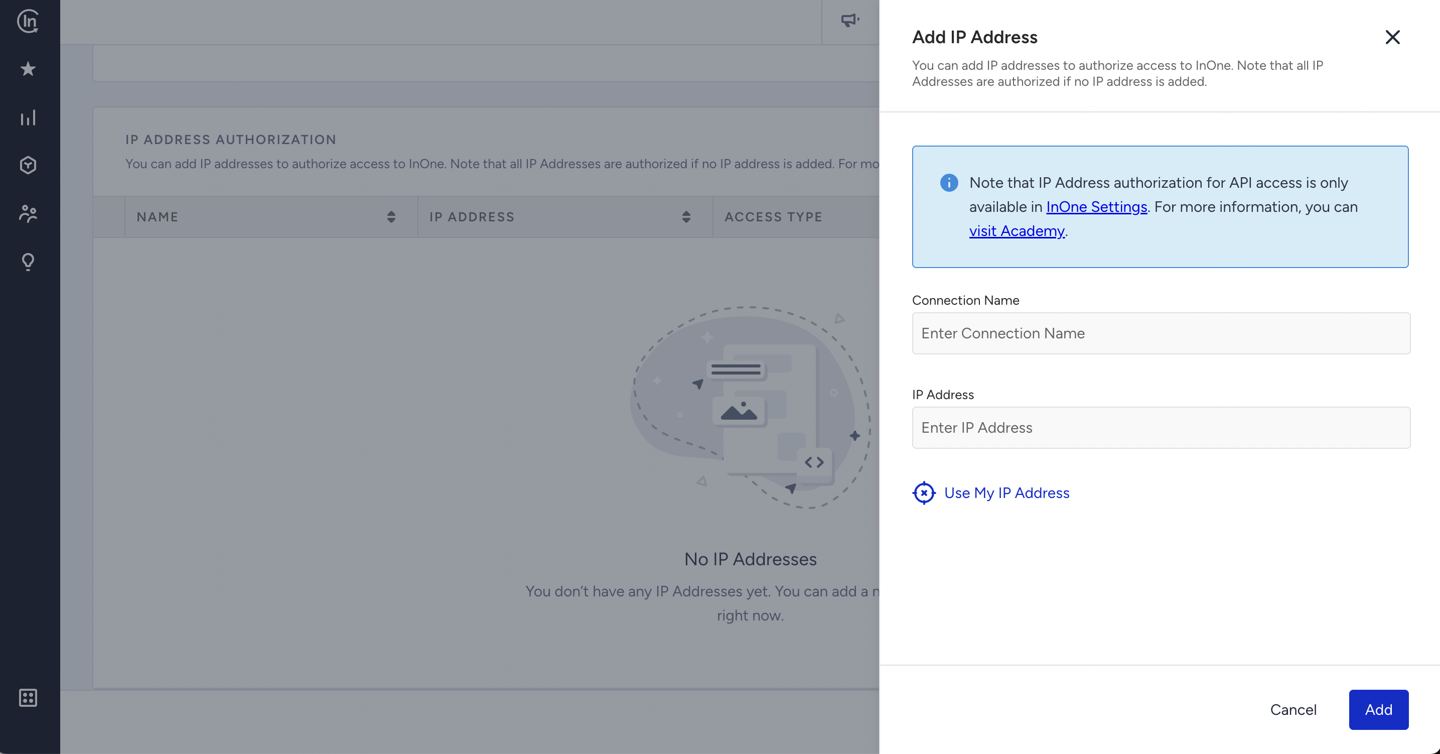
You can also click the Use My IP Address button to add your own IP address directly.
3. Click the Add button on the prompt to confirm the IP address.
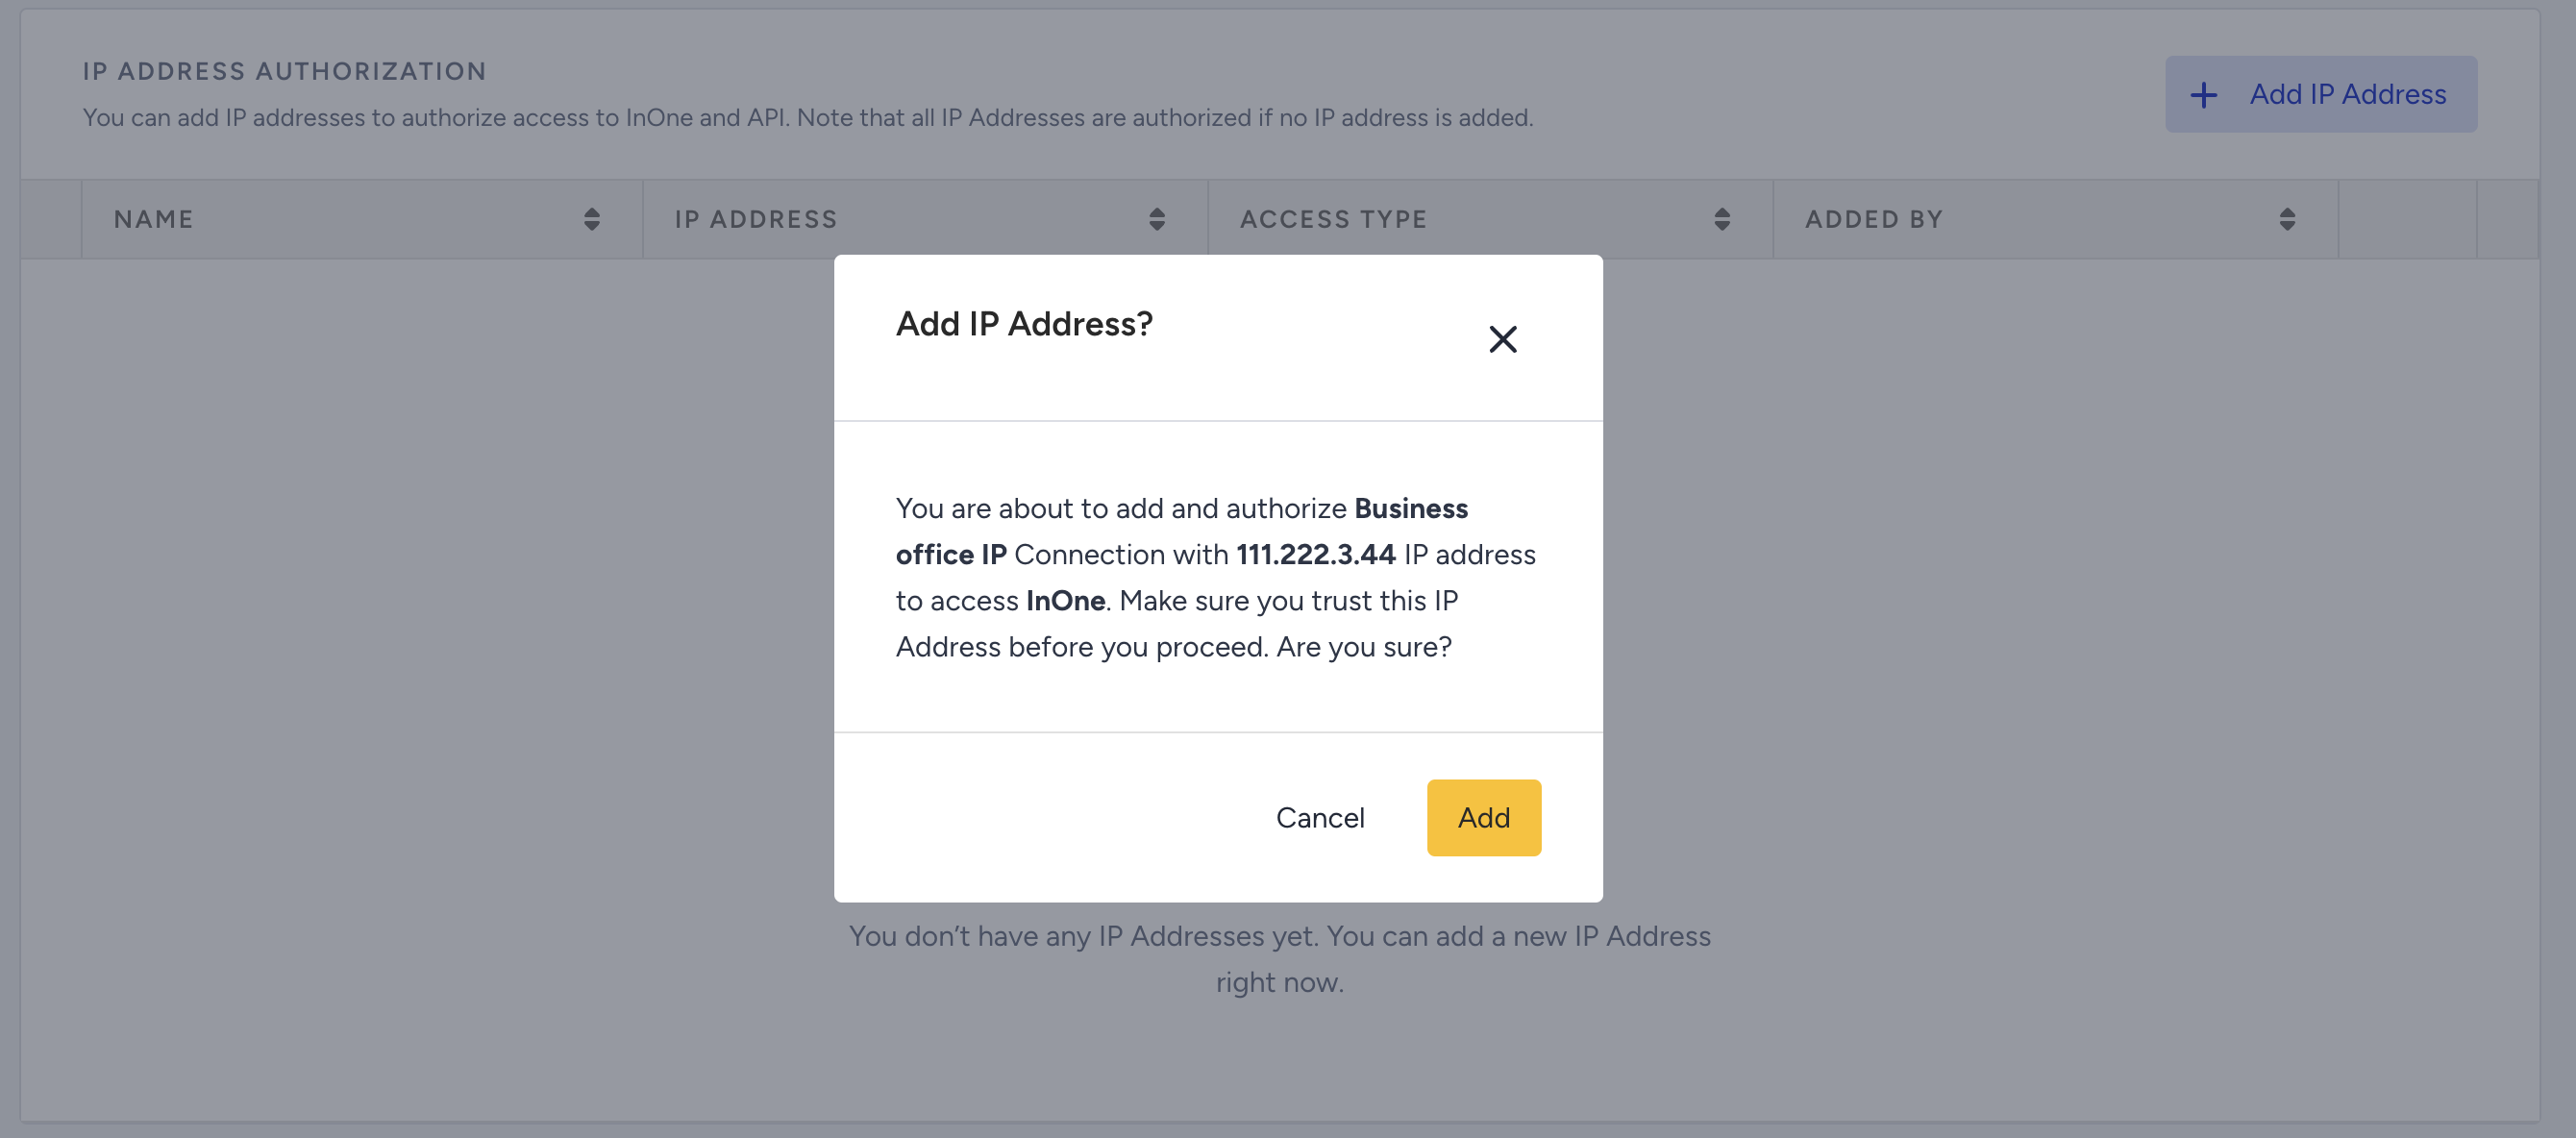
Once you save this step, you can see it listed on the page. If you want to delete it, you can click the Delete button.

*CIDR stands for Classless Inter-Domain Routing. It’s a way to represent a group of IP addresses using a base IP address and a suffix that defines the size of the range. For example, 192.168.1.0/24 indicates that the base IP address is 192.168.1.0, and the first 24 bits of the address are fixed, while the remaining 8 bits can vary. This range encompasses all IP addresses from 192.168.1.0 to 192.168.1.255. That's 256 possible IP addresses in one range.