The Zapier Action is used to integrate MindBehind with other online platforms, thanks to Zapier's wide market. This action sends the current assistant state to Zapier for any further custom actions you want to do with that state. A simple scenario stores all user messages inside a Google Sheet.
Zapier Action is used to fire a Zap on the Zapier side and to send the following parameters in the body of the message:
- params: The current state params.
- lastIntent: The last intent the AI predicts for the user input.
- message: The last user message sent to the bot.
The flow will continue using the Zapier Action connection.
To use the Zapier Action,
1. Go to Zapier, log in with your credentials, and click the Create Zap button. 2. Type MindBehind and select it.
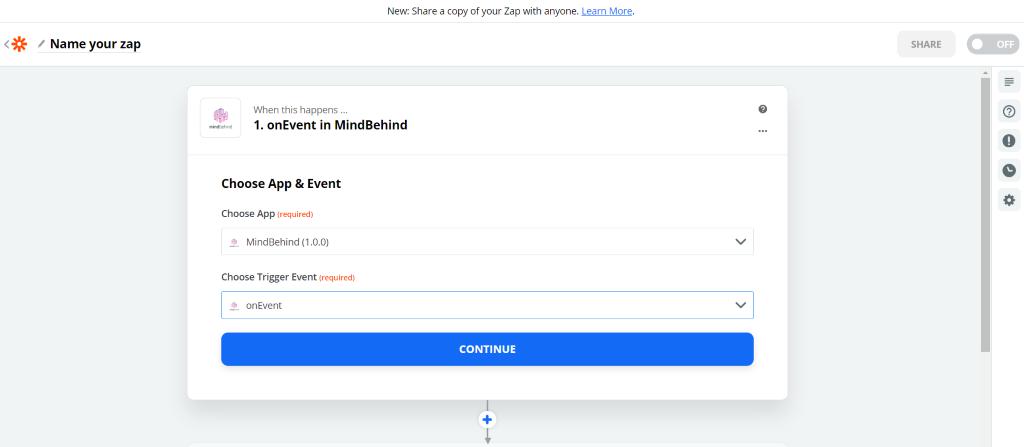
3. Log in to MindBehind with your MindBehind credentials and click the Continue button.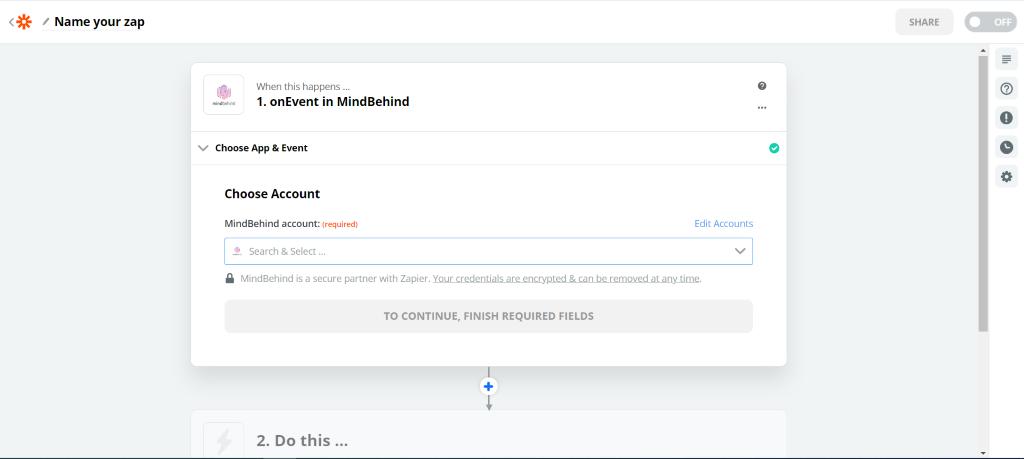
4. Select one of the companies in which you want to use Zapier integration.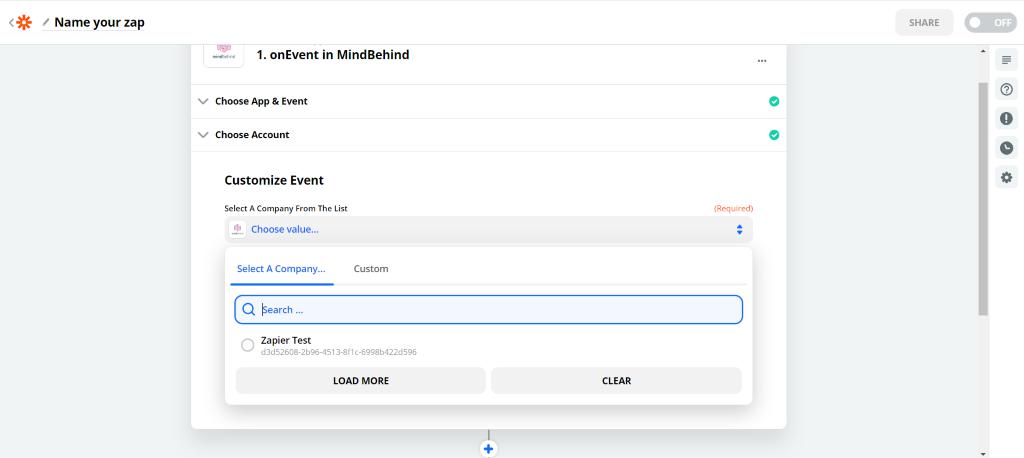
5. Enter a name for your Zap and click the Continue button.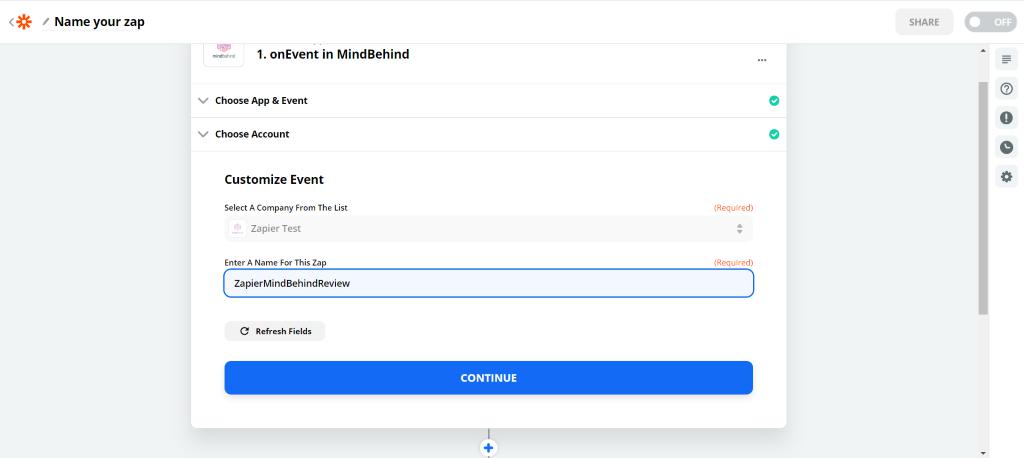
You may see the "Example of a Success Conversation ID" field during the trigger setup process. You should follow these steps:
- Go to your MindBehind panel.
- Select your assistant and go to your assistant map.
- Click the Preview tab, which is located in the left corner.
- Start the conversation.
- You can find the conversation ID under the message bubble.
- Copy and paste this conversation ID as "Example of a Success Conversation ID."
6. Click the Test & Find Data button and click the Continue button.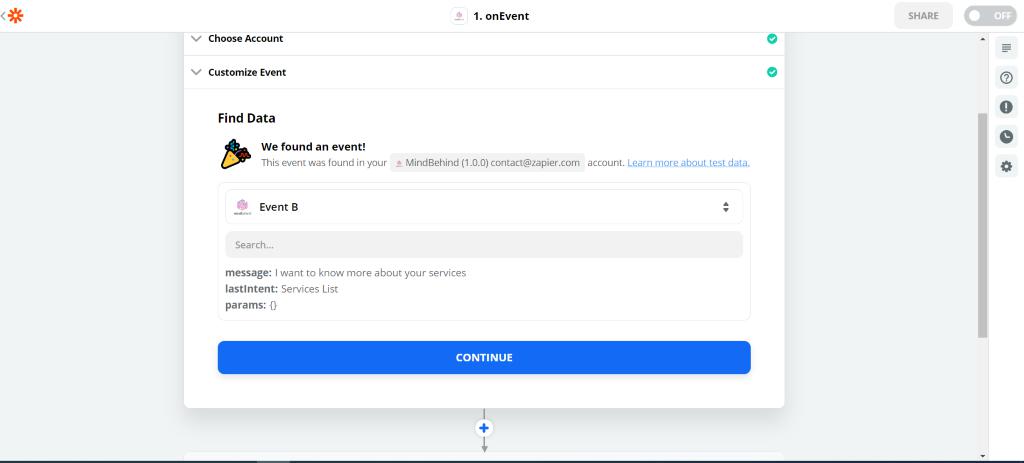
7. Choose the Google Sheets application.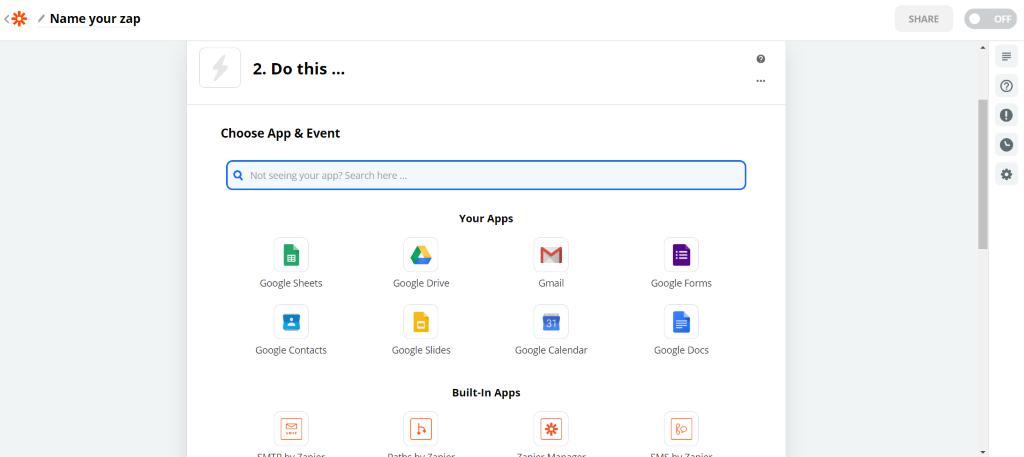
8. Choose the action event and click the Continue button. Select Create Spreadsheet Row because you will add each message to a new row.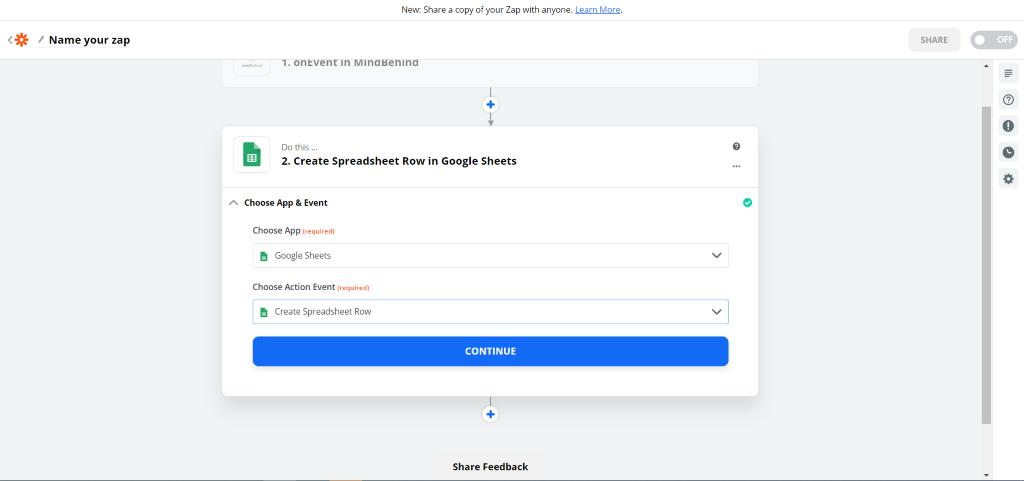
9. Select the Google Sheets Account and click the Continue button.
10. Set Google Account information. In the Row, select the Message option in the Custom tab since you should add user messages received by the assistant to the spreadsheet.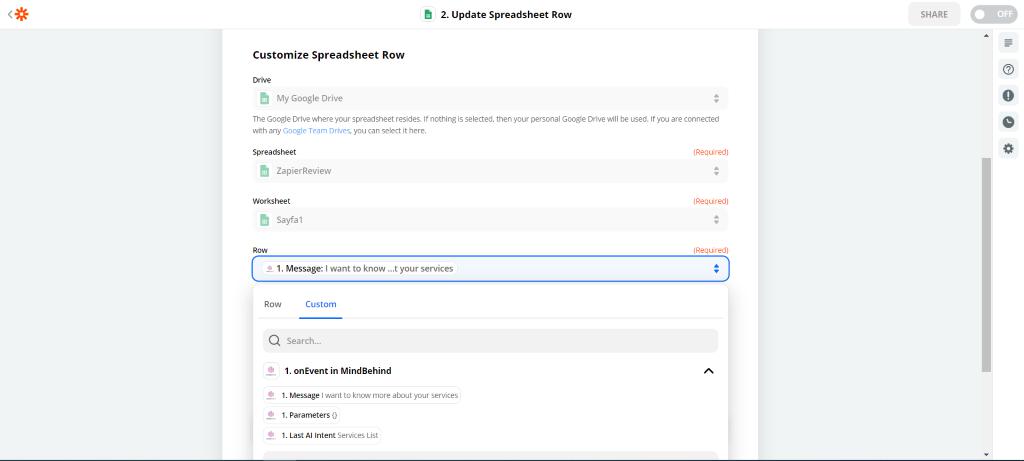
11. Select Message in the next field as well. Then, click the Continue button. Test your Zap and turn it on. 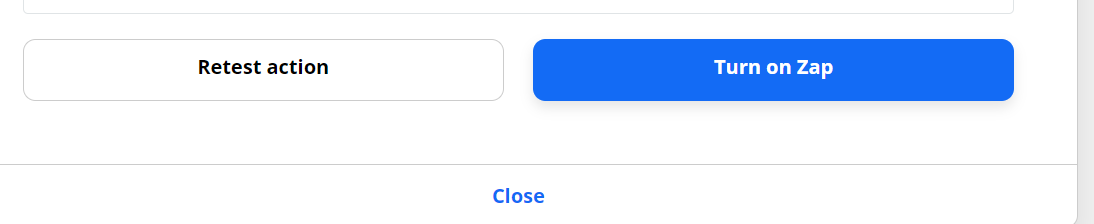
12. Go to your MindBehind panel and create a simple assistant that uses a Zapier action.
13. When you click on the Zapier Action, you will see the menu on the right side. Click the Refresh button to ensure MindBehind fetches the last Zaps from Zapier.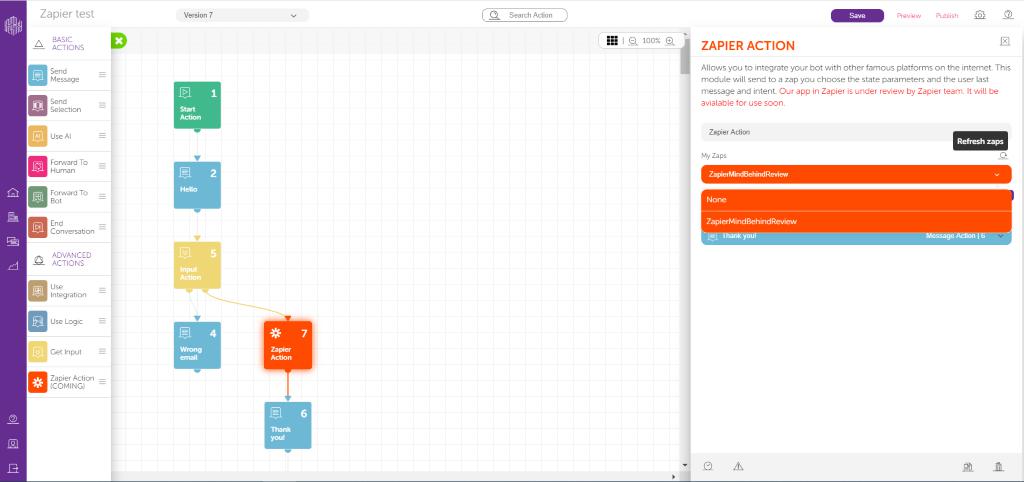
14. Choose your Zap, click the Save button at the top, and then click the Preview tab to test your Zap.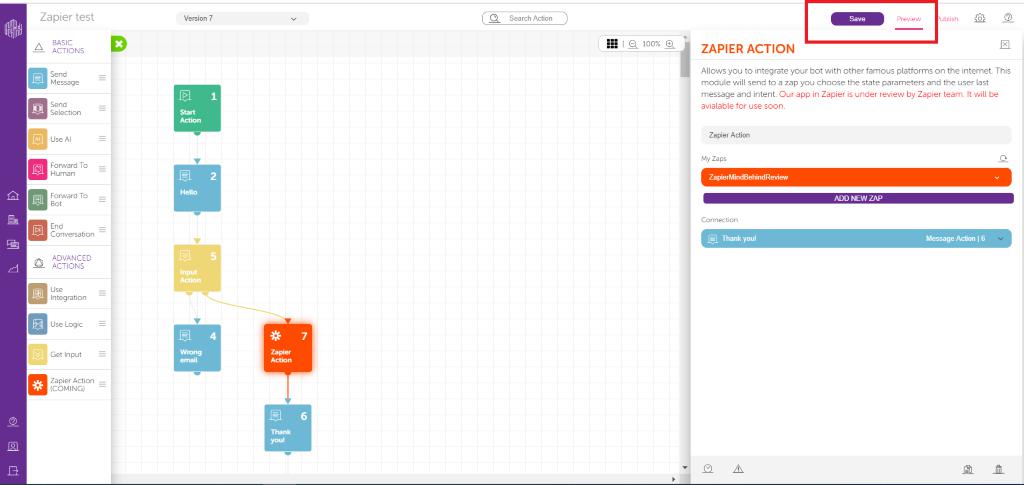
Example Flow
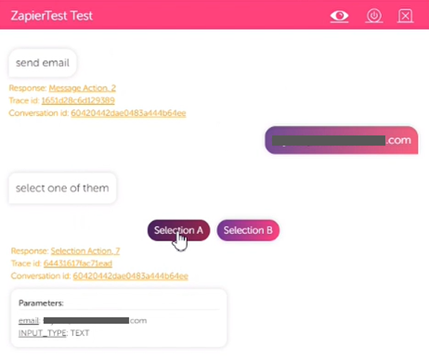
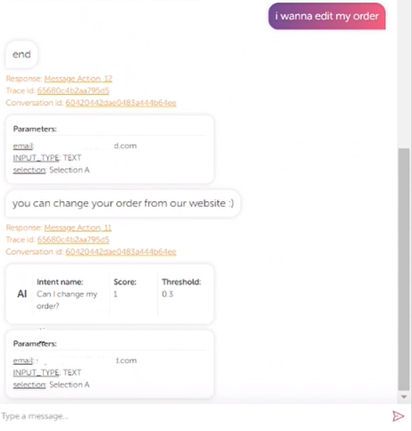
You can see a preview example flow below:
- Write a sample email address and choose Selection A.
- After receiving the “ask a question” response, type the “I wanna edit my order” message.
- When you check your Google Sheet, you will see the users' messages.
A successful conversation's conversation ID can be found on the conversation analysis page.
One Zap can be only used in one Zapier Module.