After fulfilling the prerequisites for Facebook Custom Audiences, you can start your integration and create your Facebook audiences.
Integrate Facebook Custom Audiences
- Facebook targets its users using their email addresses or phone numbers via an external data source. That's why you need to pass your users' email addresses or phone numbers, as well as GDPR opt-in, to Insider before starting to use Facebook Custom Audiences in your journeys. You can use Upsert User API or Facebook Custom Audiences Integration to pass this data.
- The Insider One team will activate Facebook for your account. Therefore, please contact them for assistance.
- Navigate to Architect > Settings page on your InOne account.
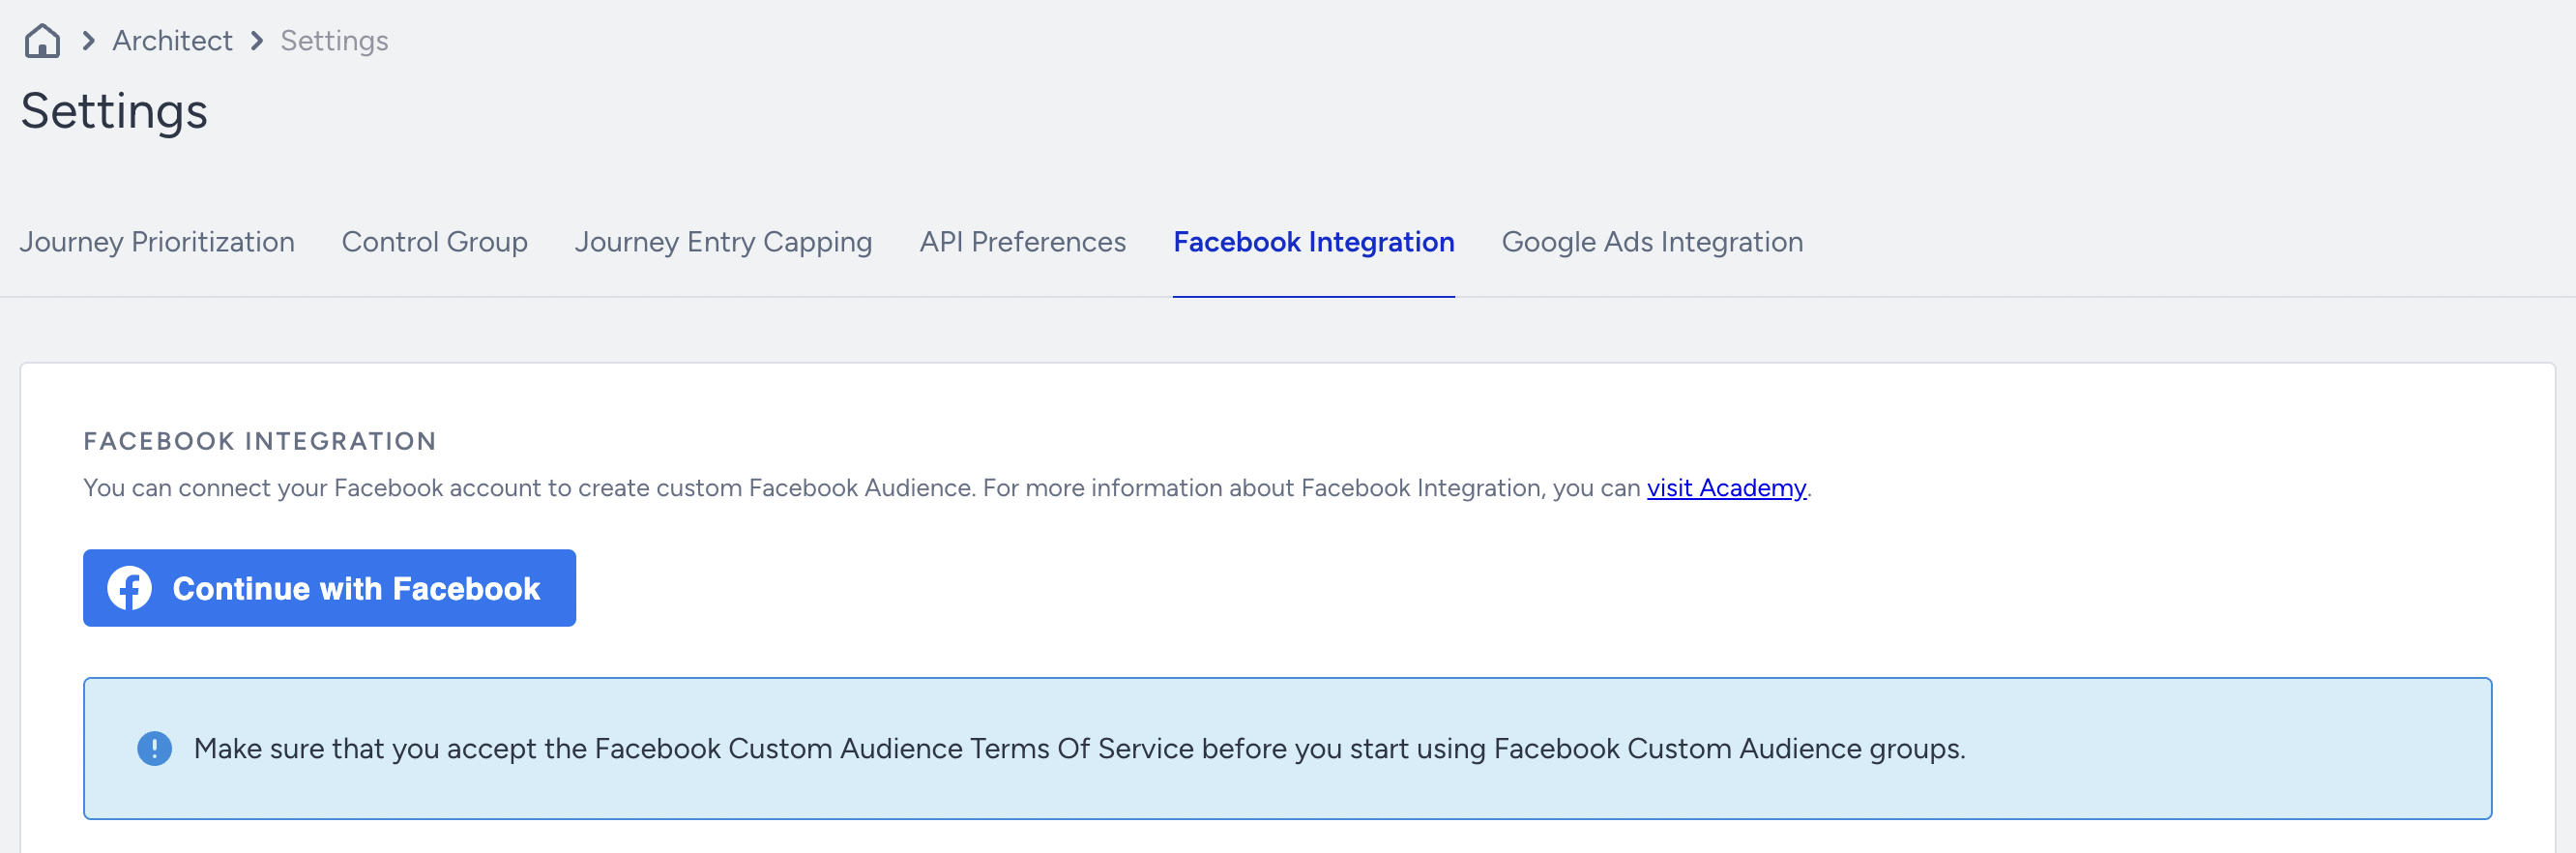
- Authenticate with your Facebook Business Manager account by clicking the Continue with Facebook button. Once you authenticate with your Facebook account, the integration will require permission to access any Facebook Ad account linked to your Facebook Business Manager account.
- You will see a table below the connection button. Add your ad account user to the table.
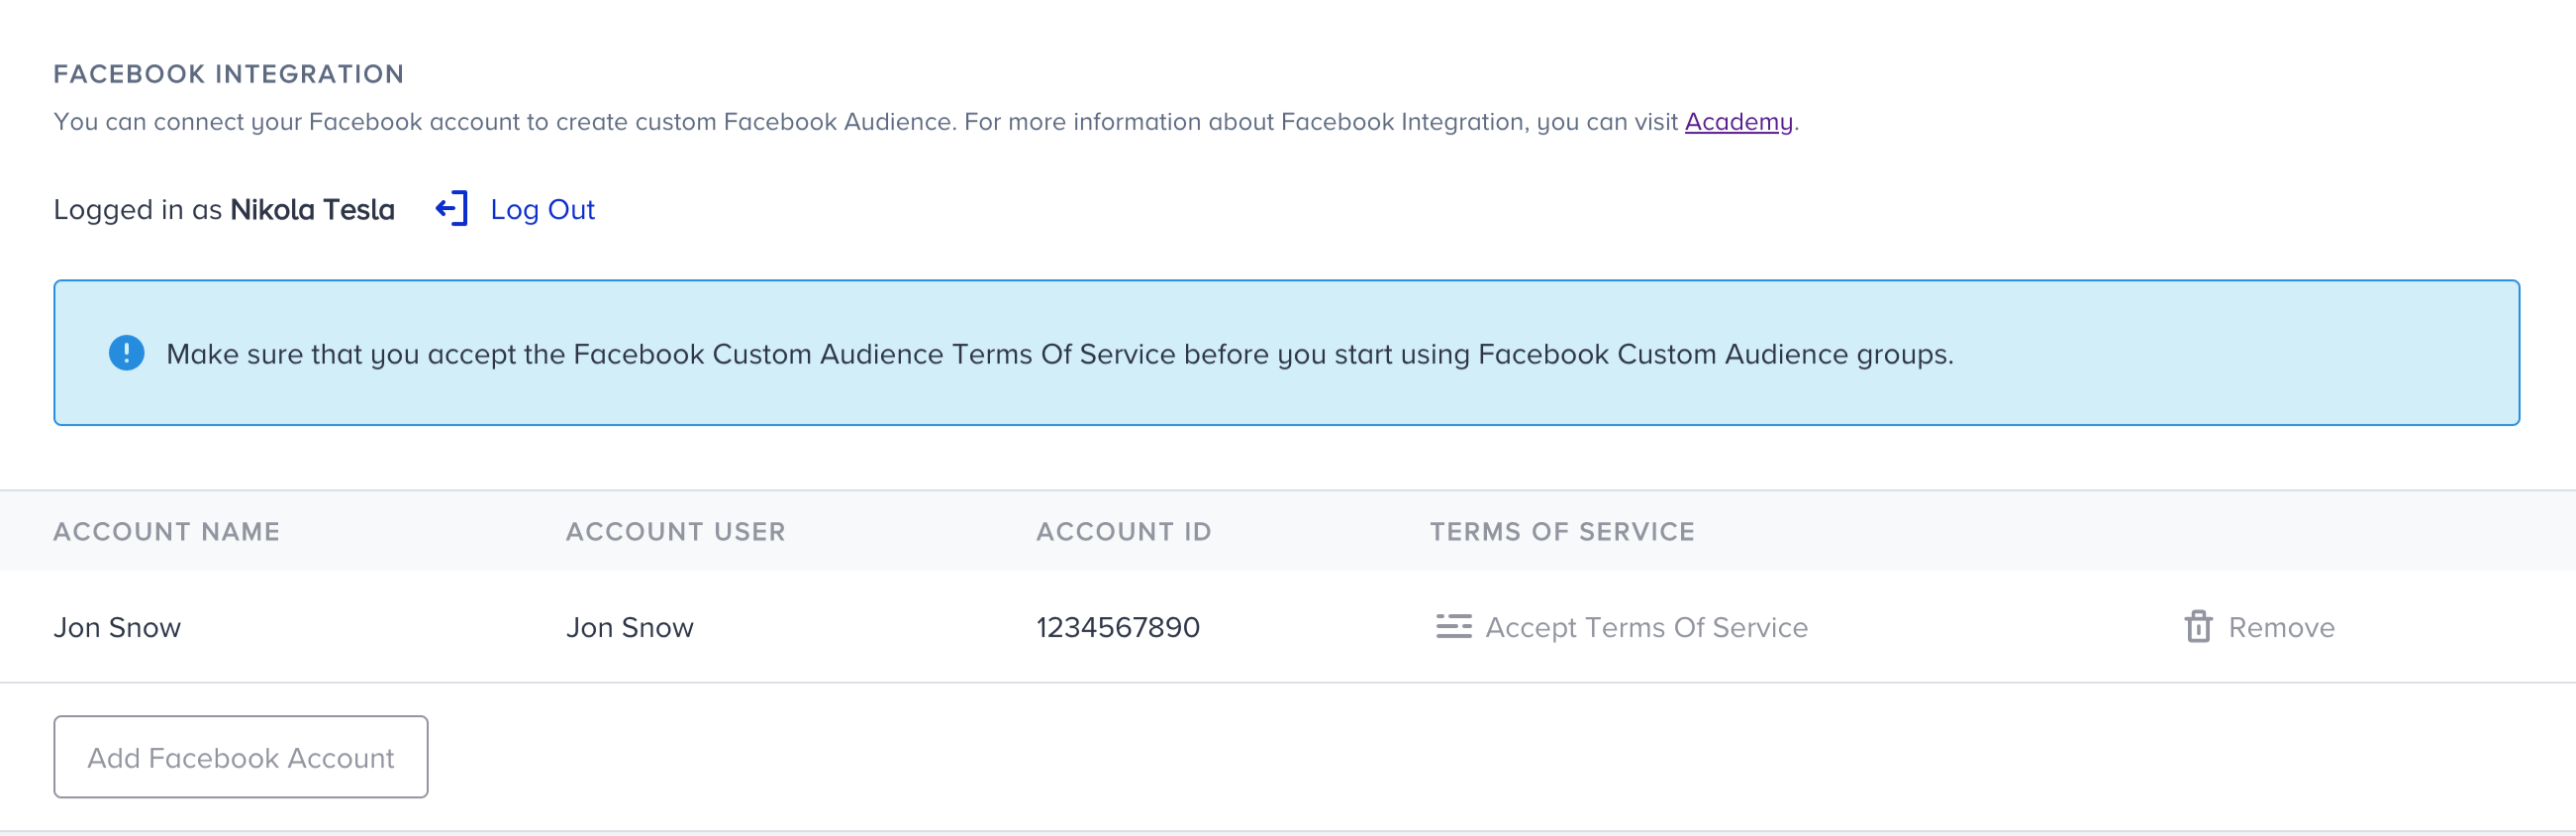
- Save the settings.
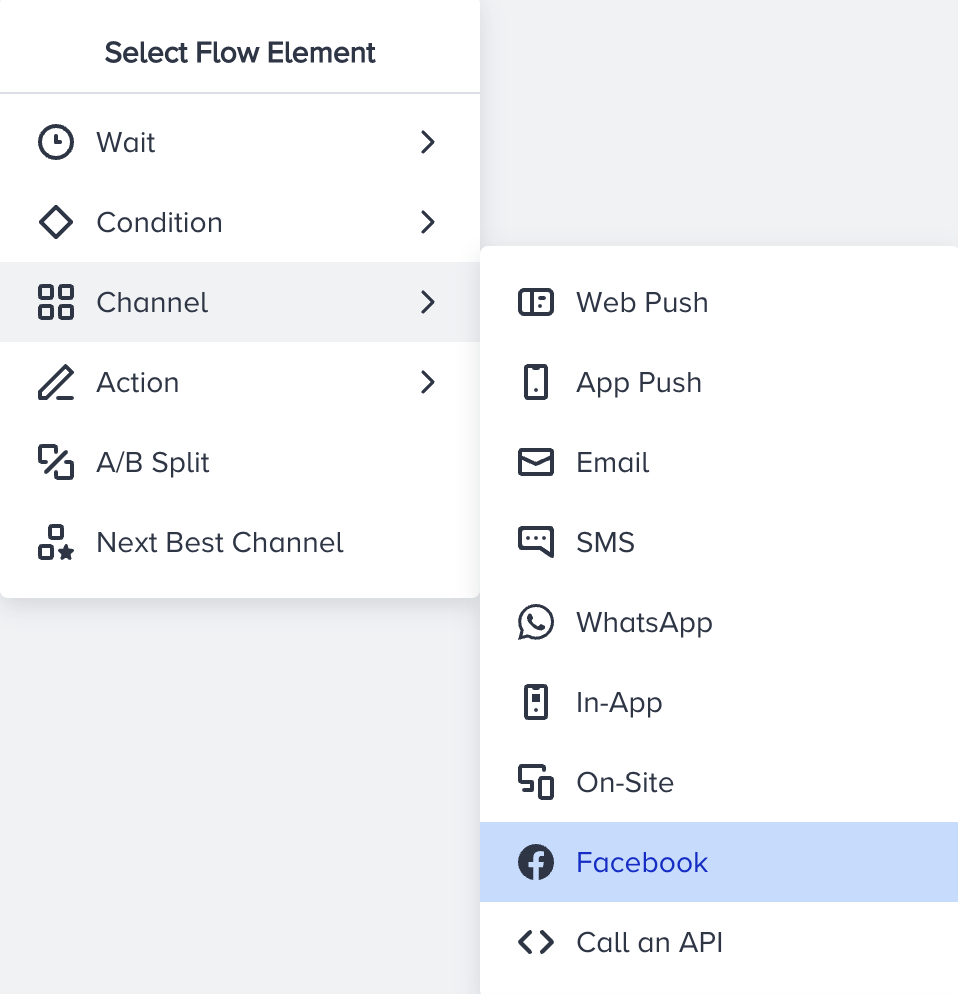
- Now, you can create an audience through the Facebook element on the journey.
If your company obtains your users' consent in compliance with the local regulations, make sure to pass the GDPR opt-in field to Insider. If you want to stop collecting and processing the data of an identified user, GDPR opt-in field should have the false value. Insider cannot be held liable if these obligations are not fulfilled and reserves the right to seek compensation from your company.
Create Facebook Custom Audiences
Follow the instructions below to create a Facebook Custom Audience in your journey.
- Using the journey flow, create a business scenario to send users to a Facebook audience.
- Add the Facebook element to assign a user to a specific Facebook audience.
- Click on the Create Audience button. If you created an audience before, you can also select it for your new journey.
- Select the desired ad account that you would like to send users to.

- Name your audience.
- If Facebook does not allow you to create an audience for some reason, you will see the respective alert on the page. You need to check your Facebook account to resolve the issue.

- Save the Facebook element.
- Complete your journey flow and launch.
Add/Remove users from Facebook Custom Audience
- Select the Audience that you want to add or remove users from.
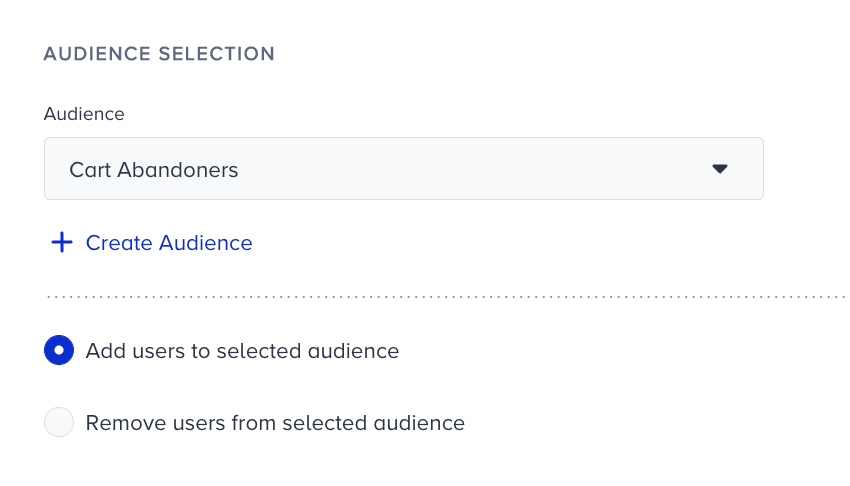
- Select if you want to Add users to the audience or Remove users from the audience.
- Save the element.
- Complete your journey flow and launch.
After you’ve launched your journey, whenever a user reaches the given Facebook element, they will be passed into the selected Facebook Custom Audience, provided that the user’s email or phone number matches the one used for accessing their Facebook account.